Tag Archives: exam

C1 Speaking Interaction? Let’s Make It Click!

Lately, I’ve been on an absolute writing frenzy—you know that creative wave where ideas just won’t stop flowing? That’s me right now. Between lesson planning, AI experimenting, and a mild obsession with coding, I’ve been typing like there’s no tomorrow. And honestly? I’m loving every minute of it.

With exams creeping up on us (yes, already!), I know many of us are looking for ways to help our students feel ready—especially for that tricky interaction task in the speaking exam. You know the one: they’re given a role, a partner, a situation, and then… boom! Time to think fast and speak even faster.

Now, this little resource is designed specifically for C1 students. That’s the level I’m teaching this year, and honestly? Every idea I explore, every tool I create—it’s all with them in mind and thanks to Educastur, which kindly published last year’s real C1 interaction tasks, our students can now see exactly what the exam looks like.

And here’s where my latest obsession kicks in—yep, coding! I’ve totally fallen down the rabbit hole and I decided to use that new energy to create something useful. So, I built a simple, clean little app that puts all those tasks in one place. By the way, I have already mentioned that, but I now nothing about how to code. Nada.

So, scroll through, choose a topic, check out the roles, and let’s practice practice, reflect, and prepare like pros.
I built it with Google Gemini (amazing tool, by the way), and YES—it’s completely free. I’m the “free APP teacher,” remember?

But Wait! Classes are Over. Who Helps you Practise Speaking Now?

Oral exams are coming fast, and while nothing replaces good old-fashioned studying, AI can seriously level up the way you (or your students!) prepare. We’re talking instant feedback, personalized practice, and support that’s available 24/7.

It’s like having a private tutor in your pocket—but way cooler. And no, it won’t do the talking for you (sorry!). But it will help you speak more confidently, sound more natural, and feel way more prepared.

DESIGNING AN APP THAT HELPS THEM PREPARE THE MONOLOGUE

And just like that!

Who would’ve imagined that I, someone with zero experience in coding, could actually design my own app? Honestly, it still surprises me! Artificial Intelligence has completely transformed the way I teach, and the support I can now offer my students is truly next-level.

So, my students are currently preparing for an oral exam that includes two key parts: a monologue and an interactive task. In this case, I decided to focus on helping them tackle the monologue—and I created an interactive app designed specifically for that. Yes!! Me! And if I can do it, believe me, anybody can!

Link to the app and instructions.

APP de cristina.cabalWhat Does the App Do? It’s simple but super effective:

  1. Practice Simulations: The student starts by choosing a topic from a list (think: work, crime … you name it!). And as soon as they select one, the app automatically displays 3 prompts related to that topic. Just like the real exam!
  2. Vocabulary & Grammar Boost: Before jumping into the speaking task, students do some brainstorming—in the space provided, they write C1-level topic-related vocabulary and advanced grammar structures that can really impress the examiner. This gives them a chance to reflect and retrieve useful language before speaking.
  3. Time Management: There’s a built-in 3-minute timer, so they get used to managing their time, just like in the real exam.
  4. Continuous Practice: Once they finish one topic, they simply move on to the next. It’s all about practice, practice, practice.

And because I’m all about using free tools (yes, still flying the Free App Teacher flag!), I used Google’s Gemini  (the free version) to build the app (you just need to start  with the prompt” I want to create an interactive app that… (purpose)” and then, iterate until you get what you want. I then embedded the code on Google Sites, another totally free and user-friendly platform.

I’ve been experimenting with app design for quite a while now, but this particular app was inspired by one shared by the brilliant Eli Gozalo, who used a similar structure for a speaking task. Her work sparked the idea, and I adapted it to suit my students’ exam prep.


BUT WAIT—WHO’S CORRECTING THEIR SPEAKING? USING CHATGPT ADVANCED MODE.

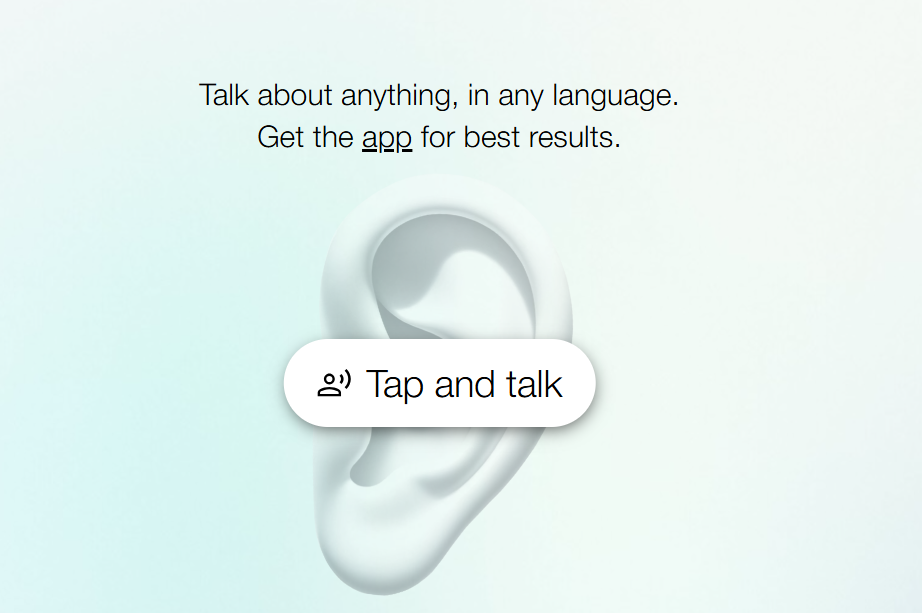
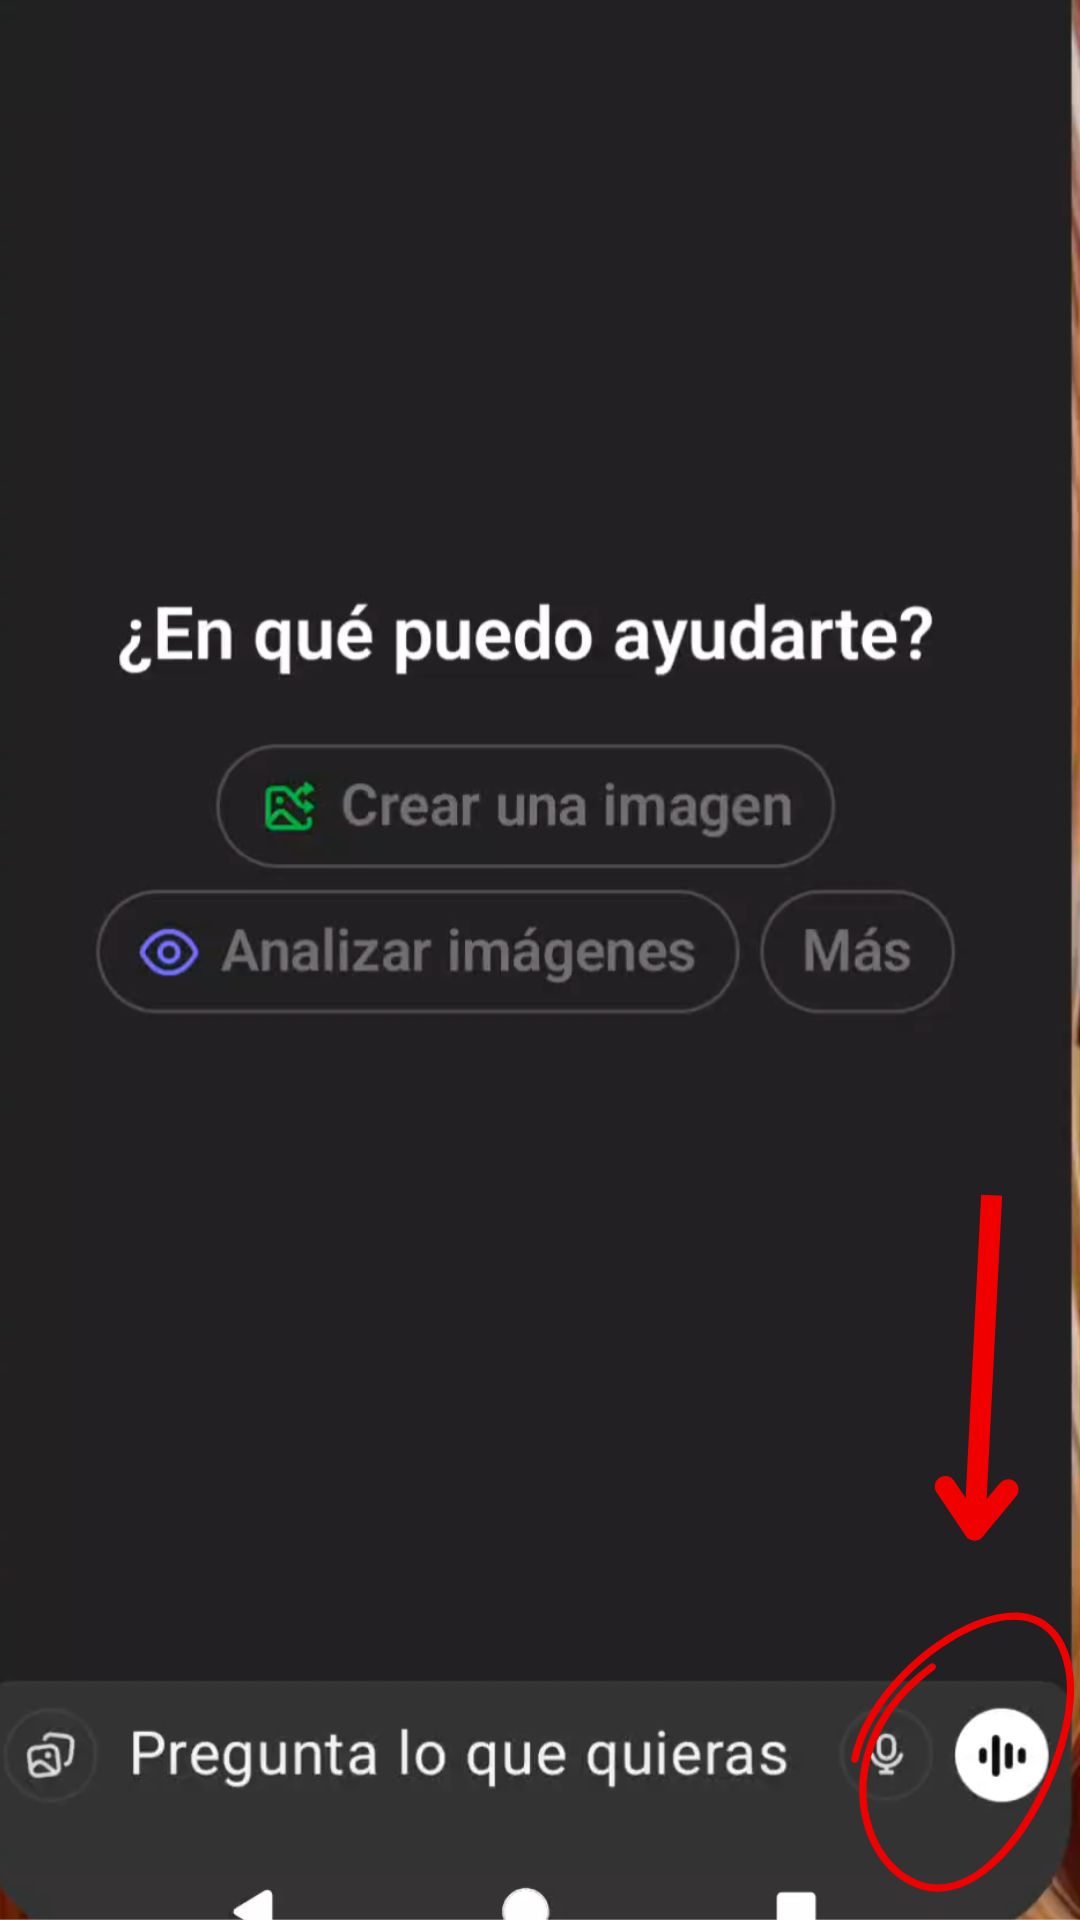
Okay, so if you’re thinking, “Wait, ChatGPT can actually listen to my students speak and give feedback?!”—The answer is YES. It totally can. But only if you’re using the mobile app (yep, the magic happens on your phone!). This is where ChatGPT’s advanced voice function comes in! It’s like having a private tutor available 24/7. I ask my students to practise their monologues out loud and then use ChatGPT to give them corrections and suggestions.

Here’s a simple set of instructions I give ChatGPT:

  1. ChatGPT acting as a tutor , correcting mistakes and giving feedback

 “Hi ChatGPT, I need your help! I’m going to practise a monologue for my speaking exam. Please listen carefully and, when I finish, give me:

  1. Corrections for any grammar, vocabulary, or pronunciation mistakes

  2. Suggestions for using more advanced vocabulary or grammar

Let me know when you’re ready, and I’ll begin!”

2. ChatGPT modelling asnwers to inspire you.

Hi ChatGPT, please respond to the following prompt as if you were a C1-level English learner (adult, non-native). Your answer should  be about 45 seconds long and demonstrate advanced vocabulary, accurate grammar, and complex sentence structures. This is the prompt … ”   “

And just like that, students get instant feedback. It’s targeted, it’s specific, and it helps them grow fast. Perfect??? Of course, not!  Only teachers are perfect!! hahahah!

A Mind-Blowing Free Tool for Student Speech Recordings: Transcriptions, Audio, Summaries and Easy Sharing with the Teacher

Oh wow! This is quite a long title but I’ve stumbled upon an absolute gem of a website that I have to share with you all. If you’ve ever struggled with deciphering student recordings, trying to make sense of mumbled words, or spending precious time replaying audio to catch what they said—those days are officially over!

This incredible tool (it’s a website, no downloads needed!) lets students record themselves, whether it’s a presentation, a speech, or just a spoken reflection. The best part? it doesn’t just capture the audio. Nope, it goes way beyond that and also provides a full transcription of what the students said.

This amazig webiste is called Spacebar.fm .

Do students need to register?

They’ve got two options to choose from, depending on their needs:

  1. No registration needed: You can speak for up to 10 minutes per recording with a total of 5 interactions.
  2. Register for a free account: If you sign up, you get 200 minutes of recording time, with each individual recording lasting up to 90 minutes
How do you start the recording?

Easy, click on Tap and Talk and start recording.

What do you get after the recording?

Now, here’s what happens after a student records. You ‘ll get,

  • A beautiful image of the memory shared. (I know, not very useful but nice)
  • A summary of what the student shared, highlighting the main points and key ideas.
  • The full accurate transcription of what the student said, right there for you to read through or skim as needed.
  • The original recording, so you can listen if you want, but you’re no longer reliant on just the audio.
How Do Students Share Their Recordings? 

Very easy! After the recording is done, students just need to click on Copy Shareable Link. and send it straight to their teacher’s email. If you want to access your previous recordings, you’ll find them in the Memo tab.

Why I think this tool is a must-keep

Can you imagine? No more:

  • Playing back a recording ten times trying to catch every word.
  • Frantically jotting down notes as you listen.
  •  Worrying that you missed an important detail.

With this tool, you get a clear, written record of what each student said. This makes it so much easier to:

  • Provide detailed feedback.
  • Check for content understanding.
  • Highlight areas for improvement without struggling to hear what they meant.

I really think this could be a fantastic way to assess student speaking skills. It’s also a brilliant option for remote learning or when students are working on independent projects.

Follow us on


Writing: 5 Useful Exam Tips

I get it. Writing test. These two words don’t look super inviting or inspiring, but trust me, if you follow these tips, it might help you pass or, at least, enhance your writing skills.

I think we have already discussed here at length my obsession with using the vocabulary and structures that I teach in class. That’s non-negotiable. You have to use them. So, I am not going to beat about the bush here and I am going to state the obvious, the two most important tips are:  study and practise. As much as you can. But you already know that, don’t you?

Once we have agreed on these two tips, these are the ones I give my own students. Some students follow them. Some don’t. Some try  🙂


Don’t start writing straight away. Spend about 10 minutes getting ready. You might grow anxious and think this is a waste of time. It is not. In fact, in my humbe opinion, it should be mandatory. Use these 10 minutes to plan what you are going to say and how you are going to say it.

So, you are given the task. Now what?  

  1. Identify the task. It is very important to read the information in the task carefully, underlining any keywords or any questions you are being asked to answer. Identify the topic: is it about sports, work, holidays?
  2. Identify the audience. Who is going to read it and what language do you need to use? Can you use informal language because it is an informal email or maybe a post for a blog or do you have to use formal language because it is a formal letter or email or maybe a report? 

Now that we have clearly identified the topic and the kind of task we have been asked to fulfil, spend some time doing some brainstorming.

Ask for some draft paper and brainstorm…

  1. Vocabulary. Make a list of all the specific vocabulary you remember about the topic (that includes phrasal verbs, collocations, idioms…, etc) The teacher will be looking for specific vocabulary related to the topic. Make sure you use a wide range of vocabulary. As you start writing, find a way to naturally introduce this vocabulary.
  2. Grammar. Make a list of all the grammar and structures you want to use. The teacher will be looking for a wide range of grammar and structures adequate to the required level, but make sure you sound natural and communicate clearly. If you overuse structures or “force” the use of others just to show off, it might have the opposite effect, as it might be inappropriate and possibly confusing.  For example, if in this course you have learned perfect modals – might have worked- try to use them in your essay;  or if you have learned inversions, try to use them, but do not use 3 or 4 inversions just because you know them. It would not sound natural.
  3. Connectors and Linkers. Make a list of connectors and linkers you want to use to contrast different points of view or join ideas. Remember that you will be required to elaborate on your ideas. Words such as “ and” or “but” are fine, but you are not going to impress the examiner by using these very simple linkers. 
  4. Ideas. Finally, brainstorm ideas and choose the strongest ones and the ones you feel most confident developing.

Clear paragraphs. Now you are ready to begin writing your draft. Organize your essay into clear paragraphs 

  • Introduction
  • Body ( here you can have 2, 3 or more paragraphs)
  • Conclusion

A good idea might be to start each paragraph with a strong idea and then elaborate on it,  making sure you back your idea or opinion with reasons and examples. 

New idea, new paragraph.

Have you written your draft? Awesome! Now, reread it and consider adding:

Adjectives to add colour to your work. For example, if you are describing a house, you can write “an elegant house” or “a red-brick house”; if you are writing about “work”, you can modify it by saying “ challenging work” or “rewarding job”. My favourite website for this is Ozdic

Adverbs:  you might want to introduce some sophisticated adverbs such as: remarkably, noticeably…etc

-Strong collocations: have some up your sleeve in case you have the chance to use them. For example: take for granted, draw an audience…etc

Carefully proofread your essay before handing it in. Make sure you check your work to avoid making obvious mistakes:

  • spelling mistakes
  • subject-verb agreement
  • singular-plural agreement,
  • punctuation …etc

Llast tip? Read it to yourself. If it sounds confusing to you, imagine how it would sound to the teacher. You still have time to rephrase what is not clear.

Now you are ready to write your essay on the exam sheet. Be extra careful when copying from the draft. I have found that students when copying from the draft if in a hurry, tend to make spelling mistakes. After all this effort, you don’t want to do that. 

I hope these tips help you and you score high on the writing test. Best of luck!


Fixing Fossilized Grammar and Spelling Errors in an Engaging Effective Way

End of the school year for me! And for you?

This is a post especially dedicated to all non-tech lovers! I am capping off this wonderful school year with an engaging yet effective activity for error correction. It may not be much when you read how to do it but trust me on this one, your students are going to love it!

If you follow me at all on my blog or on social media (facebook, twitter ), you will know that I am a huge fan of using technology in my classes. When I mean “huge”, I don’t mean that technology dominates my teaching practice. I use technology only when I think it’s going to contribute to effective learning. Otherwise, it’s time wasted.

Slips of paper are hands-down my favourite teaching tool. Essentially, they are scraps of paper that I use and reuse constantly in various ways. In fact, my record is having used the same set of slips of paper six times for a single class. I am sure some of my students will remember this day. They certainly learned everything on them.

The activity I am sharing with you today is a  brand new one. I have to say I am happy with the result. It worked really well, it was effective, meaningful and engaging.

This time slips of paper have been used to fix fossilized grammar and spelling errors, but I firmly believe that the use of slips of paper as a teaching tool is a great addition to any lesson plan.

Note 1: “fossilization” refers the way in which some errors become a permanent feature of a language learner’s language

Note 2: at the end of the post, there is a video I’ve put together with some pics and clips I took from the activity. In case you want to see it. Just saying! 🙂

Materials:

  • slips of paper
  • sticky notes
  • sellotape or blue-tack
Before  the class

Yes. I am afraid there is some prep to do but it’s worth it.

  1. Correct their compositions and write down common or relevant errors: for this activity, I have used common spelling or grammar errors.
  2. Write them down on slips of paper.
  3. Write the correction on sticky notes or scraps of paper.
  4. Hang the slips of papers around the room. Identify each slip of paper with a number and write it down on the bottom right-hand corner.
  5. For each slip of paper, and displayed next to it, is a sticky note containing the correction. The sticky note is folded in half so that the right answer cannot be seen unless unfolded.

How to go about it

Round 1

  • Ask students to take out a regular A4 piece of paper, write Round 1 at the top and number it- whatever X slips of paper you are using. Ask them to do the same on another piece of paper and but this time they should write Round 2.
  • Note: It is spring so if it is sunny, why not take them outside the building and hang the slips of paper on the walls of the building? In fact, this is what I did. If you also play some upbeat music while they are doing the exercise, they are going to love you.
  • Ask them to form pairs.
  • Ask them to walk around the class in their pairs, read the sentence, spot the error, discuss the way to correct it and then write their answers on the response sheet. If the number on the slip of paper is 3, they should write it next to number three on their response sheet.  Tell them it doesn’t matter where they start as they will end up doing all the cards.
  • Emphasize that they will need to speak English all the time and that they will both need to discuss how to correct the error- you want both of them to learn, not just one student-  then write down the answer and then, only then, unfold the sticky note with the corrected version.
  • I like to meander around the room and check to see if they are having difficulties with a specific error and try to help them figure out where the mistake is.
  • Once the activity is finished, I ask them to count up the number of mistakes they have been able to correct and write that number at the top of their paper.

Round 2.

We are working here with fossilized errors, ie, errors we have already corrected a thousand times but we haven’t been able to fix.  Reinforcement and consolidation are essential. So, let’s go for Round 2.

Group students: I asked students to form a line based on their birthdays (day/month). Once they formed the line, I ask them to work with the person on their right. (have a look at the video).

  • Explain that they are going to be competing against each other.  At the end of the activity, the winner is the student who has managed to correct the most mistakes.
  • Everything is the same as above, but this time they don’t discuss the error. Together and silently they read the error on the slip of paper, write the correction on their sheets of paper, compare their answers, unfold the sticky note and put a tick or a cross depending on whether they have been able to spot and correct the error. Hopefully, most students will have been able to fix all the errors.

Round 3

Yes. Again. Remember they are fossilized errors.

Follow-up: Ask students to sit down and ask them to write from memory all the mistakes they have been able to fix. Once they have finished, ask them to share them in pairs. Let’s hope that by writing them down from memory and talking about them in pairs …again, we will have helped them eliminate these fossilized errors from their oral and written production.

I love how slips of papers can turn into a simple and fun formative assessment tool that gets students out of their seats and learning, don’t you?

Have a look at the video now to have a clearer picture of the whole activity.