Tag Archives: genial.ly

The Animal Kingdom: A Multi-Skill Lesson Plan for C1 Students

Packed with engaging activities, this lesson plan about the animal kingdom is going to become your favourite. Trust me!!!

Have you noticed that it seems like everyone’s got a furry friend these days, and not so many babies? Parks are full of dog walkers, not strollers, you know what I mean? This is one of the things we’ll talk about in this lesson.

I was actually planning to publish this when I was not so busy with classes and teacher’s sessions, but I could not wait to get this into your hands because it is a lesson that worked really well. So before I forget, here it is! A lesson plan for C1 students about the animal kingdom and endangered species.

What you will find in this post is:

  • 2 Warm-up Activities
  • Revising and introducing the name of some animals
  • Vocabulary to talk about endangered species
  • Personalized Listening Comprehension
  • Grammar Game: Impersonal Passive
  • Out of their Seats: Controversial statements + some help
Warm-Up One: Sparking Discussion

If you have been reading me for some time, you know how much I like to play with IA, so to engage my students and spark discussion I have generated this image using Microsoft Designer.

In my experience, displaying the image is enough to create debate, but in case you need it, here is some help.

Question: It’s interesting to note the trend of more people opting for pets over having children. What do you think are some of the factors driving this shift in lifestyle choices?

Follow-up Questions: Have you observed this trend in your own social circles or community? How prevalent do you think it is? What do you believe are some of the advantages and disadvantages of having pets instead of children?

Warm-Up Two: Revising Animal Names Students already Know

Building upon prior knowledge is essential for effective learning, wouldn’t you agree?

In this spirit, I have asked my  C1 students to write a list of 10 wild animals excluding the usual : tiger, elephant, lion, zebra…. OK, you get it! I have given them one minute, and we have written the most interesting ones on the board, practising pronunciation.

Ready to revise and introduce some new ones?

Introducing New Vocabulary + Pronunciation
  • Endangered species
  • Threatened ,
  • On the verge of extinction
  • To become extinct
  • Deforestation
  • Habitat
  • Carnivore, herbivore, omnivore
  • Predator
  • food chain,
  • environmentalist,
  • ecosystem,
  • conservation effort,
  • global warming, recover,
  • vulnerable,
  • reforestation,
  • poach,
  • wildlife
  • to decline,
  • overhunt, overharvest, overfish,
  • To breed in captivity,
Helping Students pronounce better:

A word of warning: I forgot to insert some pauses in-between words, so you might need to stop the audio after each word. Sorry, but I realized once I was playing it for my students and I didn’t feel like doing it all over again.

ANIMALS VOCABULARY by cristina.cabal

Personalized Listening Comprehension
PDF here

Animals Listening comprehension by cristina.cabal

If you are wondering why I like using AI so much, I think this lesson is a good example. Most of the time, I am pressed for time and I don’t feel like trawling the internet or the hundred books on the shelves of the English department looking for the right listening comprehension, so now, I just create my own listening comprehension activities with the vocabulary that is relevant for my students. In this case, I have asked ChatGPT to create the text and then used Eleven Labs to read it. Easy-peasy!!

Grammar: Animals: Fact or Myth? Working with Impersonal Passive
Grammar and exercises here

That was fun.

  • I divided the class into teams and asked Team 1 to choose an animal. A representative read the sentence aloud and all teams – and this is really important-have to work  on their notebooks writing two impersonal passive sentences for each statement. Give them about  2 minutes to write both sentences. For example:

People believe that opossums are hanging by their tails.

  • It is believed that opossums are hanging by their tails
  • Opossums are believed to be hanging by their tails
  • When time’s up, ask the representative for Team 1 to read both sentences. If both are correct, Surprise!!!!! they’ll  get 1 point. If they are wrong or one of them is wrong, shout “NO” and the first team to raise their hand have the chance to say the correct sentence and get 1 point. Click on the PASSIVE button in the infographic to check it.
  • Now, back to Team 1. Ask, do you think the statement is a fact or a myth? Hover over the picture to read the answer.


Speaking: The Three Corners.
Material: Posters
Cards: here and here
  • Take 3 pieces of paper and write the following words on each: “I AGREE”, “I DISAGREE”, and if you have many students, “I AM UNSURE”. Place these papers in different corners of your classroom.
  • Explain they will see a poster with a debatable statement about animals and they will need to choose the corner that best represents how they feel about the statement.
  •  Explain that in their corners, they will need to talk about the reasons for their choice and develop strong arguments to support their opinion, as they will be challenged by students with opposing views. Encourage the use of vocabulary.
  • Give them enough time to come up with their own arguments to justify their position.
  • After a 10-minute discussion, ask students from both corners to face each other.
  •  Battle: This is the part I like best. Ask students to choose someone from the opposing corner. Pair them up and tell them they have 5 minutes to try to convince each other, using strong arguments,  to switch corners. For drama, ask them to use the phrase: “I challenge X”.

Note: Again, using AI, I have helped my students with some ideas to support their opinion. Of course, this is entirely optional, but I felt my class needed some modelling to get started. Here you’ll find the cards for two of the statements. Animal testing here and Animals in circuses here

I know writing is missing from this lesson plan. Keep posted! It’s coming!

Follow me on


Create a GIF-like “Meet-your-Teachers” Interactive Photo with Genial.ly

Hello, hello!

Do you know this classic end-of-the-course photo we used to take when studying primary education?  I am sure you do and keep some in old photo albums. Ahh I miss the time when we printed photos!

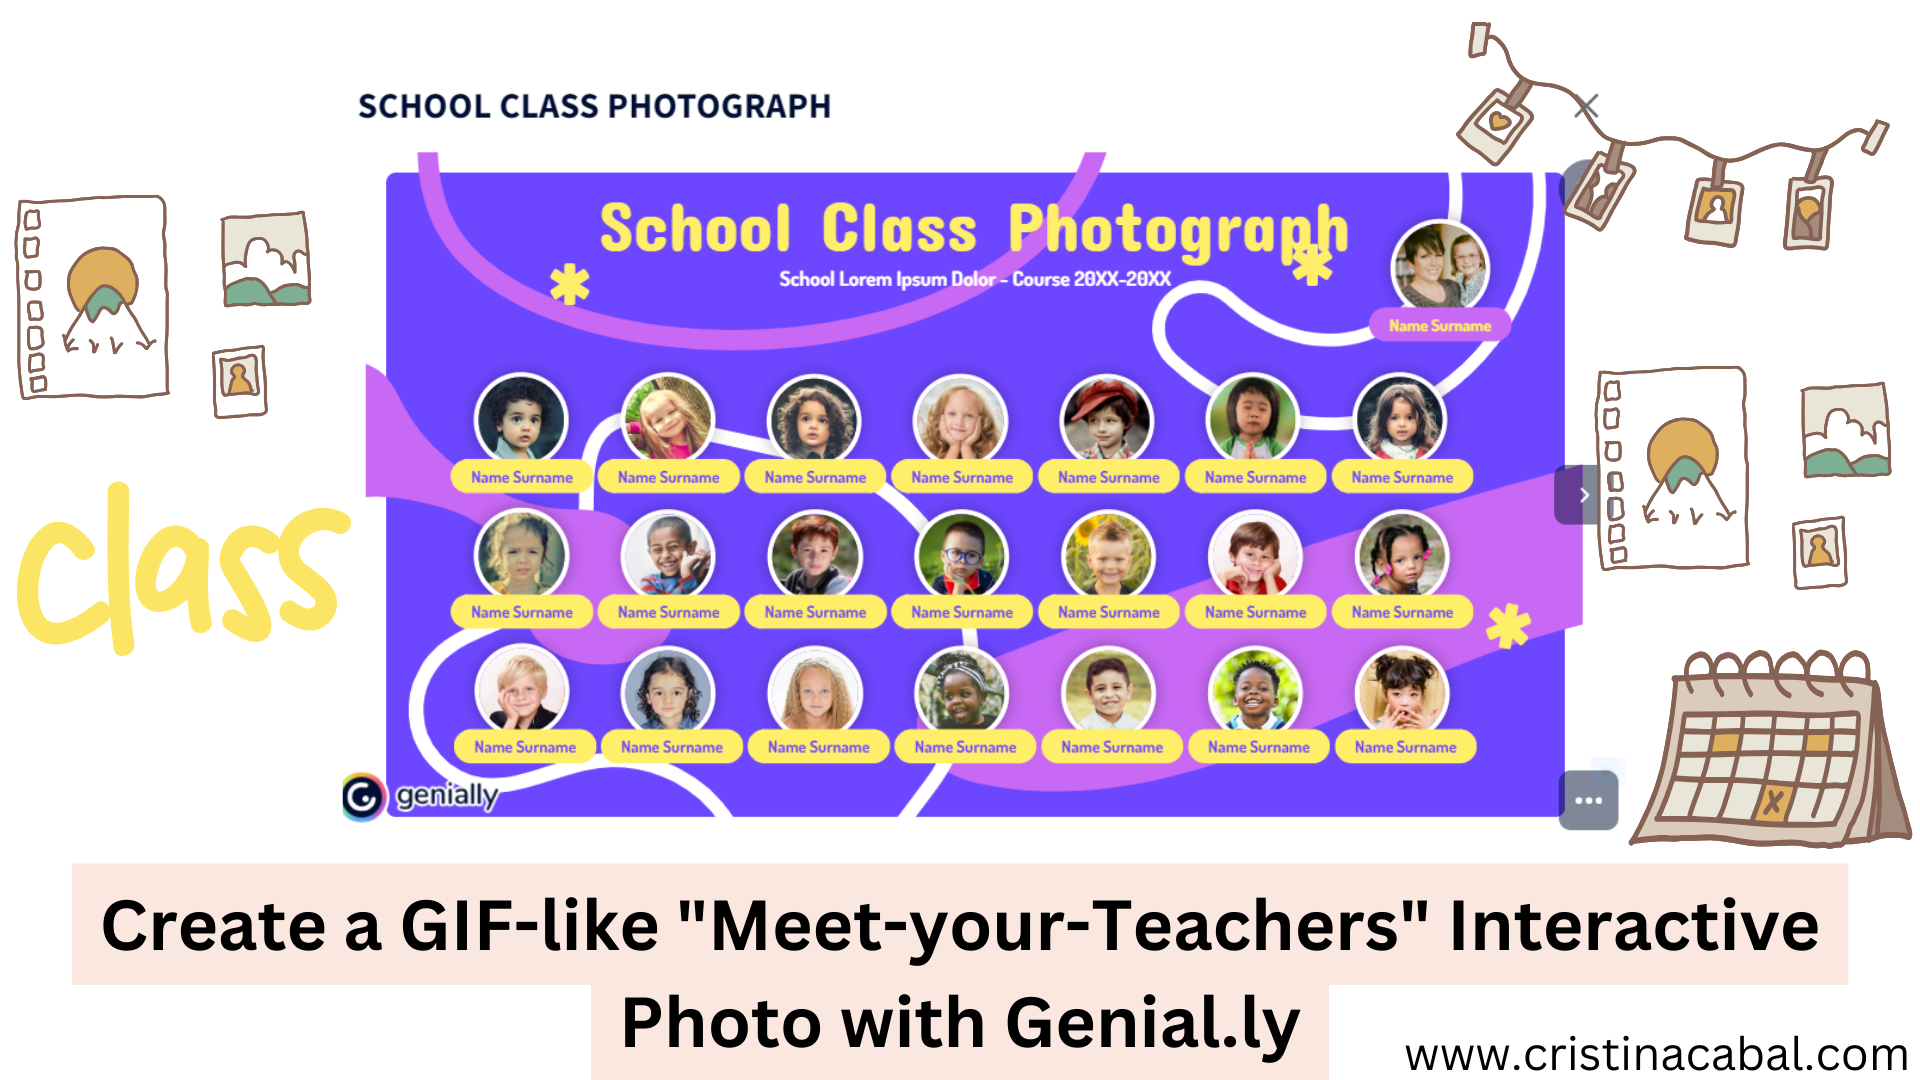
Now, picture this: the annual staff photo or students photo transformed from a static image into a dynamic mosaic of interactive moving photos welcoming the students to the new course. How, you ask?  Thanks to GIFs and the incredible free templates in Genial.ly. It is very easy to create and a lot of fun: you only need a little bit of tech and a dash of inspiration.

Below these lines is an example of what we are aiming for. If you hover over the image, you can read the names of the teachers, the language they teach and the position they hold in the school.


Steps to Follow

  • Tell the teachers (students) what you want to do and then, using your mobile phone, record a quick 2-3 second video asking the teacher to make a move. It is important that they don’t talk, just make a movement.  See my own video here

Great! Now that you have the video, we go to the free tool https://ezgif.com/ to create a GIF from the video. We might need to optimize the resulting GIF to reduce file size, but don’t worry, you can do it on ezgif.com, too. To optimize the GIF, look below the GIF (it says” optimize GIF”). I also use this other GIF optimizer when I need t further reduce the GIF; also free.


3. Awesome! Now you have all the GIFs for all the teachers (students) in your school. Time to go to  Genial.ly and sign up for free.

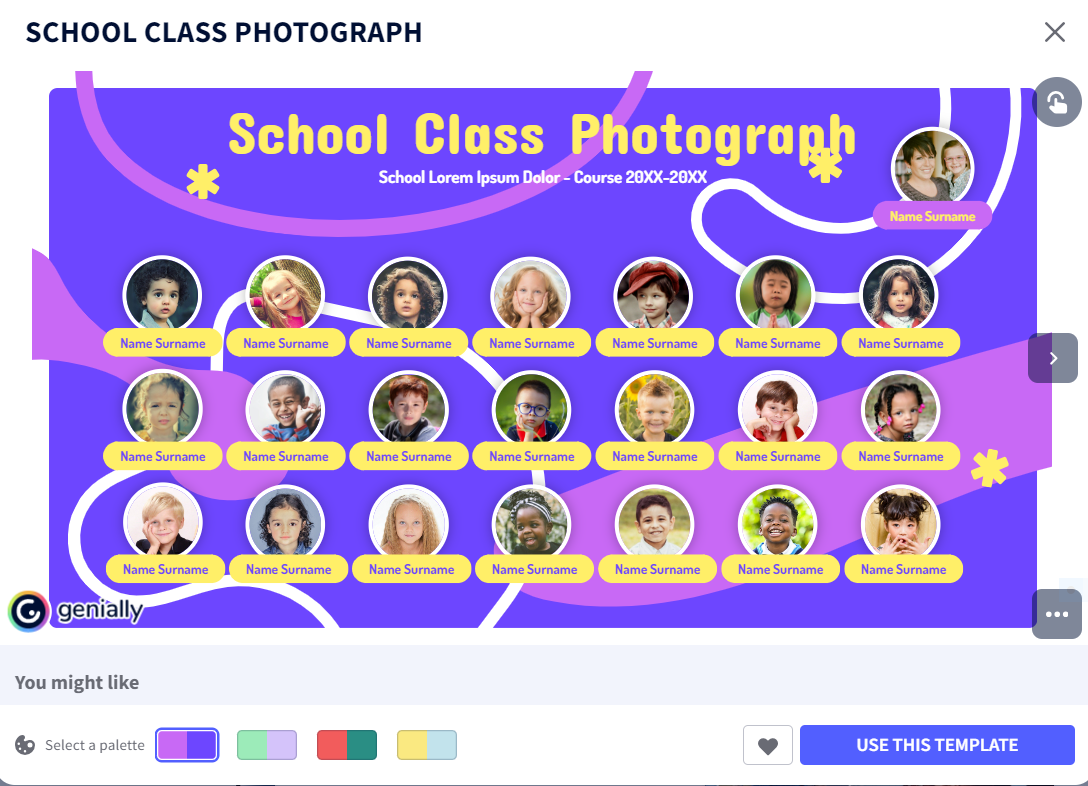
  • Click on Create and in the search box, write school photograph ( in Spanish “orla”). There are two free templates. This is the one I have chosen but you can customize it as much as you want.
  • Click on Use this Template and modify the texts.

  • Now we need to upload the GIFs. Watch this video, and you’ll see how easy it is to create it. Sometimes, it is easier to see it than to explain it.

Creating a by cristina.cabal

Can’t wait to see your own Dynamic School Photos!!!  Or are you considering, perhaps, an end-of-the-course photo with your students, too? Or maybe first-day presentations???

Thanks for reading! Love you!

Threeish in a Row with a Twist for Learning

Super fun activity loaded with learning, a nice tad of competitiveness, and team work for the last post of this school year? Yes, please!

Preparation

What do we need for this activity?

  • Different coloured whiteboard markers or post-it notes. How many colours? As many as teams in the class.
  • Task cards with content to revise. In my case, a combination of sentences to translate and rewriting exercises. Ideally, the cards will be digital so that you can easily show the exercise to the whole class. (I have used one of the digital flip cards templates on Genial.ly and made it reusable. See it in the last section of this post)
In Class
  • On the board, draw a 5×6 grid
  • Divide the class into teams of 3/4 students and assign each team a different coloured white board marker or, in my case, a different coloured post-it note. It will be used to claim their square on the grid.
The rules
  • In this game, all teams participate simultaneously in completing the task. However, establishing an order for the teams becomes important, especially when they need to claim a square to achieve a three-in-a-row formation. In each exercise, the order of teams claiming a square rotates. Team 1 goes first for one task, followed by Team 2 for the next task, and then Team 3 for the subsequent task. This ensures fairness and equal opportunities for all teams to claim a square.
  • Explain how three-in- a row is going to work in this game:

The goal of each team is to form a straight line of three of their assigned colours, either horizontally, vertically, or diagonally, i.e., a winning line can be formed horizontally, vertically, or diagonally by having three of the same colours in a row. As long as the assigned task is successfully completed, any team has the opportunity to claim a square on the grid.

Let’s start playing
  • Each team names a secretary who will be responsible for writing the answer to the exercise on the digital task card.
  • The teacher displays a task card and all the teams complete the exercise in written form. The secretary will write the answer on a piece of paper. The time allotted for each task card will vary depending on the difficulty of the exercise.
  • The teacher asks each team to provide their answer and verifies if it is correct or incorrect. This can be done in different ways, but the simplest one is for the teacher to quickly approach each team and check their answer.
  • The teams that have a correct answer stand up and claim a square on the grid that is displayed on the board. They can choose any square they want, as long as it has not already been taken by another team.
  • Repeat steps two to four until all the task cards have been used. The game does not end when a team gets three in a row. Instead, the game continues until there are no more task cards left.
  • Teams can block other teams from getting three in a row by marking a square that interrupts their line. The winner is the team that has the most three in a row at the end of the game.

Ready to play?


I hope you have liked the game!!!

A Speaking Board Game about Work with some Props

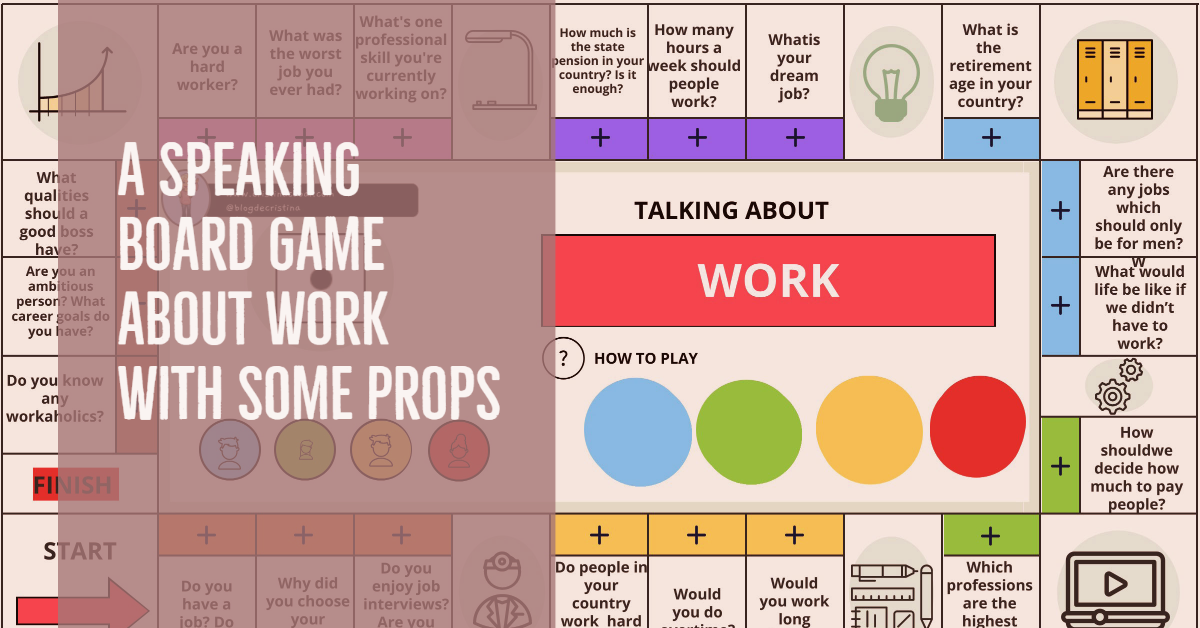
A digital or analogue board game? Which do you fancy? For me, variety is key. So I tend to alternate between both types of exercises to keep things interesting. In this post, you will find both versions. Cheers to diversity!  But just so that you know, I am going to focus more on the analogue version where I can use props.

Who doesn’t love props? Using props in the classroom can be an effective tool for teaching. Props can help to engage students and bring an element of fun and creativity to a lesson. And right in the middle of winter ,when days are short and dark, I feel the need to add some extra spark to my lessons. Don’t you?

Board games have been around for a long, long time but, have you tried to design one? It is not easy. I have tried and failed. They looked awful. This time I have not wasted any time, and used Genial.ly’s Monopoly board game, which I have adapted to suit my content.


First, I made an online version (reusable in case you want to change something), which turned out great, but I decided to go oldschool and print out the board, get a huge foam dice, and use some coloured counters. Not surprisingly, rolling a big red foam dice and having students use little markers to claim their spots really made a difference. 

Here’s the downloadable version if I have managed to persuade you to use the printed version of the board game.

TEACHER-GUIDED: HOW TO PLAY
  • Arrange students into groups of 3–4 students and give each group a board.
  • Each player in the group must choose a colour: blue, green, yellow, or red.  They will then receive a token to mark their position and 10 coloured counters (preferably, the same colour as their token) to indicate the questions they have answered correctly throughout the game. 
  • Each player should take their token and place it on the starting square. Write down the starting order of the students on the board, like this: blue first, then green, then yellow, and lastly red. To start playing, the teacher rolls the huge die and Blues move their token to the corresponding square.
  • If Blues can talk about the question non-stop for 2 minutes, they earn the right to place one of their blue counters on that square. That square is now officially theirs!
  • If another player lands on a square that is already occupied by a coloured counter, they will have to answer the question, but they will not claim the square.
  • Special squares: squares with icons contain penalties, such as “The player pays light taxes: loses 2 of his coloured counters.” (you can read the penalties in the digital version)
  • The player with the most coloured counters on the board, once all squares are occupied, will win the game.

I hope you enjoy the game!

Would Rather: Introducing, Revising and Reinforcing

This is not the first time I’ve shared a lesson on using Would Rather to express a preference, but this lesson is also an excuse to share some of the tricks (also called activities 😊) I keep up my sleeve to engage my students and make them enjoy learning; because they/ we deserve to have fancy, engaging, dynamic lessons even if what needs to be explained is as dull as ditch water.

I strongly support the use of visuals in the class to create stimulating lessons. I know creating your own content takes time. But it pays off. Trust me on this one!

FIRST SESSION
INTRODUCING THE TARGET LANGUAGE. PRESENTATION.

I have introduced Would Rather presenting students with some slides and some visual prompts and asking them to provide the questions based on the images.

Some help might be needed, at least, for the first two slides. Encourage students to describe their preferences in pairs, even if it’s a guided assignment.

Target grammar:

  • Question: Would you rather read a book or watch TV?
  • Answer: I’d rather read a book than watch TV because…

Would Rather Introduction de cristina.cabal

GRAMMAR AND EXERCISES
SECOND SESSION

The two activities that follow are meant to be done the following day in order to revise and reinforce this content.

REVISING AND REINFORCING: VIDEO, INTERACTIVE GRAMMAR, FLIP CARDS GAME

(NOTE FOR TECH ENTHUSIASTS)  This beautiful activity has been created with @Genial.ly.  First I created the video, published it on YouTube, and then embedded it on Genial.ly. Then, I used the Template to create the Flipcards.

  • Revise with the video (1st slide)
  • Revise with the matching grammar (2nd slides)
  • Flip Cards Game (following slides). To be used in the game that follows.
FLIPCARDS GAME. Rewriting with Would Rather.  Using Dry-Erase Boards

1. Pair learners and give each pair a dry-erase board and a whiteboard marker.
2. Show the first sentence and ask students to rewrite it using Would Rather
3. Depending on the length or difficulty of the sentence, set a different time limit.
4. Once the pair have their sentence, ask them to write it on the board, big enough for you to see from a distance.
5. When the time is up, ask the pairs to hold it up and quickly go through all the sentences, awarding 1 point to the pair who has the correct grammar.
6. The winner is the pair that get the most points.

Note: Be strict with spelling mistakes or any other tiny mistakes. Students love it when you are strict and don’t give away points easily.

Follow-up: Revise all the sentences again, but this time orally.

SPEAKING: BOARD GAME

This board game has all the ingredients of a good game:

  • Reinforces grammar
  • Boosts communicative skills
  • Improves writing skills
  • Builds rapport
  • + Combines technology with traditional props: in this case, a huge die  (there is a built-in die on the board, so don’t worry if you don’t have this beautiful red die; it is just that I love mixing both worlds.

And here’s the board. As you can see,

  • There are 3 draggable counters.
  • To see the prompts, you need to click on the number.
  • As you can read in the Instructions, if they land on a square with the question GIF, students will need to write a “would you rather” question for the teacher. Yes, you need to answer, it is only fair!!!


Hope you have enjoyed this lesson plan. My students have! 🙂