Tag Archives: fun

Fun Retrieval with The race letter and a Gallery Walk

Right, personality adjectives are still on the menu, but stick with me here — this activity ‘ The Race LETTER is way more flexible than that. Fancy doing it with  some other topic-specific vocab for an exam class? Works just as well.
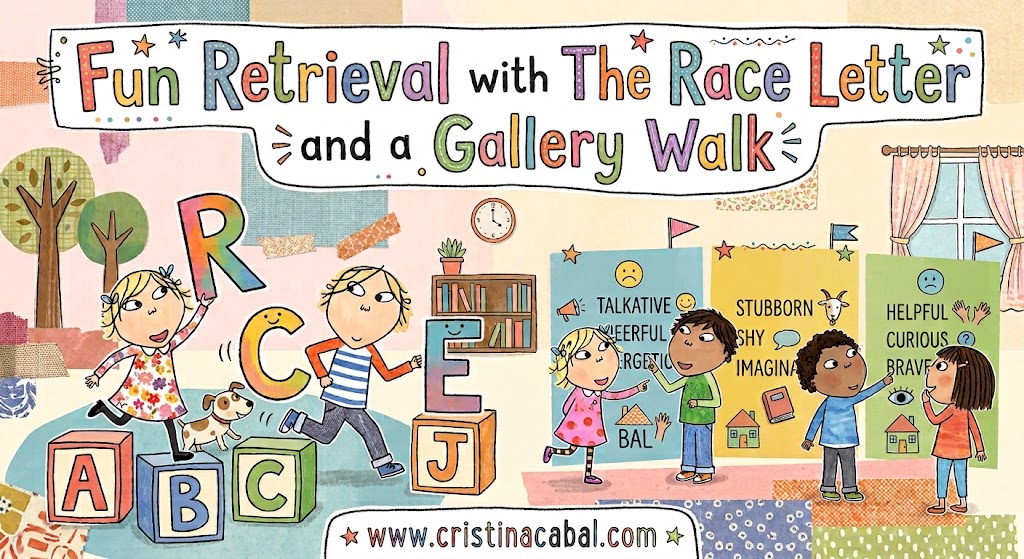
PART 1: The Race Letter

Picture this: your students are lined up in the aisle (or better yet, out in the corridor if you’ve got the space), each holding a blank piece of paper. You call out a letter – any letter – and they’ve got  20 seconds to  think of a personality adjective starting with that letter and scribble it down.

  • Get it right? Take a step forward.
  • Blank or wrong? Stay right where you are.

Decide how many steps ( in my case, 5 steps) they need to take before reaching the goal and That’s it! . That’s the whole game!.

How to Run It (Step-by-Step)
  • Set the scene. Line students up along the aisle between desks, or – if you’ve got the luxury of space – take them out to the corridor. This works brilliantly as an “outside the classroom” activity, and trust me, that change of scenery alone gets them buzzing.
  • Hand out paper. One blank sheet each. No prep, no printing needed.
  • Call out a letter. Start easy – think A, S, C – letters with loads of adjective options.
  • Give them 20 seconds. Enough time to think, not enough time to overthink.
  • Check answers. Walk down the line (or have them hold papers up) and check who’s got a valid personality adjective.
  • Move the winners forward. Correct answer = one step forward. Wrong or blank = stay put.
  • Repeat with a new letter each round.
  • First to reach the end wins.
A Few Tips From Trial and Error
  • Set the ground rules up front: does “kind” count for K, or are you asking for something a bit more B2-level, like knowledgeable? Decide your difficulty level before you start, and be consistent.
  • Keep a mental list of adjectives per letter.

Part Two: Turning the Adjectives Into a Gallery Walk

This is a teacher-guided activity. Allow about 5 minutes per station and tell students when to move to the next. At each station, students will have to do different things.

HOW TO DO IT

Take some of the most useful adjectives that came up and stick them up around the walls of your classroom, spaced out so students naturally move from one to the next. Then send your students off on a gallery walk:every time they move to a new spot, they’ll find two or three adjectives waiting for them, and a little task to go with each stop.

Here are some ideas to fill those stations with. At each station, I would ask them to do a different speaking tasks with the adjectives.

  1. Station 1. Speaking: Can you think of someone who fits one of these adjectives? Students talk in groups
  2. Station 2.Opposite hunt. Ask students to guess the opposite of each adjective.Speaking: Do you identify with any of these adjectives?
  3. Station 3. Rate yourself. A quick 1–5 scale for each adjective: how much does this adjective describe you?
  4. Station 4.Sentence starters. Ask students to complete the following sentence using one of the adjectives on the wall. “The most ______ person I know is…”

You can use my presentatio or say/write the questions on the board
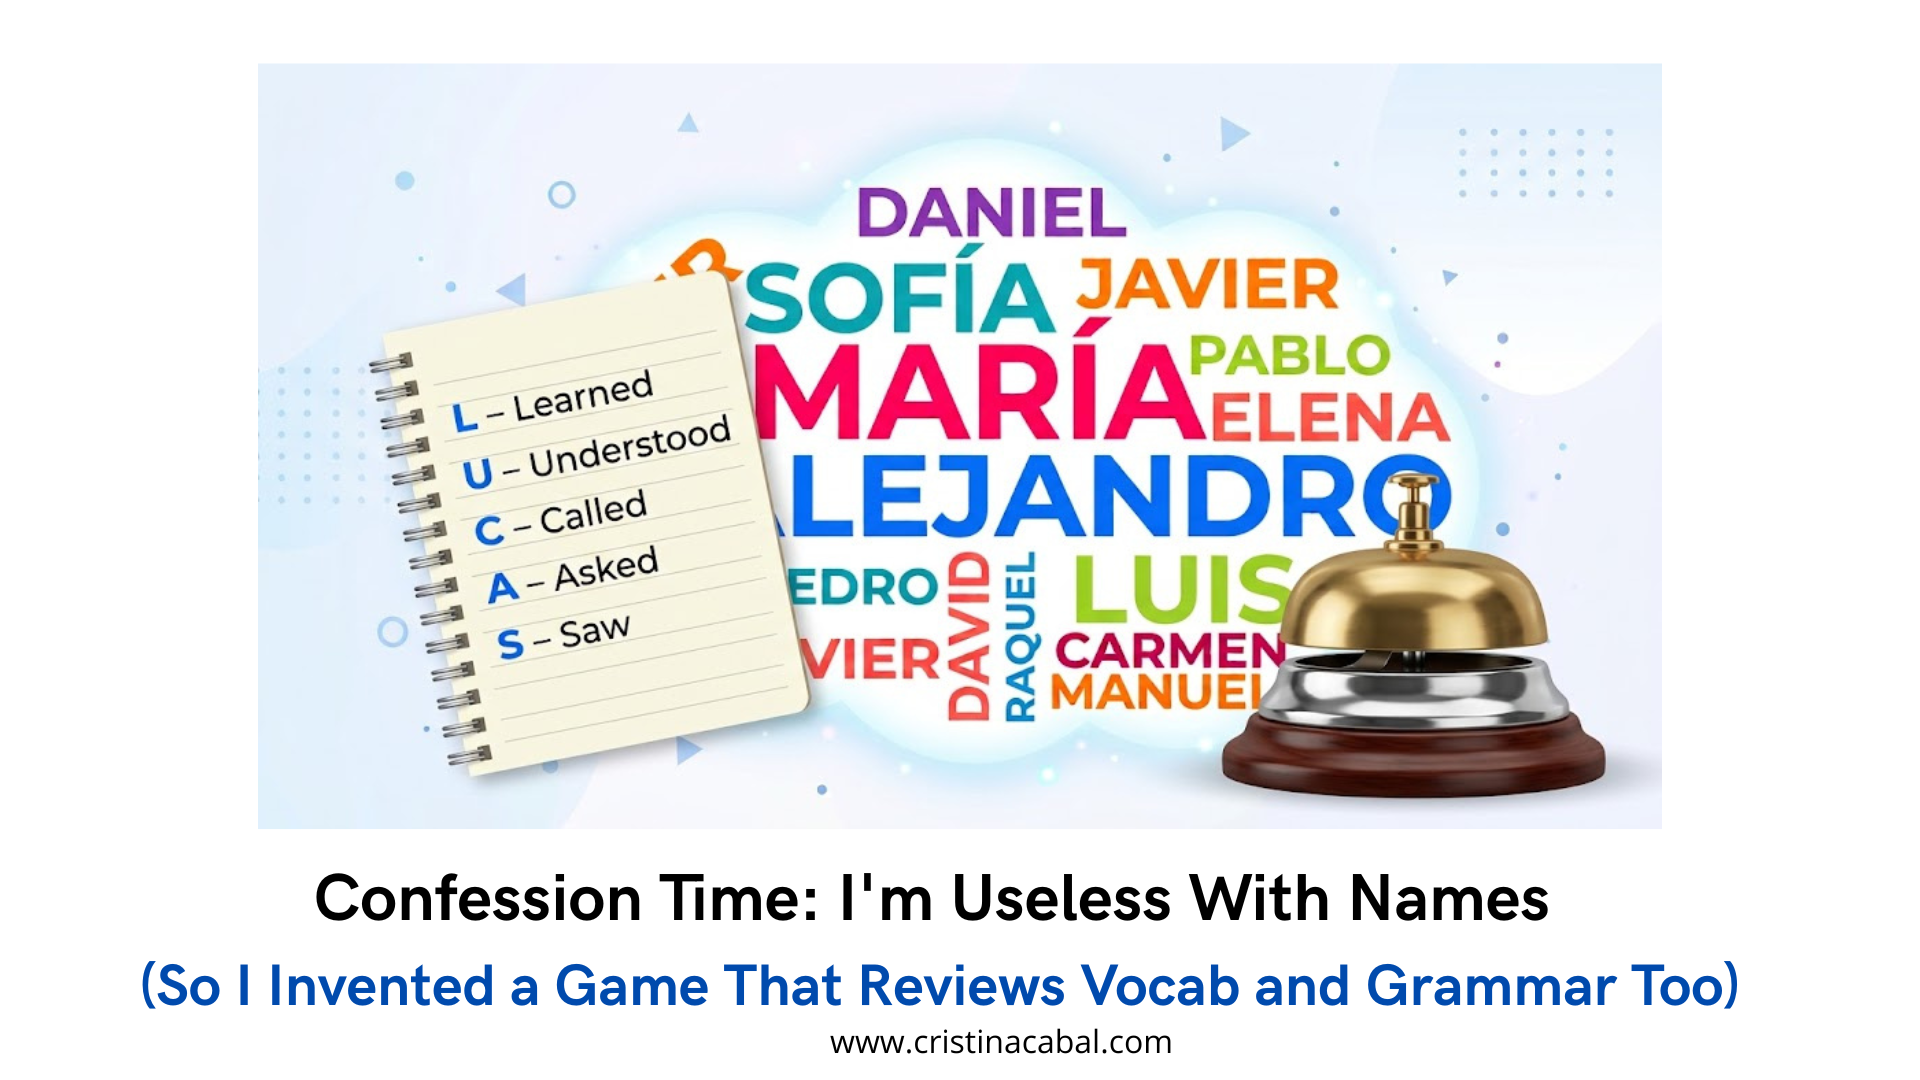
Confession Time: I’m Useless With Names (So I Invented a Game That Reviews Vocab and Grammar Too)

Okay, I’ll confess: we’re in the first days of the new course and I, the teacher, cannot for the life of me remember half my students’ names. Does this happen to you too? That moment when you point at someone and go “hey… you, yes, you, the one in the blue hoodie” because the name has completely vanished from your brain. A classic September moment. Well, and in my case, February moment, too.

So I started turning it over in my head (because yes, I have that habit of mine of turning any everyday problem into a classroom activity, it’s a blessing and a curse in equal measure) and I came up with something that kills two birds with one stone: we learn names AND we review grammar and vocabulary. Yay! Because why settle for one thing when you can have both, right?

And guess how I’m going to run it? Exactly how I like it: mixing tech and old-school tradition. Not fully digital, not fully analogue, a bit of both. But hey!!! You don’t like tech. It can all be done in the traditional way.

VOCABULARY ACROSTIC DUEL

Objective: learning students’ names and revising grammar and vocabulary.

Setting it up

  • A WordCloud. Split the class into two teams and create two word clouds, one per team, with the names of their members. You can do this by hand on the board or you can bring in the tech like I do (because for this bit, I admit I’m a little lazy) and use Wooclap to generate the cloud on the spot. Well, two clouds, one per team,
  • A buzzer. Some noise? Yes! Each team needs a buzzer within reach. A real buzzer, one of those that goes “ding!” and gives the whole thing that game-show feel that hooks everyone instantly.
How to play

(click on the image)

  1. Pick a student’s name at random from either word cloud (it doesn’t matter which team they’re on).
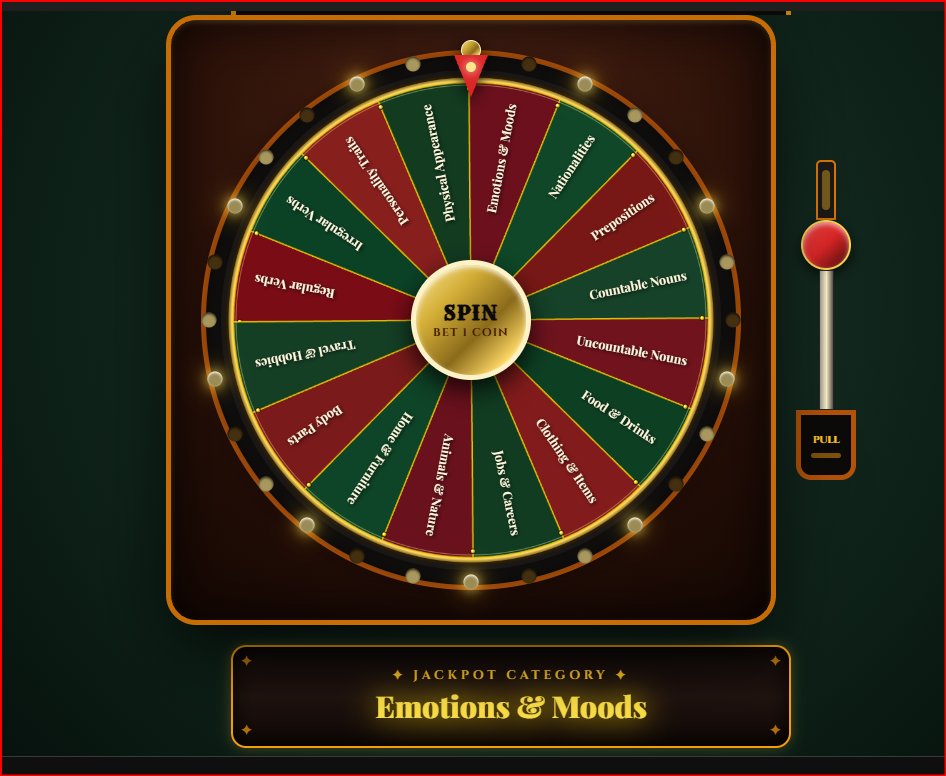
  2. Assign a challenge or if you use my wheel above, spin the wheel: for example, each letter has to be a past tense verb, or a descriptive adjective. You’ve got total freedom here to adapt it to whatever grammar point you’re working on.

An example with the name LUCAS and past tense verbs

  • L – Learned
  • U – Understood
  • C – Called
  • A – Asked
  • S – Saw

3.  Within each team, students can work solo, in pairs, or in groups of three, whatever       they prefer.

4. As soon as someone finishes the acrostic, they hit the buzzer.Let’s say it is a student from Team A.  If it’s correct, their team wins the round and  crosses out a name from Team B’s  cloud,  and picks the next name plus the next grammar or lexical category.

NOTE: If the student from Team A makes a mistake, then the other team wins (Team B) wins and crosses out a name from Team A’s cloud

And so, round after round, and without even realizing it, they’re repeating names over and over while working on structure and vocabulary. By the end of the class, I promise even I’ll have picked up a few more names.

Verb Tenses: The TV Show That Became a Grammar Game

My brain doesn’t switch off. Ever. I’ll be watching TV and — boom — I’m already thinking, “How can I use this in class?” Is it a blessing or a curse? Honestly? Both. But mostly a blessing, because sometimes it leads to something really cool. Like this.

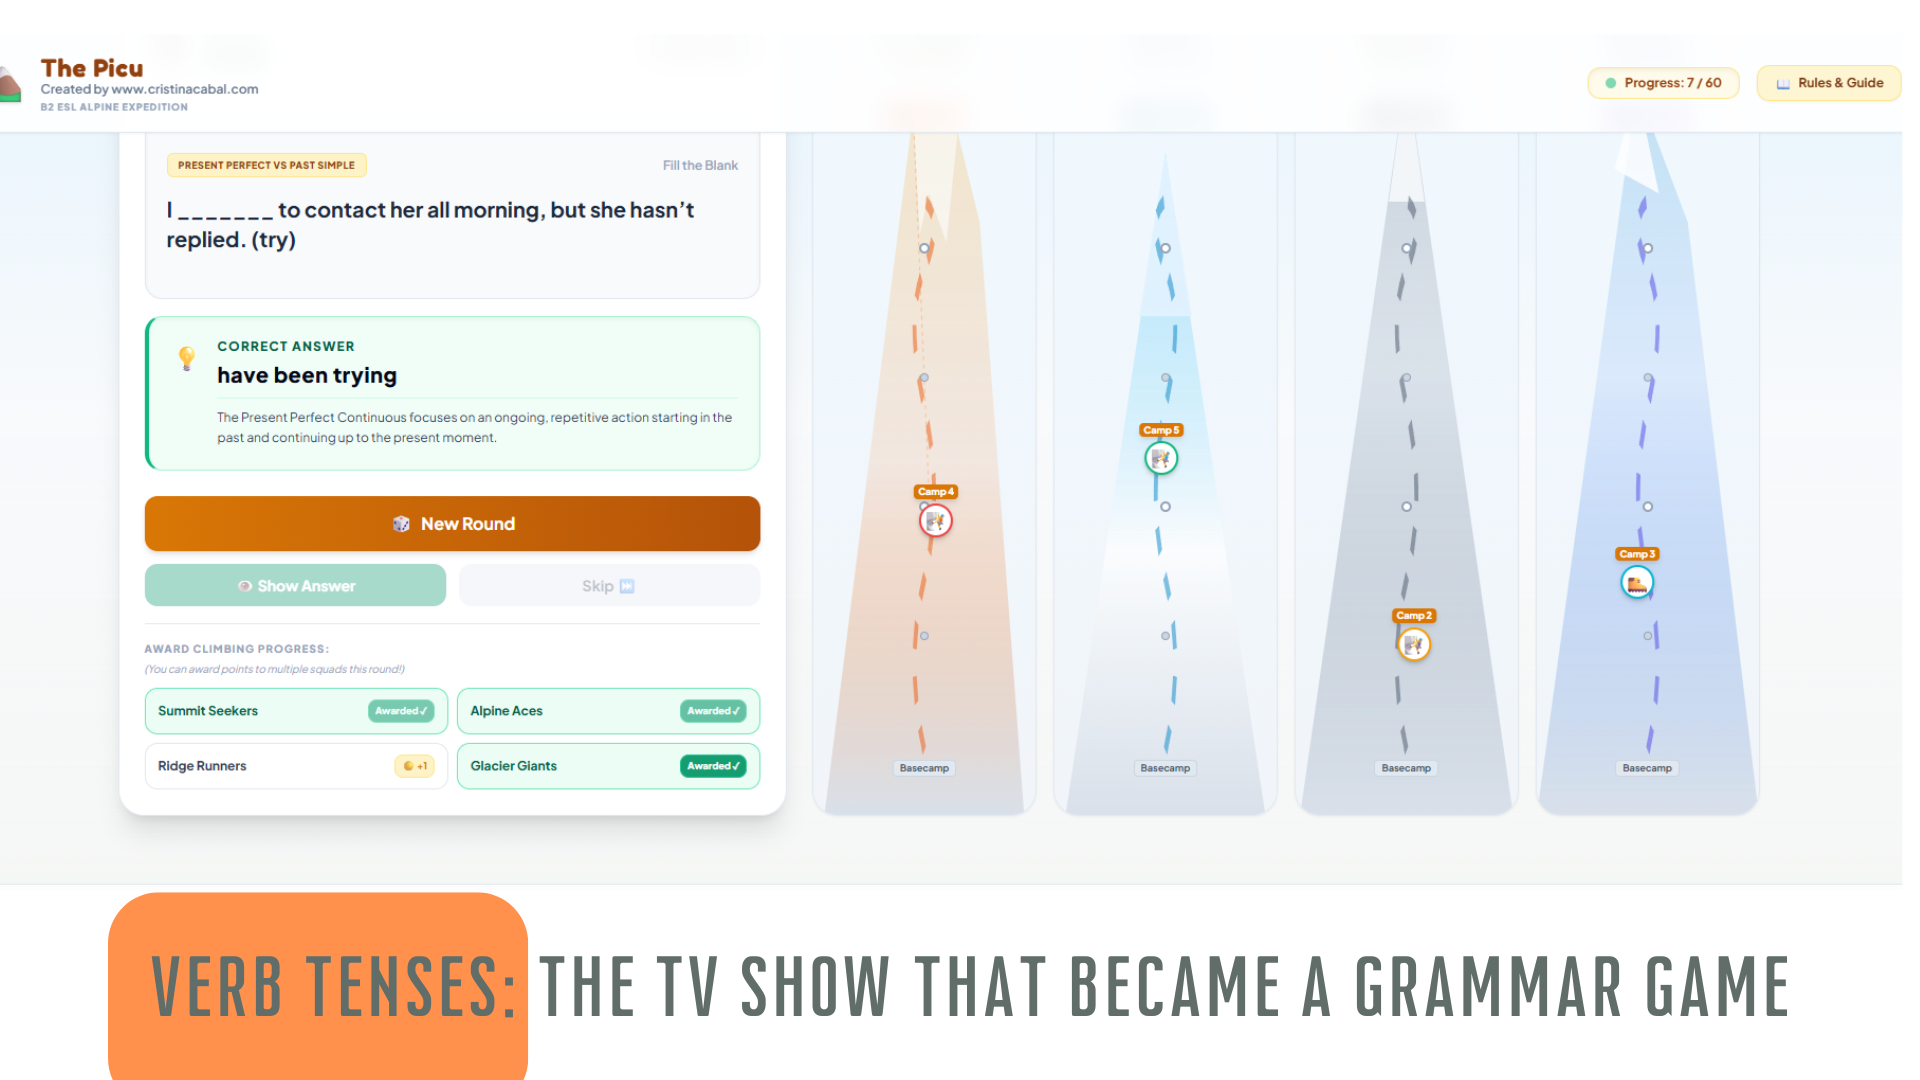
There’s a programme on Asturian TV called El Picu — and picu means “peak” or “mountaintop” in Asturian. The concept is simple: contestants answer questions, and with each correct answer, they climb a little higher up the mountain. First team to reach the summit wins.

I watched it and thought: my students would go absolutely mad for this. 

I have the idea, Gemini builds the app

 I have zero coding skills. But I do have Gemini, and  that’s all I needed.

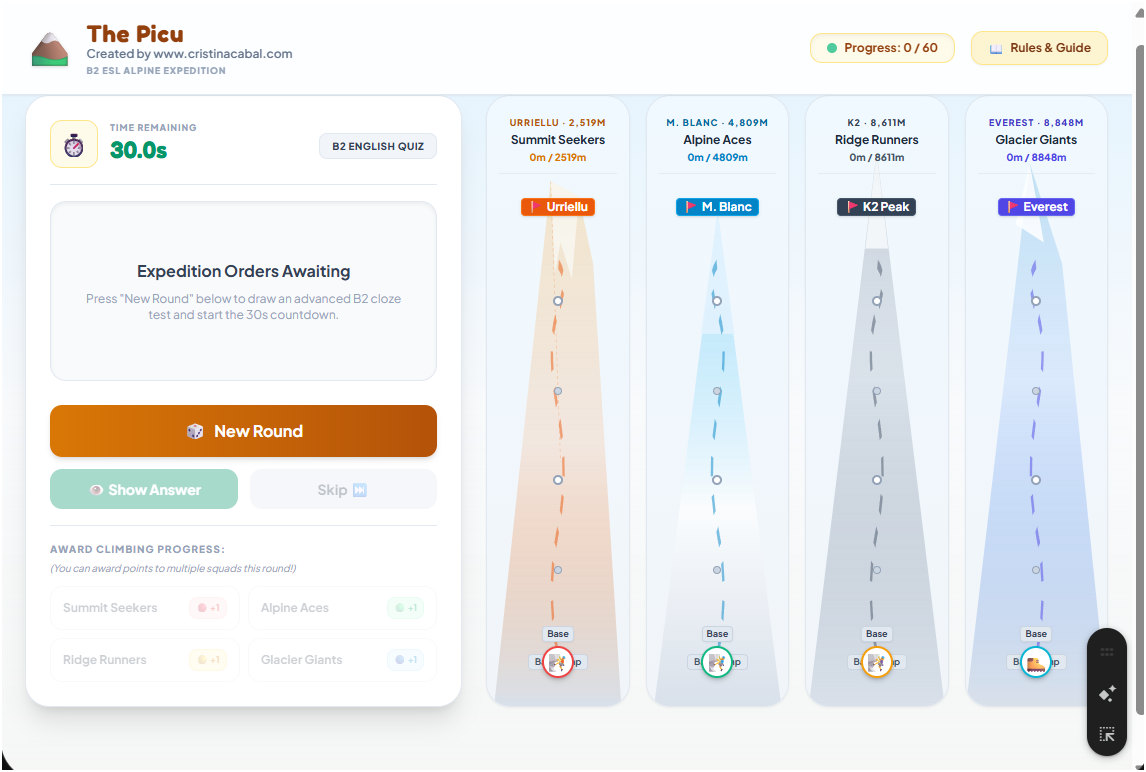
I won’t pretend it requires no preparation at all — you do need a bit of know-how about how to prompt it effectively — but the process itself is surprisingly straightforward. I described what I wanted, iterated a little, and before long I had a fully functional classroom game called The Picu: B2 ESL Alpine Expedition.

How to play

Here’s the game

I show the game  on the interactive whiteboard and the moment students see those mountain tracks, something shifts. Smiles appear. Someone always goes “Yuhuuu, we’re playing today!” — and yes, we are. But we’re also learning. That’s the whole point.

Here’s my low-tech twist on it:

  • I divide the class into 4 teams
  • Each group has paper and a pen
  • When the sentence appears, they discuss and write their answer. They have 30 seconds for this.
  • At my signal, everyone holds up their paper at the same time (no copying!)
  • Groups that got it right? Their climber moves up the mountain
  • First team to reach the Picu wins

What I particularly love is that multiple teams can be awarded points in the same round  And if a question is too hard? Just hit Skip and move on. No fuss.

How to Generate a Speaking Board in Seconds.

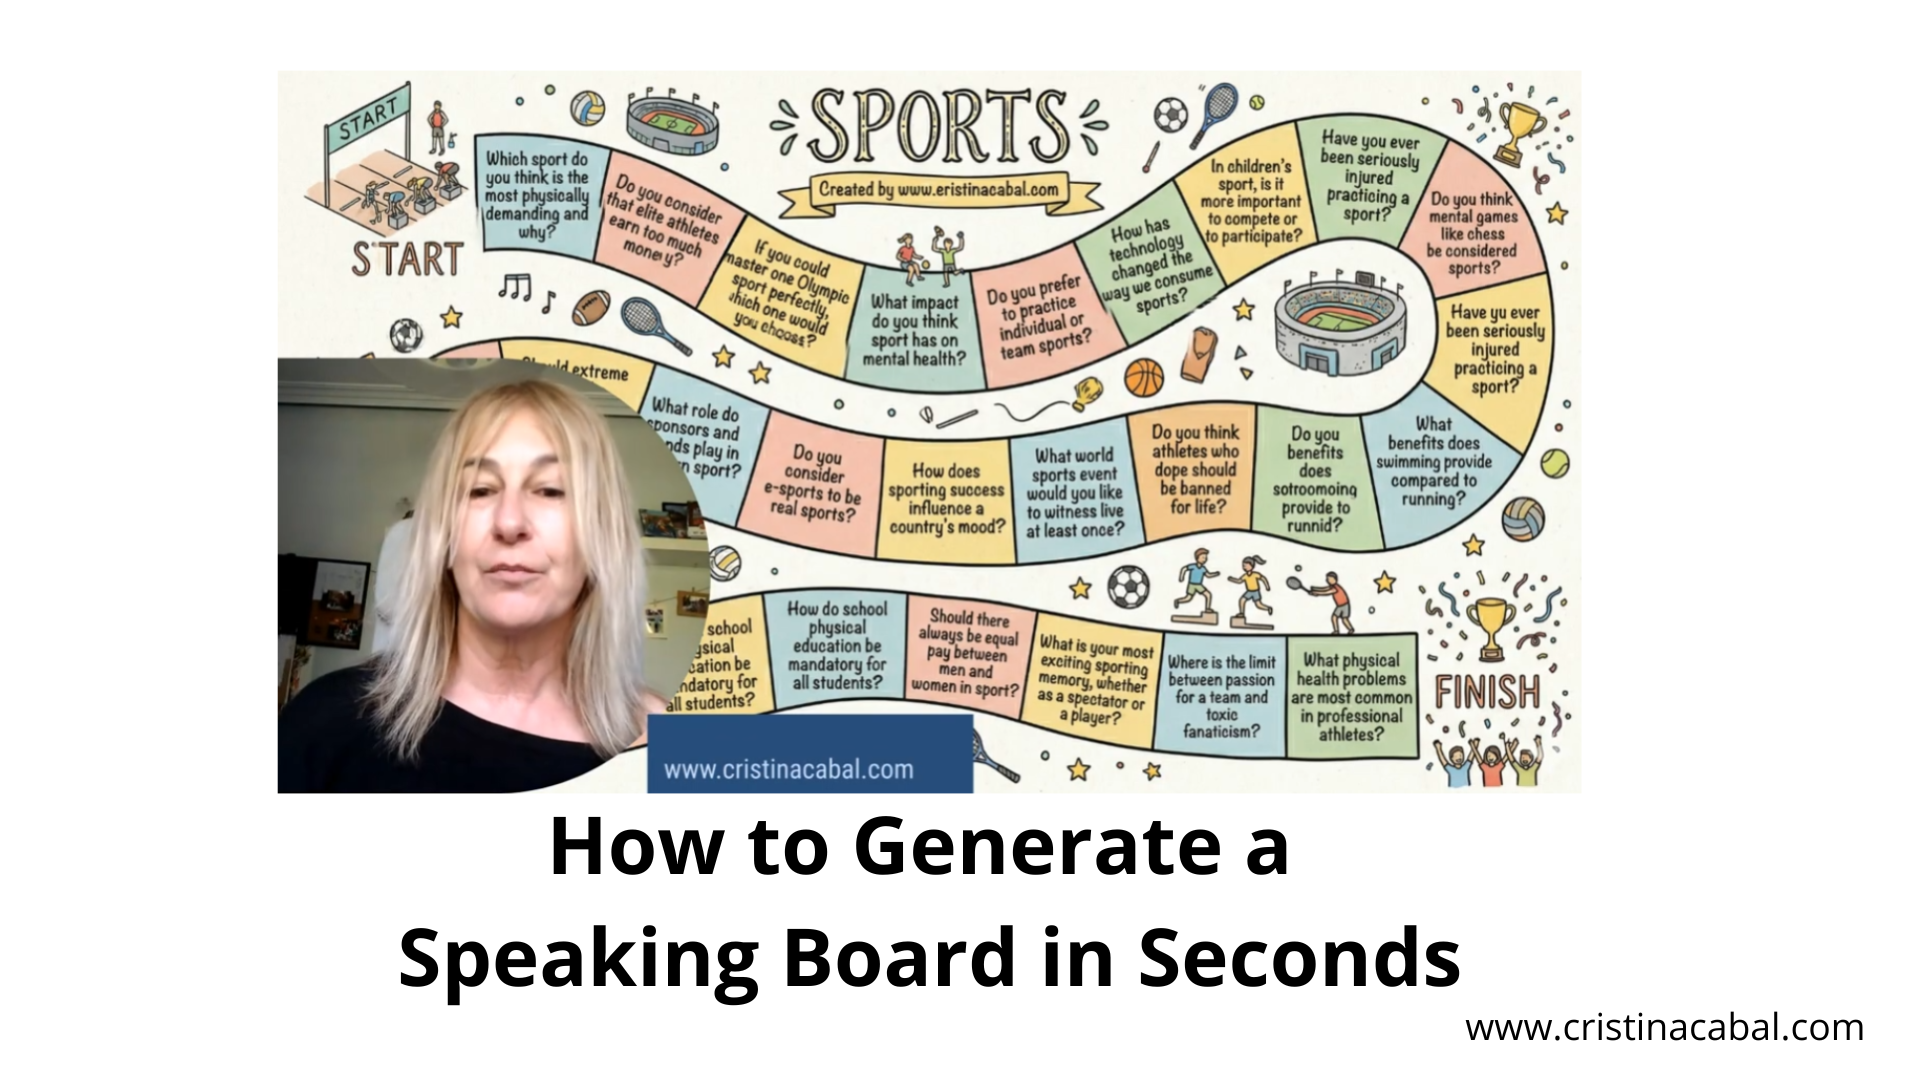
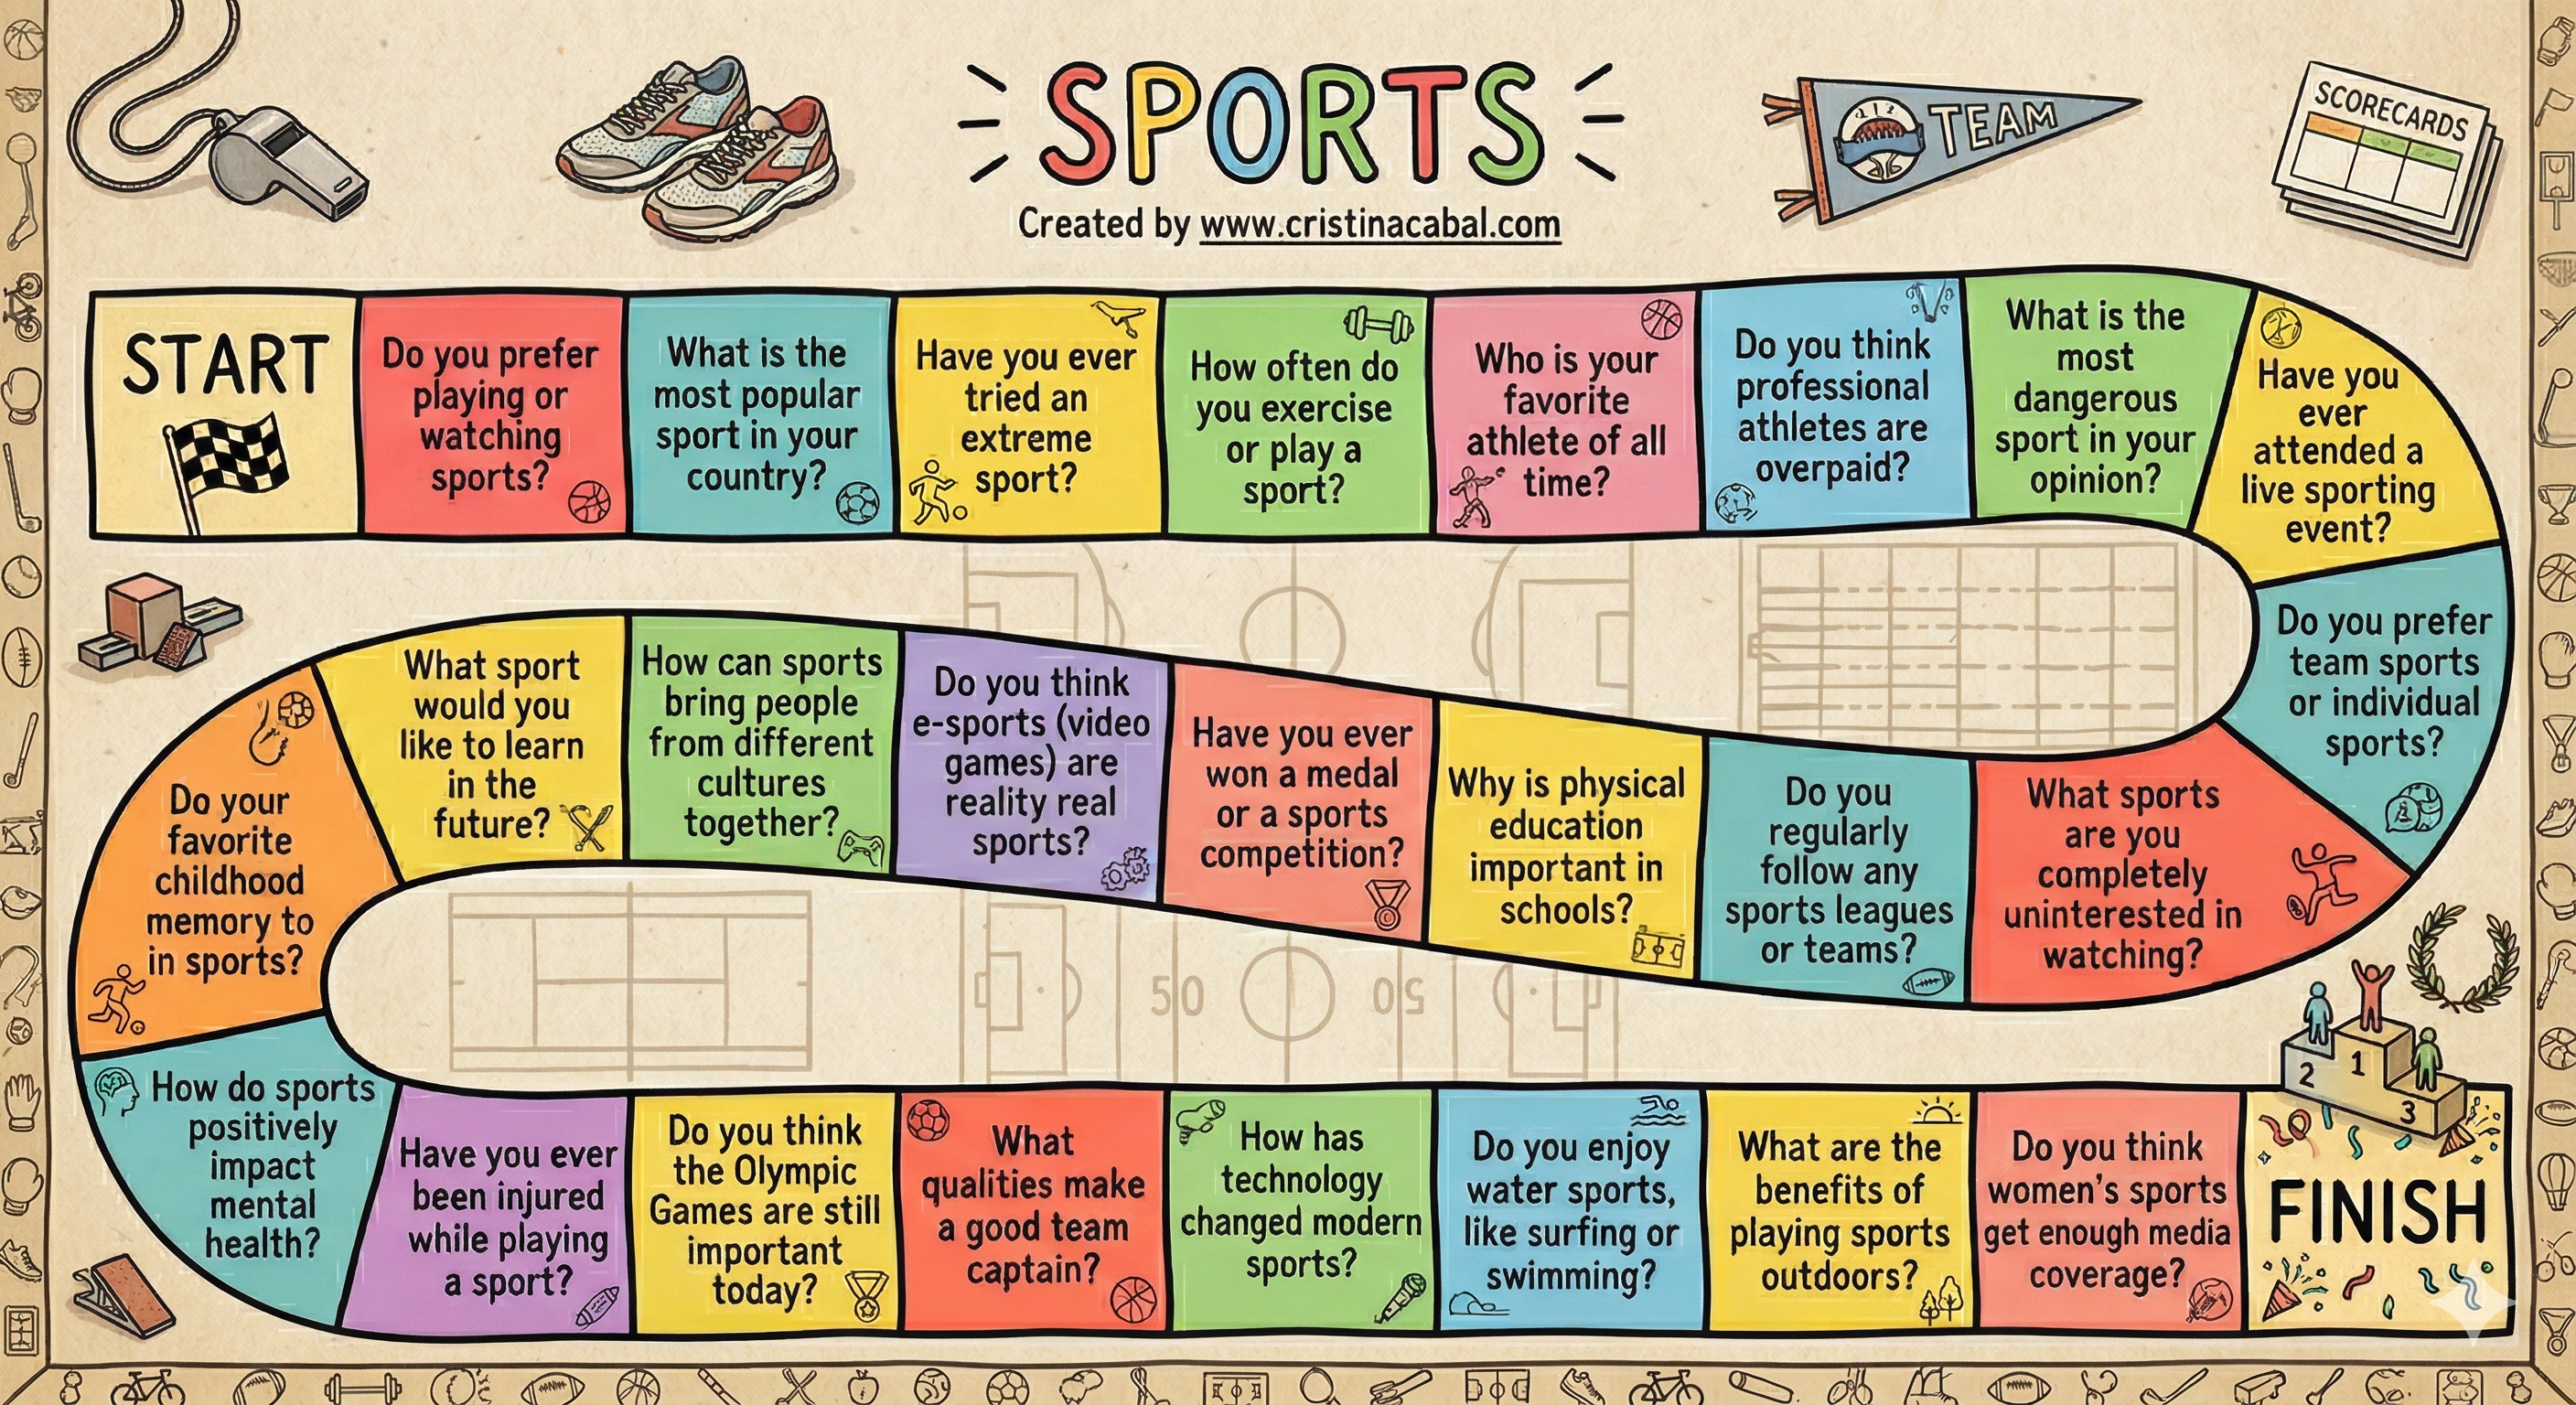
Oh, I am so excited to share this with you!Today, I’m going to show you how to create a personalized, professional-looking board game in literally one step using Gemini’s Nano Banana 2. Easy and Free.

Click to See Explanatory Video on Youtube (in Spanish)

Step 1: Let Gemini Build the Content

Go to  Gemini- which is Google’s primary AI assistant- and register for free. Then, ask Gemini to generate the questions you are going to use. For my B2 students working on “Sport” vocabulary, I need short, punchy questions that will actually fit inside a game square.

Prompt Example: “Generate 20 short conversation questions (max 10 words) about sport for B2 English  adult students.”
IMPORTANT: To make sure everything remains readable, we need to keep our questions short and sweet so they fit perfectly inside those game squares

Step 2: Creating the Board Game

We are going to use Gemini’s image generation tool (the famous Nano Banana) to build the entire board—questions and all—in one go.

  • In Gemini, go to Tools,
  • Select Create Image, and if you want the highest quality, don’t forget to
  • Select  Pro (you get 3 of these a day on the free plan!).

Prompt:

Create a printable board game with a winding path of [20] squares. (Board game race style) in English about Sports. Each of the squares will contain one of the questions generated above. Scrupulously respect the spelling of the questions without changing any letters. The questions cannot be repeated in the game. Include a ‘Start’ square at the beginning and a ‘Finish’ square at the end.  All squares are connected to each other in sequence. The squares are not numbered. Colorful design. Put each of these questions in a square and respect the spelling without changing any letters. Title it ‘SPORTS’ and under the title  ‘Created by www.cristinacabal.com‘. Everything must be in English.  [Hand-drawn sketch] style.”

Important: Sometimes, and especially if your questions are too long , there could be some minor spelling errors. Remember that we are using a machine here. If this is the case and you don’t  want to generate the speaking board again, there is something you can do to fix these errors. Go to Canva, upload the image, click on Edit and Grab text to modify it.

And now, the most important thing: HOW TO PLAY.

Put students in groups of three and handthem a standard small die and three individual counters. They roll the small die to navigate the board. When they land on a square, that student has to speak about the topic for exactly three minutes.

Enter “The Grammar Dictator”

Three minutes of fluency practice is fantastic, but I want to push their grammatical limits.  Wanna add to the fun? Use a giant foam dice  to dictate how they must answer the square they selected.

How? You simply assign a grammar rule to each number on the die and write it on the board

  • Roll a 3? They have to build their 3-minute argument  including the connector of contrast Despite

  • Roll a 4? They need to include  a perfect modal.

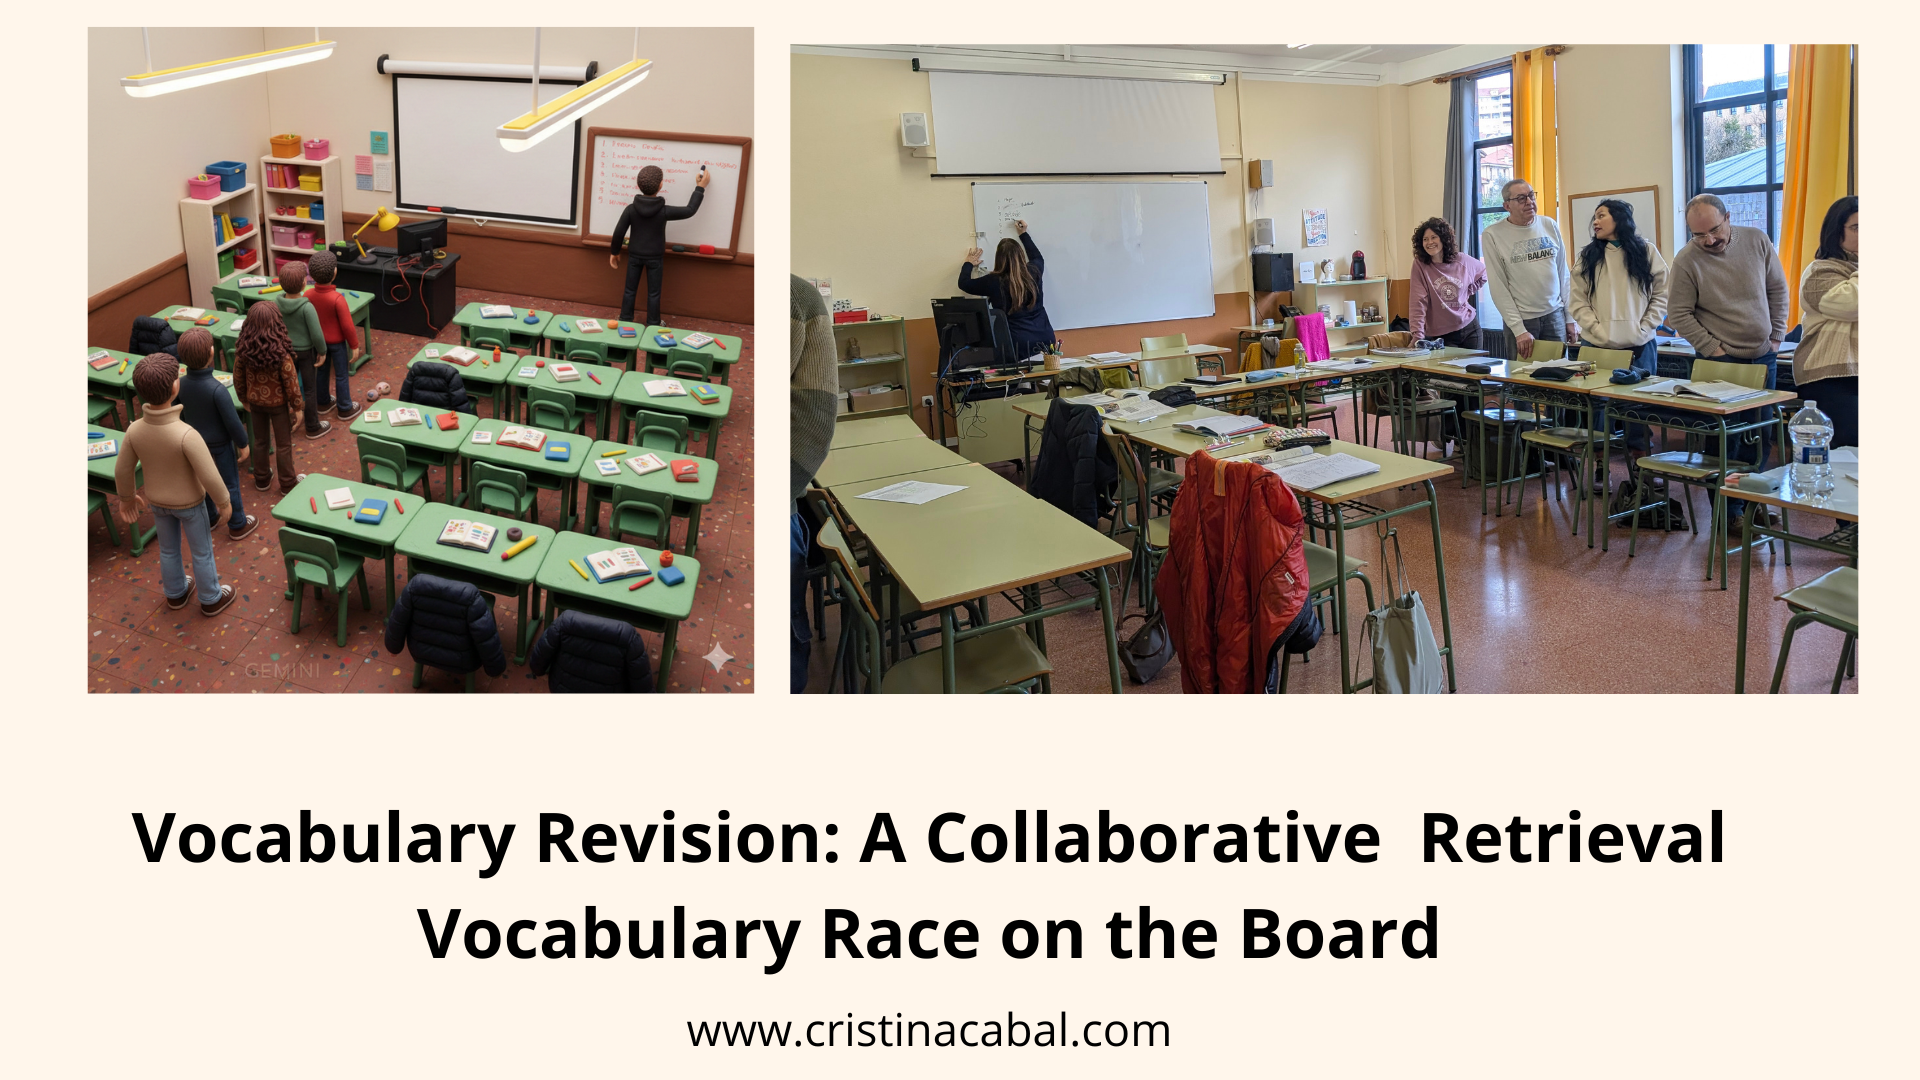
Vocabulary Revision: A Collaborative Retrieval Vocabulary Race on the Board

This vocabulary activation game is quick, lively, and takes barely 2 minutes to set up. It’s one of those low-prep routines that instantly wakes up students’ brains before any speaking or writing task. You just need to think of around 10–12 key words you want to revise, and that’s it! Learning+ engagement: no AI this time!

Here is how it works:

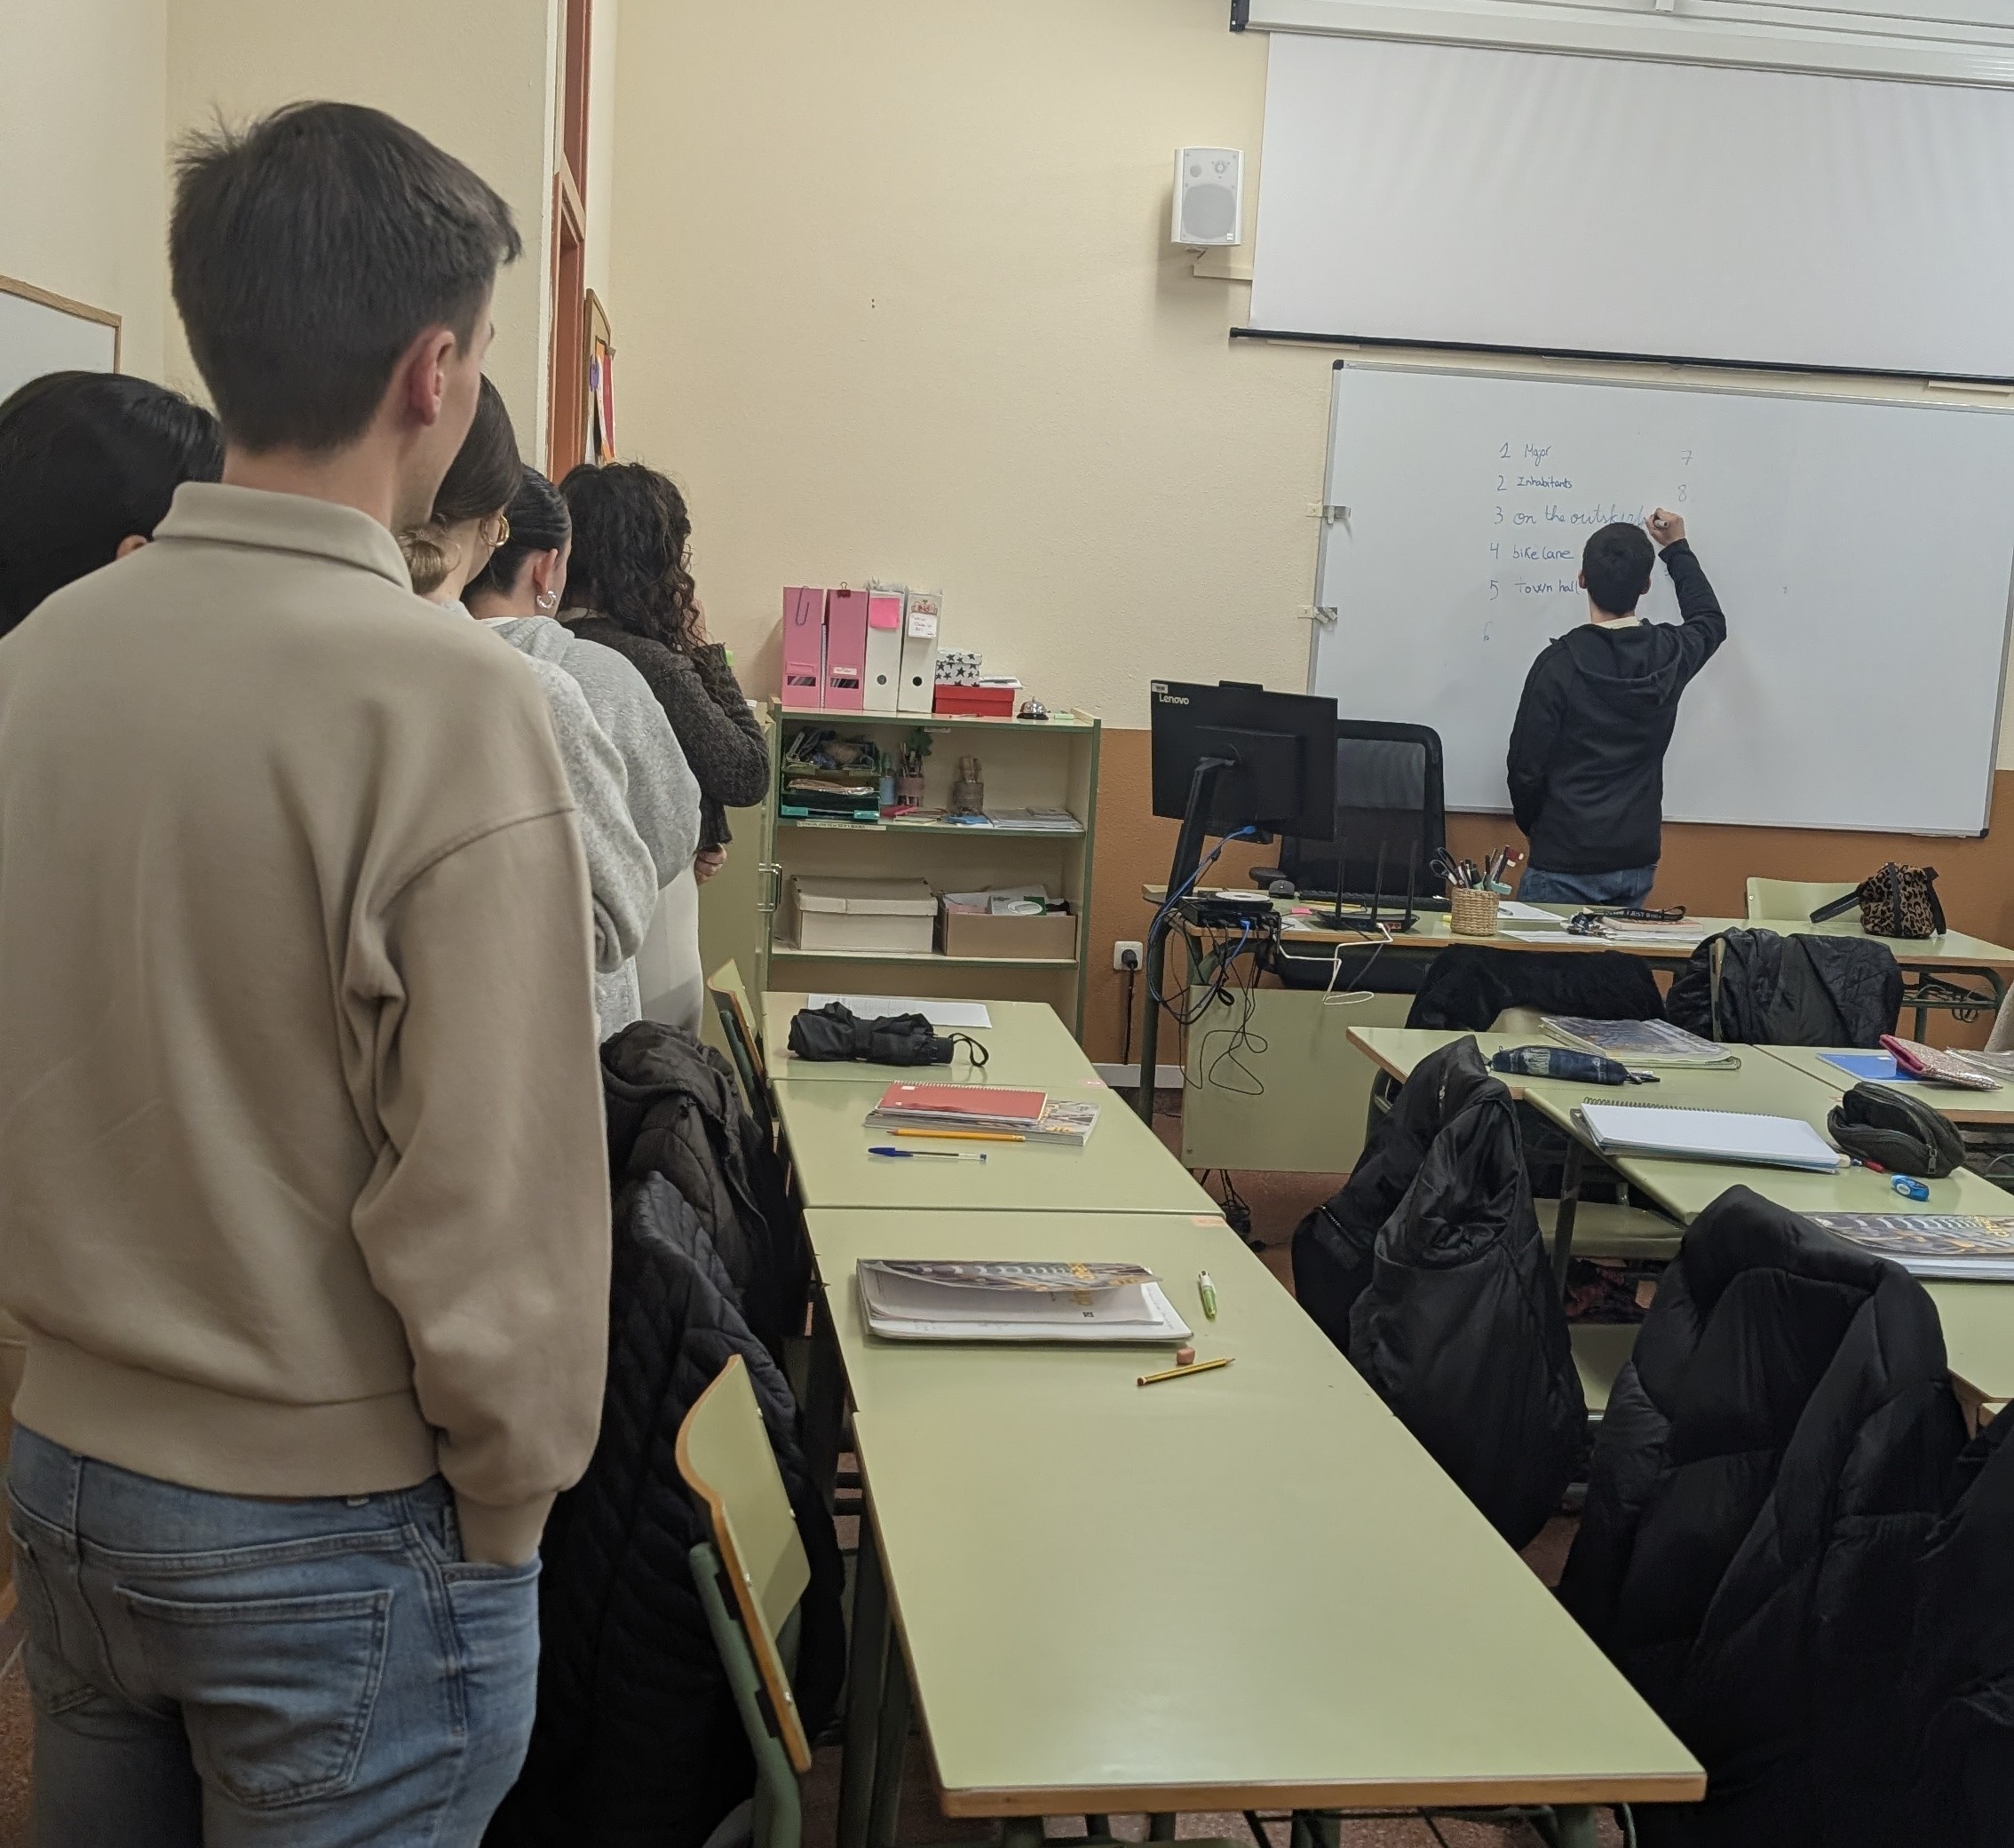
1.  I divide the class into two groups and place them on opposite sides of the room, each one with their own board. This small detail is gold. Why? Because they can’t peek at the other team’s answers, so everyone has to really think and retrieve the vocabulary from memory.

Plan B:  if you don’t have two boards on opposite walls, you can simply divide the main board into two sections and assign one side to each team. In that case, I just ask students to turn slightly away from the other group while they write, so they stay focused on their own answers.

2.  I tell them we’re going to revise 10–12 key words related to our topic (in this case, ” City Life”), and someone in their group must write the numbers from 1 to 12 on their board. That’s Step 1 and should be done before the activity begins.

3. Then, each team stands in a line at a reasonable distance from their board.  The first student in line walks to the board, I say a word in Spanish, for example, Number 1.  “las afueras,” and the student writes the English translation. Once they finish, they go to the back of the line. Next word: Number 2  “semáforo.” The following student writes, next to number 2, the words “traffic lights.”

IMPORTANT: First, the student in turn  walks to the board and then you say the word to be translated. This is key and will prevent other members of the team whispering the right translation

4. What happens when a student goes to the board and suddenly doesn’t remember the word? Total panic, right? Well, not in this game. If a student doesn’t know their word, they have a strategic choice.

  • They can either write the word they are given  to translate
  • Fill in any missing previous translations
  • Carefully look at their team’s board and correct a spelling or translation mistake that someone else has already written.

But — and this is the key rule — they can only choose one option.

Meanwhile, the students waiting in line are far from passive. They can quietly discuss possible mistakes or check the vocabulary already on the board. However, they are not allowed to communicate with the student who is at the board, which keeps the retrieval process individual while still encouraging collaborative thinking within the group.

5. Once the game has finished, I tell groups they have the possibility to go to their board and correct two mistakes. More discussion. More learning.

6. At the end, I quickly go over both boards, correct the answers, and award one point for each correct word. It’s fast, energising, slightly competitive, and pedagogically powerful.

GOLDEN RULES: Recap

  1. Before the activity starts, one member of each group writes the numbers from 1 to 10–12 on the board. This should be ready in advance so everything runs smoothly.

  2. Don’t reveal the word to be translated until the student whose turn it is has stepped away from their group and is standing next to the board. This helps prevent teammates from whispering the answer.

  3. If a student doesn’t know their word, they need to make a strategic choice. They can choose one of these options:

    • Write the word they were given to translate.

    • Fill in any missing translations from earlier turns.

    • Check their team’s board carefully and correct a spelling or translation mistake already written.

I hope you give it a try and see how it works with your students.