Remember those awful photocopies? You know the ones. A photocopy of a photocopy of a photocopy, with a blurry black-and-white image that was somehow supposed to inspire deep conversation in class? Yeah… same. And honestly? The students’ faces said everything before the activity had even started
Lately, I’ve completely transformed the way I approach speaking activities, and AI has become a huge part of that process. But probably not in the way people imagine. It’s not about clicking a button and magically producing the perfect lesson. I wish! It still takes creativity, tweaking, experimenting, and sometimes a lot of failed prompts along the way. But the process itself? It’s fun.
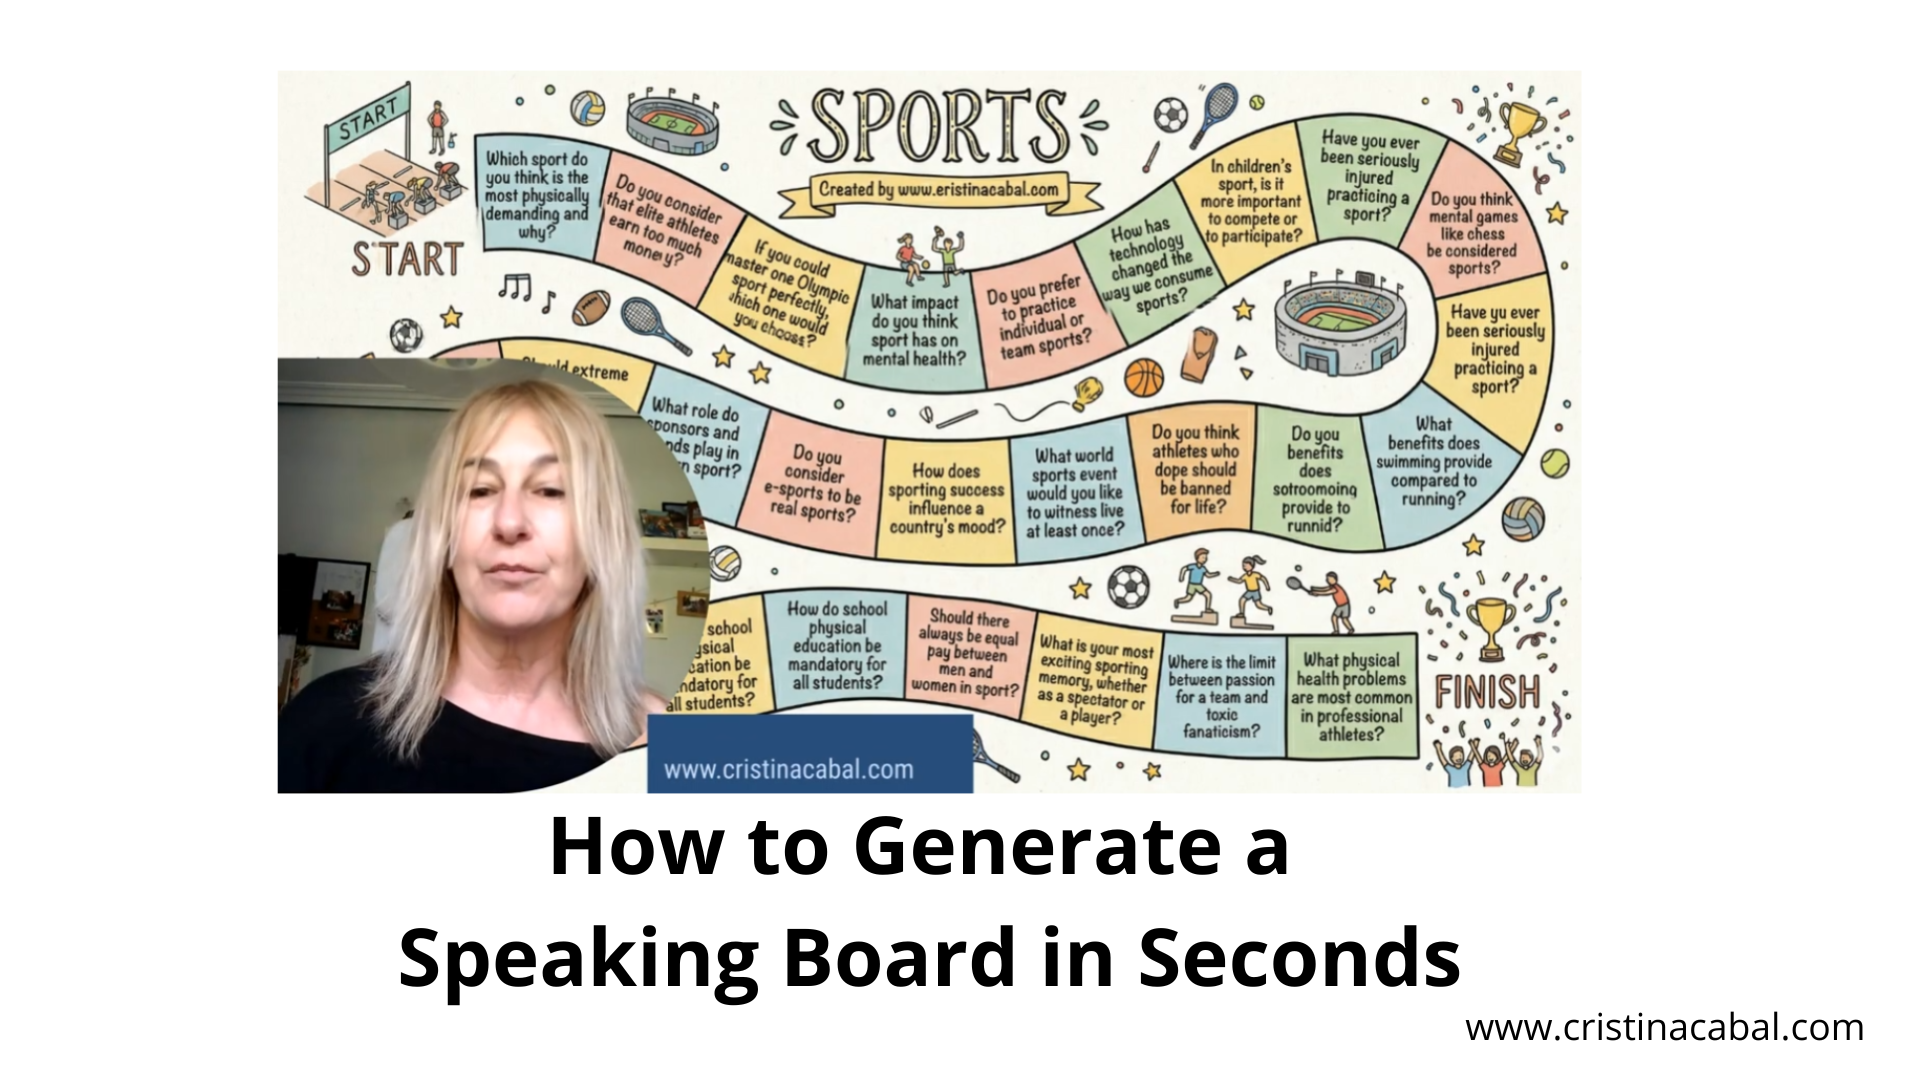
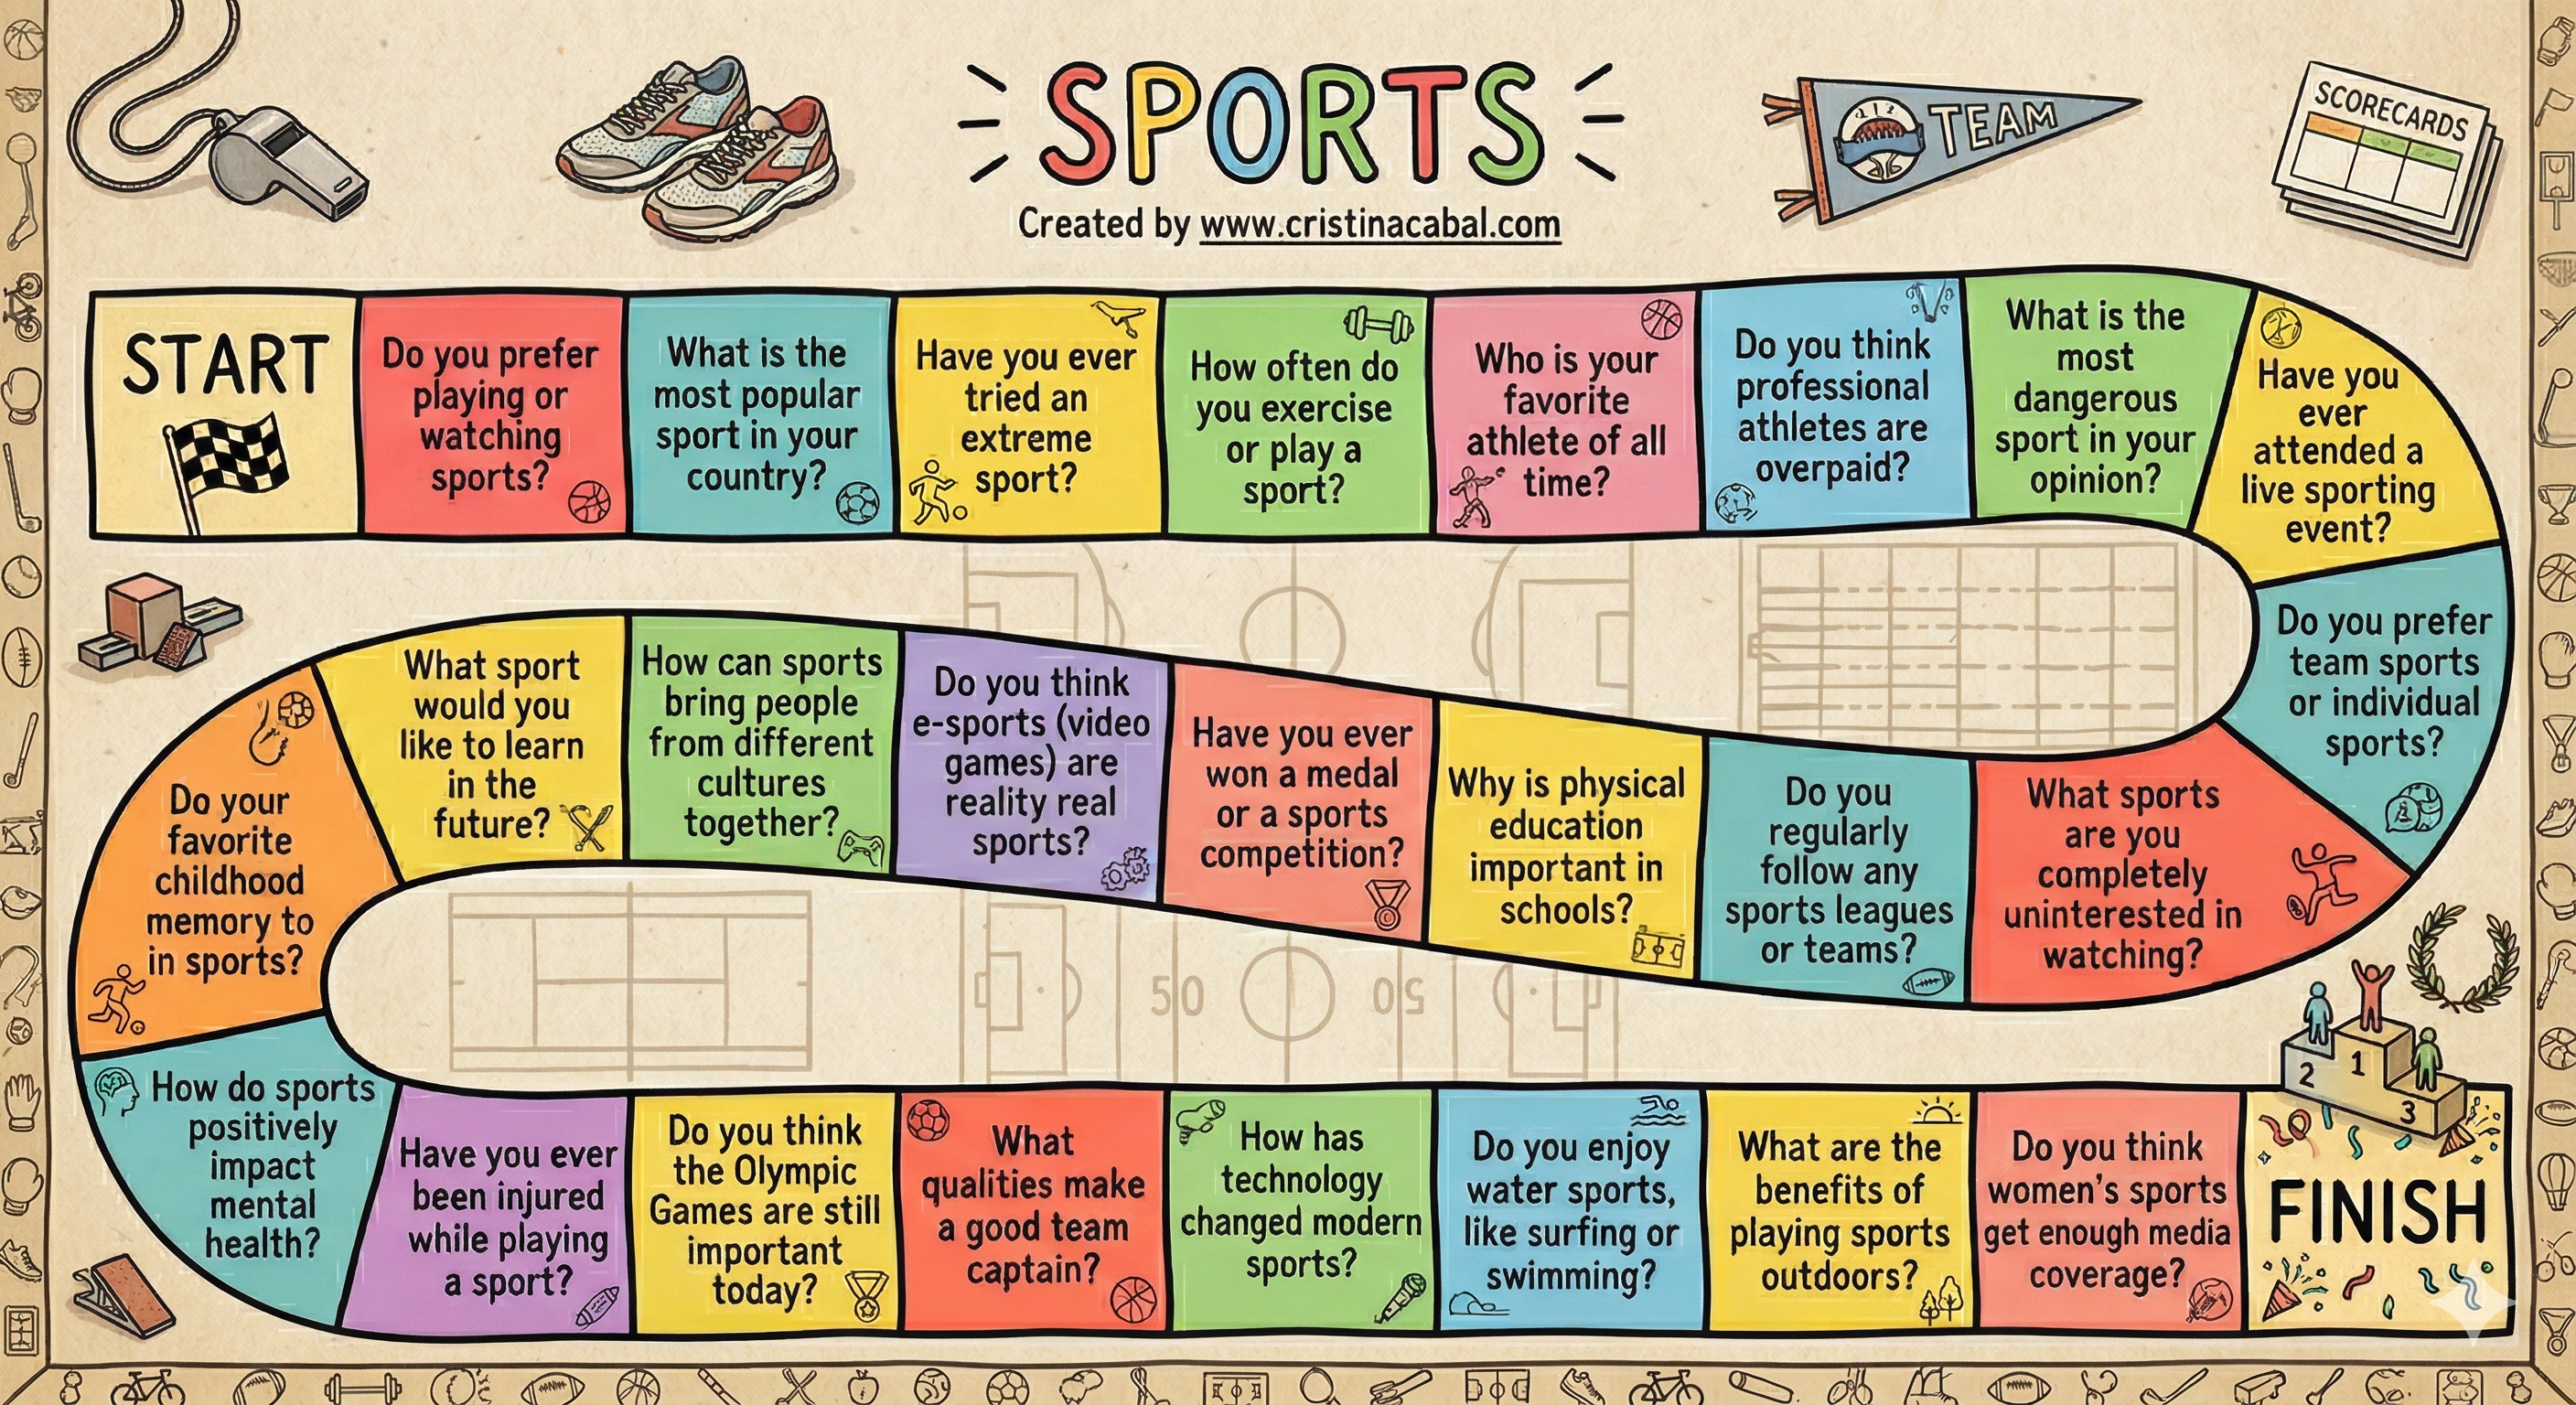
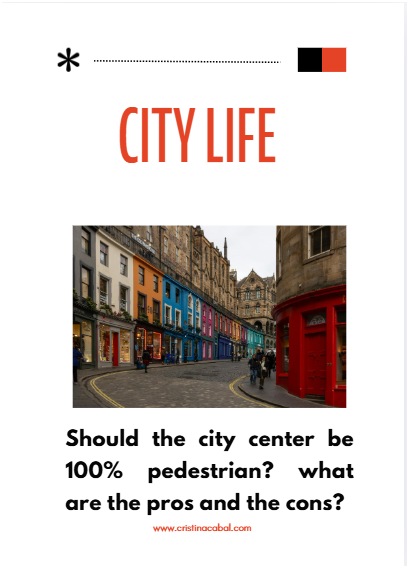
GENERATING THE QUESTIONS
I could explain but I’d rather you watch the video and see for yourself how easy it is to generate some cool cards. And for “free”.
You will find the prompt I used to generate the cards, in the first comment of the video. And please, leave a comment , I love hearing from you!
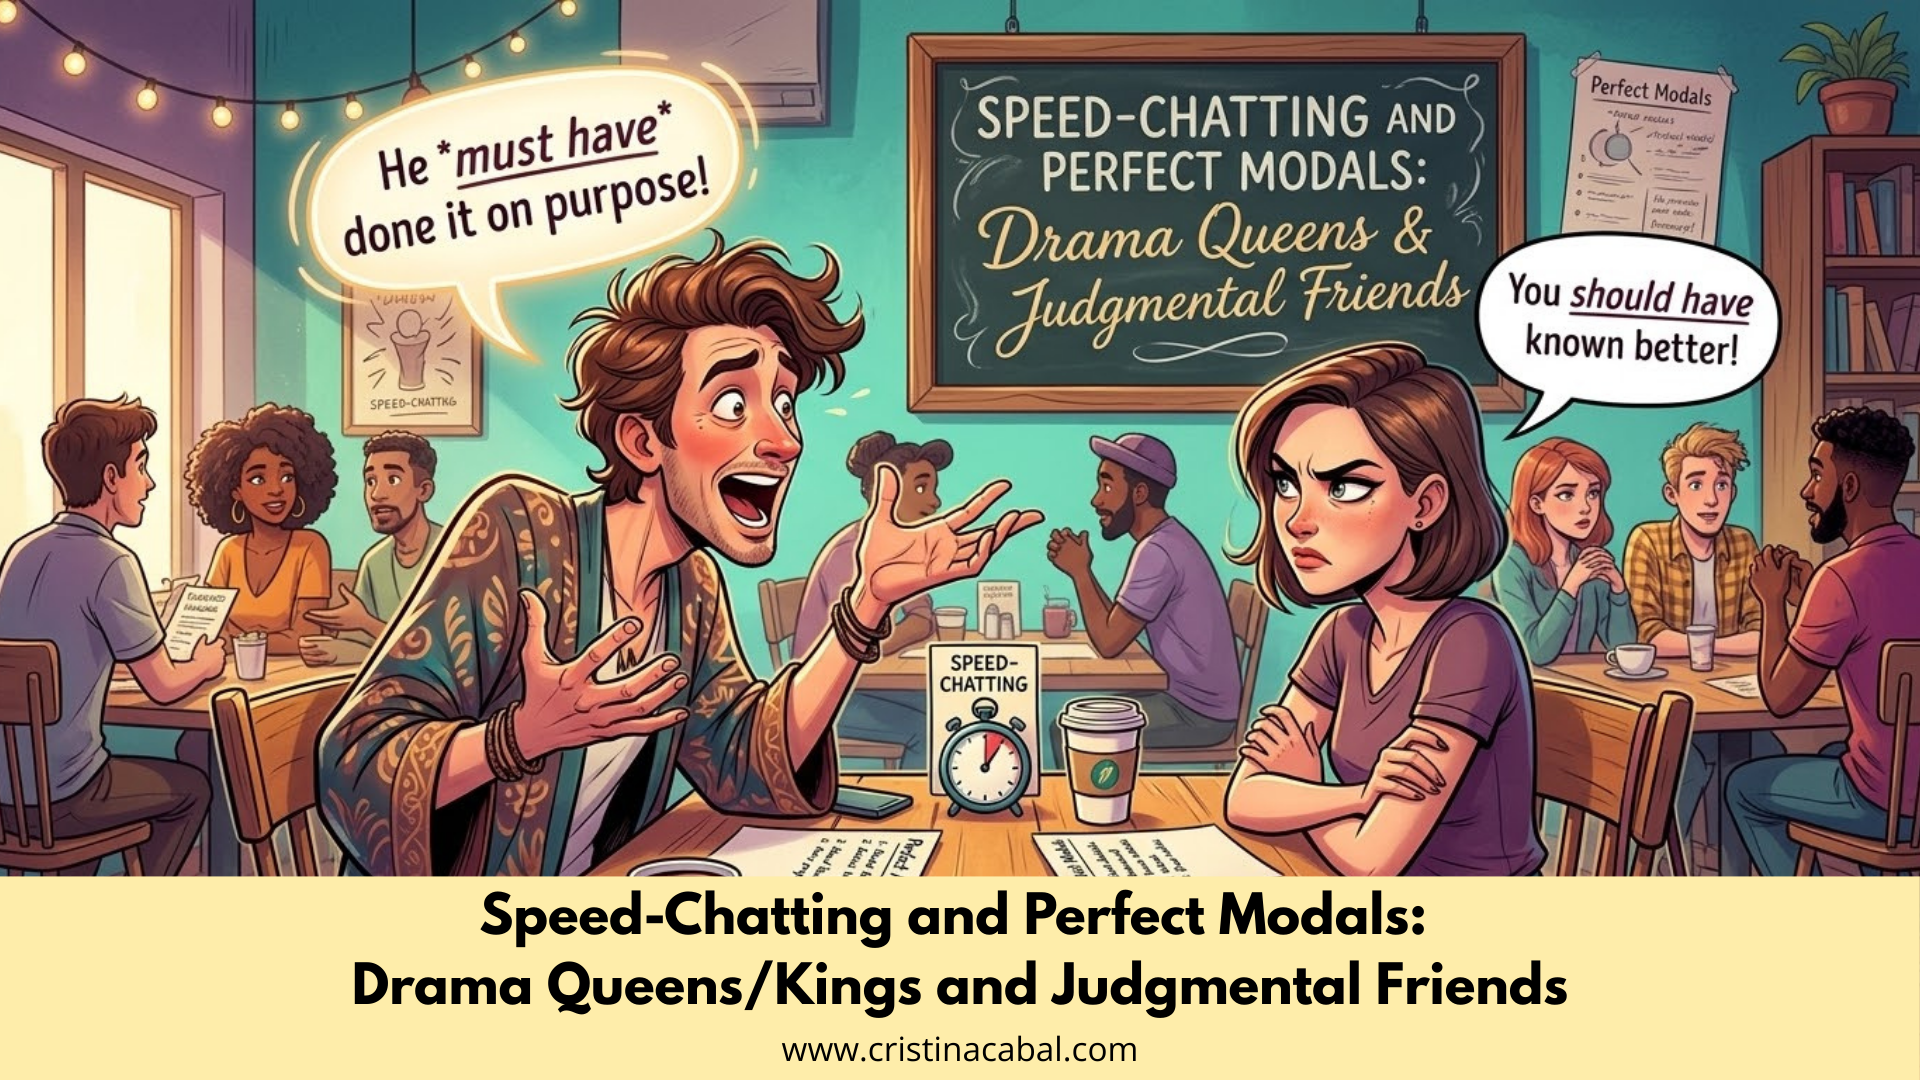
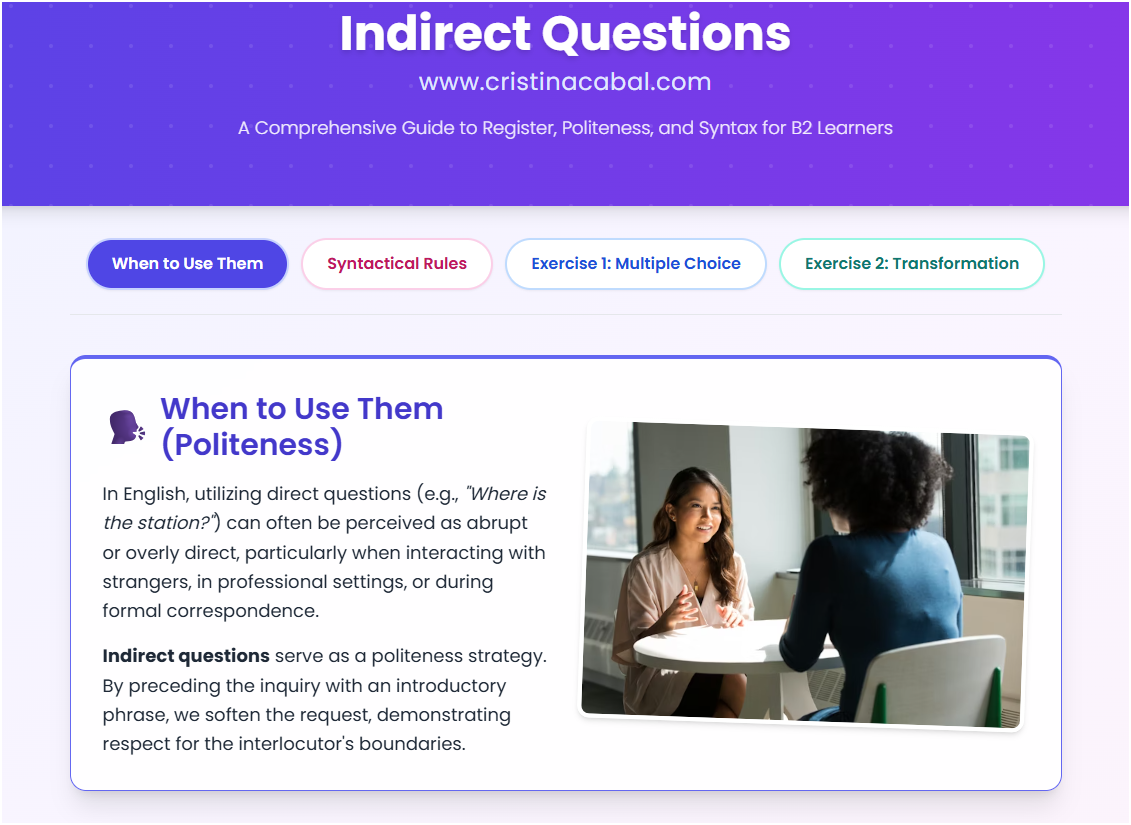
AND THE GRAMMAR: INDIRECT QUESTIONS
Once we have our conversation questions, I like to use them to revise indirect questions — it’s the perfect excuse. The questions are already there, they already have context, so why not squeeze a bit of grammar out of them too?
To make the revision more engaging, I built a little website — also with Gemini — where students can practise the structure interactively. First we revisit the rules, then we activate.
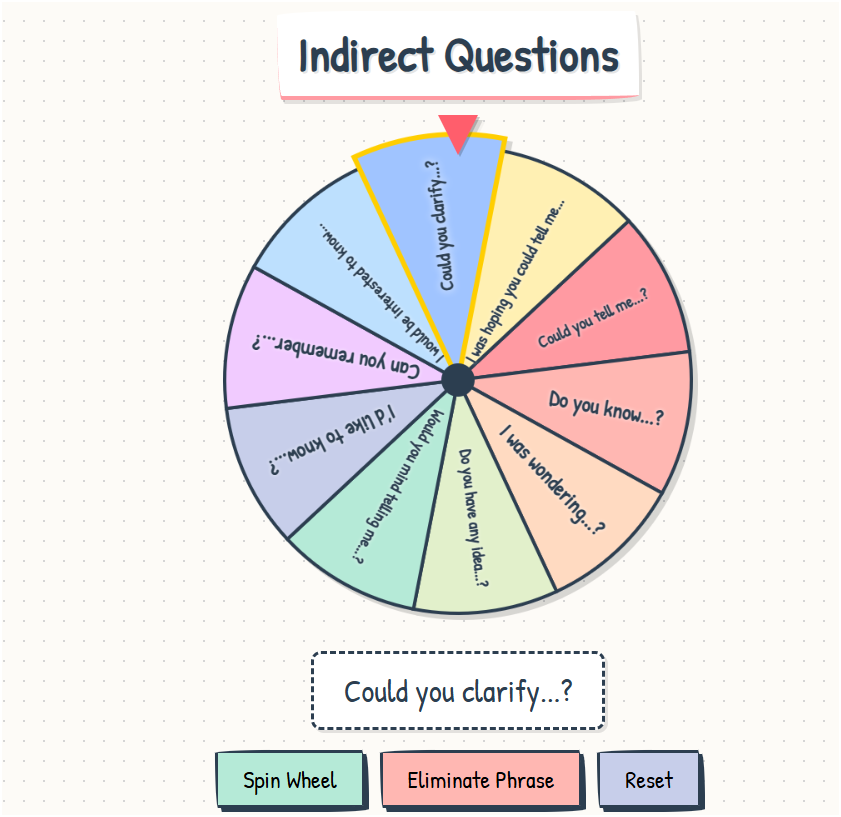
Spin the Wheel. Then Speed Chat.
After the grammar input, we present the first question and… spin the wheel — built with AI, loaded with examples of indirect questions.
- Show the card with the question they need to answer
- Spin the wheel
Example: I was wondering … (do you believe that online shopping will completely replace…?) if you believe that online shopping…
And to wrap it all up? Speed chatting. Signal sounds, they rotate, new partner, new indirect question, new conversation question. Dynamic, social, and it always gets a smile out of them.
What more can you ask from one single activity? Give it a go and let me know. 👇shopping