Before I start, let me tell you that I’ve officially dubbed myself “The Free App Teacher” because every tool I share with you is either 100% free or comes with a super generous free version—perfect for teachers like us.
And you know how we’re always on the lookout for the next tool that can make our teaching lives easier and more dynamic, right? Well, this is Challenge 3, but hold on… it’s got a little twist. We’ve got two challenges using the SAME tool! Yes, that’s right. We’re about to take on two challenges with one amazing Chrome extension: Brisk Teaching.
Brisk Teaching is about to blow your mind with how easy it makes creating resources from just a YouTube video. In the quick and easy video (yes, it’s in Spanish, but trust me, you’ll follow along with no problem), I walk you through how in under 1 minute, you can generate either
1. A fully editable presentation in Google Slides
or
2. A fully editable quiz in Google Forms
And it’s all with just one click—seriously. It’s like magic!
How It Works
The first thing you need to do is install the Brisk Teaching Chrome extension. Don’t worry, I’ll show you how in the video. It’s super simple!
1. Open the YouTube video of your choice (find something that’s relevant to your lesson).
2. Open up the Brisk Teaching Chrome extension.
3. Now comes the fun part—choose what you want to create:
– If you need a presentation, click the “Presentation” button.
– If you’re in quiz-mode, hit Quiz instead.
And BOOM! In seconds, you’ll have either an editable Google Slides presentation or a Google Forms quiz ready to give your students
We all know how busy our days get. Between lesson planning, grading, and meetings, who has time to spend hours on presentations? Good news — I’ve got a solution that’ll save you time and energy!
I’ve started recording these super short video tutorials (in Spanish) to help busy teachers like us get our work done faster. I call them “Teacher Challenges” because I want to make the process fun, simple, and rewarding.
And don’t worry, these videos are quick, clear, and even if you don’t speak Spanish fluently, you’ll find them easy to follow.
Challenge 1: Create a Google Slides Presentation with ONE Prompt
Thanks to Magic School, you can create an entire Google Slides presentation just by typing a prompt. Yep, AI does the heavy lifting — you write a few sentences, and it generates the slides for you. It’s that simple and … free!
Watch the Video
In less than 3 minutes, you’ll see how to use AI to create a presentation with no hassle. Ready to take on the challenge?
I know, I know, I can see some of you raising an eyebrow and thinking… “well, I must be weird then, if I don’t like shopping”. Of course, you are not, it’s just that I love it so much that now that I don’t have as much spare time as I used to have, I miss it like crazy.
But I know, not everyone is a shopper, not everyone is a consumer. However, we all need to buy, whether it’s clothes, food or any other stuff. So, this lesson might come in handy whenever you decide to set your foot in a shop.
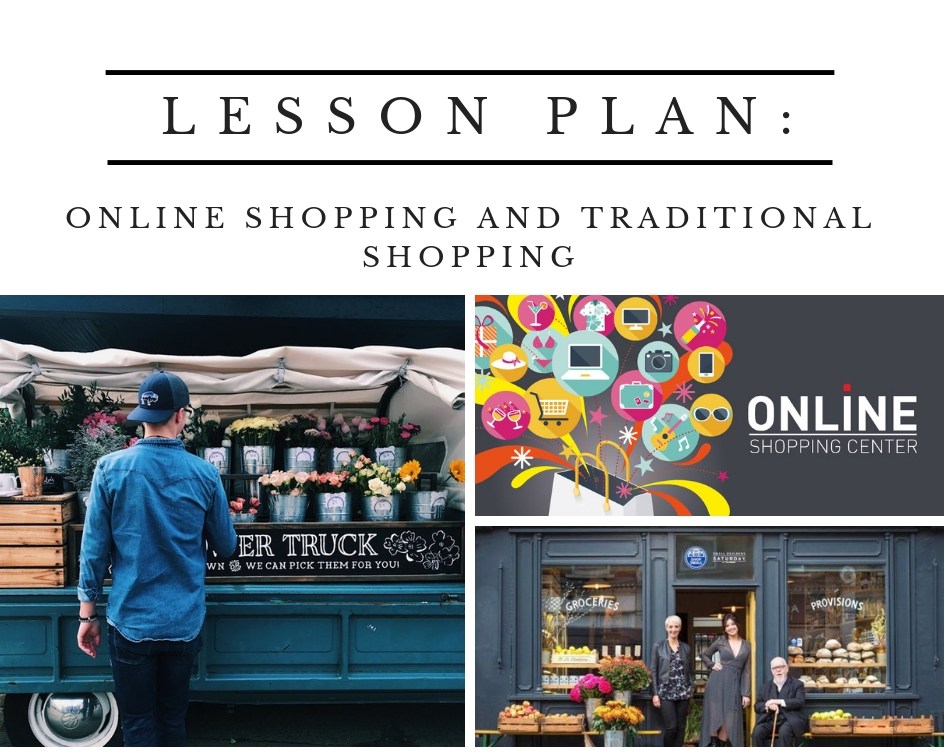
Hold on! Shop? Did I just say, “set your foot in a shop”? Like in a physical shop? It seems to me that right now, the online shopping experience has become so incredibly diverse and sophisticated that no matter what you need, it is simply a click away from you. You don’t even need to physically go to a shop. You can get yourself the latest craze from anywhere in the world without actually moving from your sofa. Kind of awesome! Yeahhh, awesome but boring!!!
Anyway, in this lesson aimed at B2 students, we will be focusing on the topic of shopping and we ’ll be comparing online shopping to traditional shopping.
ONE: Lead-in Activity
Types of shops
Although students have a B2 level, I find they always welcome an opportunity to review vocabulary and maybe learn the names of some less common shops.
Play the video once without stopping and at the end of it, ask students in pairs to write down as many different kinds of shops as they can remember from the video. Write the words on the board for correct spelling and drill pronunciation.
Divide the class into As and Bs. Ask As to face the board and Bs to face away from it. Play the video, display the first picture and ask As to quickly describe the kind of shop they see on the board. As describes half the pictures and then they change roles with Bs doing the description and As guessing the shop.
Note: The slides contain music. Turn down the volume if you do not want it.
You’ll find the list of all the shops featured in this video at the end of the post.
TWO. Brainstorm and introduce new vocabulary
Give students two minutes to write down as many words as they know related to shopping. When the two minutes are over, ask them to stop. After a quick round to see who has written the highest number of words ask students to tell you their words, writing on the board only the ones that are a bit more challenging.
For example, words such as “deal” or “goods” will be written on the board while “shop” or “money” will not.
More useful vocabulary:
A good deal: if something is a good deal, you pay a low price. You can say that a store has some great deals, for example
A bargain: the same as above
20% off the price is now 20% less than the original price
Overpriced: if sth is overpriced, it costs much more than you think it should
To order: when you order something that you are going to pay for, you ask for it to be brought to you, sent to you, or obtained for you. “to order things online”
Order number
To place an order
If you have a discount on the retail price, you pay less price than the price normally charged
Goods: things made to be sold
To be scheduled for delivery (tomorrow)
Online form
A secure payment page
To enter your card details
Get a refund
You can pay “Cash on Delivery”
To exchange a product
To track your package
Shipping rates
Ready to test your knowledge? Fill in the blanks with some of the words above.
THREE. Listening. Video Activity: Singles’ Day
Lead-in: Ask students if they know anything about Singles’ Day.
Singles’ Day, celebrated every year on November 11th, began at Chinese universities in 1993 as a way for unmarried people to celebrate being single. In 2009, however, major e-commerce companies turned the holiday into a massive retail event filled with large discounts. Since then, it has grown into the most profitable shopping festival in the world, easily generating more revenue than Black Friday and Cyber Monday combined.
Lead-in. Ask students this question.
The modern focus of this holiday encourages people to “treat themselves” by buying their own gifts. What are your thoughts on the concept of “retail therapy”? Do you ever buy yourself a present simply to celebrate your own achievements or independence?
Play the video once without giving students any tasks.
Give students the gapped text and ask them to complete it with the words they hear. Play the video.
Play it again, if necessary
See the activity here. You can check the answers by activating the subtitles in the video.
FOUR. Speaking: Online Shopping versus Traditional Shopping
Divide the class into two groups: those preferring online shopping and those preferring traditional shopping. Ideally, you would pair up students in this way, but more often than not, you’ll have to persuade some students to take a different view for the sake of the exercise.
Give each student their corresponding handout and ask them to read the information on it. Their aim, when pairing up with a student holding an opposing view, will be to try to convince their partner to change their mind.
NOTE: These activities will be in Spanish. Students will need to act as mediators in an oral interlinguistic mediation activity.
This is the first time I am going to do an interlinguistic oral mediation activity with my students. My students are going to take the role of mediators and use a source text in Spanish and relay the selected information to an English speaker, who does not understand Spanish.
What is a mediator and what does he do?
The mediator acts as a facilitator in a social event during which two or more parties interacting are experiencing a communication breakdown or when there is a communication gap between them.
Watch the video and find out a bit more about mediation.
These are the first two tasks I have prepared for my students. More would be coming!
There is no denying I use a lot of technology in my classes. It gives me great pleasure to discover a new tool and design an activity around it. I really think this is what keeps me motivated after so many years teaching. The challenge that mastering a tool brings and the possibility to use it in my classes to boost students’ motivation and spark their interest is certainly something that keeps my own motivation alive and kicking
Today, I would like to share with you an activity that I did with my intermediate students. I loved designing the activity and the way my students got involved activating their communicative and writing skills during the whole process.
I created a Google presentation using Google Slides and wrote the content for the first two slides. I also added three extra blank slides (see below)
I created three Padlets and called them: Work 1, Work 2, and Work 3
In each of these 3 blank slides I inserted a link to one of these Padlets.
During the class.
One. I asked students to form groups of 4. I have 12 students in this class, so I had three groups, one for each blank slide. If you have more students, you can easily add another slide to accommodate two more questions. I asked each group to write three or four questions related to “work”. I certainly encouraged them to come up with some juicy questions and avoid simple ones such as “Where do you work?”
Two. Once they have written their questions, the groups read them aloud and the class decides on the best two from each group to keep.
Three. At this point, there are two things you can do
Assign each group one of the three slides and ask them to write their two questions, being careful not to delete the link to Padlet. Share the link for your Google Drive presentation making sure you share the link with editing permissions (read and write). I have shortened the link using Google shortener.
If you think this step might be complicated for your students, you can always write them yourself. Have the groups dictate their two questions and move on to the next stage.
Four: Speaking. Ask students in their groups to discuss the questions in the three slides encouraging them to use work-related vocabulary. Get feedback.
Five: Set homework.
Show the presentation from the very beginning where they will see the instructions for their homework.
Explain that at home they will need to answer one of the two questions in each slide. They can do it by writing their answers or by recording them.
Remind them it is the same shortened link you shared with them in Three.
These past few days have been hectic with lots of exams to be written and then marked, plus all that red tape I can’t stand involving end-of-term exams. To top it all, my old friend the flu decided to pay me a visit. Very timely. Right now, thank goodness, deadlines have been met and everybody seems to be winding down for the holiday season. Me, too. So, that’s probably going to be the last blog post of the year.
Aims: to encourage collaborative work by giving students the challenge of researching, selecting and presenting a project about unusual traditions around the world.
It is a student –centred teaching method in which students acquire knowledge and skills by investigating and responding to a complex question, problem or challenge.
PBL is an active learning style which inspires and motivates students because they take an active role in their learning process and experience success in their own learning. The role of the teacher here is of mere facilitator and coach.
In PBL students are encouraged to work in pairs or in groups, which is also good because it creates a friendly atmosphere which is a boost to their motivation and creativity.
Project-based learning structure
Choosing the problem or challenge
Organisation
Brainstorming
Coordinating
Sharing learning and refining
Presenting and sharing
1.Choosing the problem or challenge.
For this project, students will be rising to the challenge of presenting information about unusual customs in the world.
2. Organisation.
My classes are quite large so students will work in groups of 4 or 5.
On the board the class as a whole decide on 4 or 5 areas, they want to talk about. There should be the same number of areas as groups you have. Each of these areas is assigned to a group to research.
In this project
Relationships
Festivals
Law
House and Home
3. Brainstorming
This step is done entirely at home with the help of an online collaborative free tool. My students are adults, some as old as 70, and they only see each other in class twice a week, so it was important to provide them with some kind of free online tool they could use to brainstorm ideas, share them with the members of the group and organize their project (timing, visuals, specific assignments..etc). I used a Padlet, a well-known collaborative tool, which is very easy to use, something really important as some adults are reluctant to use new technologies. Each group was assigned a different Padlet and given a week to do research on the internet and post on Padlet their ideas.
Below is the Padlet the group”House and Home” used.
4. Coordinating.
This stage might take the first or last 10 minutes of your lesson. Once they have shared their ideas on Padlet, in class they decide on the number of traditions they are going to present, who is going to do what, the order in which they are going to present the information and the visuals or videos they are going to use.
5. Sharing learning and refining
In the next class, allow students time to get together in their groups and share their drafts. Offer help and guidance but ask students to help each other by swapping their drafts within their group to improve and proofread their written work.
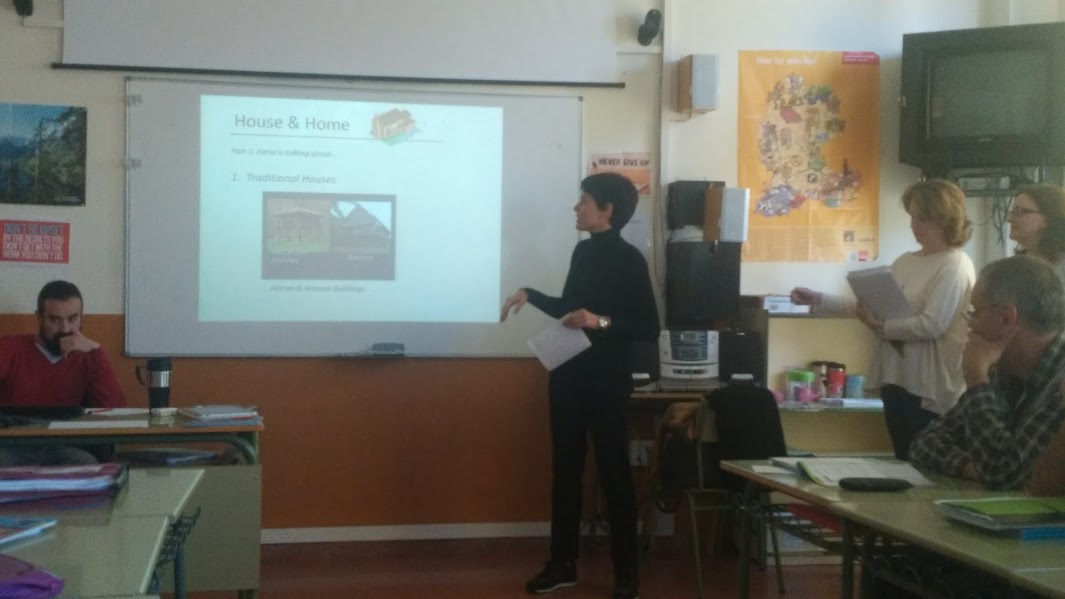
6. Presenting and sharing
Agree with the students on the order of the groups and let the show begin. Below is a picture of one of the groups on stage.
Sharing it with the world is also important. Here’s how we did it. Again, we used a free online digital tool called Tackk.com, which allows you to beautifully showcase your projects. I gave my students this simple tutorial to help them get familiar with the tool.