Tag Archives: B2

Speaking and Writing: Let’s Get these Personality Adjectives Moving

Gallery walks must be one of my favourite dynamics. If we add speaking and writing, we have the whole package.

This activity takes something as simple as learning personality adjectives and turns it into an engaging speaking and writing task. The goal is for my students not just to memorize words like arrogant, generous, or shy—but to use them to express opinions and challenge ideas.

So in a nutshell, these are the steps to follow.

Materials: Posters (use mine if you wish), Functional language, Blue-tack or cello-tape, Optional post-it notes

  • REVISING: We start by revising personality adjectives. It’s the vocabulary we’re working on, so students already have a clear focus.

  • POSTERS. Posters with controversial statements, all using personality adjectives, are up on the walls. These are the ones I have used for this activity. You are welcome to use them.

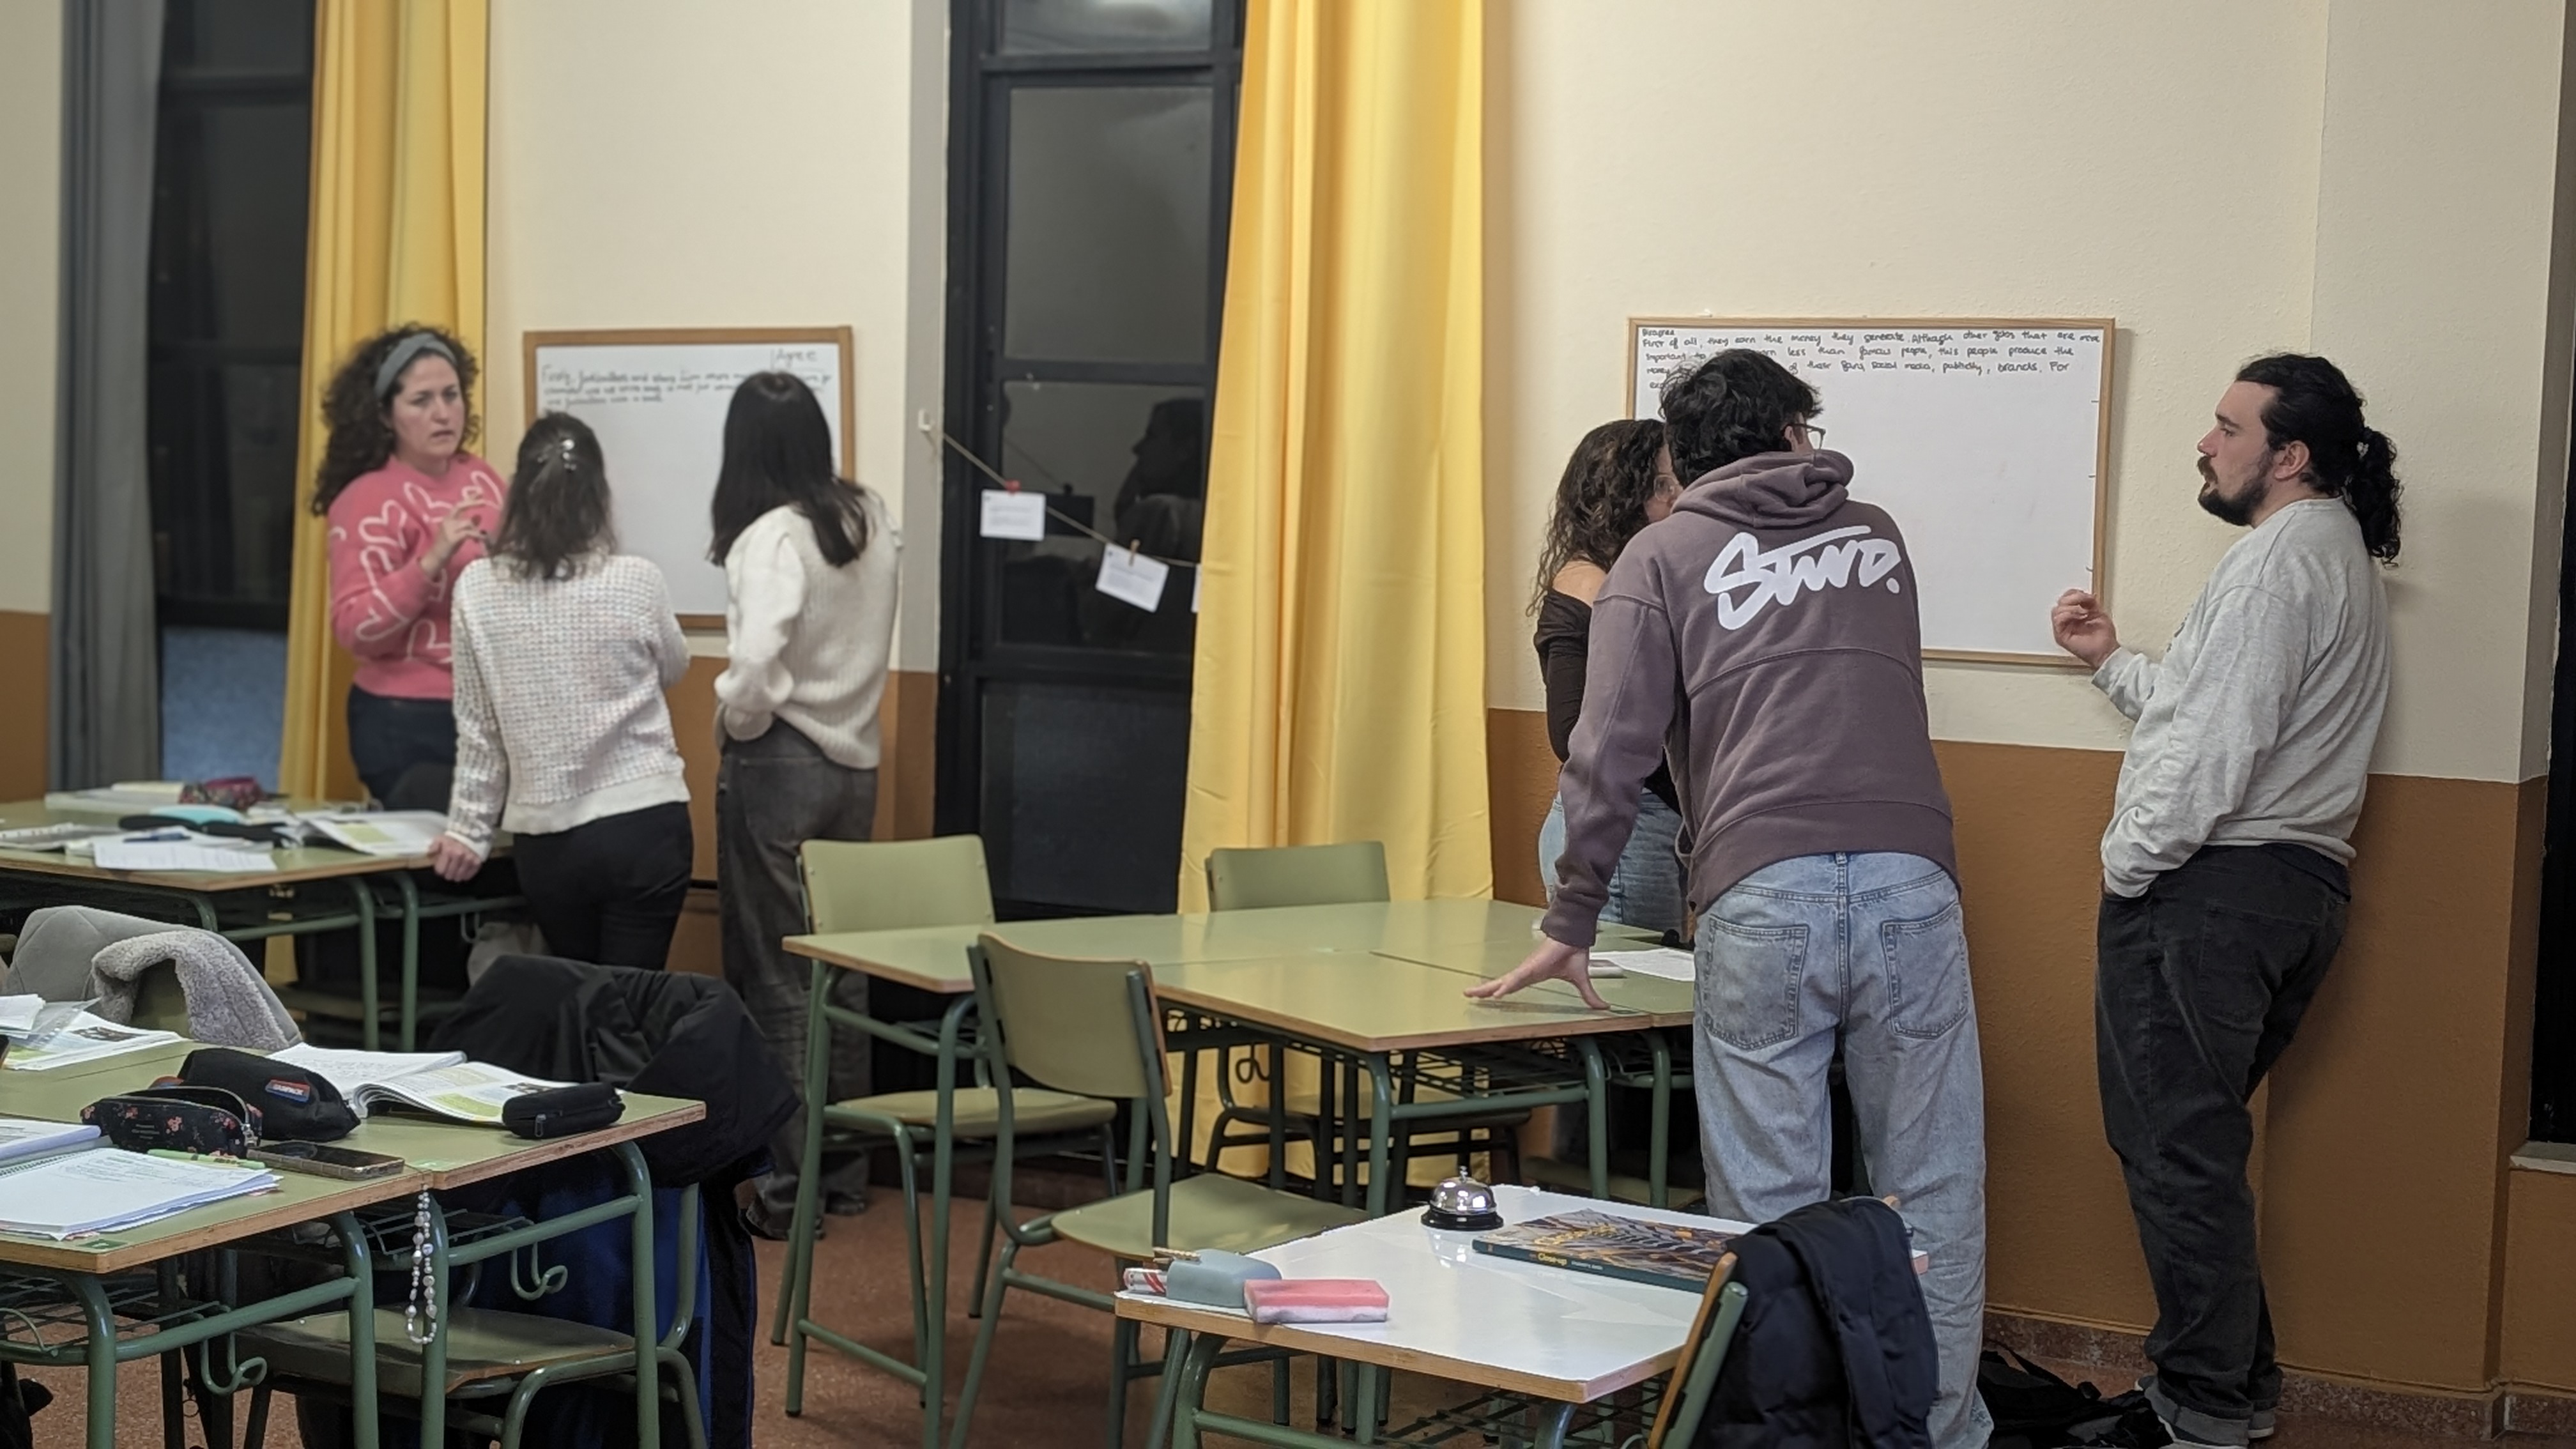
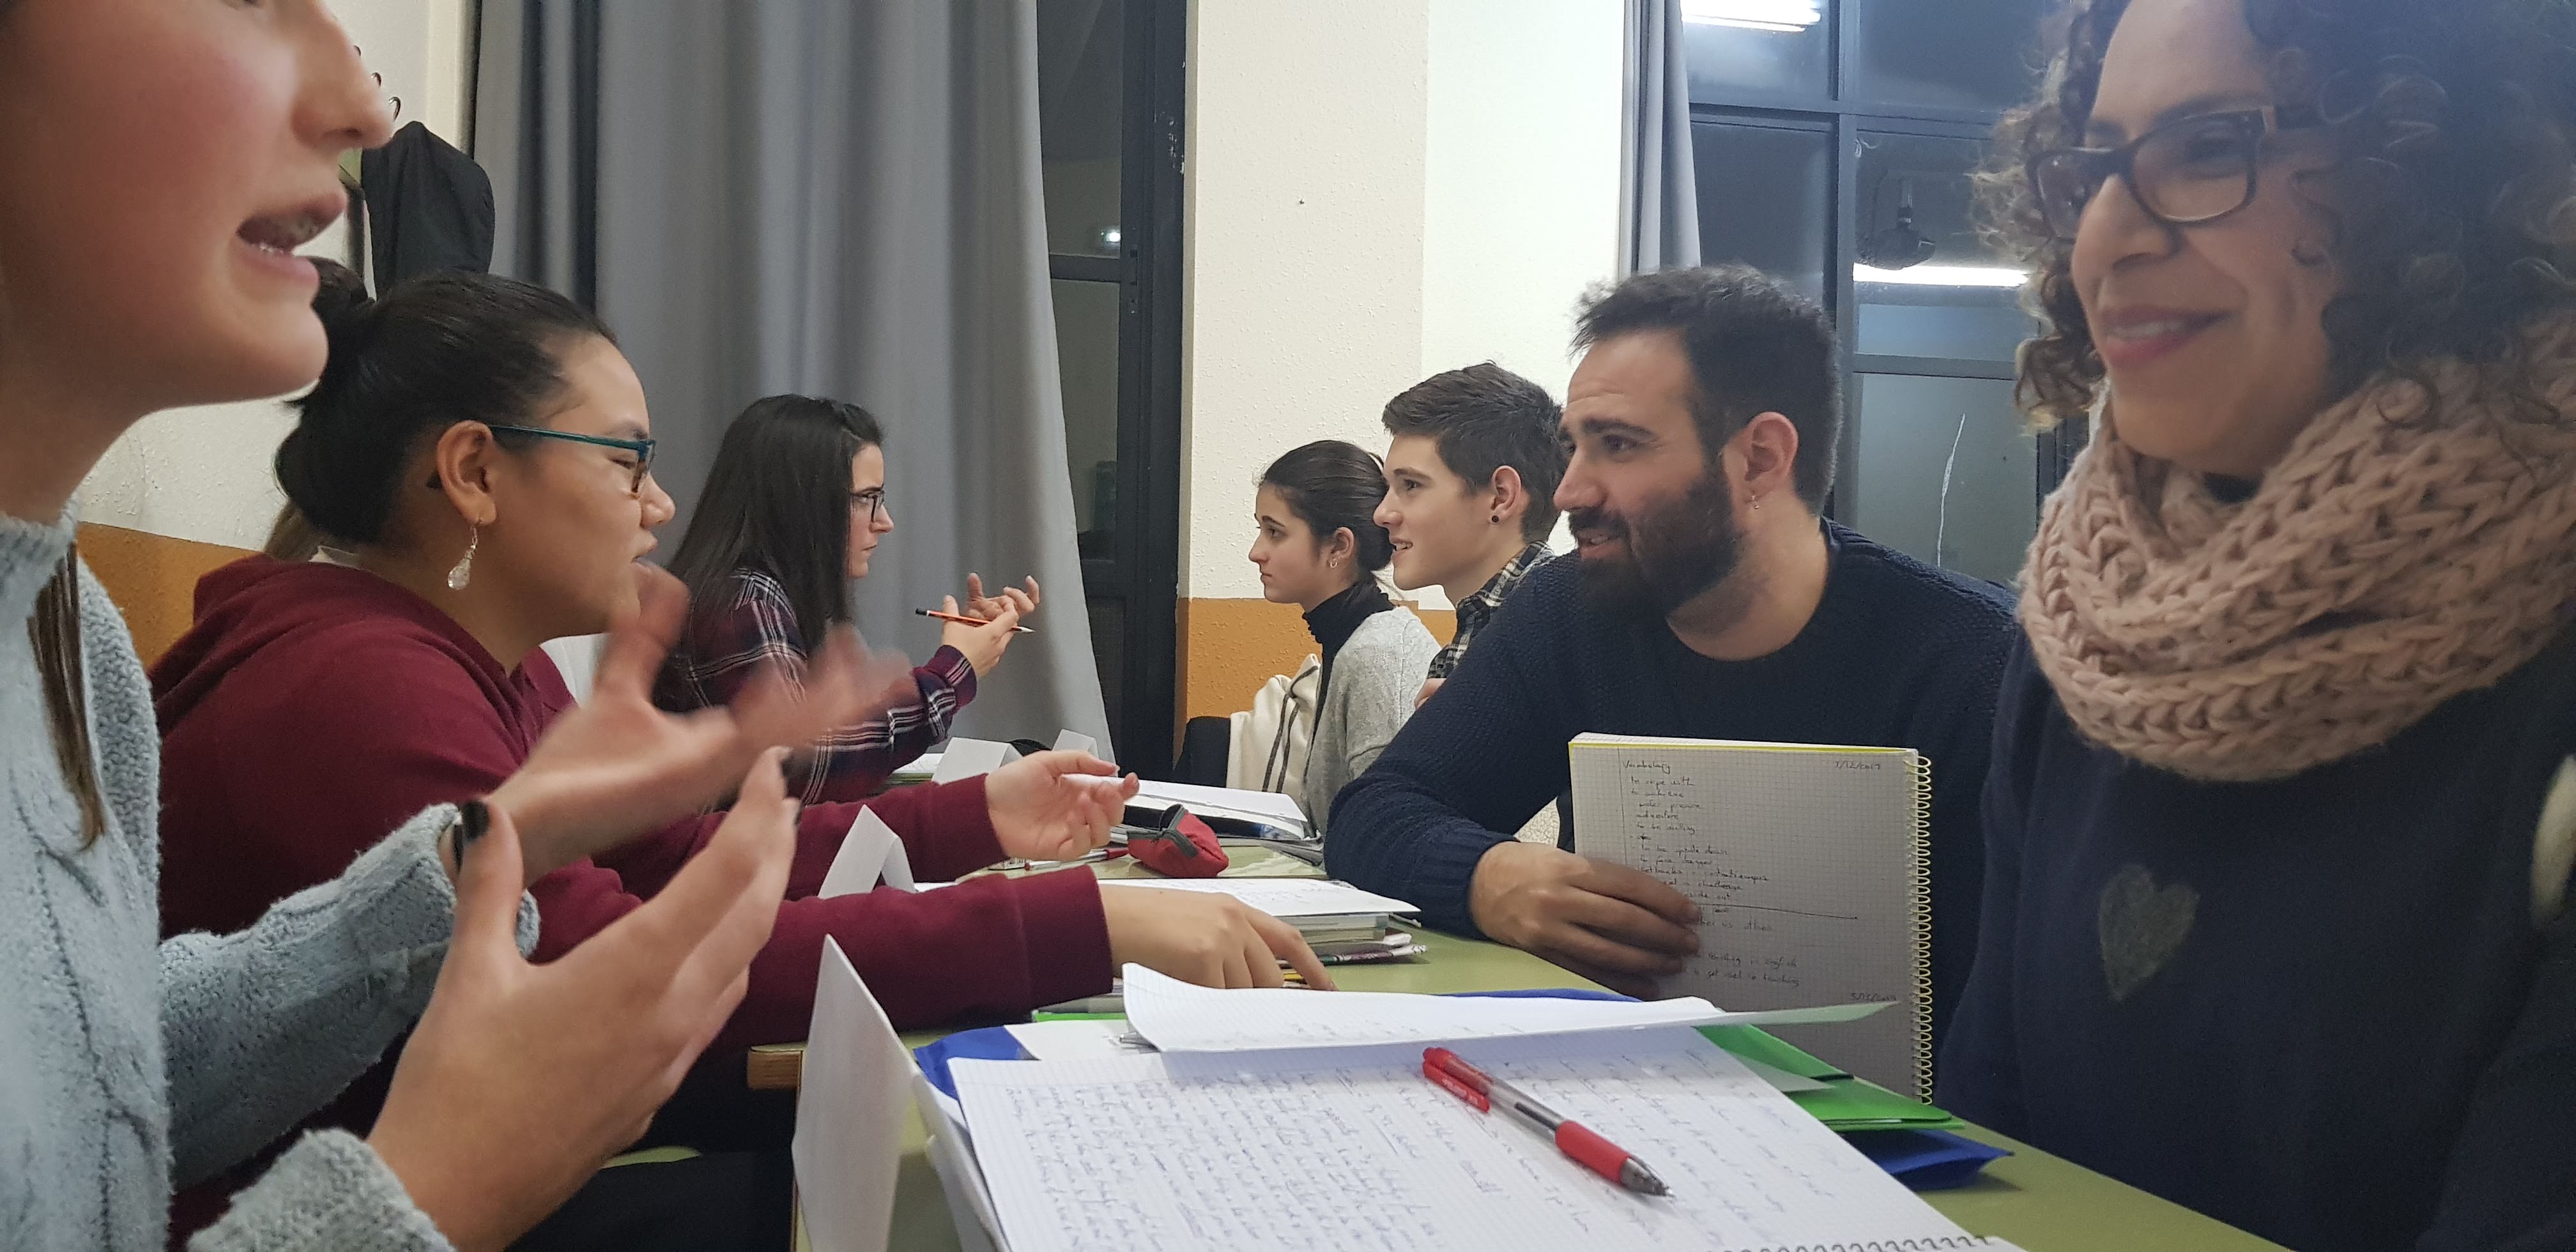
  • Round 1. Gallery Walking. Students walk around the room in pairs or threes, reading the controversial statements and discussing whether they agree or disagree with each statement. You might want to write on the board some functional language to express opinion.(link to photocopy above)

  • Round 2: Write it down. Back at their seats, each student, individually, chooses one statement they agree or disagree with and writes about 70–90 words explaining why they agree or disagree — encourage them to use personality adjectives in their writing. They then stick it next to the poster.

  • First side note: ask them to use their best handwriting. You know what I am talking about, don’t you? Sometimes reading students’ handwriting is like trying to decode ancient hieroglyphics!
  • Second side note: yes, after this first round, you should walk around reading what they have written   and correcting mistakes. I am afraid this is our job, too.

  • Round 3: Writing. React and respond. Students go around again, this time reading their classmates’ post-its. Then, they add a response—agreeing or disagreeing with their peer’s opinion, explaining why. Note: a couple of sentences would be enough this time.

Note: For Round 3, I give my students post-it notes in different colours. It never hurts to add a bit of colour to life.

When Your Students Make YOU the Star of Their Halloween Story… with a Little Help from AI!

Just imagine that you give your students a spooky Halloween writing task and you -their teacher – are the main star.  Have a look!

This is AI. Free and simple.  This little video is easy to make; Find a photo of yourself, choose a template , upload your photo and click Send. It only requires about 2 minutes, and the result is stunning. Just what we need to engage our students and make them think we are just geniuses at generating videos.

First, I will show you how to create the video clip and then, I will share how to use it in my class and with my students.

  1. Find a good photo of yourself to upload.
  2. The tool is PixVerse. It is Freemium and it gives 60 credits daily. With 60 credits, you can create two or maybe three video clips daily.
  3. Watch the video below to see how easy it is to create a video clip.Play around with other templates, it is a lot of fun.


Now, the writing task. 

Activity: What Happens Next?

This is a traditional narrative writing activity where a short, dramatic video serves as the story’s “inciting incident.” Students will watch the clip and then write the rest of the story, focusing on plot development, descriptive language, and a clear resolution.

Learning Objective. Students will practice using past tenses (Past Simple, Past Continuous), sequence connectors, and descriptive vocabulary related to action and suspense.

Lesson Procedure

Step 1: Introduction & The Prompt (5 mins)

  • Tell your students: “We are going to watch the beginning of a Halloween horror story. As you’ll see, the main character is me, your teacher. Your mission is to write the rest of the story: what happens immediately after the clip ends, and how it all concludes.”
  • Play the video for the class. Play it a second time so they can absorb the details of the scene.

Step 2: Guided Brainstorming (10 mins)

  • Before students begin writing, project or write the following prompt questions on the board. Give them a few minutes to think and jot down some ideas. This will help structure their stories.

Guiding Questions:

    1. The Immediate Action: What happens in the five seconds after the video ends? Does she fight back? Does she scream for help? Is she dragged into the dark room?
    2. The Attacker: Who is under the Ghostface mask? Is it a student playing a prank, or is it someone truly dangerous? What is their motive?
    3. The Rising Action: How does she try to escape? Does she find a weapon (a book, a heavy pen)? Does someone else enter the scene (another teacher, the school janitor)?
    4. The Resolution: How does the story end? Does she get away and call the police? Does she manage to unmask the attacker, revealing a huge surprise? Or is it a tragic ending?

Step 3: Individual Writing Task (20-25 mins)

  • Instruct students to write a short story (around 200-250 words) that continues directly from where the video clip ends.
  • Remind them to use their brainstorming ideas to build a complete narrative with a beginning (the video), a middle (their rising action), and a clear end (their resolution).

Step 4: The Horror Gallery Walk & Peer Voting

Time Allotment: 15 minutes

Once they have finished, post their stories on the classroom walls to create a “Horror Gallery.” Students will stand up and move around the room to read the different creative endings their classmates have imagined. After reading them, they will vote for the story they liked the best.

Yes, don’t ask, we will need to collect their stories and give them feedback of their mistakes.


No Screens, Just Smiles: Icebreaking with “If I Were…” with a Little Twist

I’ve honestly lost count of how many Septembers this little blog has come back to life after the long, deserved 🙂  summer rest. But here we are again—new school year, and yes… another bunch of students I get to welcome into my classroom!

This time, though, there’s a twist. After years and years of teaching C1 students, I’m stepping into B2 territory. And let me tell you, it feels both exciting and a little bit like moving into a new neighborhood. Same language, different rhythm!

The first days are always a bit awkward, right? Everyone is nervous. Students don’t know me yet, I don’t know them, and there’s that extra pressure of speaking English and hoping people understand. And of course, on my side, there’s the little voice saying: “I really want them to like my classes.” I am sure you have all been there.

This year I’ve prepared a nice little activity to break the ice. You know me—I’m always the “techy” one, the teacher who loves mixing AI, gadgets, and good old tradition. But this time? Surprise! No technology at all. Just the students and me. A real, human moment. Honestly, it feels like a nice break after so much AI talk everywhere. Here we go.

Title: The Definition of Me

This activity invites students to think in a creative way about who they are. It makes them play with language, stretch their vocabulary, and build longer, more complex sentences to share a bit about themselves—just the kind of challenge a B2 learner needs.

Step 1: Warm up with the second conditional. 

Before we jump into the activity, let’s do a quick review of the second conditional “If I were…, I would…”. So, I write on the board

If I were a country, I would be… 

  1. Spain
  2. Great Britain
  3. Norway

and ask them to guess which one is true for me. Once they’ve made their guesses, I tell them the real answer—and then, I explain why my choice is Spain. I share a few personal reasons and show them how to build a longer answer with the second conditional: they see the structure in action, but also get a little glimpse of me as a person, which is the point.

“If I were a country, I’d be Spain because….”

Do a second example, if necessary

If I were a kind of shoes, I would be…

  1. Boots
  2. High-heeled shoes
  3. Flip-flops

Can you guess which one is true for me?

Step 2.Their turn.

On the board write or display a few starters and ask students to choose two (see below). They will have to complete their sentences using the second conditional and giving three options; only one of them is  true for them. Allow them some time to write their sentences and think about how to explain their choices.

“Pedro , spot on. If I were a kind a shoes, I’d be flipflops because I value comfort above everything else, especially in the summer. I hate anything that makes me feel restricted or overheated, so I prefer something light, simple, and easy to wear.

Step 3: Sharing and having fun

Now comes the best part—they share their sentences in groups of 4.  Each student reads their sentence, and the others try to guess which option is the “true” one. Then the student explains their choice, using the second conditional to give reasons and add detail. Each student does two rounds, covering both of their sentences.

These are some examples of sentence starters

  • If I were a superhero, I would be…
  • If I were a dessert, I would be…
  • If I were a song, I would be…
  • If I were an animal, I would be…
  • If I were a movie character, I would be…
  • If I were a colour, I would be…
  • If I were a weather type, I would be…
  • If I were a piece of furniture, I would be…
  • If I were a type of shoes, I would be…
  • If I were a social media app, I would be….
  • If I were a vegetable, I would be…
  • If I were a cartoon character, I would be…
  • If I were a holiday, I would be…
  • If I were a school subject, I would be….
  • If I were a type of weather, I would be…
  • If I were a city, I would be…
  • If I were a book, I would be…
  • If I were a language, I would be…
  • If I were a season, I would be…
  • If I were a sport, I would be…
  • If I were a type of music, I would be…
  • If I were a time of day, I would be…
Follow-up: The Little Twist Game

Once the groups have finished, I like to add a little twist to bring the whole class together. Here’s how it works: each group writes the letters A, B, and C on three separate pieces of paper.

Now, one brave volunteer from a group stands up, reads their sentence, and gives the three options. The other groups listen carefully debate a little, and when I say the magic word… everyone has to raise their card—A, B, or C—to show their guess.

If a group guesses correctly, they score a point. Then, the volunteer reveals the answer and explains their choice (which always leads to some fun and unexpected stories!). We keep going round by round so every group has a turn, and then I usually throw in a second round.

I hope you have enjoyed this icebreaker! It is simple and  it is fun.  It is nice to be blogging again!


Revising, Teaching and Consolidating Different Crimes, Cristina’s Style

I have some awesome activities to share with you today! From traditional pen-and-paper tasks to the most advanced AI possibilities and more… I hope these fun ideas inspire you to create something exciting of your own. And if nothing else, I hope they make you smile when you see me dressed up as a police officer. 😄

When you’re teaching a C1 class and introducing a big topic like Crime and Punishment, jumping straight into phrases like “contest a verdict” or “beyond reasonable doubt” can be overwhelming. It’s just too much too soon—and nobody wants cognitive overload!

So instead, we took a step back. We began with the basics: different types of crimes. Just the vocabulary. A total of 25. Now, C1 students already know quite a few, so this was more of a review… with a little something extra. Like I always say, “just un poco más.” Once the crime words are clear—burglary, fraud, arson, and the rest—then it’s much easier to explore the more complex collocations and legal language. One step at a time, building confidence as we go.

Let’s hop into it!

FIRST CLASS: REVISING AND INTRODUCING VOCABULARY

Step 1: Preparation: A paper, a Bag and 10 crimes

Here’s a fun little activity we did using just some paper and a bag. I cut 10 small pieces of paper and wrote a different crime on each one. Then, I popped them all into a bag. I split the class into two teams so that each team would end up with five crimes total.

Let’s say Team A goes first. I pull a paper from the bag and read the crime aloud. Now, here’s the twist—any student on Team A who thinks they know the meaning of the crime in Spanish must stand up. The number of students standing becomes the number of potential points they could win—or lose!

How do they win or lose those points? A student from Team B chooses one of the standing students and challenges them to give the correct meaning in Spanish. If the answer is right, Team A gets all the points (equal to the number of students who stood up). If the answer is wrong, they lose those points instead.

Then it’s Team B’s turn.

The crimes in the bag were: burglary, harassment, shoplifiting, squatting, smuggling, hijacking, mugging, blackmail, bribery, forgery

Step 2. The Song "City of Crime": A Fill-in-the-gçGaps Traditional Exercise with a Personalised Twist
Time for more crimes —but hang on a sec!  Because there’s a world of difference between giving students  a boring list of offences … and, turning it into a full-blown musical experience. A song (yes, made with AI), sung by none other than me—in full police officer gear. Don’t I look very pretty?
Print the activity here
Now

City of Crime de cristina.cabal

SECOND CLASS: CONSOLIDATING VOCABULARY

Step 3.  An Interactive Personalised  Taboo Game

Yes, they’ve learned the crimes and offences—but if we want that vocab to stick, we have to  help them use it! So, it’s game time: an  AI-powered Taboo, totally personalized and right on trend with the whole vibe coding movement.In just minutes, I created an interactive crime-themed Taboo Game that’s fun, fast, and super effective.

Do I know how to code? Nope.
Do I need to? Not with AI!

Game

Step 4: Speaking

Now it’s time to put this vocabulary into action!  Students have learned the words and now it’s their chance to talk and share opinions.

Speaking: Crimes de cristina.cabal


THIRD CLASS:  SPACED PRACTICE: Poetry and Song (yes, again)

Let’s face it—our brains aren’t always great at holding onto new vocabulary after just one try. That’s where spaced repetition comes in! By reviewing content at regular intervals, we help our memory lock it in for the long term.

This time, we’re making it a little more creative (and a lot more fun) by revisiting this vocabulary through poetry and a song. Yes, but a different song.

Step 5: Poetry. Flipcards

No, I am not a poet, but it seems ChatGPT is. And hey, if when asked to create a song, he gives me lines that rhyme, who am I to say no to a good verse?  So, students read the lines with the correct entonation and try to guess the crime.

There are seven crimes. You might need to register to see all of them. Here

Step 6: Freeze that Crime

And  finally, we revise spelling. How??? With a song and some challenge.

I asked ChatGPT to create a song using some of the trickiest crime-related words to spell ( 8 words), placing each one at the end of a verse.

Here’s how it worked:

  • I told students I’d play the song and pause it 8 times. They numbered their papers from 1 to 8, and each time I stopped the music, they had to write down the last word they heard. The song is only played once.
  • Then, they swapped papers with a partner, and we corrected the answers together on the board. For every correctly spelled word: 1 point. Final scores were written on the paper before giving it back to the original student to check their mistakes.

Song Lyrics here. In red, the words where I stopped the audio,

Freeze that Crime de cristina.cabal

And of course—what’s a challenge without a prize? hahahahThe winner got a big round of applause and a sweet.

A super engaging way to lock in spelling and make it stick!

Writing a News Article: From Theory to Engaging Practice

I know,  teaching students how to write a news article can feel a bit… uninspiring, right? Sure, we’ve all given them the “who, what, where, when, why, and how” spiel and shown a couple of examples. But then comes the big question: how do we make it exciting, hands-on, and memorable?

Picture this: your classroom is buzzing like a newsroom. There’s a clothesline of headlines strung across the room, and students get to pick one that sparks their curiosity. They, then, start writing their stories. Now, what? After that, each student’s headline goes back to the clothesline. Now, instead of just presenting their work, students pick a headline that catches their interest and become the audience for their peers’ stories. Sounds intriguing, right? If I’ve piqued your curiosity, keep on reading and below I’ll explain how this clothesline activity can transform the typical writing exercise into a dynamic and memorable learning experience!

Before we dive in, just a quick reminder: this is Part 3 of our series leading up to writing a complete news story. If you missed Parts 1 and 2, be sure to check them out to catch up on the grammar and writing activities that set the stage for this exciting final step

Step 1: The Theory; a.k.a the uninspiring part.

PDF

In the handout,

  • I’ll guide my students through the step-by-step process of writing a news article
  •  Provide two sample activities to get started. It begins like this

Step-by-Step Guide to Writing a Newspaper Article

1.Outline the Article Structure

Draft an outline based on the inverted pyramid structure, where the most critical information comes first. This typically includes:

    • Headline: A catchy title summarizing the main point.
    • Byline: The author’s name and possibly their role.
    • Lead Paragraph: The introduction that covers essential details.
    • Body paragraphs: Provide details in descending order of importance
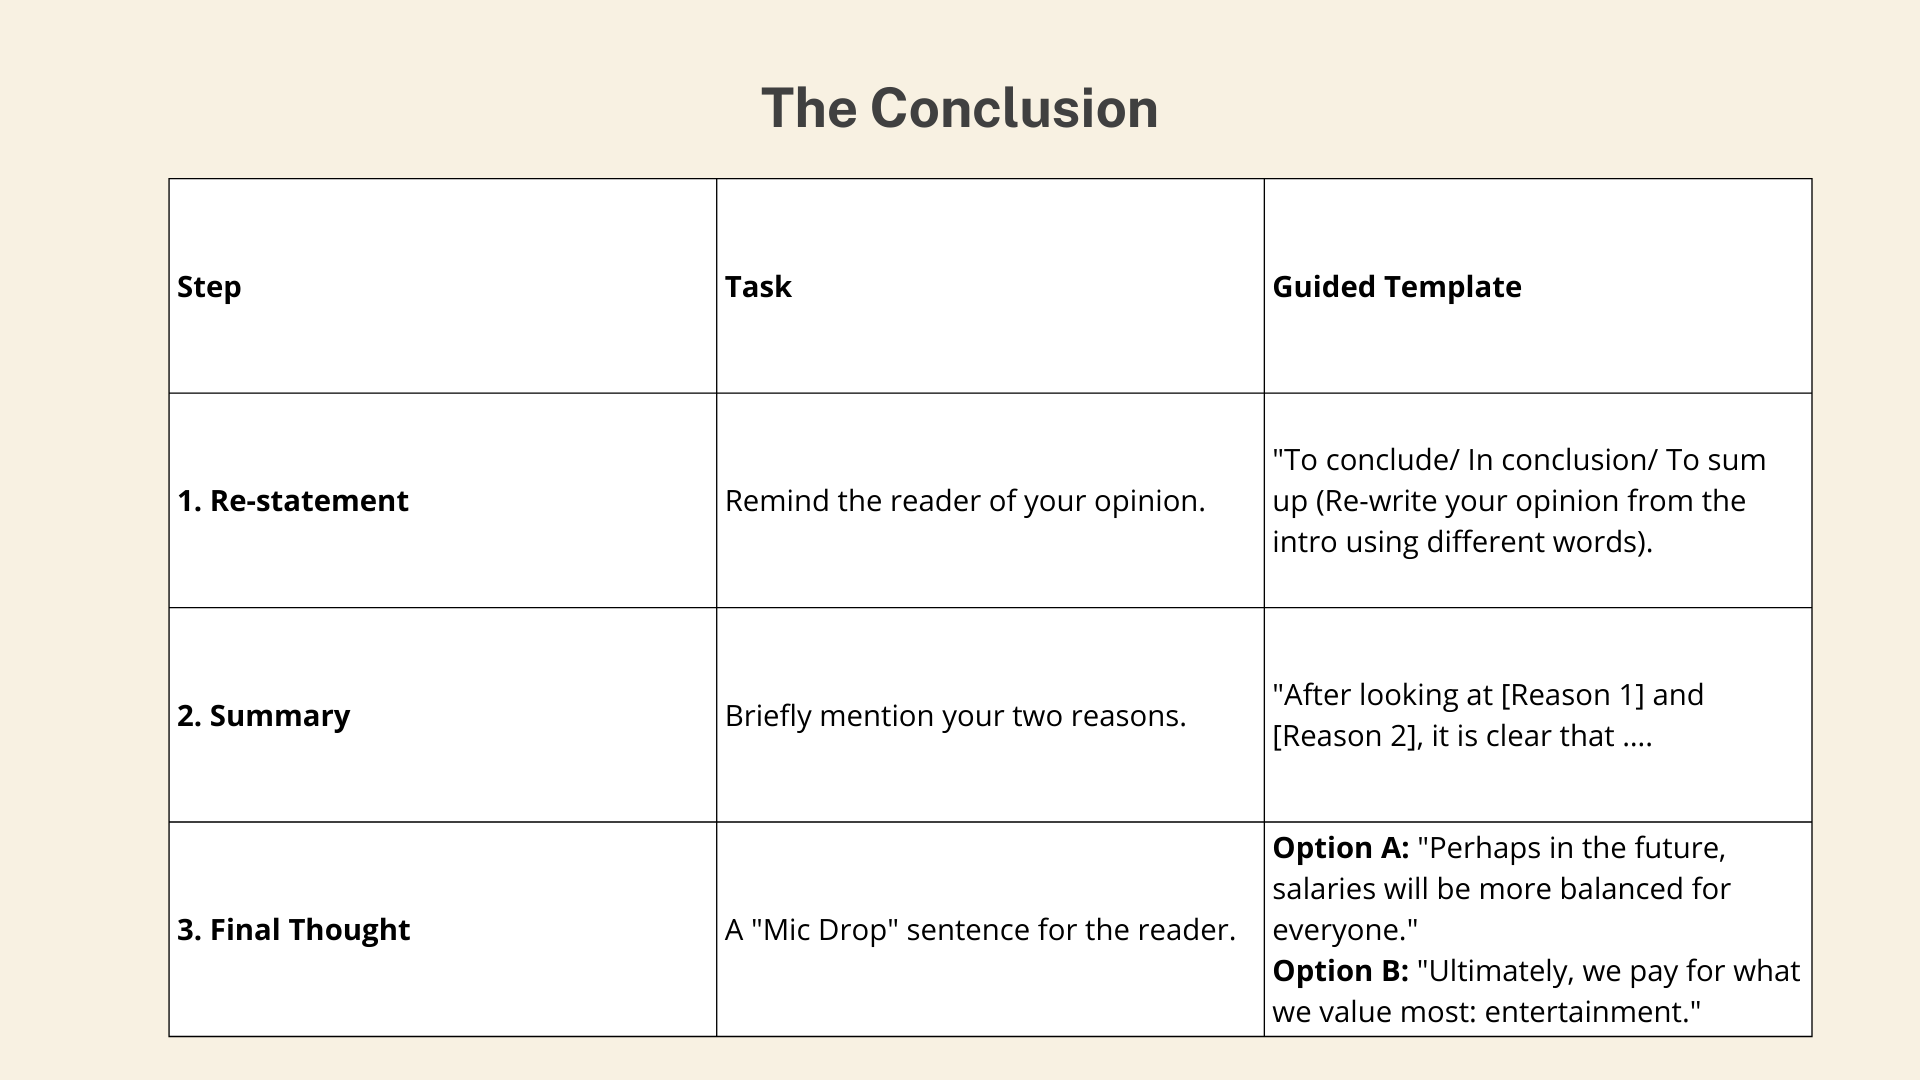
    • Conclusion: wrap up the story

2. Focusing on the Headline Characteristics

  • Always be  concise and direct
  • Typically use: …

(refer to the PDF)

Step 2: Creating the Prompts for the Fake News Stories. The Beauty of Belnding Old and New

Back in the day, crafting 15 fake news headlines for a lesson? Absolutely not. Too much time, too much effort! But now? With AI, it’s  so easy!!!.

I hopped onto Canva and  wrote the prompt below—and, in seconds, I had them all. Then, I printed them (yep, old-school paper!), and bam—ready for class.

I want to give my C1 English students news headlines and some details of the story. Students will need to write the news story and be creative. Can you provide me with 15 news headlines and a  couple of details about the story using bullet points? They will also be required to use reported speech  so some direct quotes from people involved in the story are welcome. Include some fun headlines about EOI Avilés, a state language school in Asturias.

Link

Newspaper headlines de cristina.cabal

Step 3. Fake News on a Clotheslines

Next, I hung the cards  on some cute clothesline.

Students stood up, browsed the “news,” and picked their favorite headline -the stories included some hilarious takes about my school, EOI Avilés (those got the biggest laughs).-Then, they got to work writing their stories. I gave them 25 minutes to write their stories.  And just like that, you can turn a writing activity into something dynamic and interactive.

While students wrote their fake news stories, I got to work correcting their most important mistakes. It took longer than expected, so I handed out an extra exercise to keep them busy while I finished.


Final Step: Headline Hunt and Story Swap

For the final step, I divided the class into journalists and audience members. The journalists hung their prompts for headlines on the clothesline, giving a glimpse of what their stories were about. I asked the audience members to stand up, browse the prompts, and choose the one they were most curious to hear. OOnce selected, the audience members read their chosen headlines aloud, and the journalists who had written the corresponding stories raised their hands. They then paired up, with the journalists sharing their stories directly with the audience members. While I didn’t ask them to memorize their stories, they were encouraged to speak naturally and avoid reading directly from their texts, making their storytelling more engaging and dynamic.

They, then, changed roles.

FINAL THOUGHTS

This whole process got me thinking about how magical it is to mix traditional teaching methodologies with the innovative power of AI. AI takes care of the boring work—brainstorming, designing, even personalizing content—while I get to focus on the hands-on, human side of teaching. It’s like having a super-efficient assistant who works behind the scenes while I take center stage in the classroom.

And honestly, I think that’s the future of education. It’s not about choosing between AI and traditional methods. It’s about finding that sweet spot where the two complement each other. AI gives us tools to do the heavy lifting, but we still get to add that personal, human touch.

Follow us on