It’s Sunday evening, I’m prepping for the week, and I open my B2.1 students’ textbook to the report writing unit. Five seconds in, I want to close the book, pour myself a glass of wine, and pretend it doesn’t exist.
You know the kind of page I mean. Dense. Overwhelming. A chart nobody asked for. Vocabulary that even I have to look up. My students wouldn’t read it — they’d survive it. Barely. And I’d spend the entire lesson firefighting confusion instead of actually teaching anything useful.
So I did what any self-respecting language teacher does: I refused to accept it and went rogue.
Step 1: I Went Textbook Shopping
Before I even thought about creating anything, I did a little research mission. I pulled out a few different textbooks — because no single textbook has all the answers— and I started gathering:
- The core structure of a report
- Realistic vocabulary my students can actually use without sounding like a lawyer
- Task types that make sense for where my students are right now
Step 2: Hello, Gemini and Hello ChatGPT
1. Generating the Text
Once I had my notes, I headed over to Gemini and copy/pasted my notes and asked it to generate clean, level-appropriate content. Exactly the kind of thing I wished was in the textbook in the first place.
2- Generating the worksheets
So now i have the text; but, in the era of AI, why give them a boring document when you can give them a beautifully structured worksheet? Because — even well-written content, if it looks like a photocopied page from 1998, is going to kill the vibe before we even start.
So I took my Gemini-generated content and went straight to ChatGPT — a if you haven’t tried the new image generation model in ChatGPT yet, close this tab and go do that first. I’ll wait. It is genuinely the best option out there when your worksheet involves formatted text, tables, or any kind of visual structure.
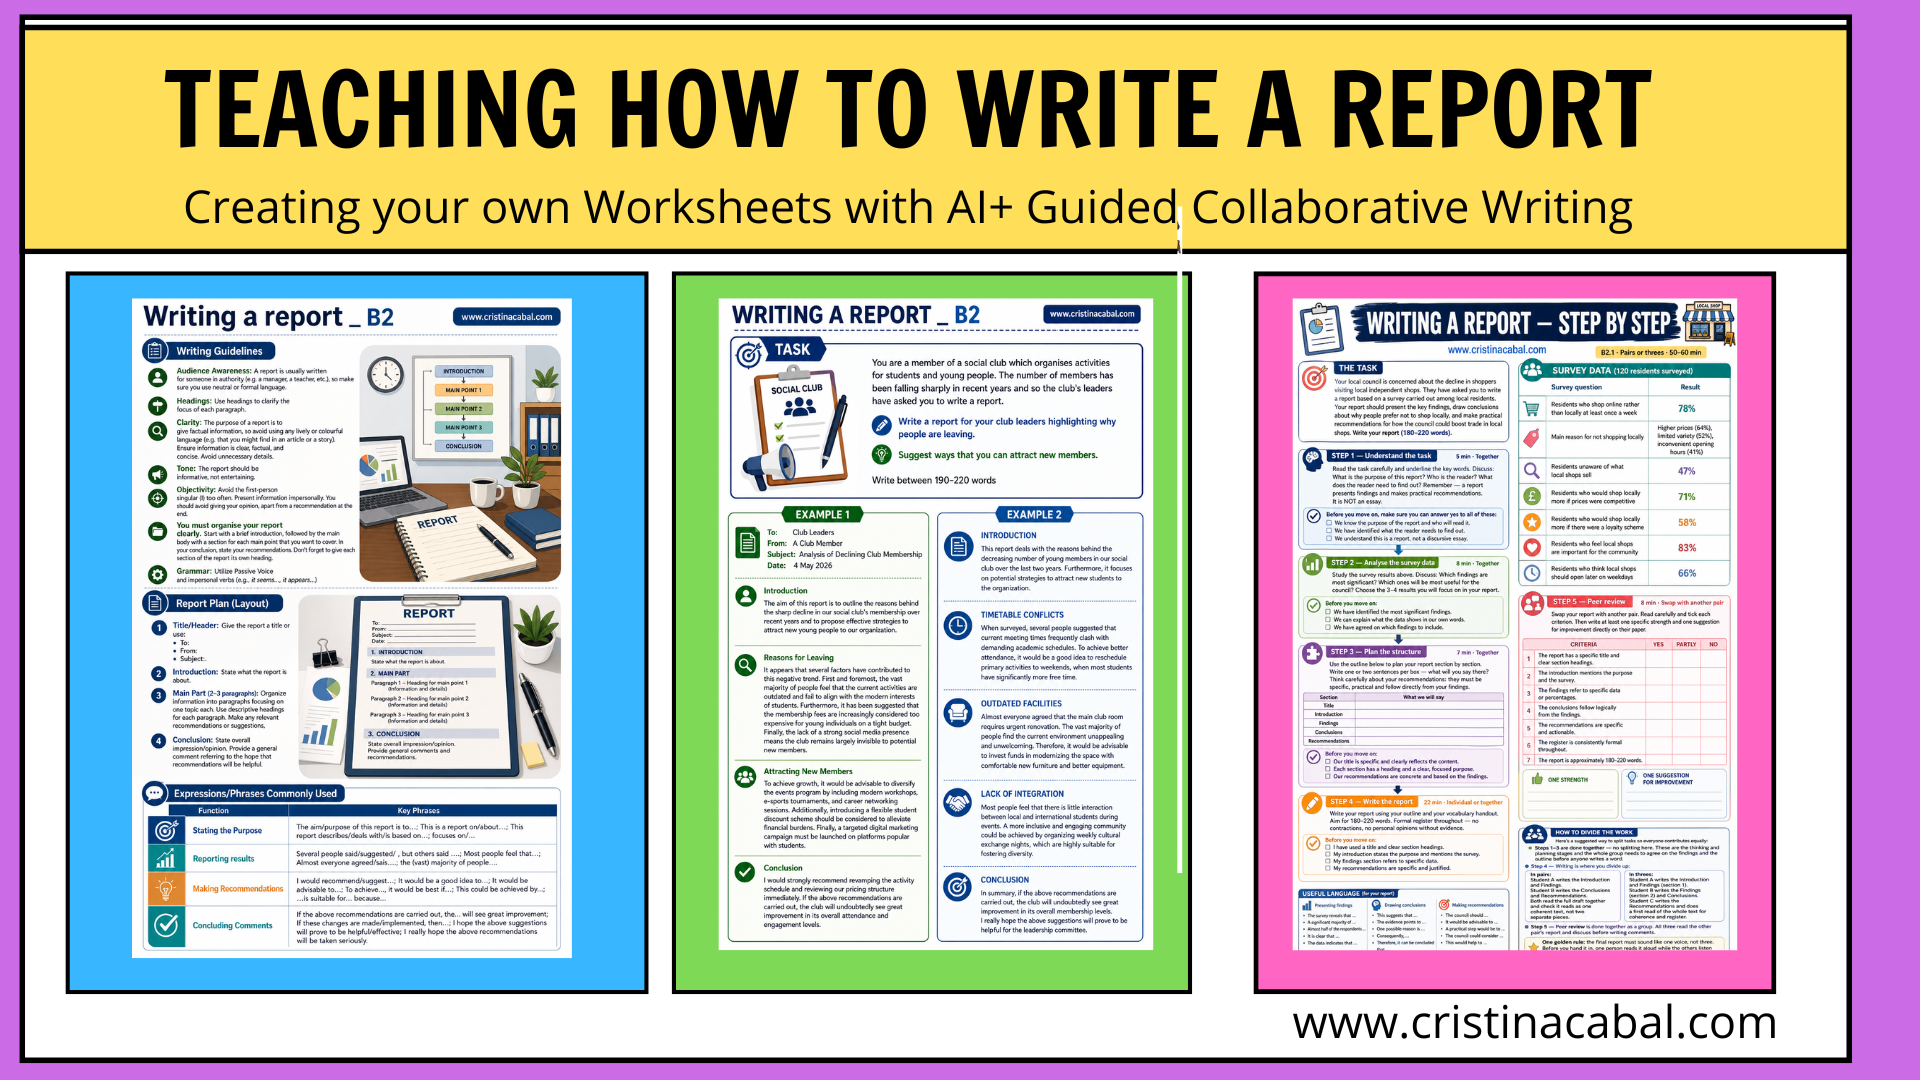
I want you to create a worksheet with the content pasted under these lines. Include all the information pasted. Title “Writing a report _ B2 www.cristinacabal.com” . Use images related to the content to make it more visually appealing. Clean design.
And the result? A worksheet my students actually picked up and looked at. With curiosity. Not dread.
To get the worksheets, Right click on the image and Save as…
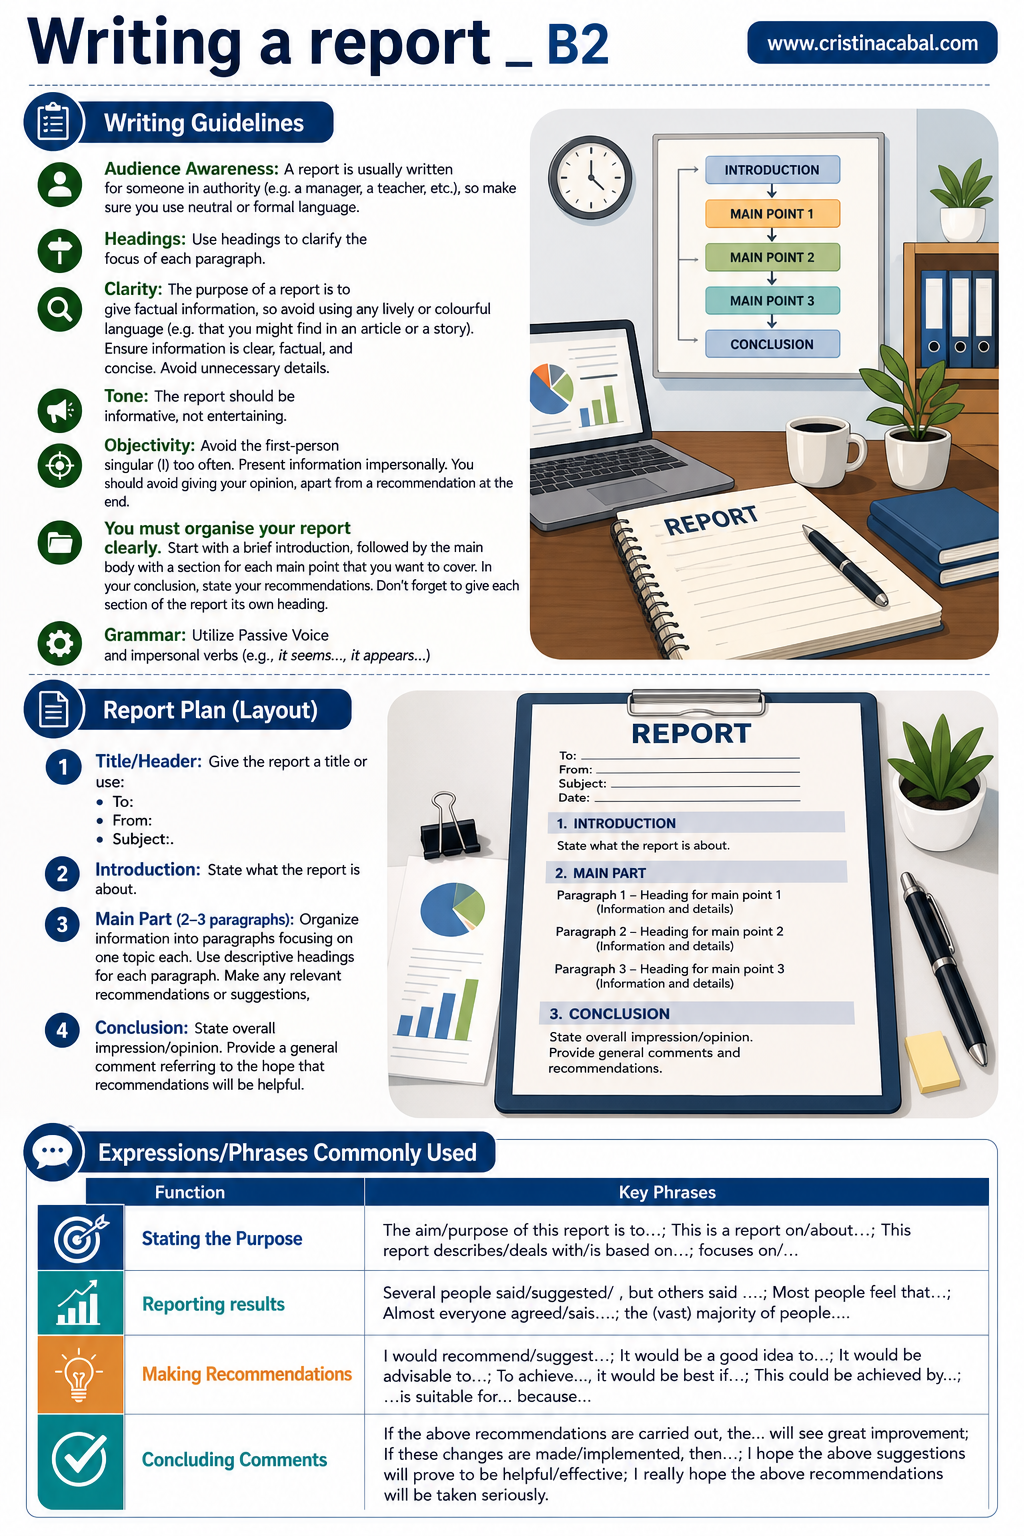
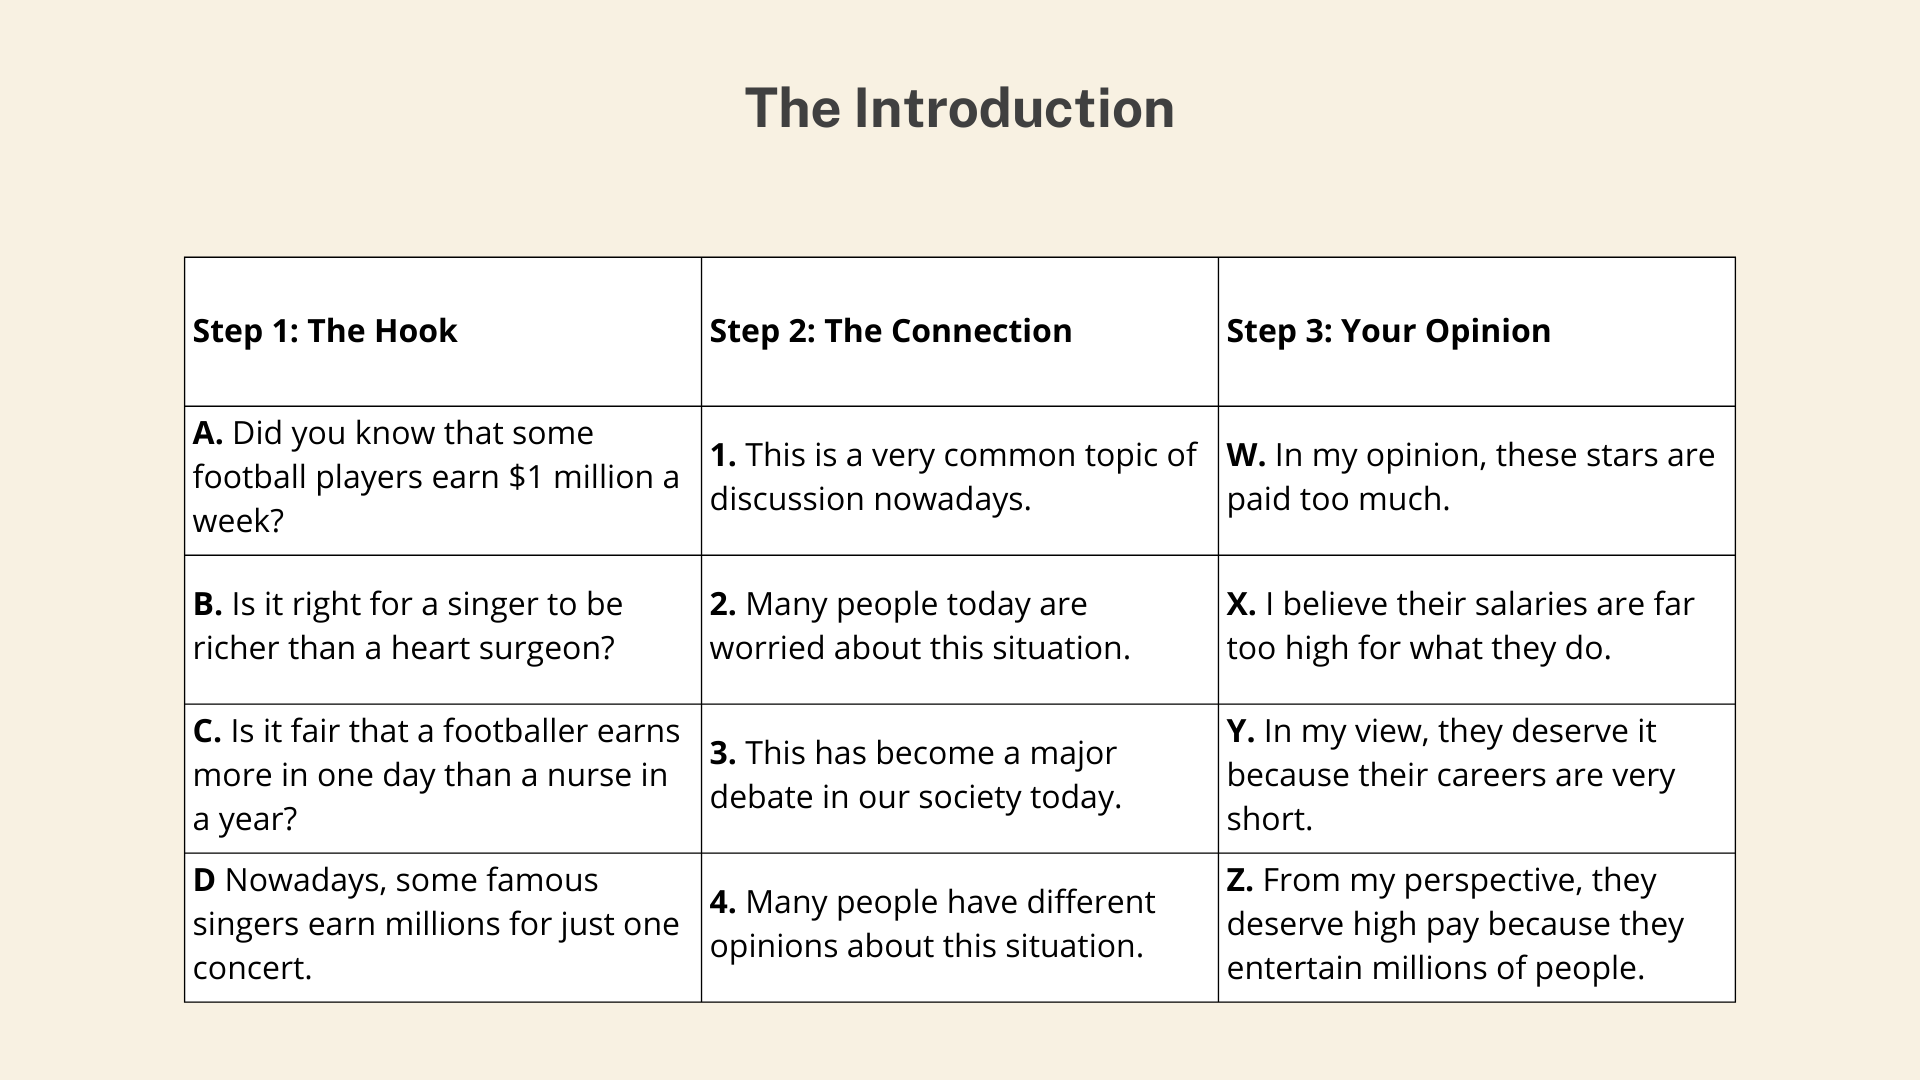
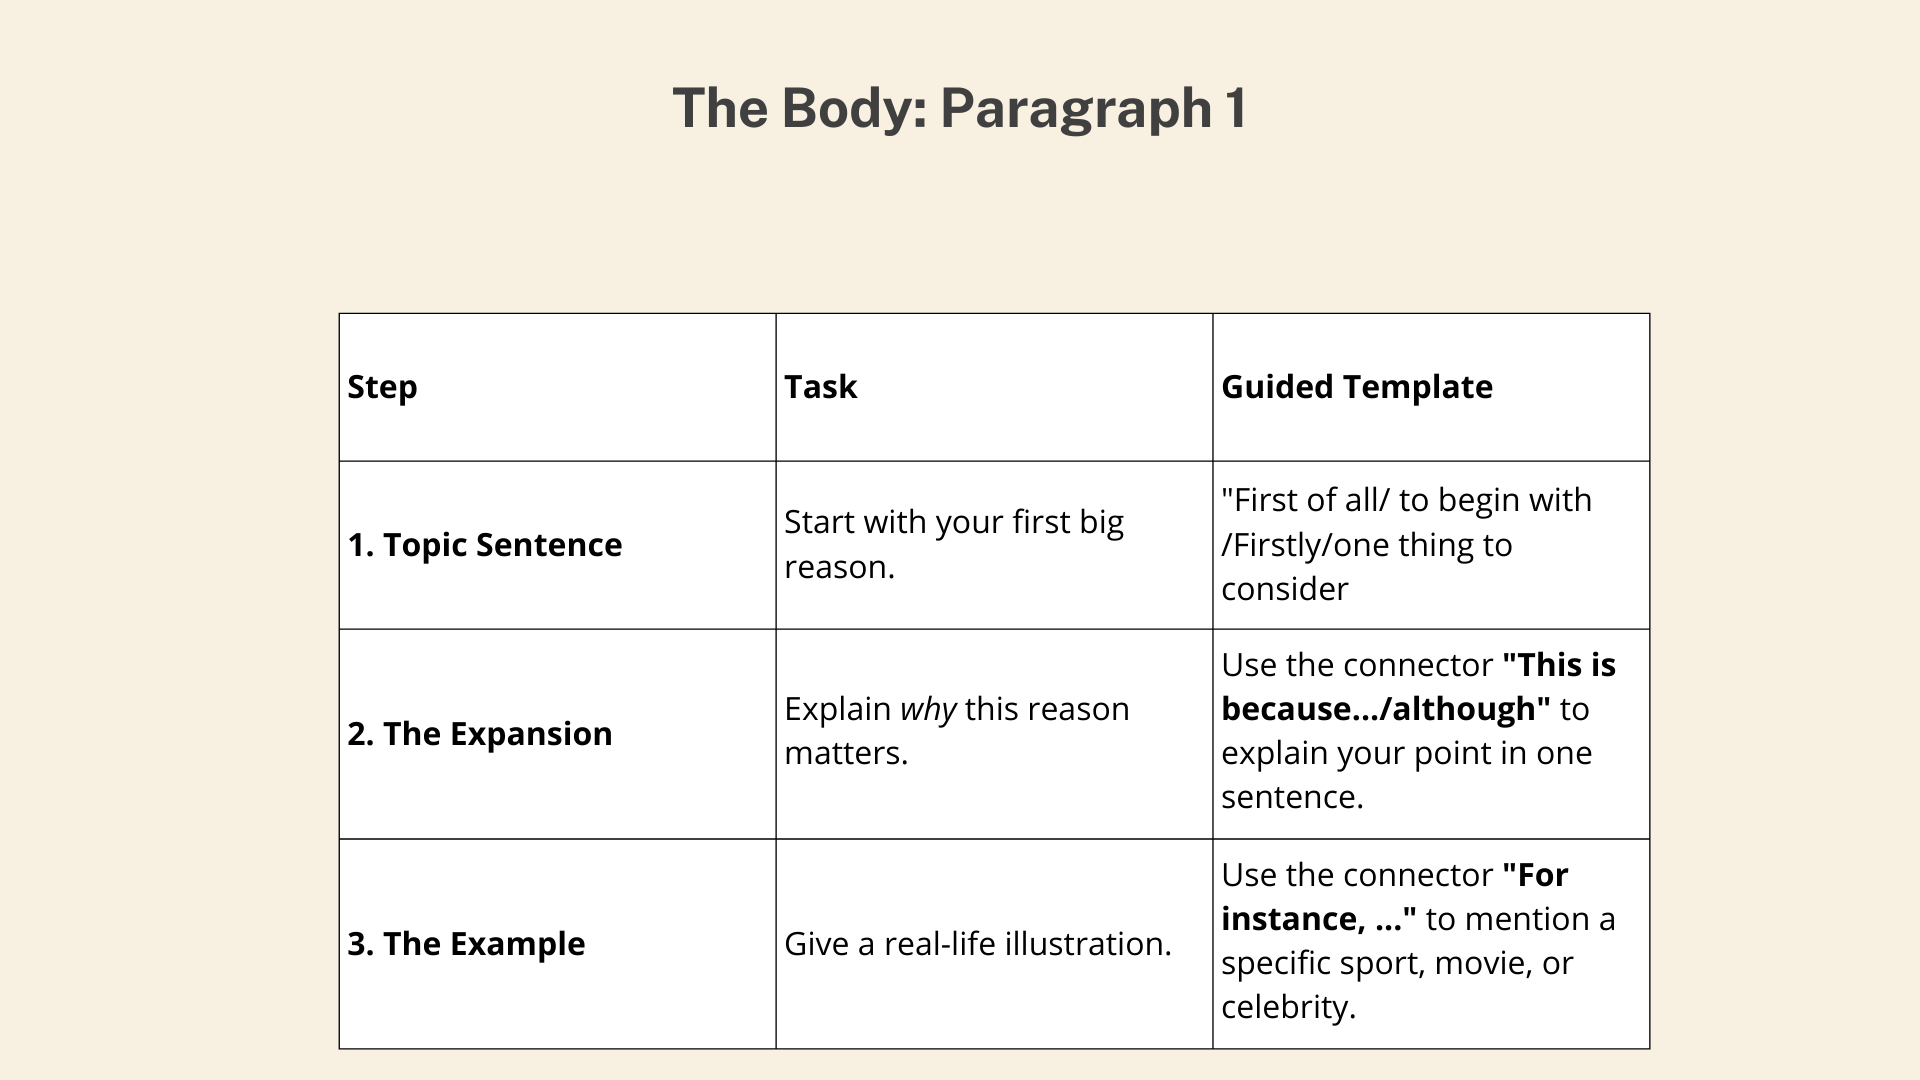
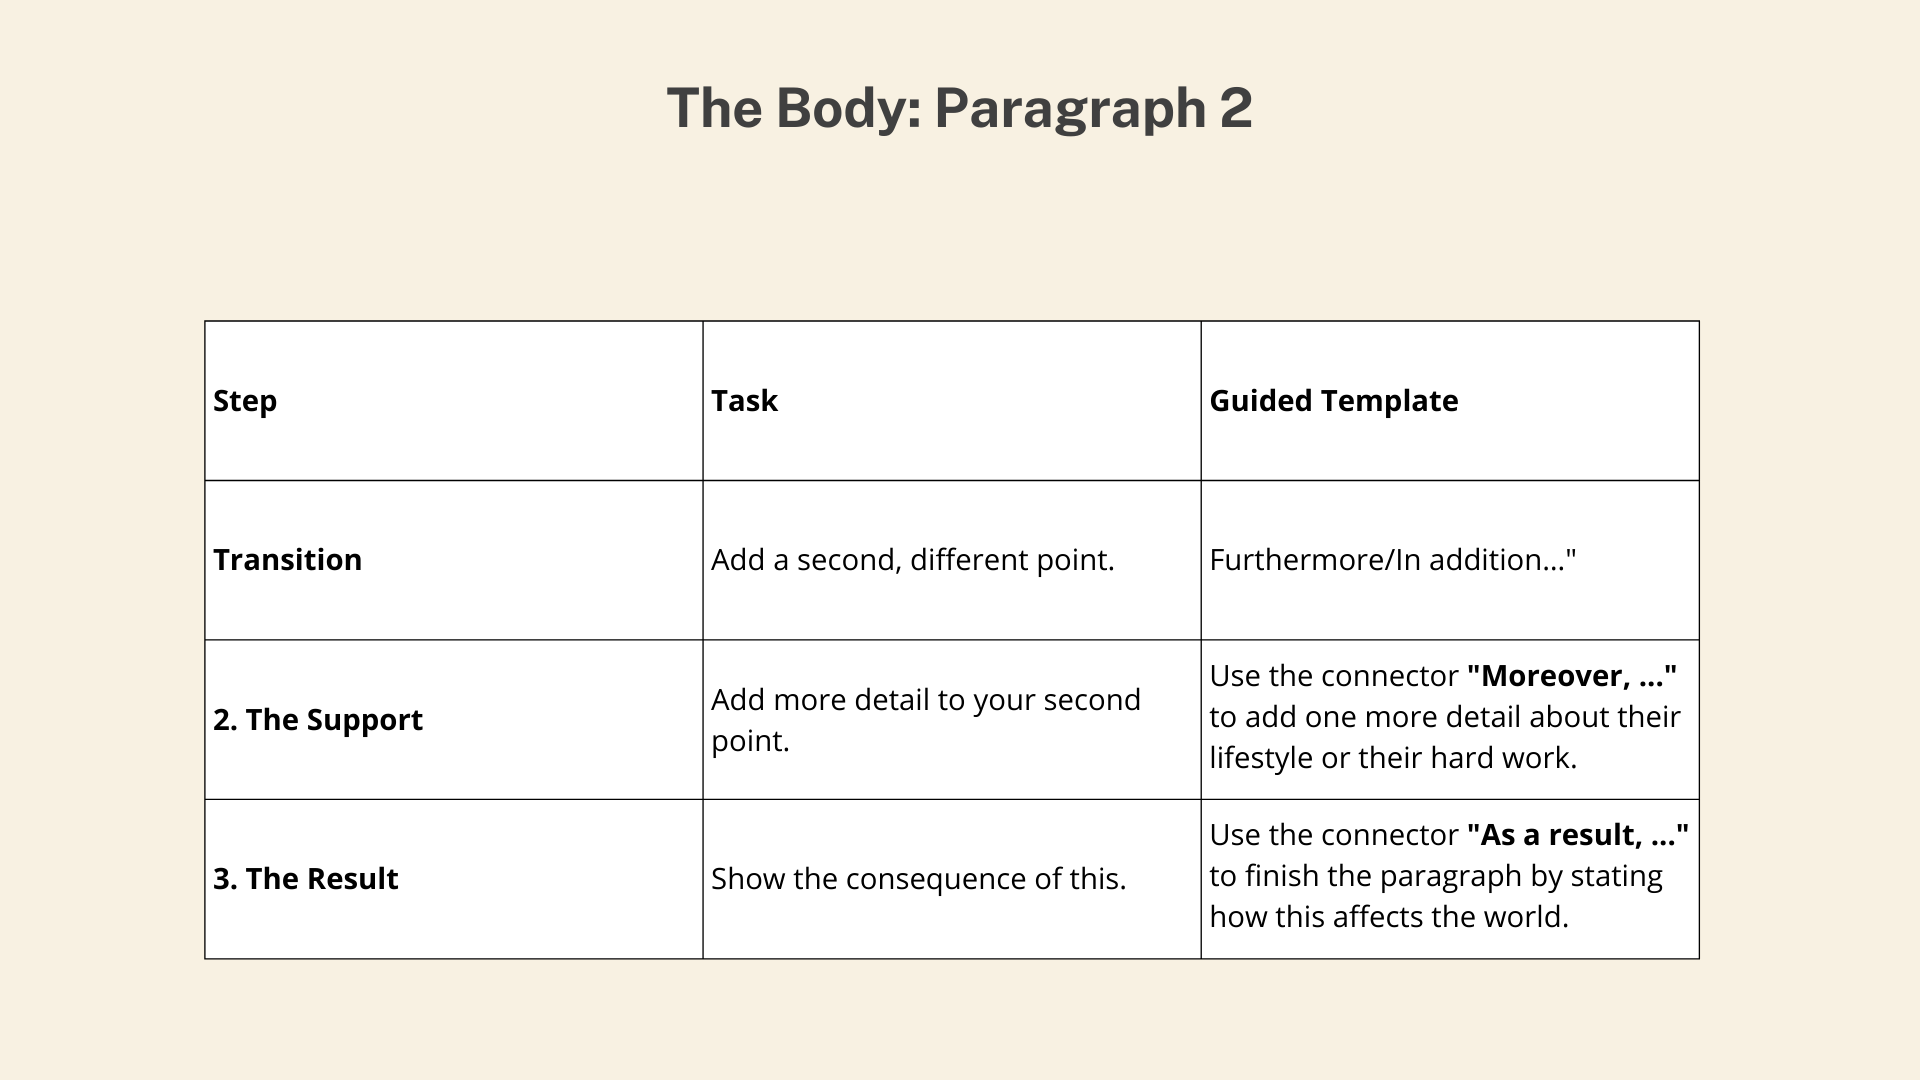
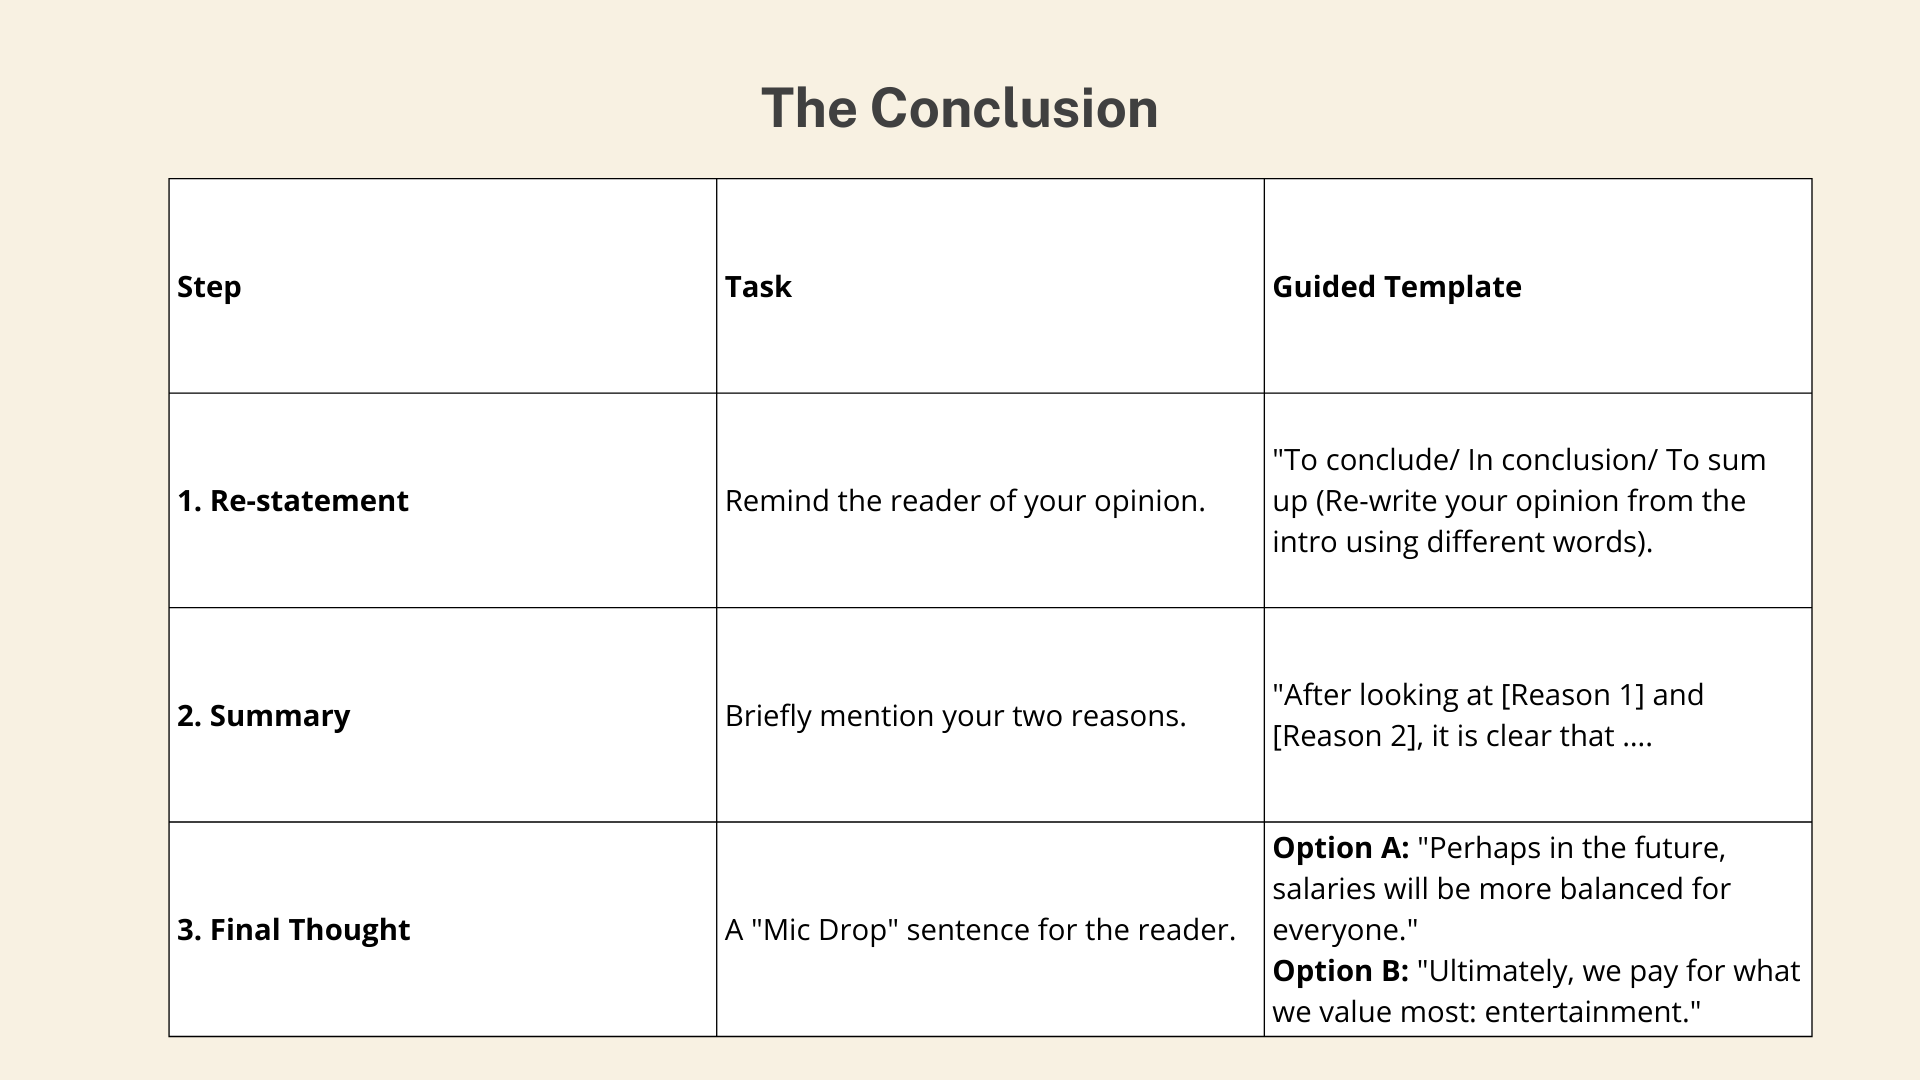
It has everything they need:
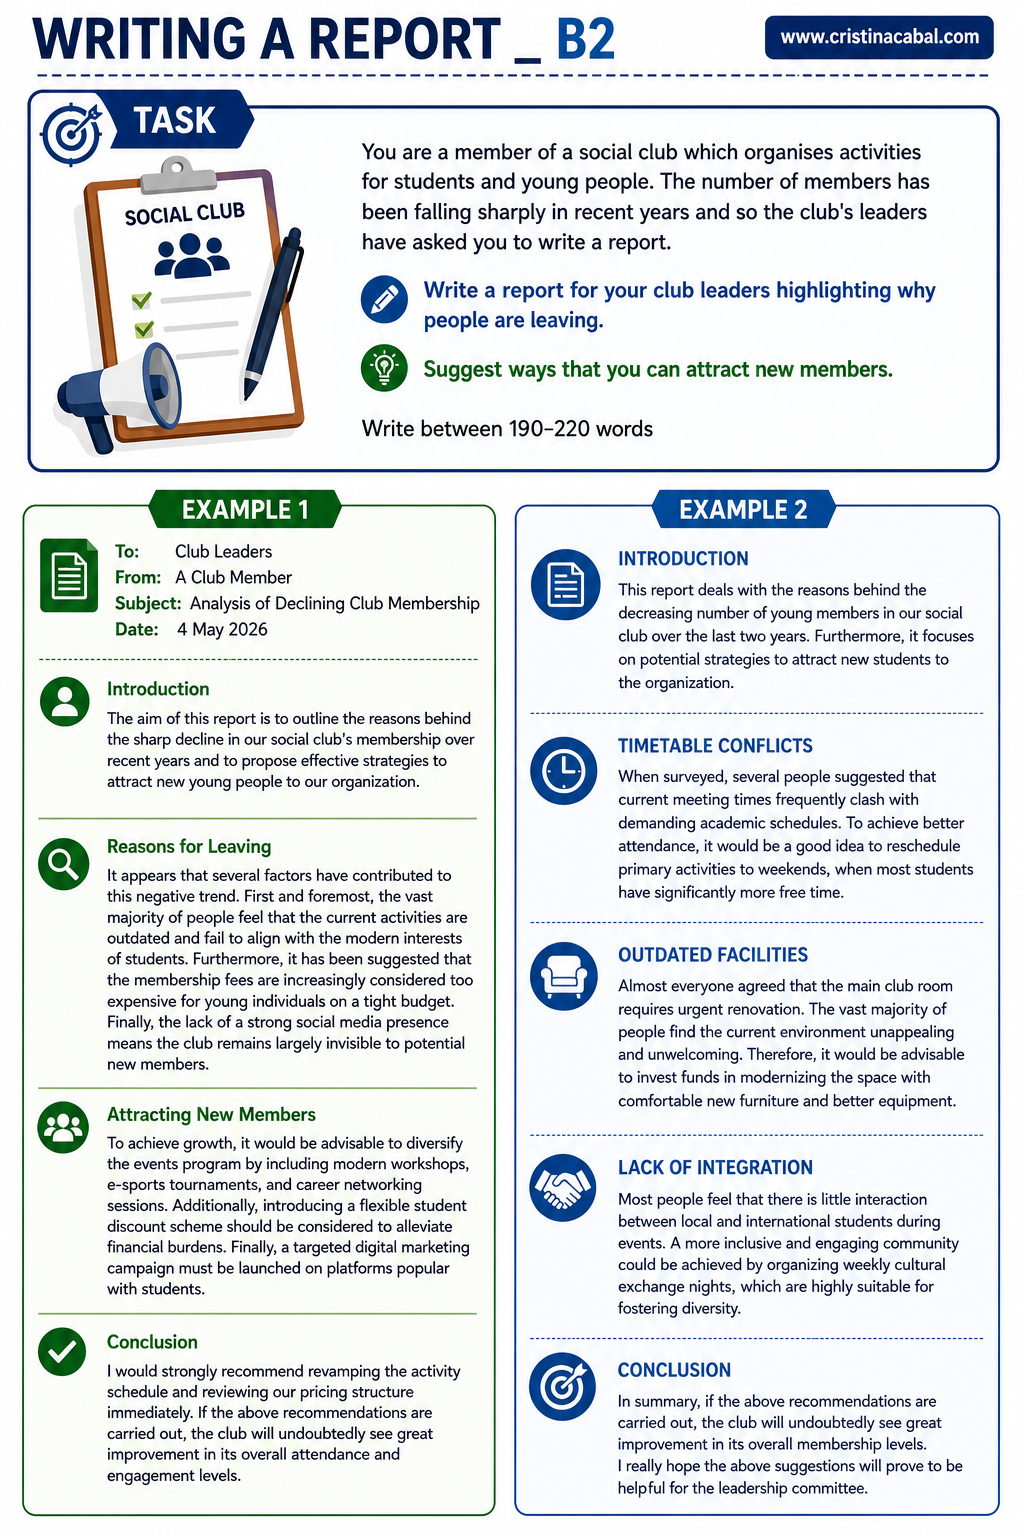
- A model text at the right level
- Guided vocabulary in context
- A clear framework they can replicate
- A writing task that feels achievable
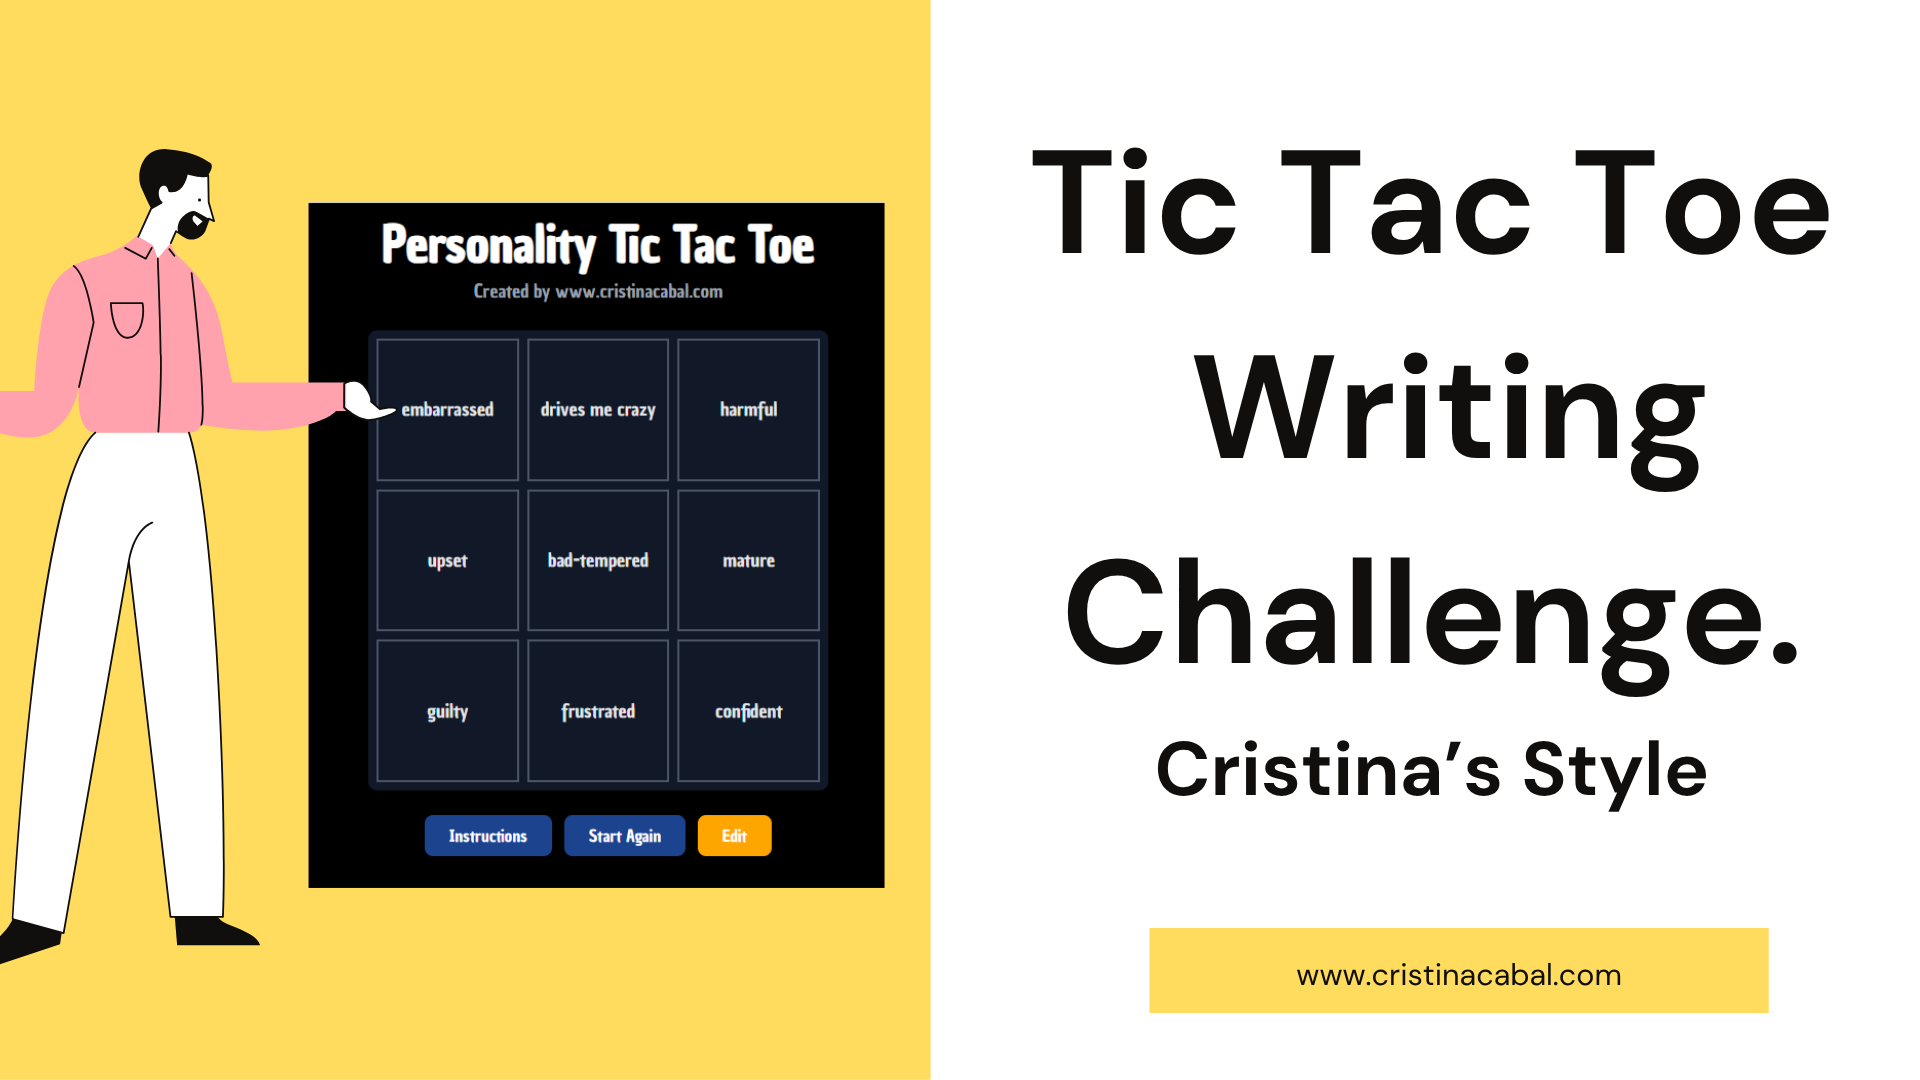
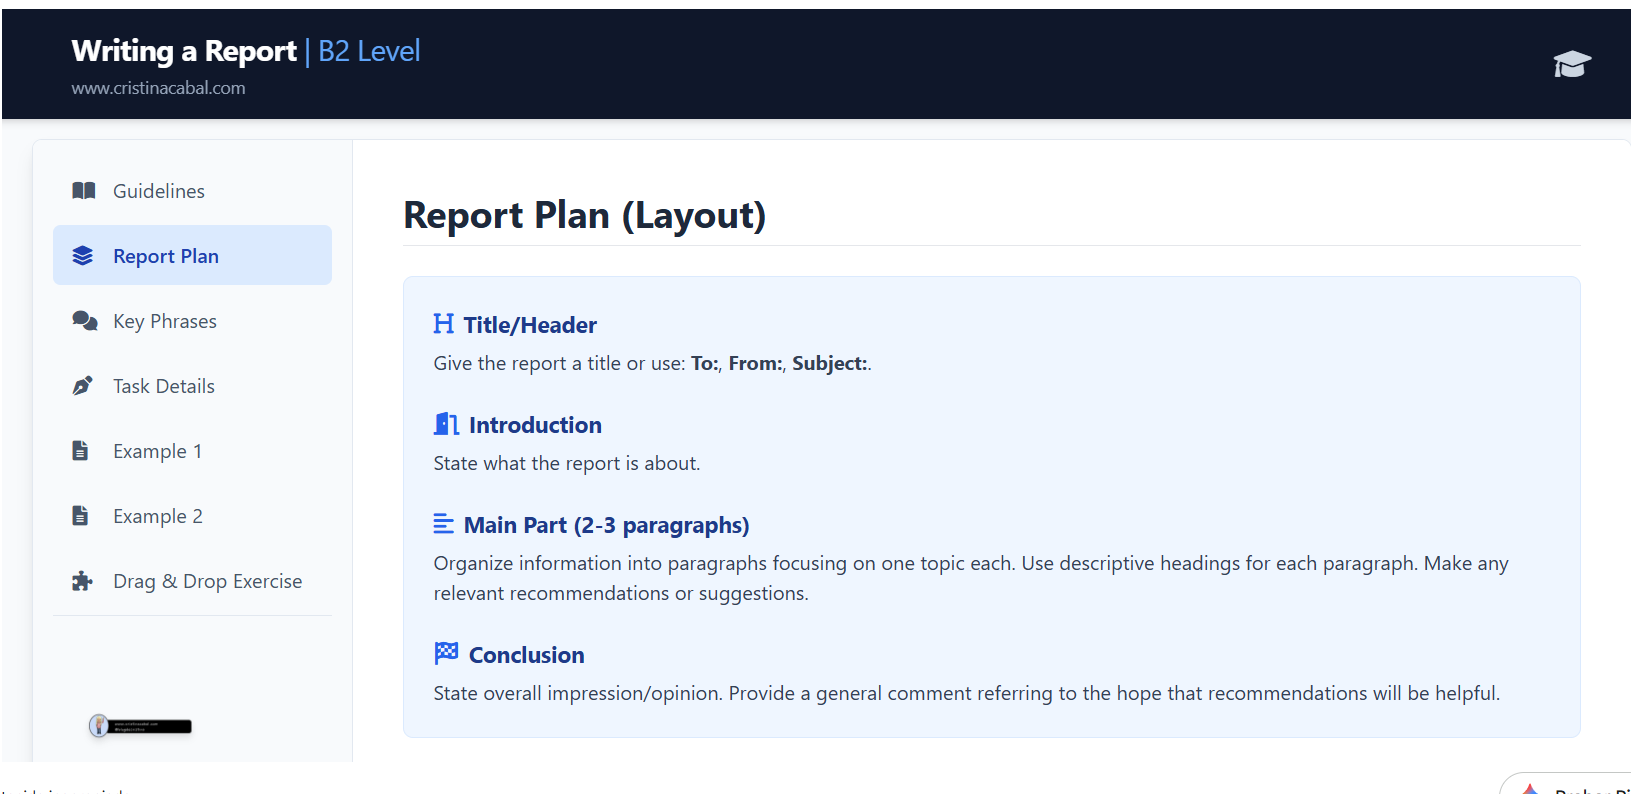
Step 3: And why not an interactive website for those who prefer interactive content?
Because apparently a gorgeous worksheet wasn’t enough for me, I also went ahead and built an interactive website to go with it with a Drag and Drop exercise
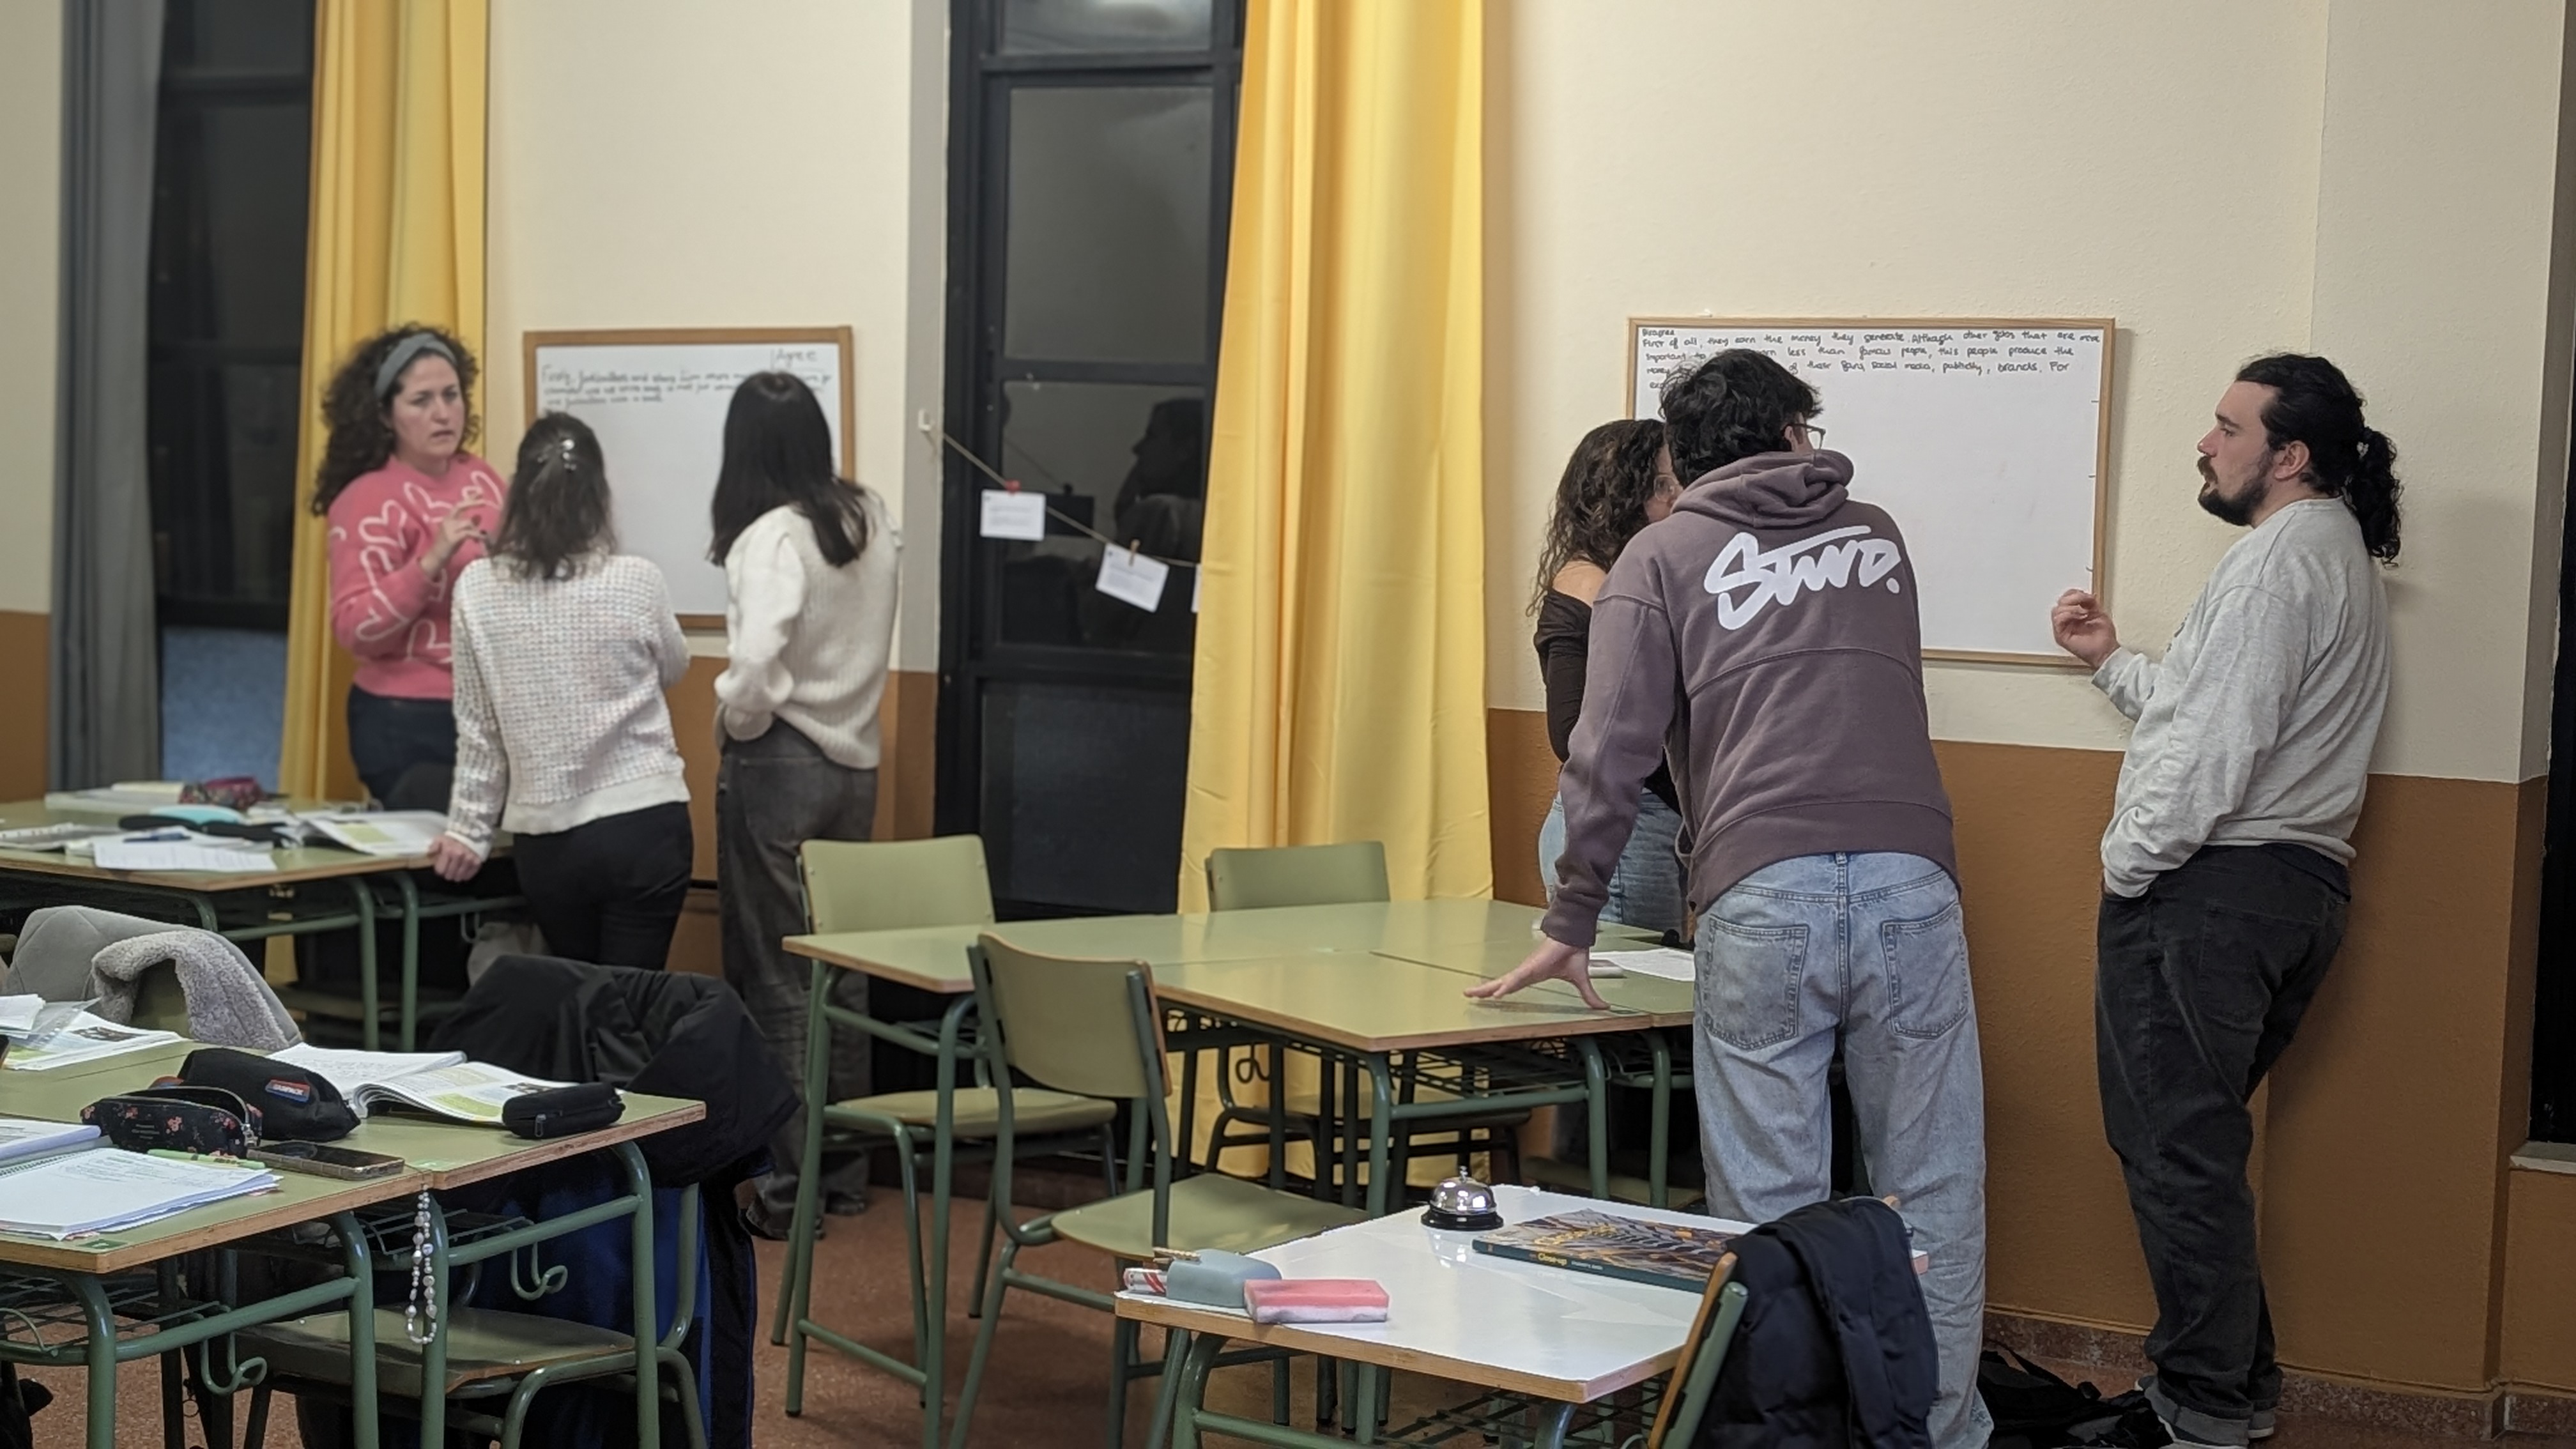
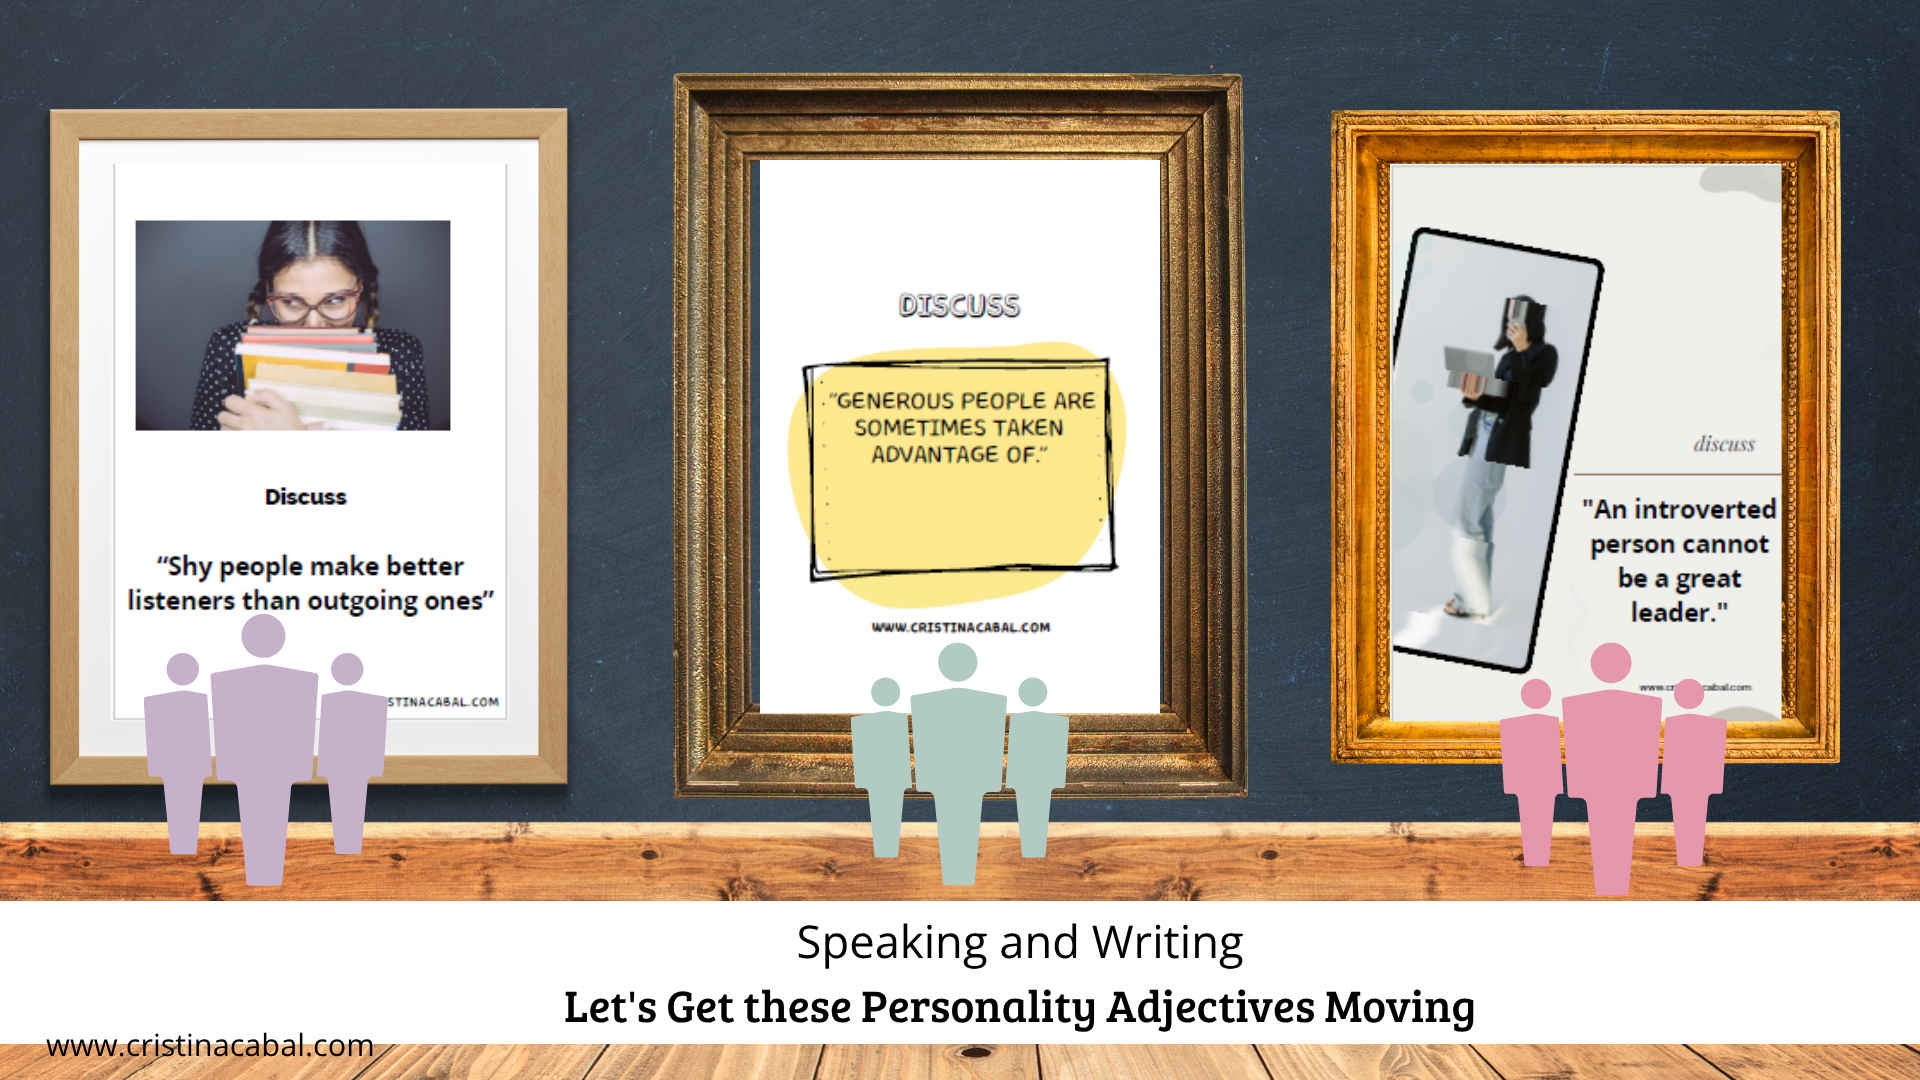
Step 4. They Know the Theory. Now They Need to Write.
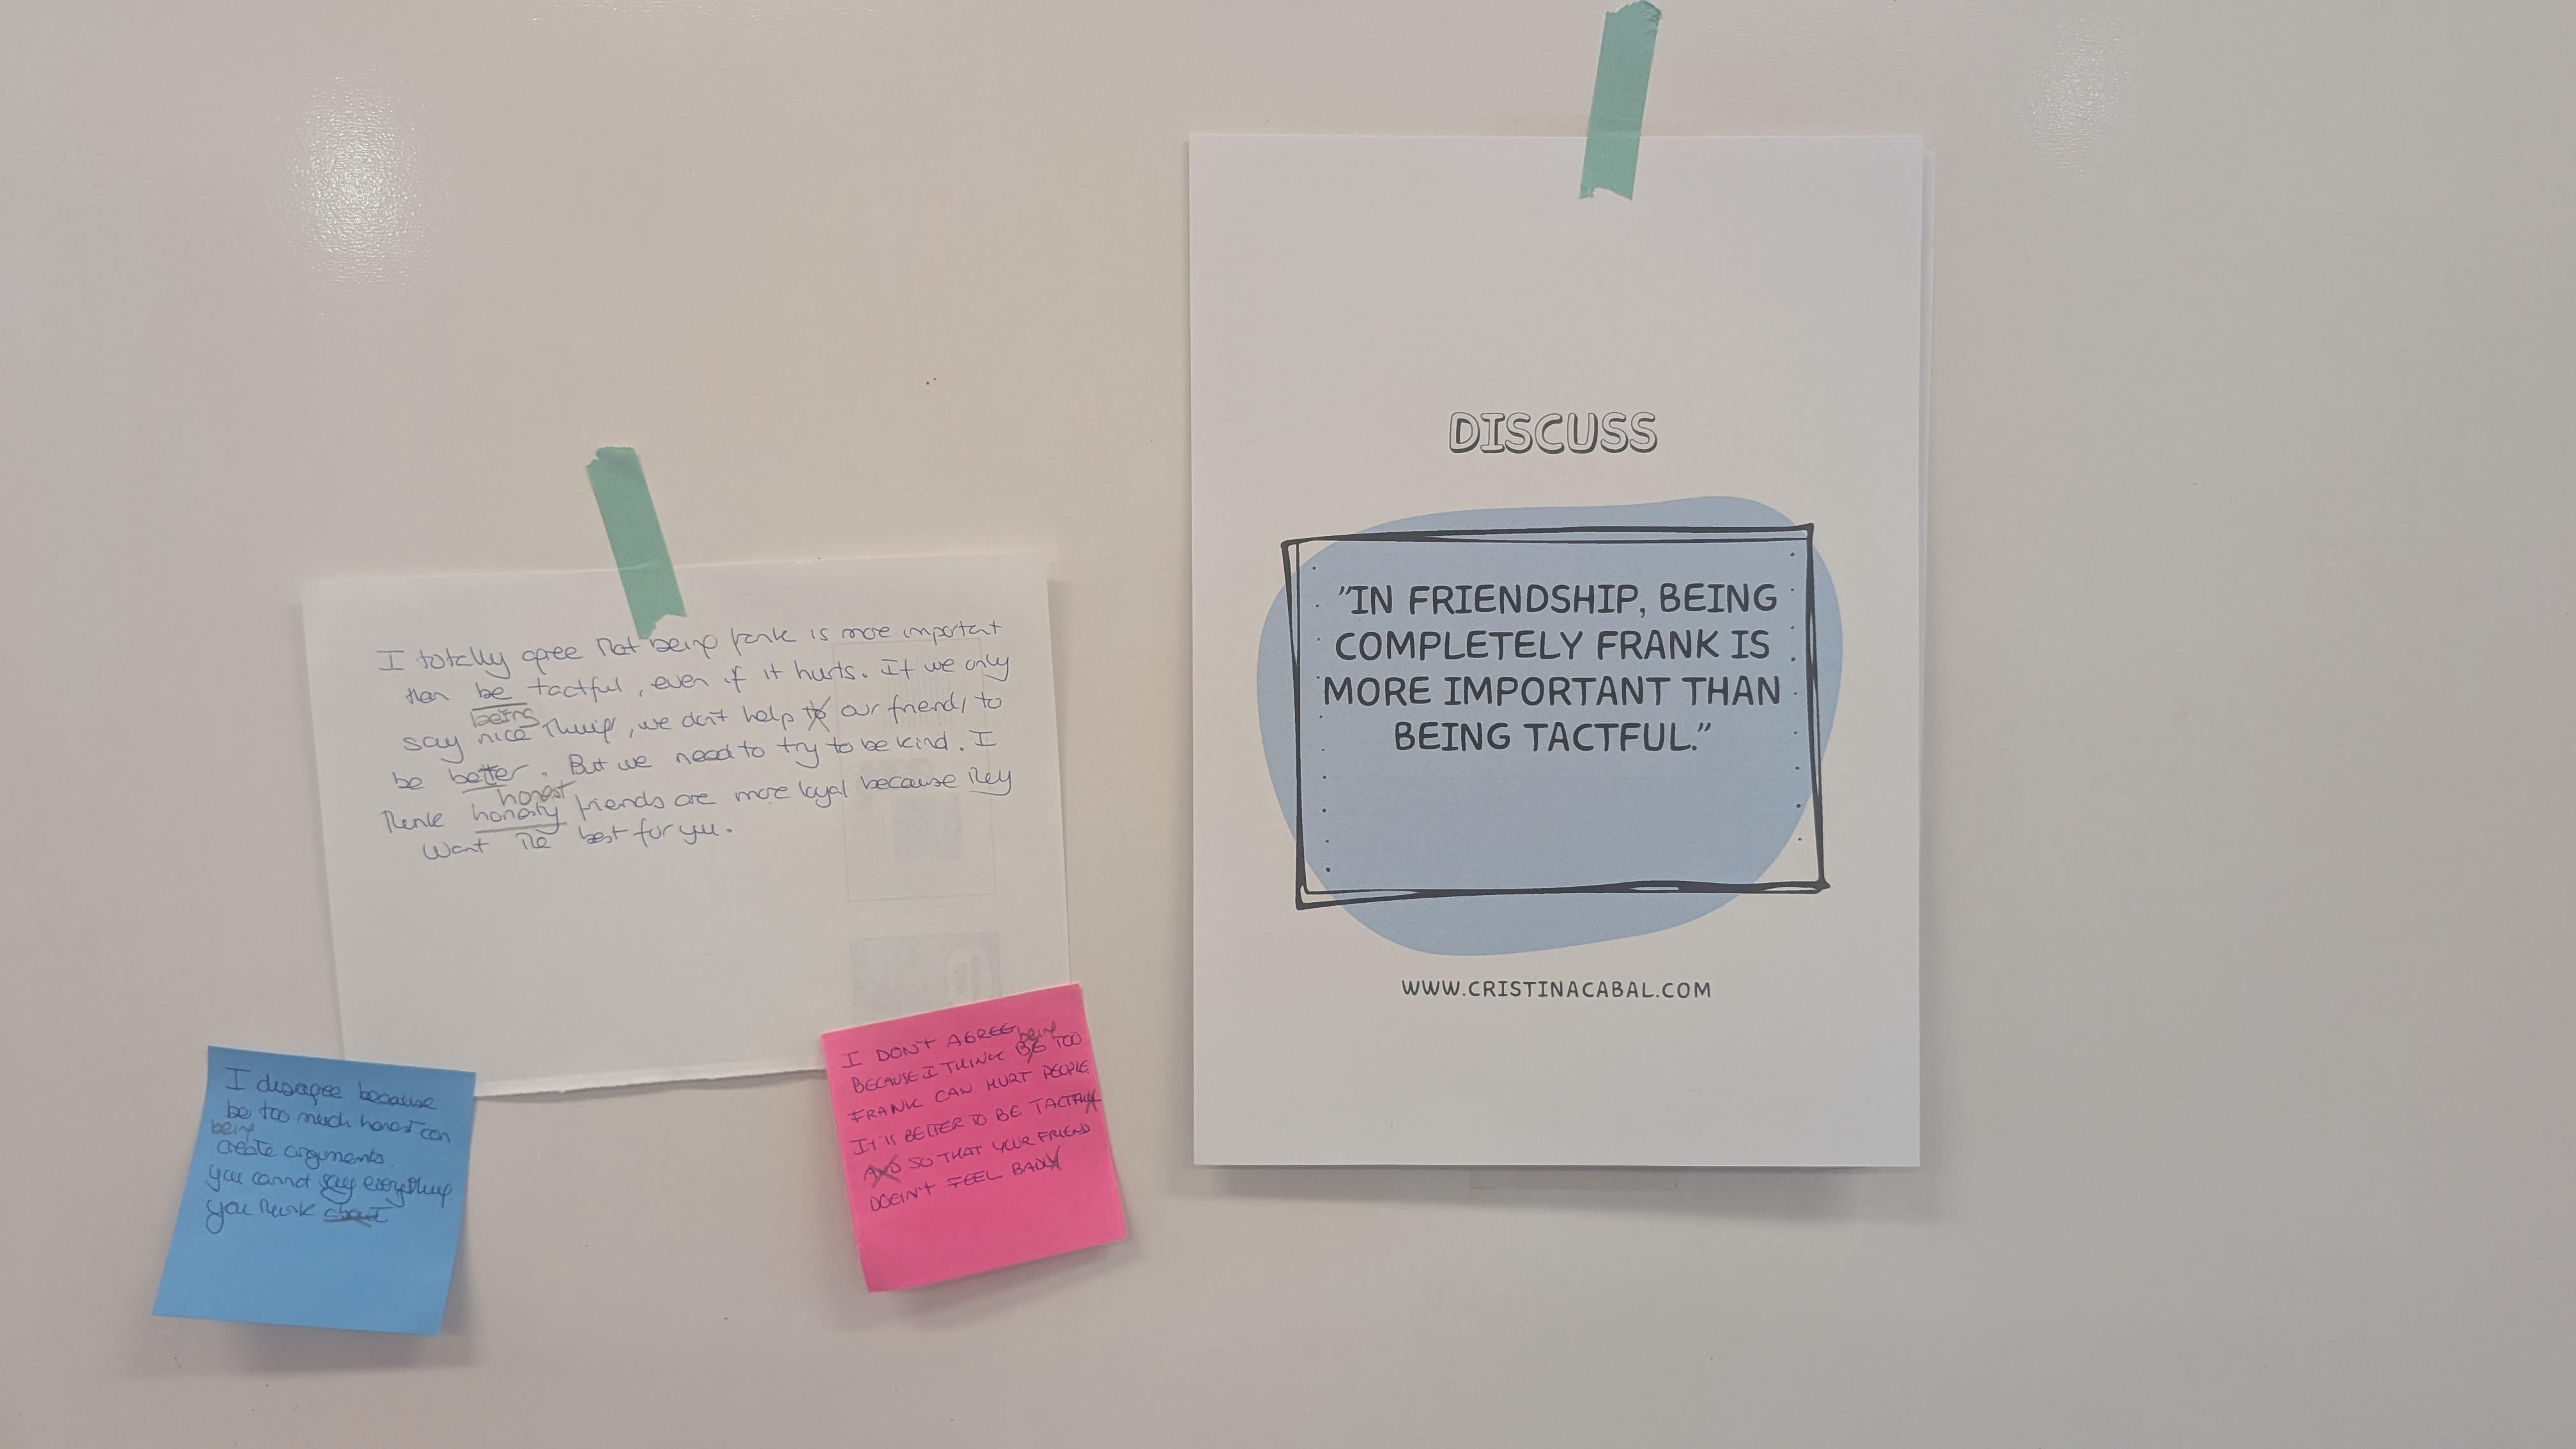
Knowing the structure is one thing. Producing it under exam conditions is a completely different story. Report writing doesn’t come naturally to B2 students — it needs practice. Lots of it. And they can’t do that without me in the room, monitoring, nudging, redirecting. What works for me is collaborative guided practice: students work together within a clear framework, which lowers the anxiety AND means I can actually see what’s happening before they write a single word. The activity below is exactly that. Does it guarantee a perfect report? No. But it gives them a fighting chanc
Note: Click here for a more user-friendly view of the webpage with the step-by-step activity