My brain doesn’t switch off. Ever. I’ll be watching TV and — boom — I’m already thinking, “How can I use this in class?” Is it a blessing or a curse? Honestly? Both. But mostly a blessing, because sometimes it leads to something really cool. Like this.
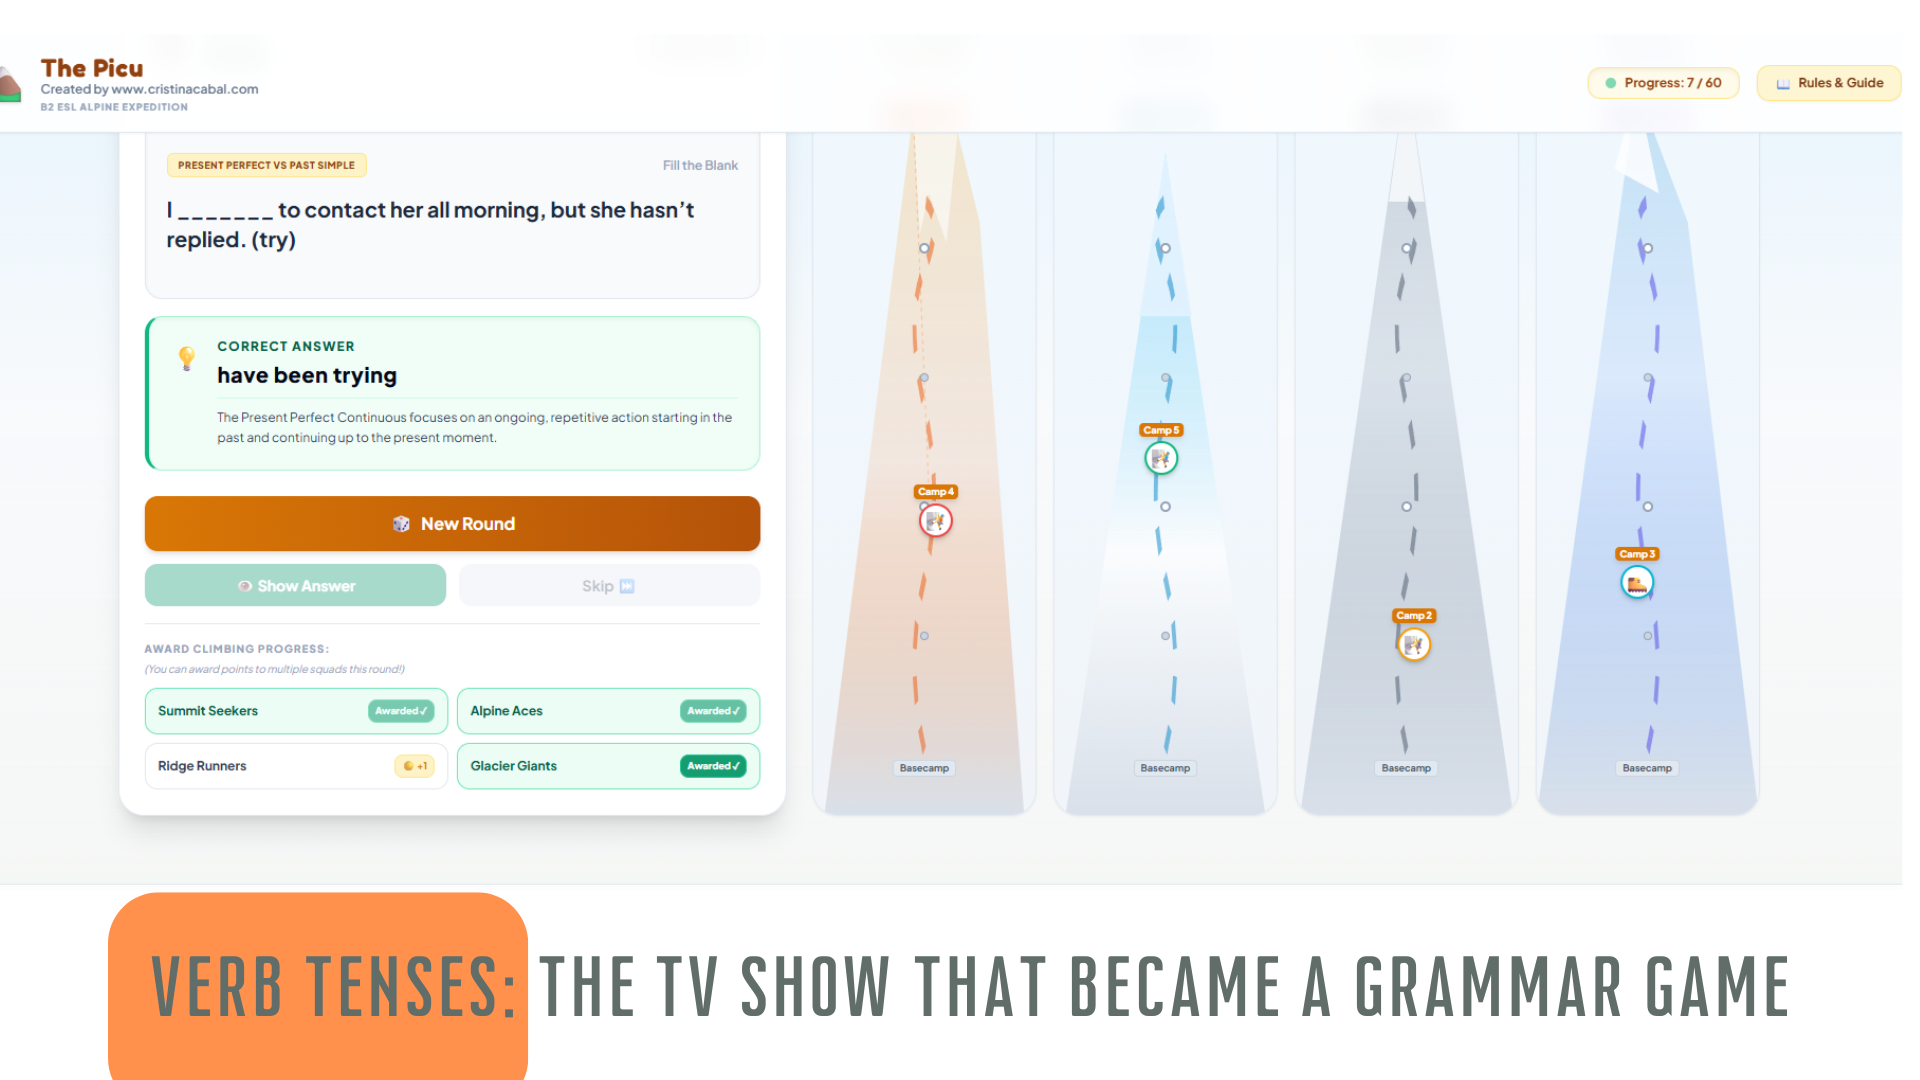
There’s a programme on Asturian TV called El Picu — and picu means “peak” or “mountaintop” in Asturian. The concept is simple: contestants answer questions, and with each correct answer, they climb a little higher up the mountain. First team to reach the summit wins.
I watched it and thought: my students would go absolutely mad for this.
I have the idea, Gemini builds the app
I have zero coding skills. But I do have Gemini, and that’s all I needed.
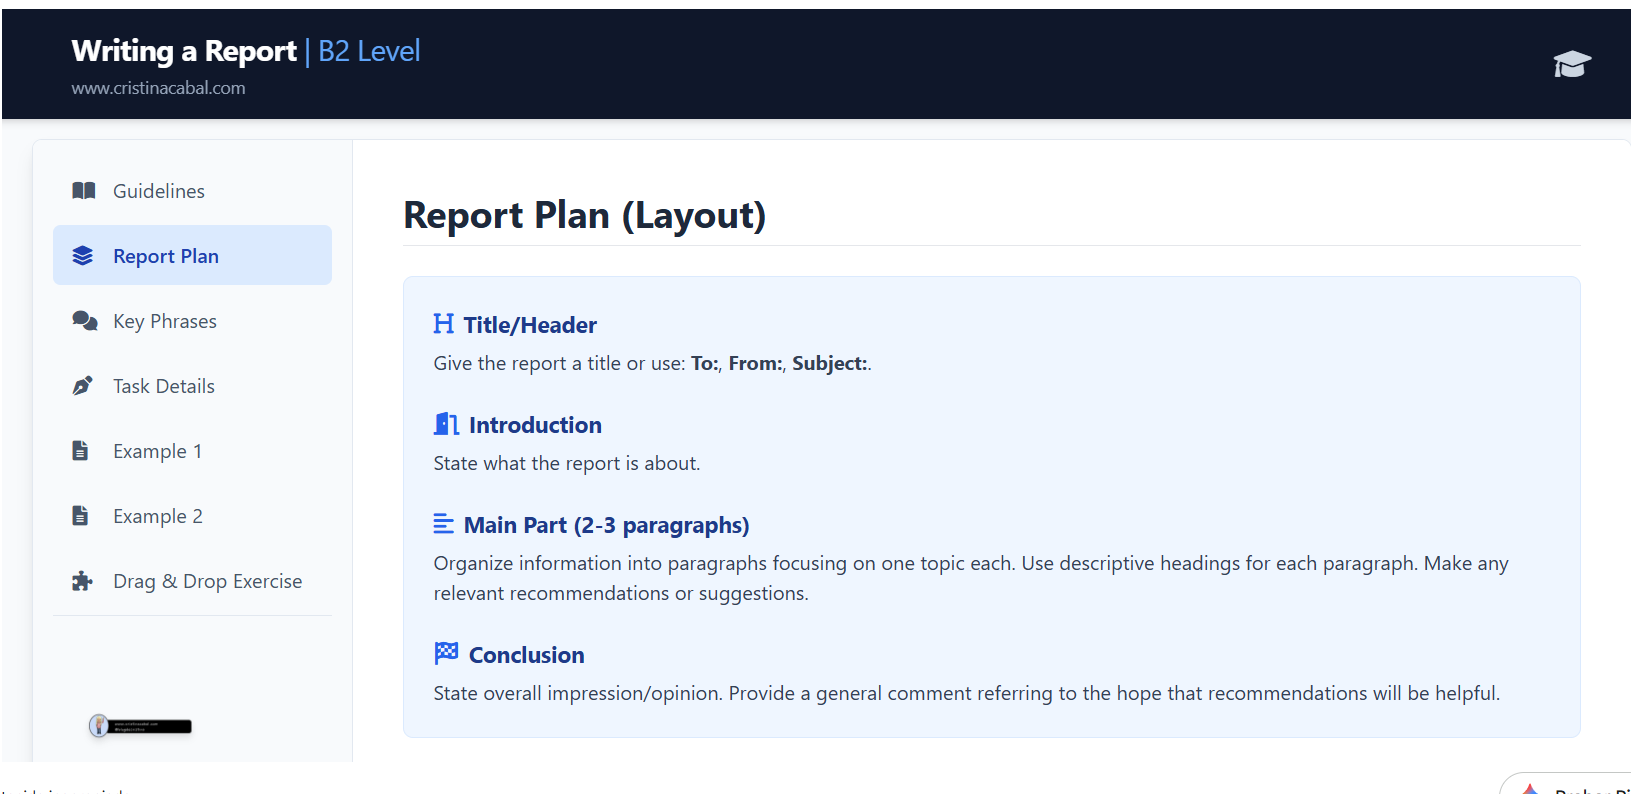
I won’t pretend it requires no preparation at all — you do need a bit of know-how about how to prompt it effectively — but the process itself is surprisingly straightforward. I described what I wanted, iterated a little, and before long I had a fully functional classroom game called The Picu: B2 ESL Alpine Expedition.
How to play
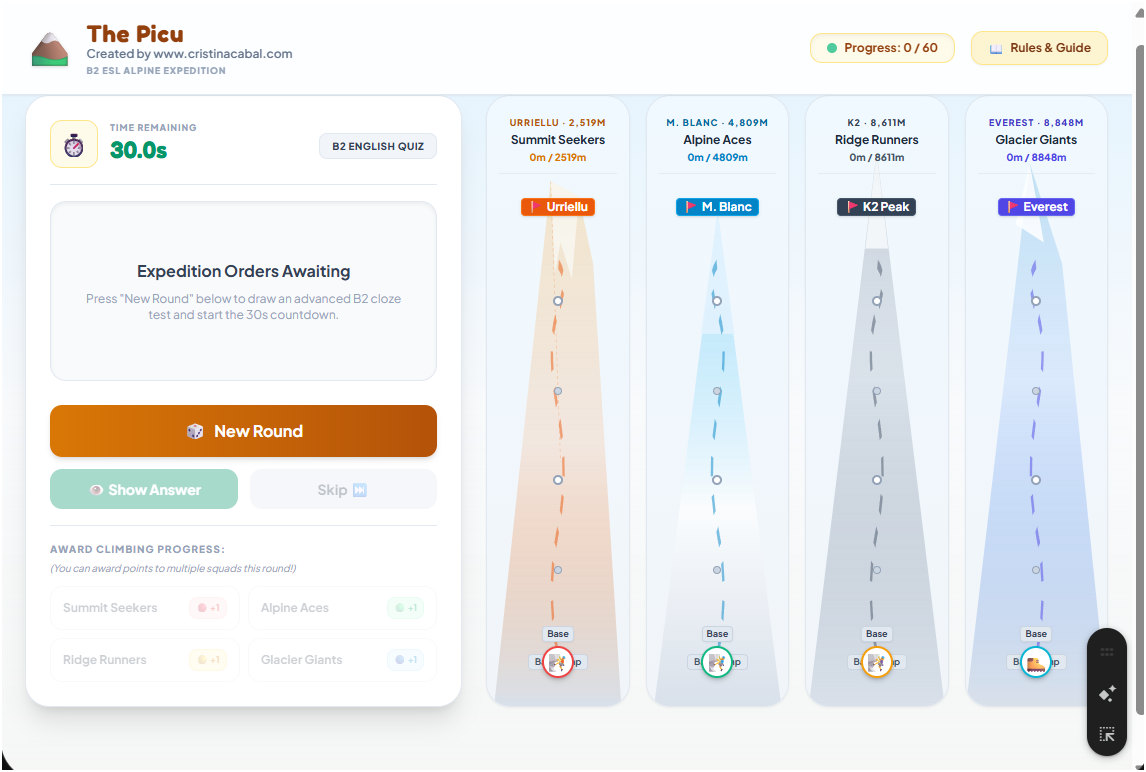
I show the game on the interactive whiteboard and the moment students see those mountain tracks, something shifts. Smiles appear. Someone always goes “Yuhuuu, we’re playing today!” — and yes, we are. But we’re also learning. That’s the whole point.
Here’s my low-tech twist on it:
- I divide the class into 4 teams
- Each group has paper and a pen
- When the sentence appears, they discuss and write their answer. They have 30 seconds for this.
- At my signal, everyone holds up their paper at the same time (no copying!)
- Groups that got it right? Their climber moves up the mountain
- First team to reach the Picu wins
What I particularly love is that multiple teams can be awarded points in the same round And if a question is too hard? Just hit Skip and move on. No fuss.