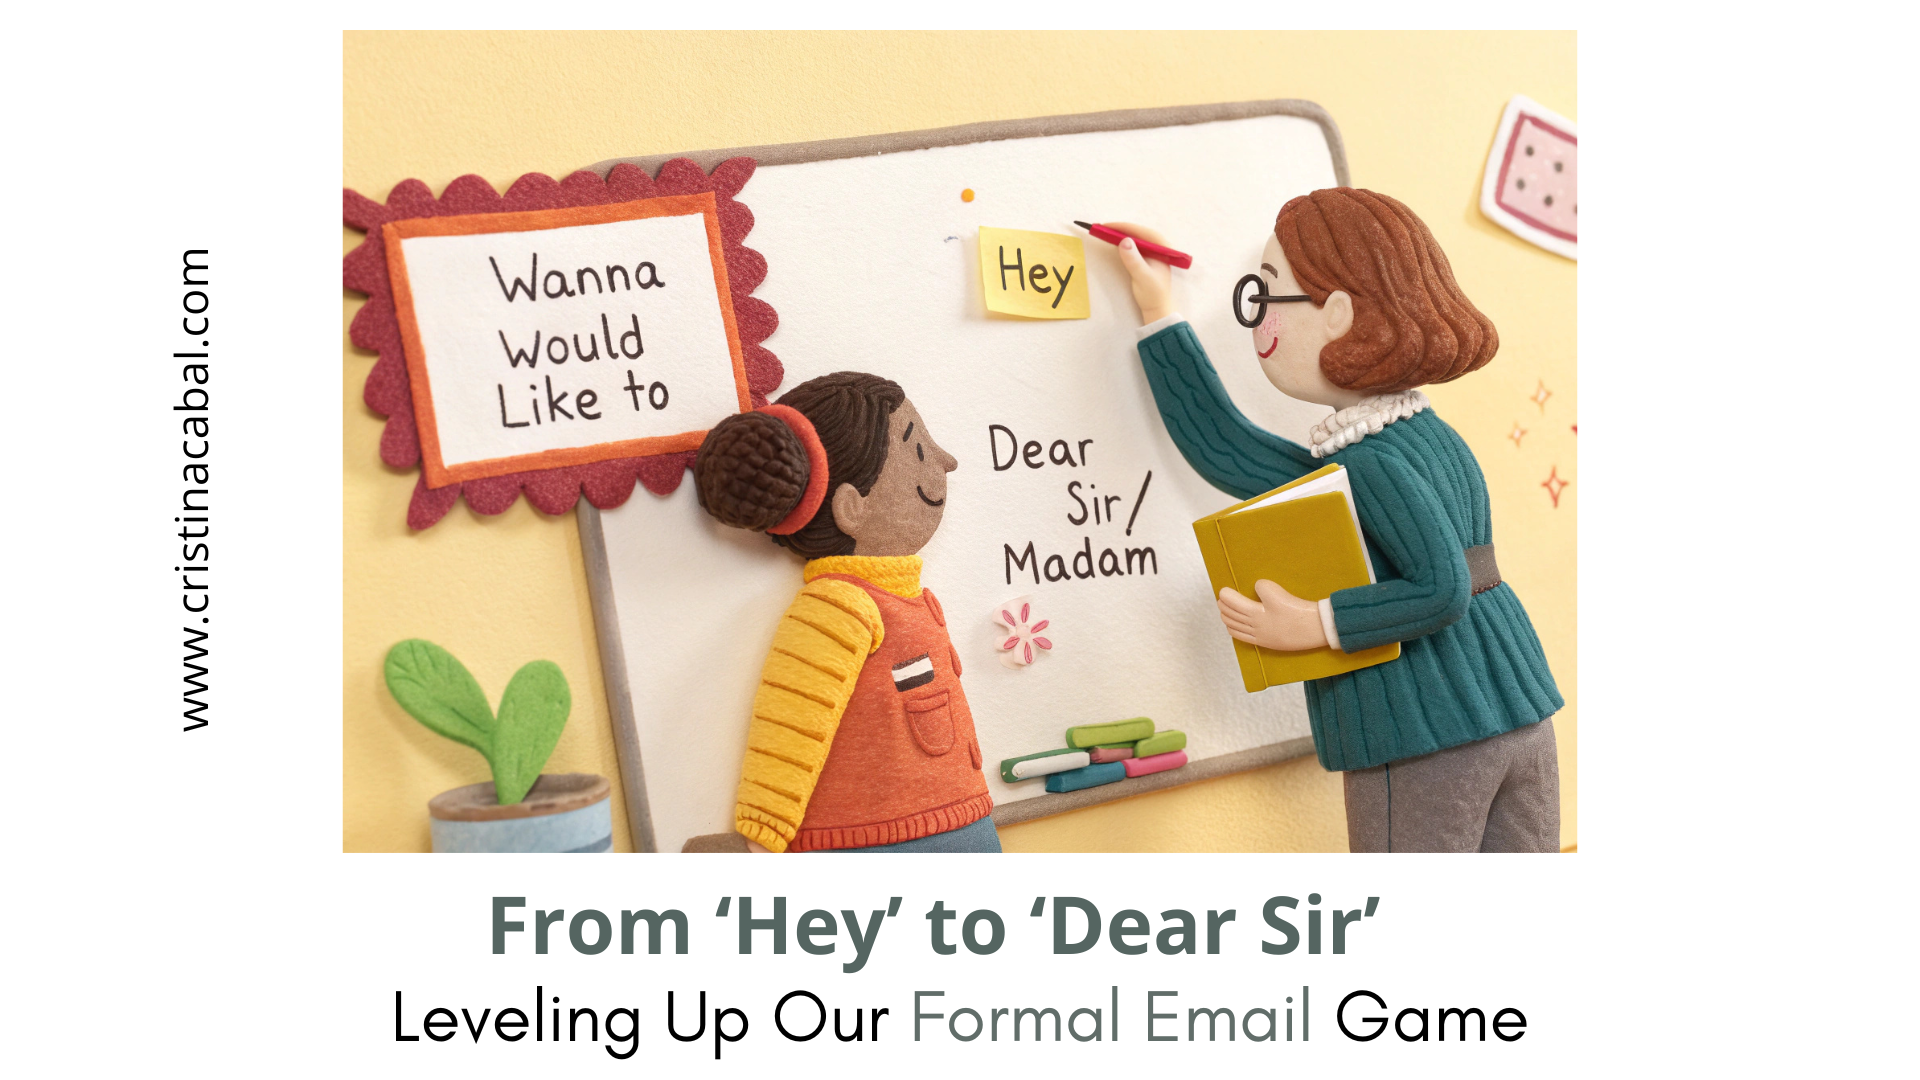
Writing a Letter to the Editor isn’t exactly the most exciting task on the writing syllabus. It doesn’t come with flashy visuals or dramatic plot twists. But here’s the thing—it’s a classic exam question, and with exams just around the corner, we can’t afford to skip it.
The good news? Once you understand the structure and purpose, this writing task becomes a lot more manageable—and even a little empowering. After all, a letter to the editor is your chance to share your opinion, raise awareness, and suggest solutions to real-world problems.

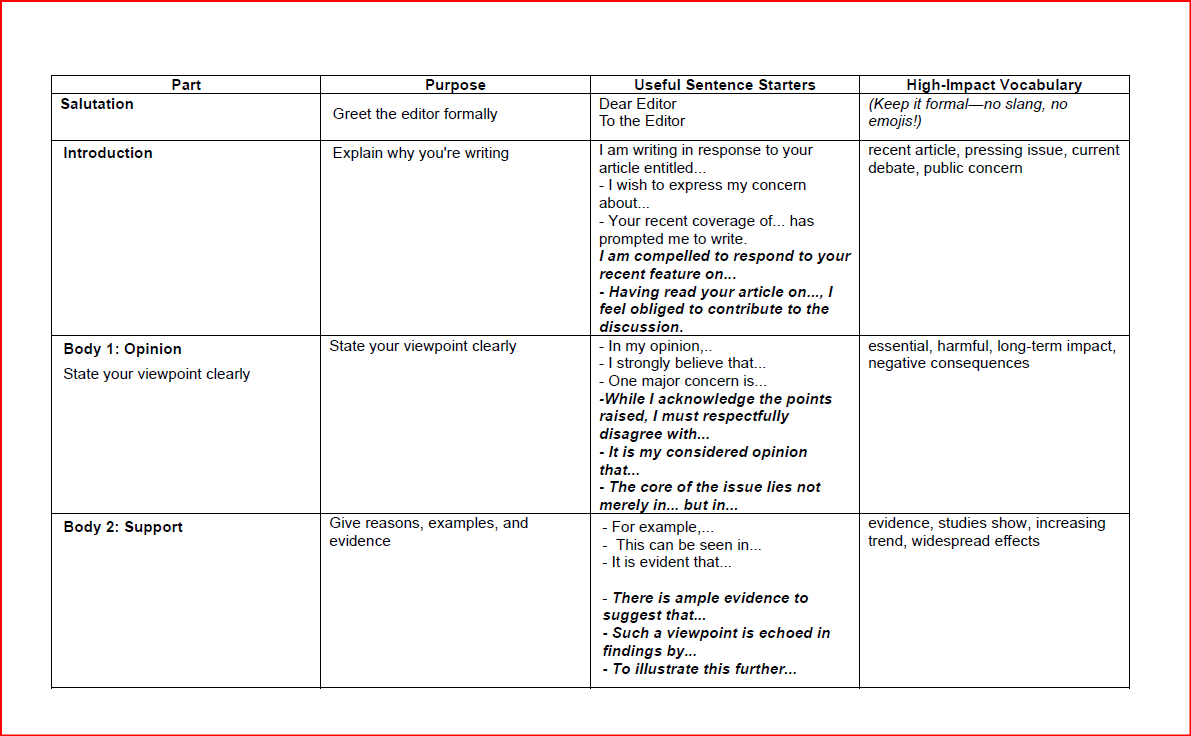
PDF Table format with Structure, Useful Sentence Starters and High-Impact Vocabulary. I have put in bold the most advanced structures, in case you want to go the extra mile 🙂
How to Write a Letter to the Editor
Step 1: Understand the Purpose
A Letter to the Editor is your way of responding to a public issue, article, or event. You’re not just giving your opinion—you’re raising awareness, persuading others, and sometimes even suggesting action.
Typical prompts might ask you to:
- Express your opinion about a recent news story
- Respond to someone else’s opinion
- Suggest improvements or solutions to a problem
Step 2: Structure Your Letter
Think of your letter as a mini-argument with a clear beginning, middle, and end:
1. Salutation
Use a formal greeting: Dear Editor, To the Editor,
2. Opening Paragraph – Why You’re Writing
State the reason for your letter clearly and briefly. Mention the article or issue you’re responding to.
I am writing in response to your recent article on plastic pollution in local parks.
3. Main Body – Your Argument (1–2 Paragraphs)
Explain your opinion. Use clear points and examples. Stay polite, even if you strongly disagree.
Many people underestimate the damage plastic waste causes to wildlife. It’s time for local councils to take real action.
4. Conclusion – Wrap It Up
Restate your point and, if appropriate, suggest a solution or call to action.
I strongly encourage the community to support local clean-up efforts and reduce plastic use.
5. Sign-Off
Formal and polite, without using your full name in exams.
🖊 Yours faithfully,
Concerned Student
Step 3: Use the Right Language
-
Keep it formal but not stiff: no slang, contractions (like “I’m” or “don’t”), or emojis.
-
Use modals to sound polite and persuasive: should, must, could, would
-
Try linking words for clarity: Firstly, In addition, However, Therefore, In conclusion
Step 4: Common Mistakes to Avoid
🚫 Don’t be too emotional—stick to reasoned arguments
🚫 Don’t forget the format (especially the greeting and sign-off)
🚫 Don’t use informal expressions or abbreviations
EXAMPLE
I have put in bold,
- connectors
- high-impact vocabulary
- grammar structures
Dear Editor,
I am writing in response to the article “Why We Must Ban Mobile Phones in Schools,” published on 8 May in your education supplement. While I acknowledge the concerns raised regarding distractions and misuse, I believe that a complete ban would be both counterproductive and short-sighted.
In today’s digital world, mobile phones are no longer merely tools for entertainment; they enhance students’ engagement and autonomy. Many educational apps, cloud-based platforms, and AI-powered tools can significantly improve students’ engagement and autonomy. For instance, language learners can access dictionaries and pronunciation tools in real time. Additionally, augmented reality apps can be used by science students to visualize complex processes. To deny students access to such resources is, therefore, to deny them the opportunity to become digitally literate—a skill that is not just useful but essential in the 21st-century workplace.
Of course, clear boundaries must be set. Mobile phones should only be permitted for academic purposes, under teacher supervision. Schools must establish robust guidelines that mitigate misuse; however, they should also integrate the positive potential of technology into the classroom. Banning mobile phones altogether conveys the wrong message: that we are unwilling to adapt, innovate, and trust students to use tools responsibly.
In conclusion, rather than banning mobile phones outright, educators should integrate them meaningfully into teaching practice. With proper regulation, these devices can support learning, not hinder it.
Yours sincerely,
Cristina Cabal, Avilés, Spain