This project is a perfect example of what I love most: blending the latest AI tools with good old-fashioned participation and creativity. It’s simple, it’s fun, and it gives every student a voice.
In class, we rarely have enough time for long writing tasks. Between listening activities, speaking practice, and vocabulary reviews, written expression often gets pushed to “maybe next week.” But what if we could sneak writing practice into something short, fun, and completely engaging? That’s exactly what we did this week!
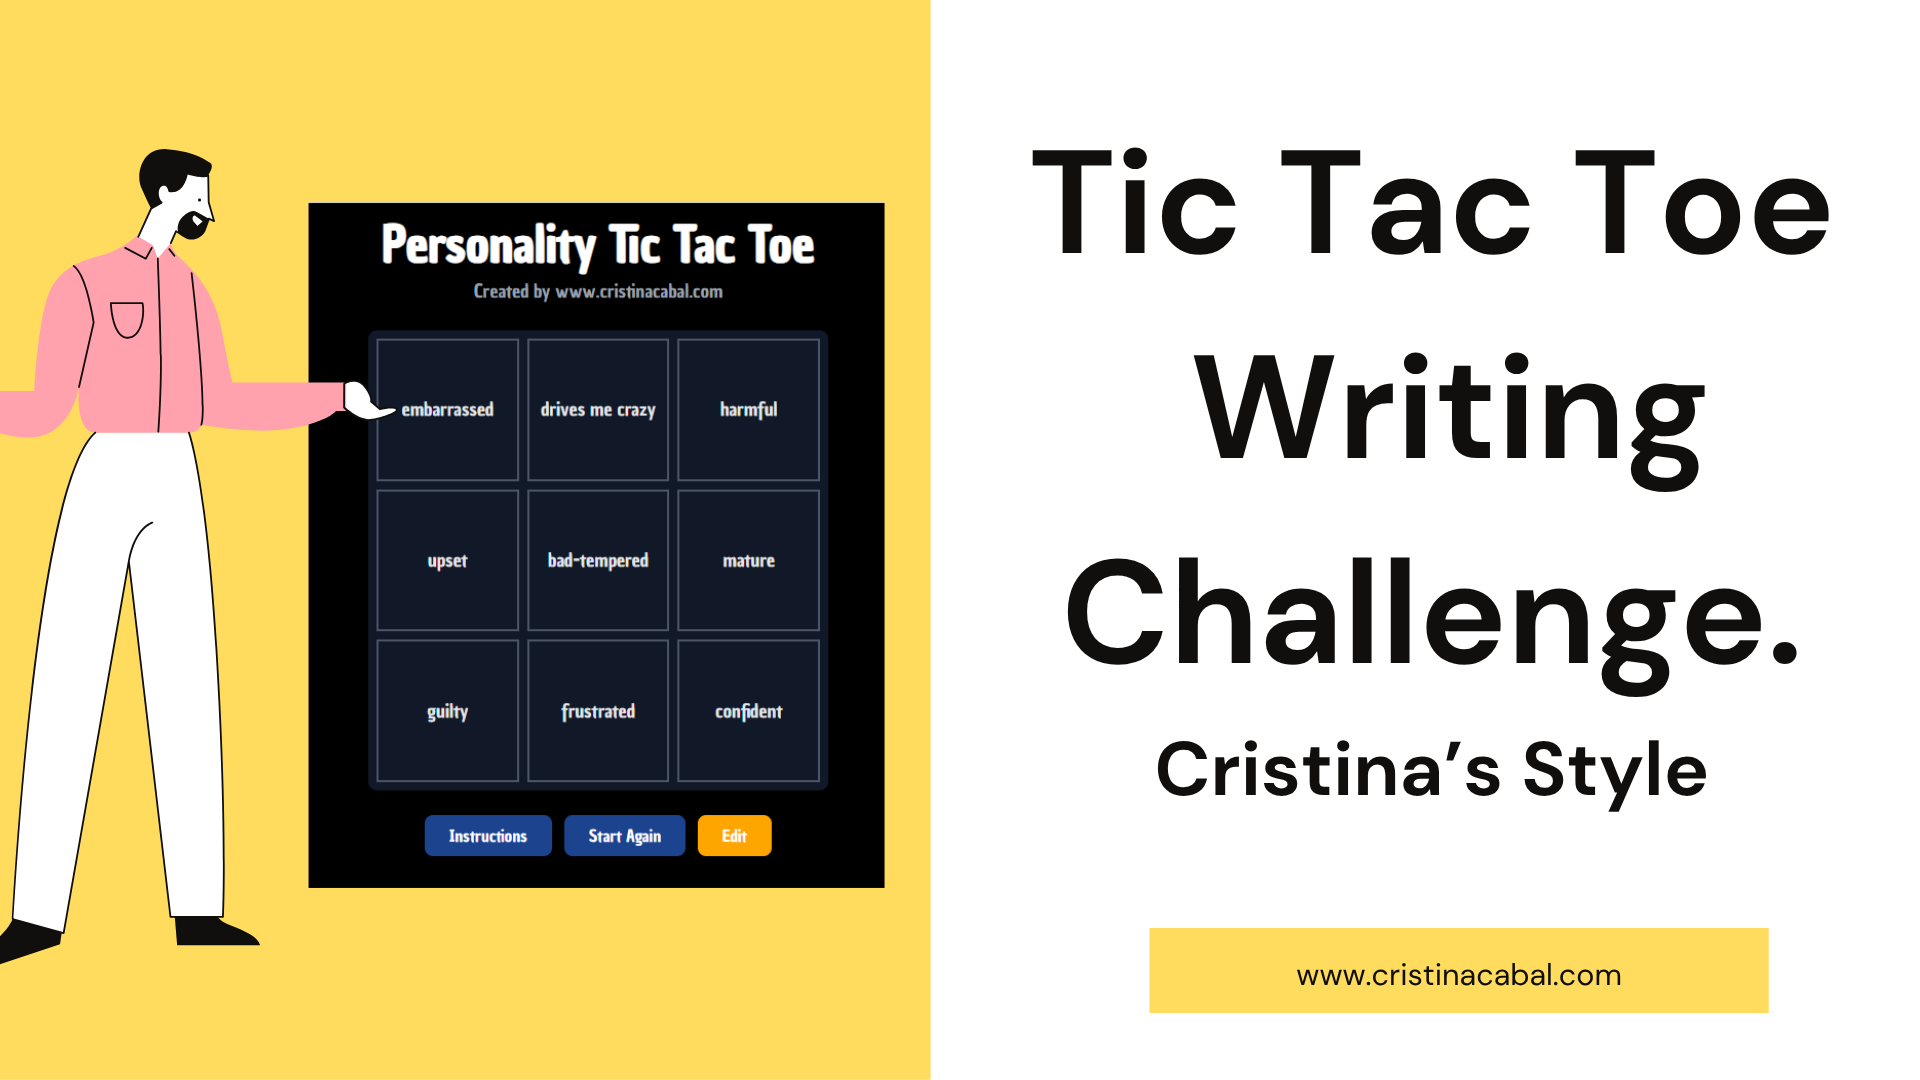
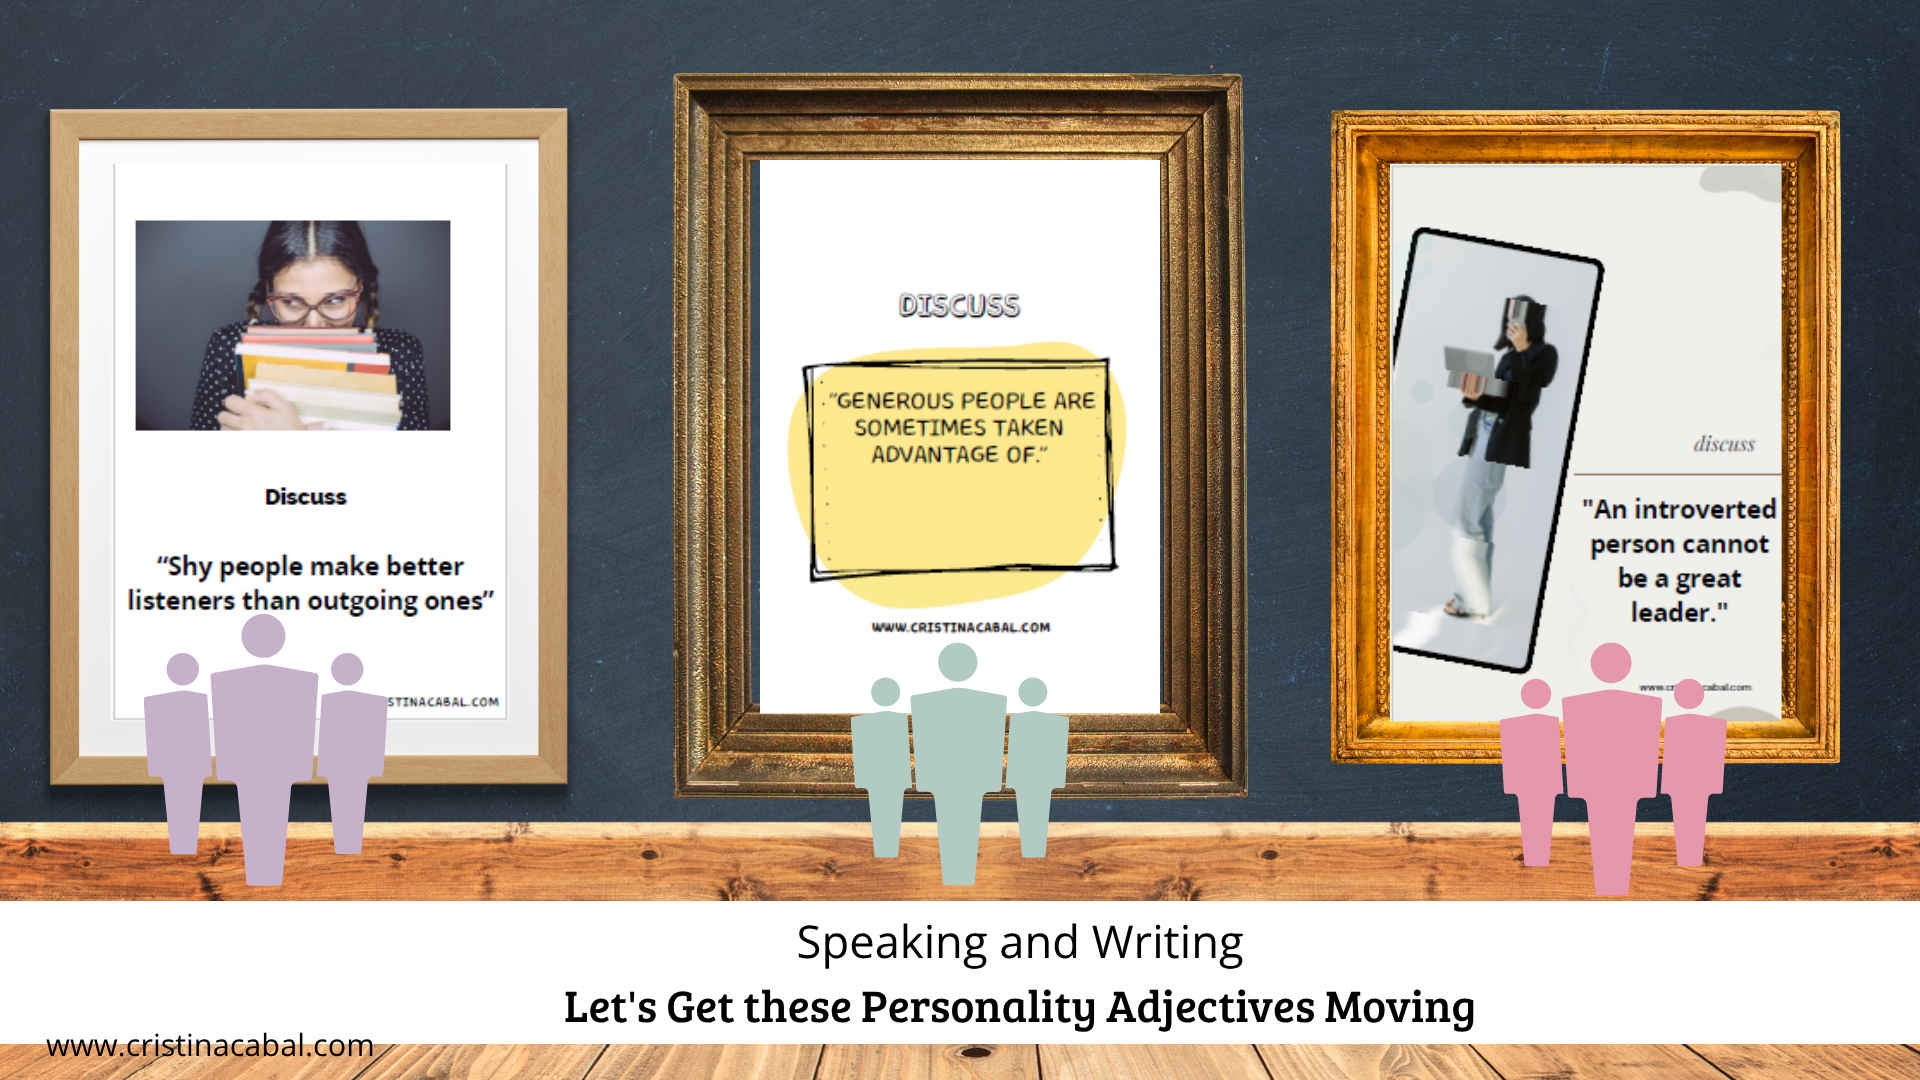
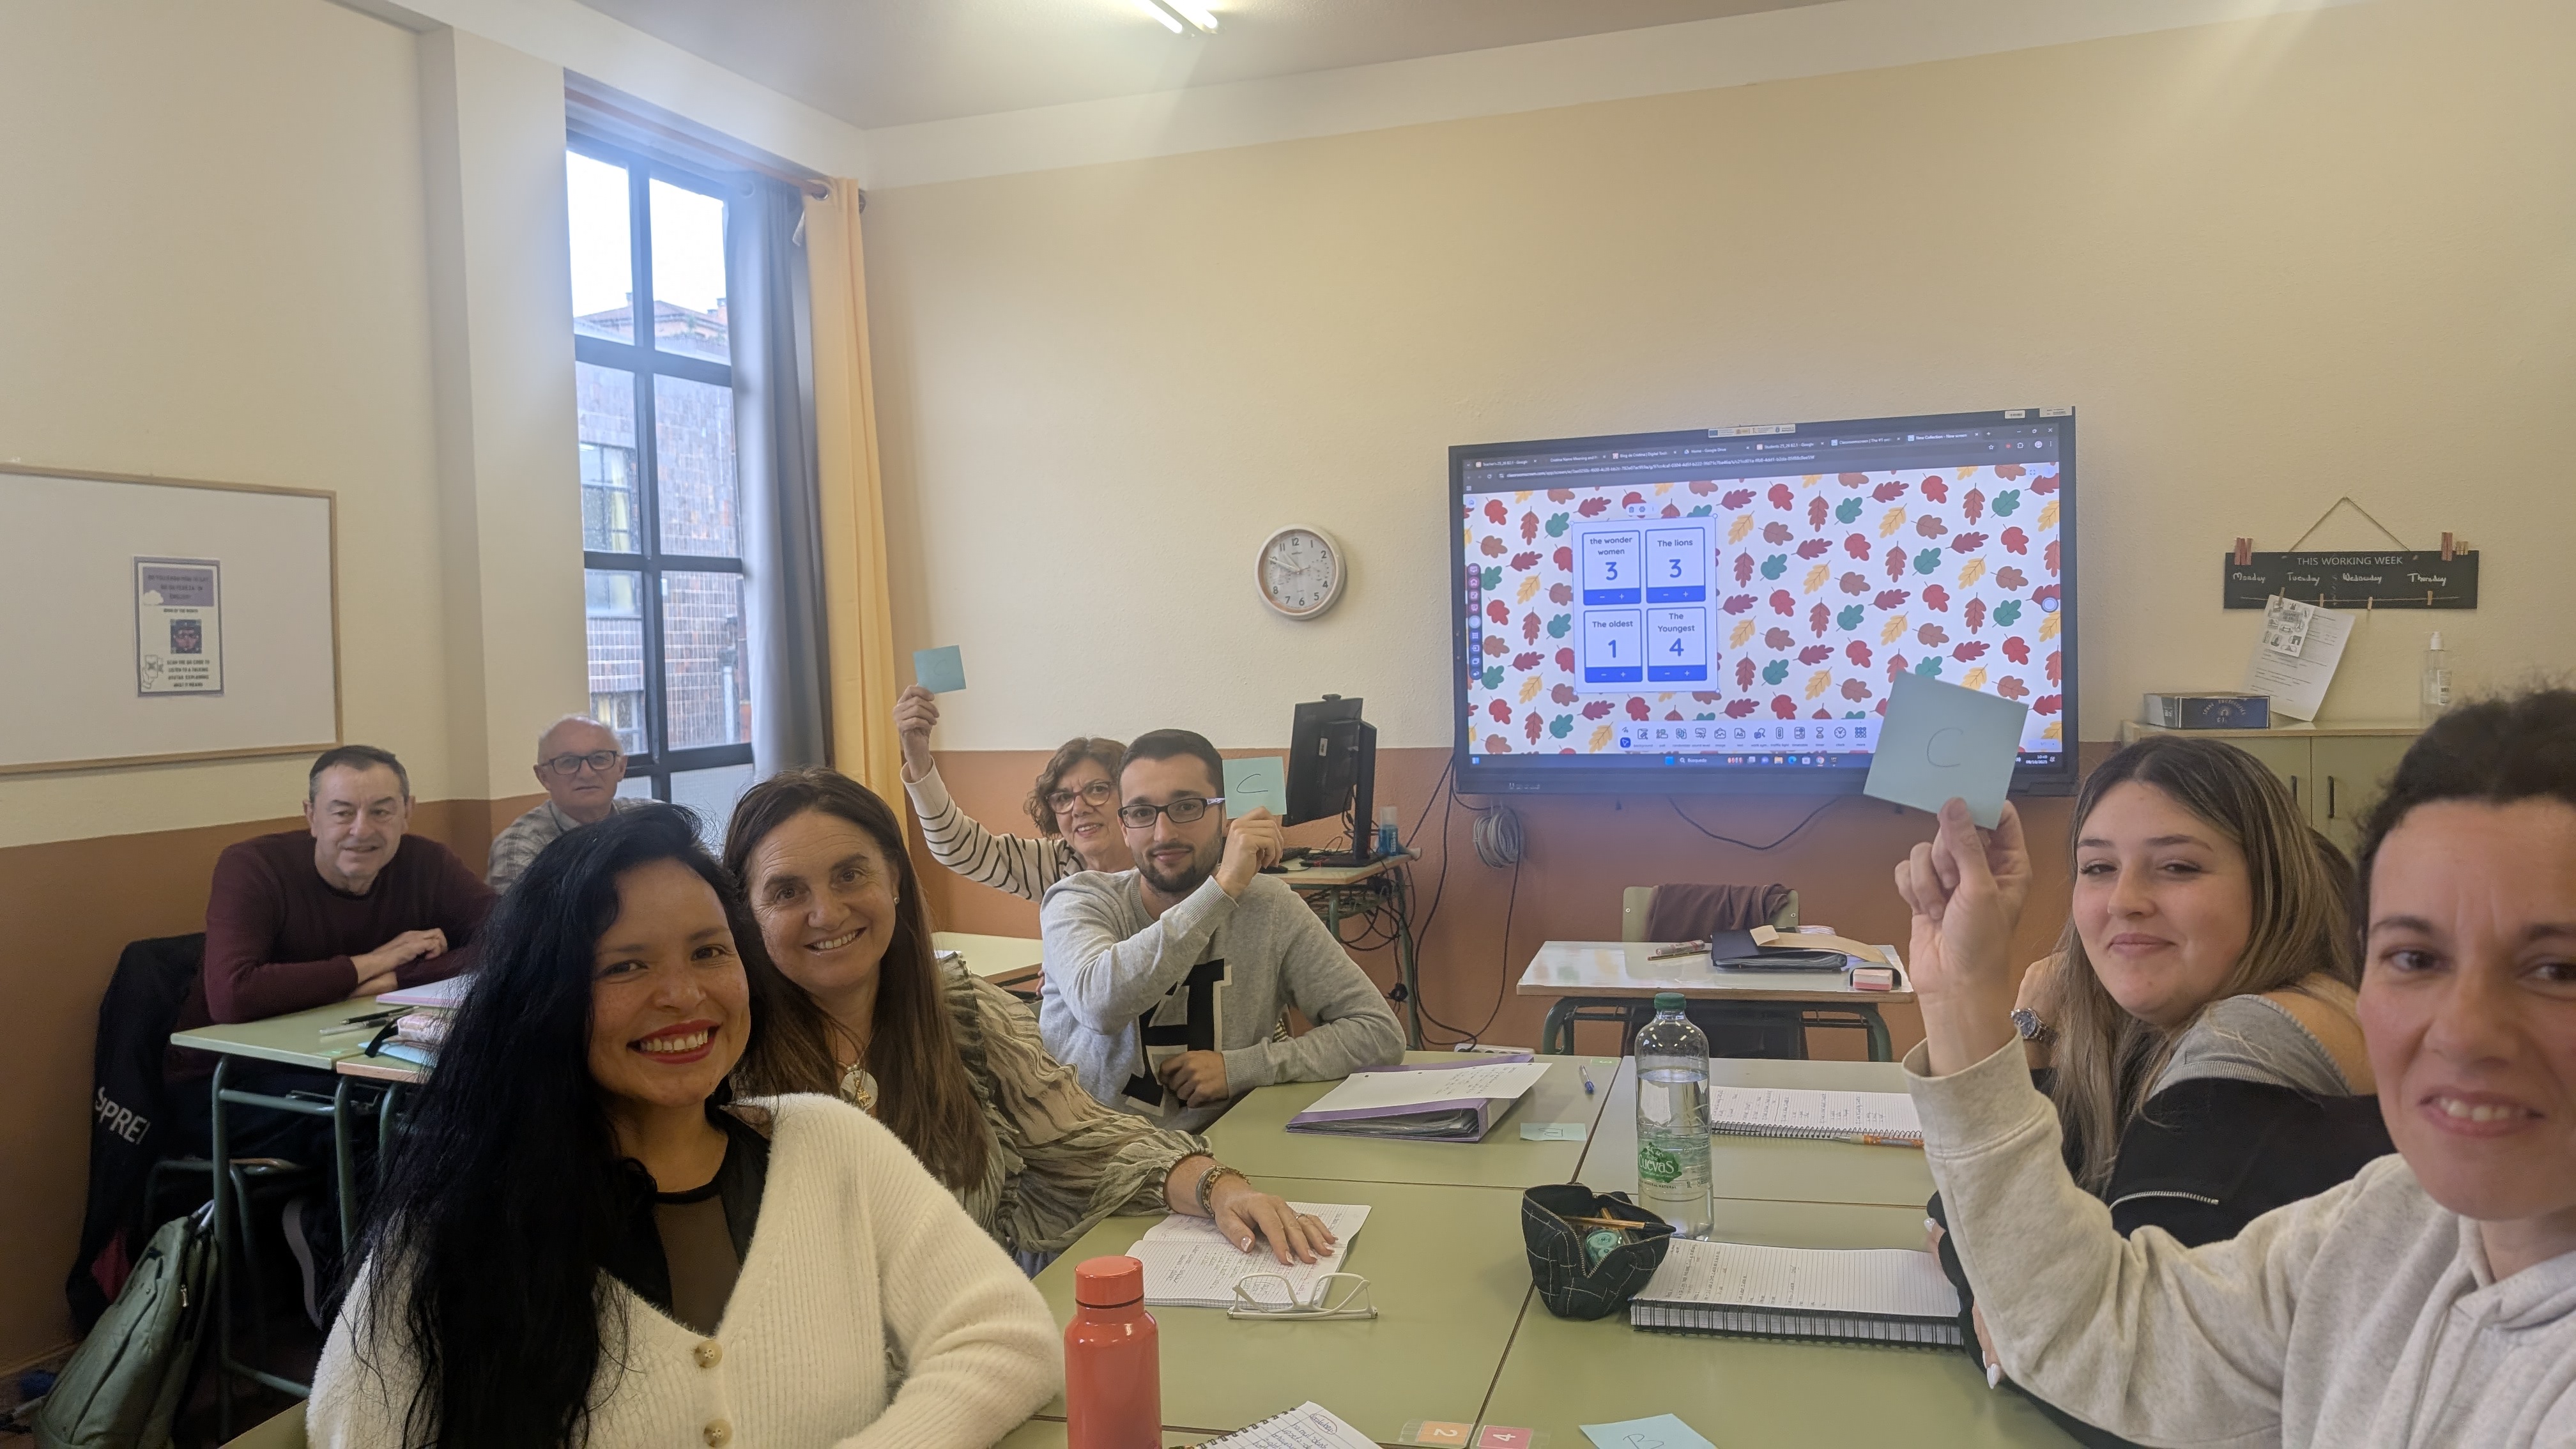
I am currently working on personality adjectives, so I decided to create a Tic-Tac-Toe game using the Canvas option in Gemini.
Canvas option in Gemini? Yes, this is an option where you create an app using natural language — no programming degree required! I simply typed something like, “Make a tic-tac-toe game I can edit,” and voilà! In seconds, we had our very own interactive Tic-Tac-Toe app, ready to play and personalize. I have made it editable, so you can easily adapt it to your own classes.( Aside note: I give webinars teaching all about it 😆 )
In my case, each square on the grid contained an adjective like embarrassed, confident….. If these words mean nothing to you, click on the Edit button,change the words and click on Save.
Tic-Tac-Toe Writing Challenge – Classroom Instructions
- Divide the class into two teams: Noughts (O) and Crosses (X). Within each team, students work in pairs, since they’ll be writing together.
- The Noughts team starts. They, as a team, choose one square on the tic-tac-toe board.

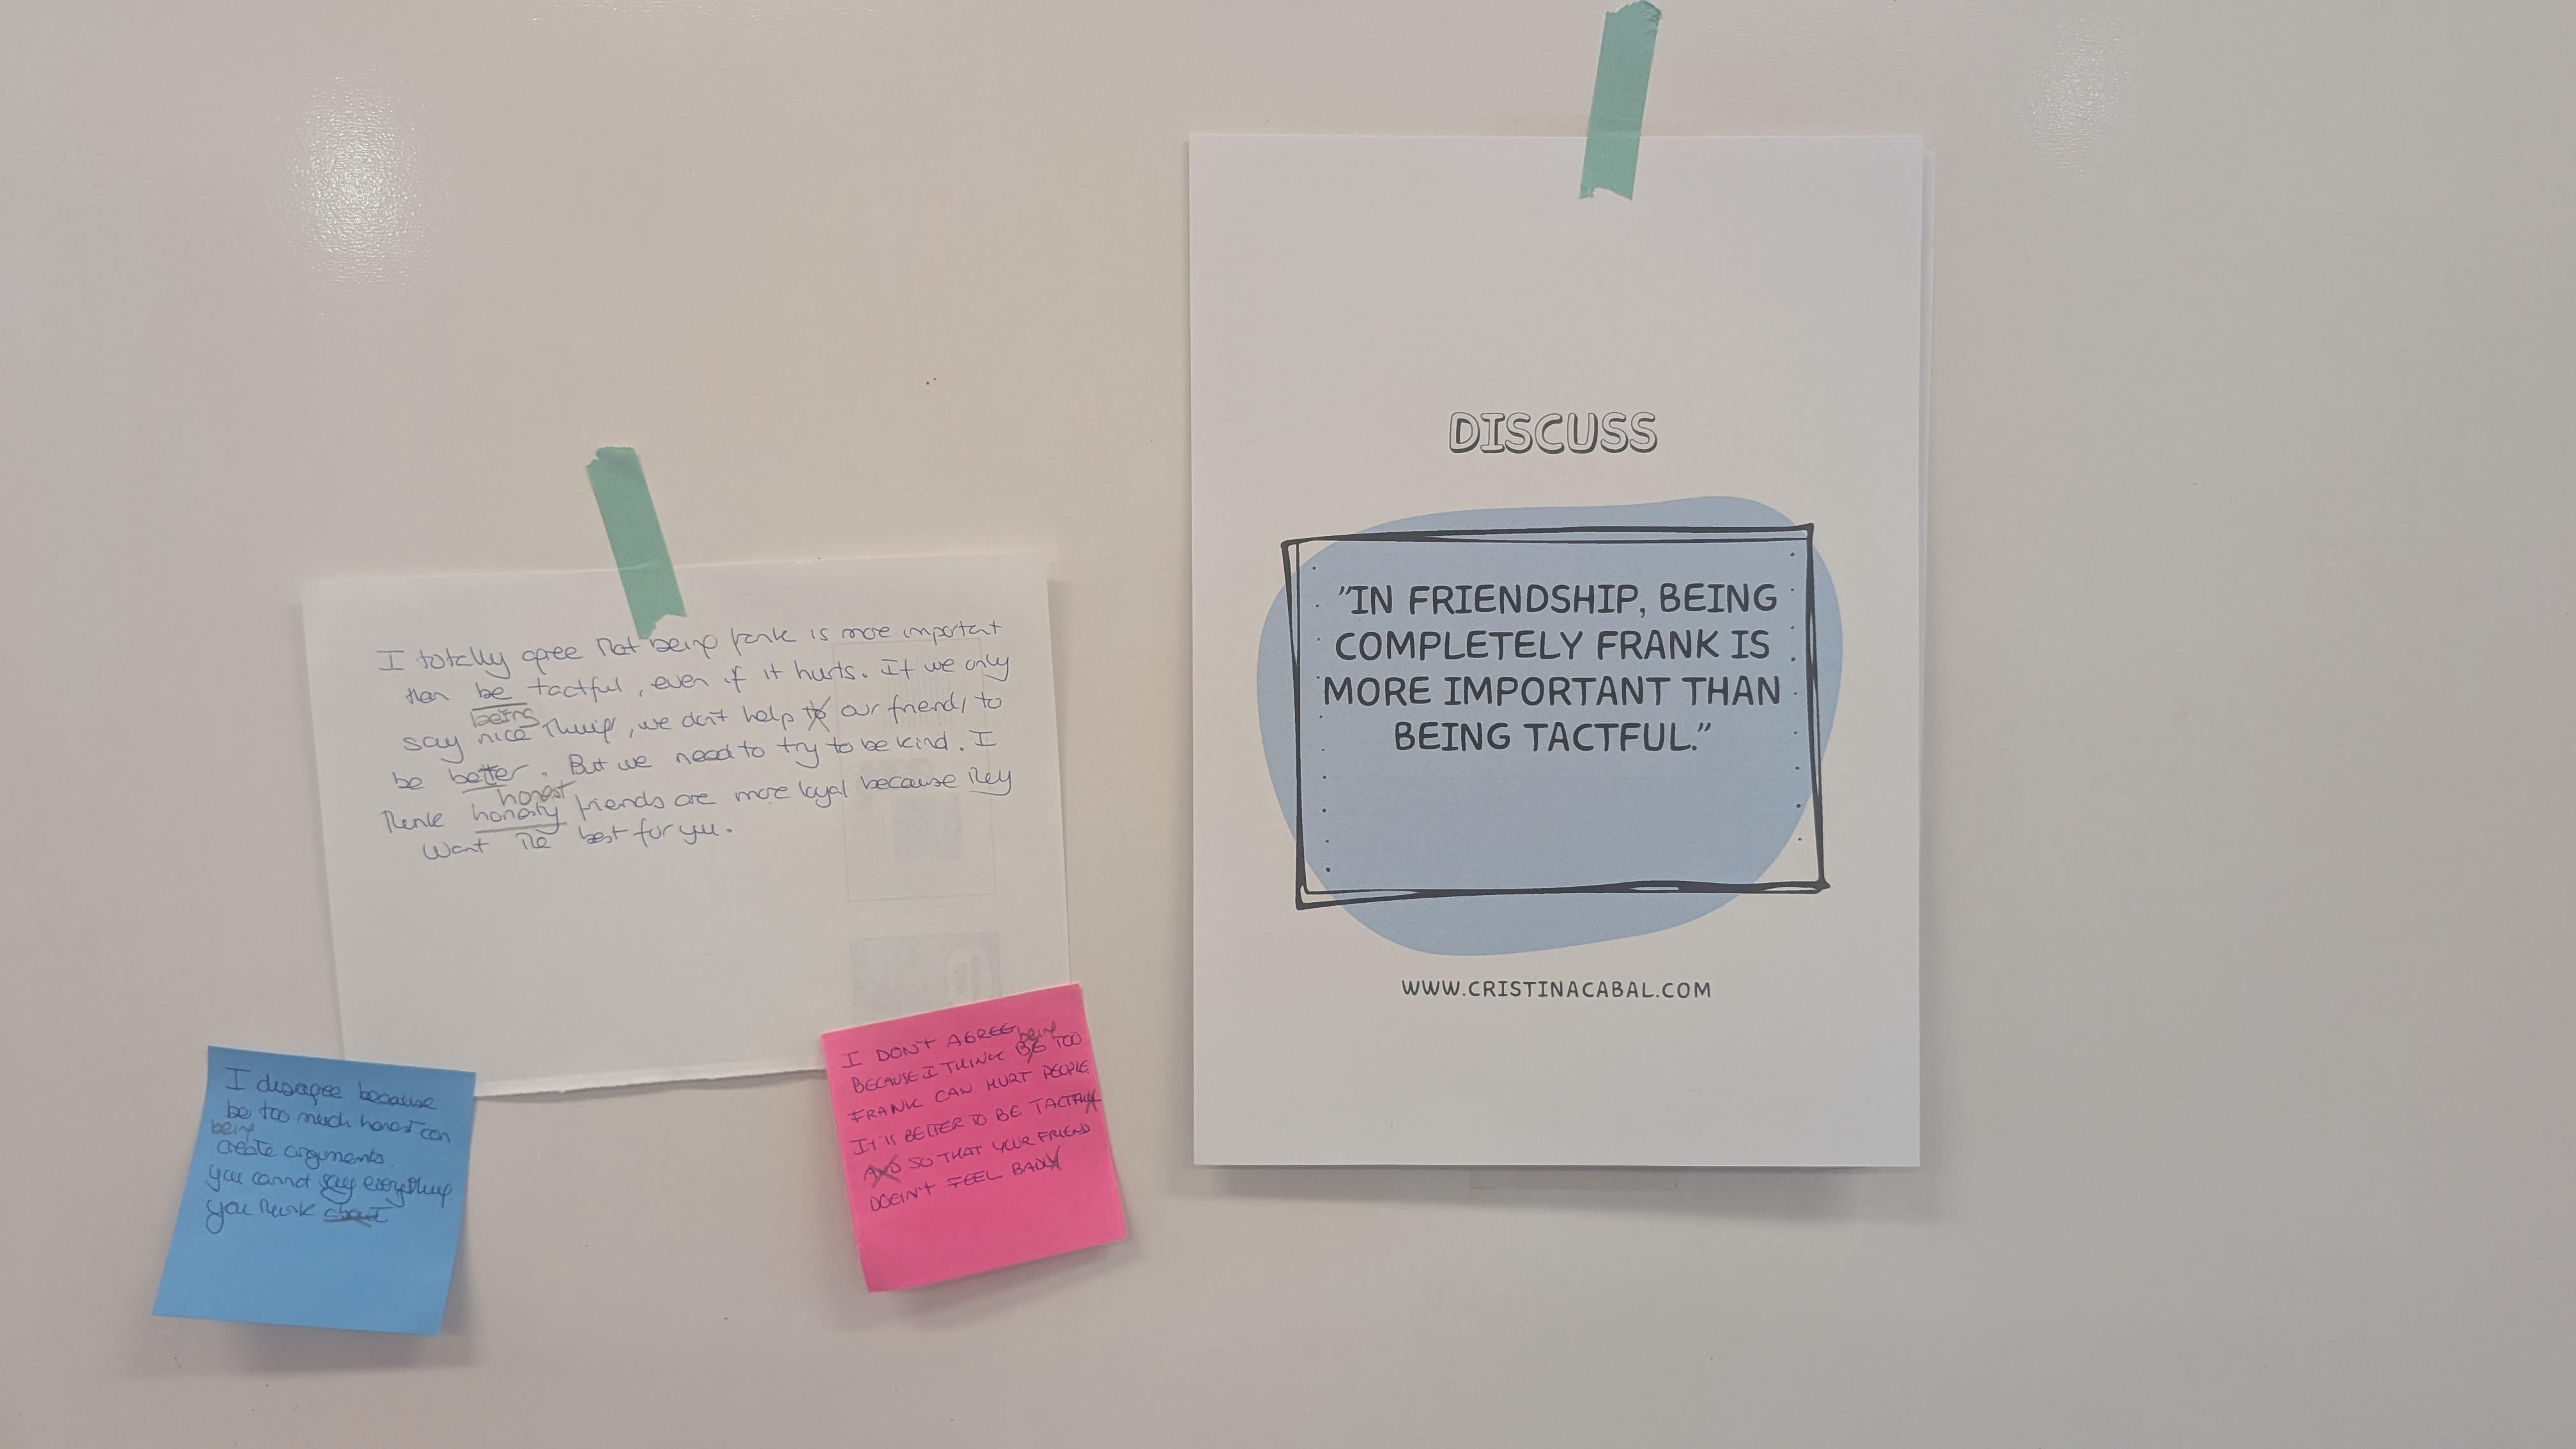
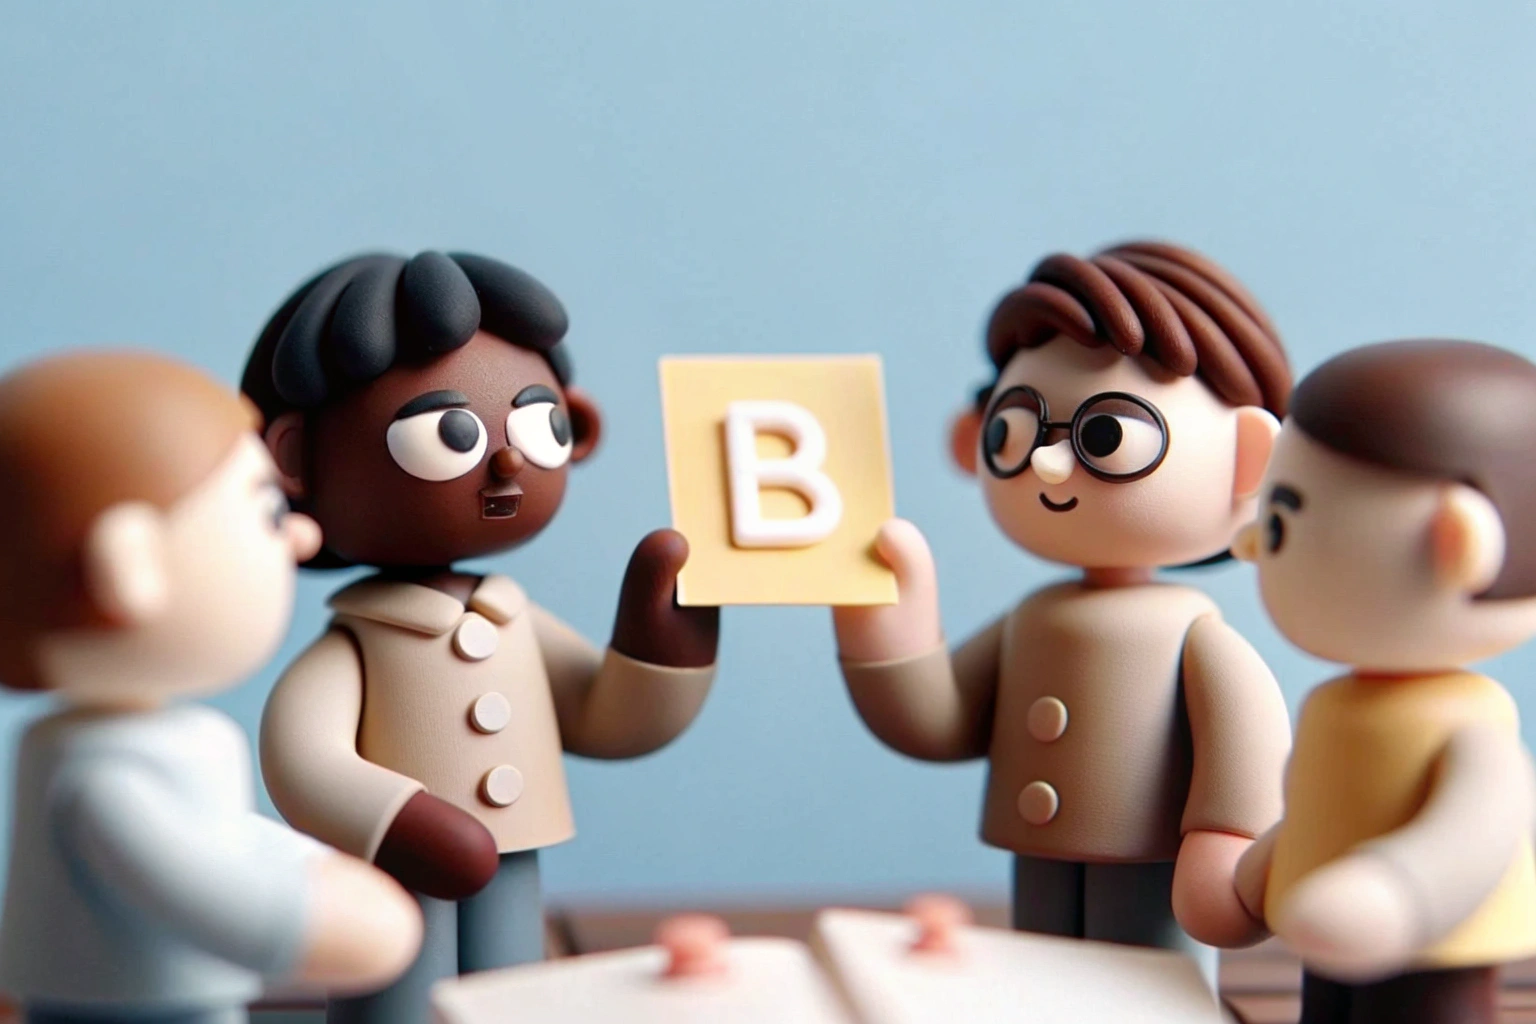
3. All pairs (from both the Noughts and Crosses teams) must write one sentence using the word in that square.
-
- The sentence must be at least 12 words long.
- Give them about 1–1.5 minutes to write
4.Divide the classroom board (whiteboard) into two halves: O and X.
5. When time’s up, choose one student from each team at random to come to the board and write their sentence on their side of the board. Remember, though they might be Os or Xs, they have been writing their sentence in pairs.

6. Next, ask the rest of each team to read their sentence on the board carefully and look for errors.
-
- If someone finds a mistake on their team’s sentence, they stand up, underline it on the board, and wait for the teacher’s confirmation.
- Once confirmed, he/she corrects the error.

7. The teacher checks both sentences, gives final corrections if needed, and decides which one is better.
-
- The “winner” can be the most accurate, complex, or creative sentence.
- The winning team claims that square on the Tic-Tac-Toe board
8. Then, it’s the Crosses’ turn to choose a square and repeat the process.
9. Continue until one team wins the tic-tac-toe game or the board is full.
My tip: If you’re looking for a way to turn writing into an active, competitive, and collaborative task, this game is a gem. It keeps every student involved and sneaks in grammar, vocabulary, and peer correction all at once.