One might think that after 31 years teaching, I wouldn’t need to spend time preparing for classes. After accumulating so much content over the years, it would seem logical to just retrieve what I need from my files. However, for some reason, that’s not how it works for me. As a result, I find myself once again in the process of creating content, this time on the subject of travelling.
This post revolves around the topic of Travelling and Tourism and considering what I have written above, I have come up with this brilliant 🙄 idea. Use a board from Canva and replace specific questions with numbers, making it applicable to any topic. Alongside this, we can create cards that include the relevant questions and reference their corresponding numbers. What do you think?
Hold on, Cristina! Did you read the title of the post? It says “Two decks of cards”. So, we have one deck for questions, but what about the other one? I haven’t forgotten! The other deck contains useful phrases to help students express themselves more effectively. 😆
What do we need?
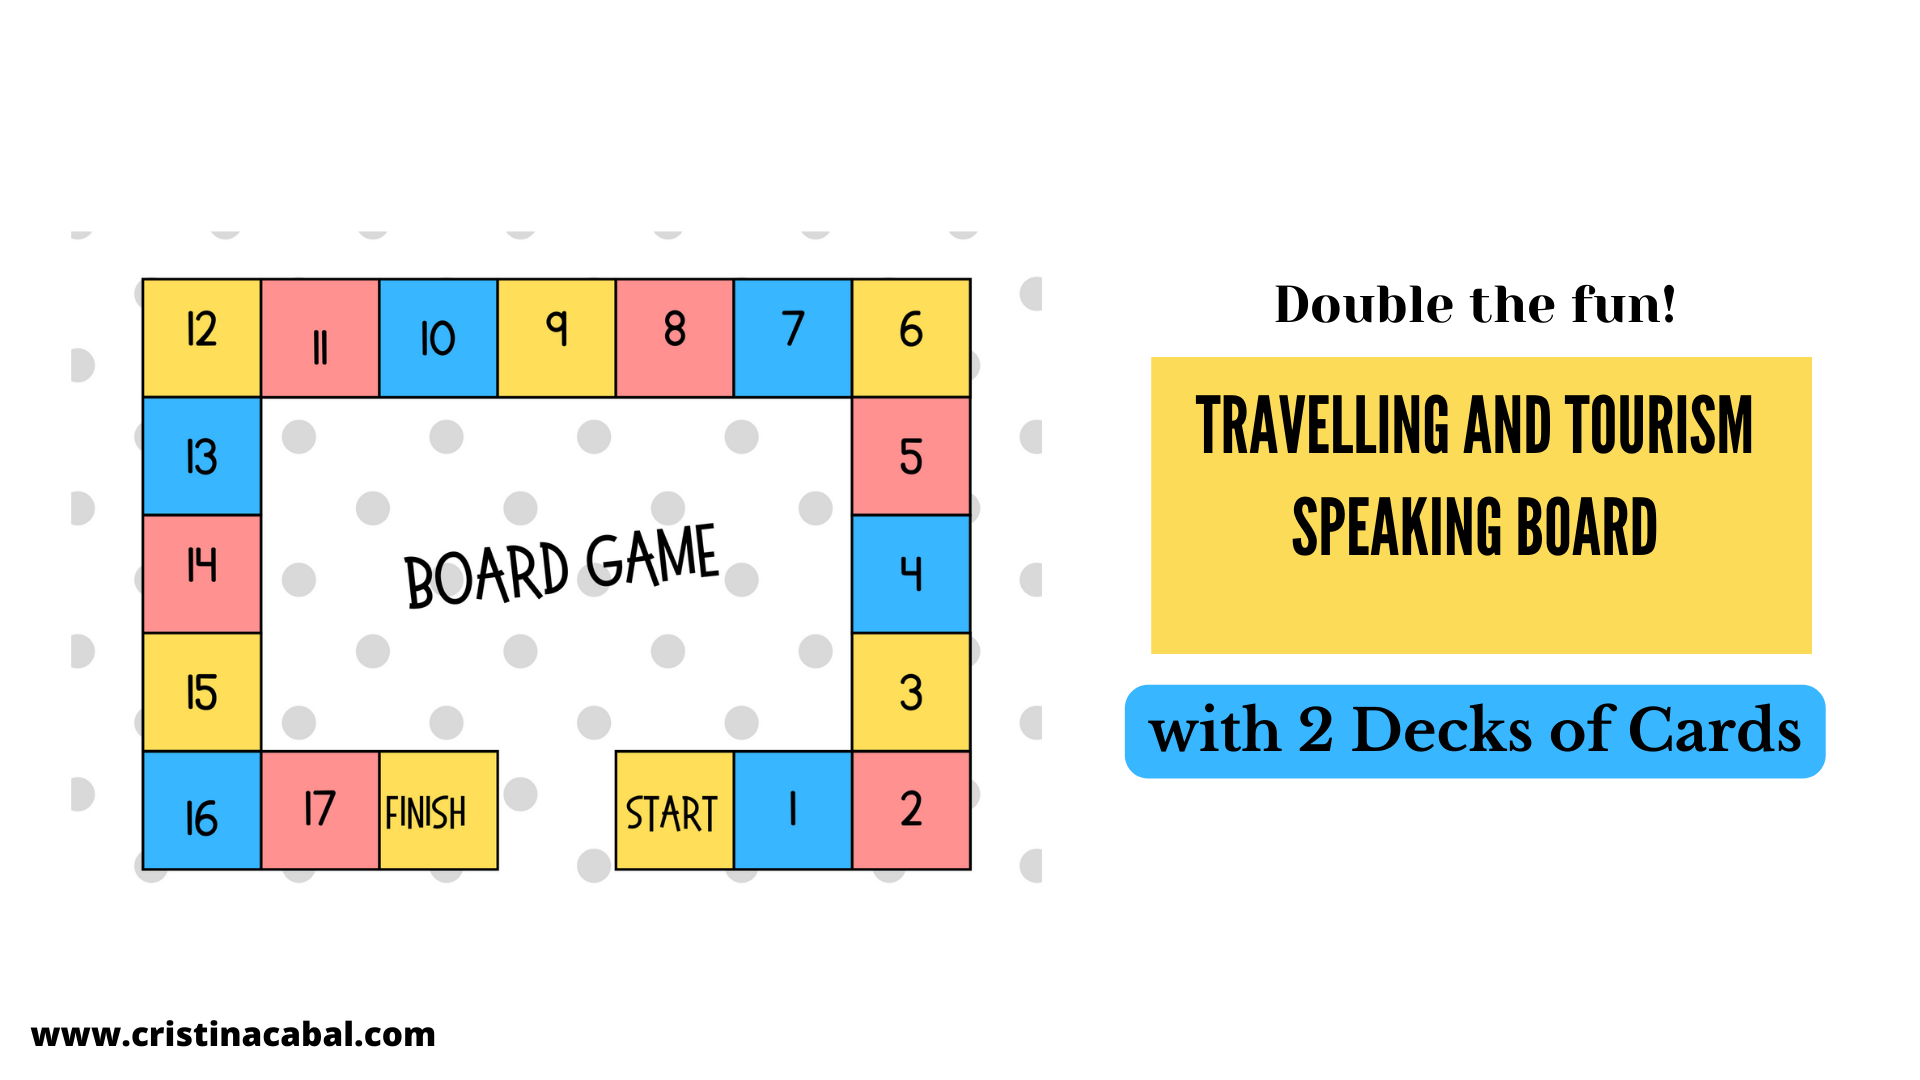
- Print the board multiple times. Print as many copies as groups of students. What works best for me is groups of 3 students. Get the PDF here
board game Template de cristina.cabal
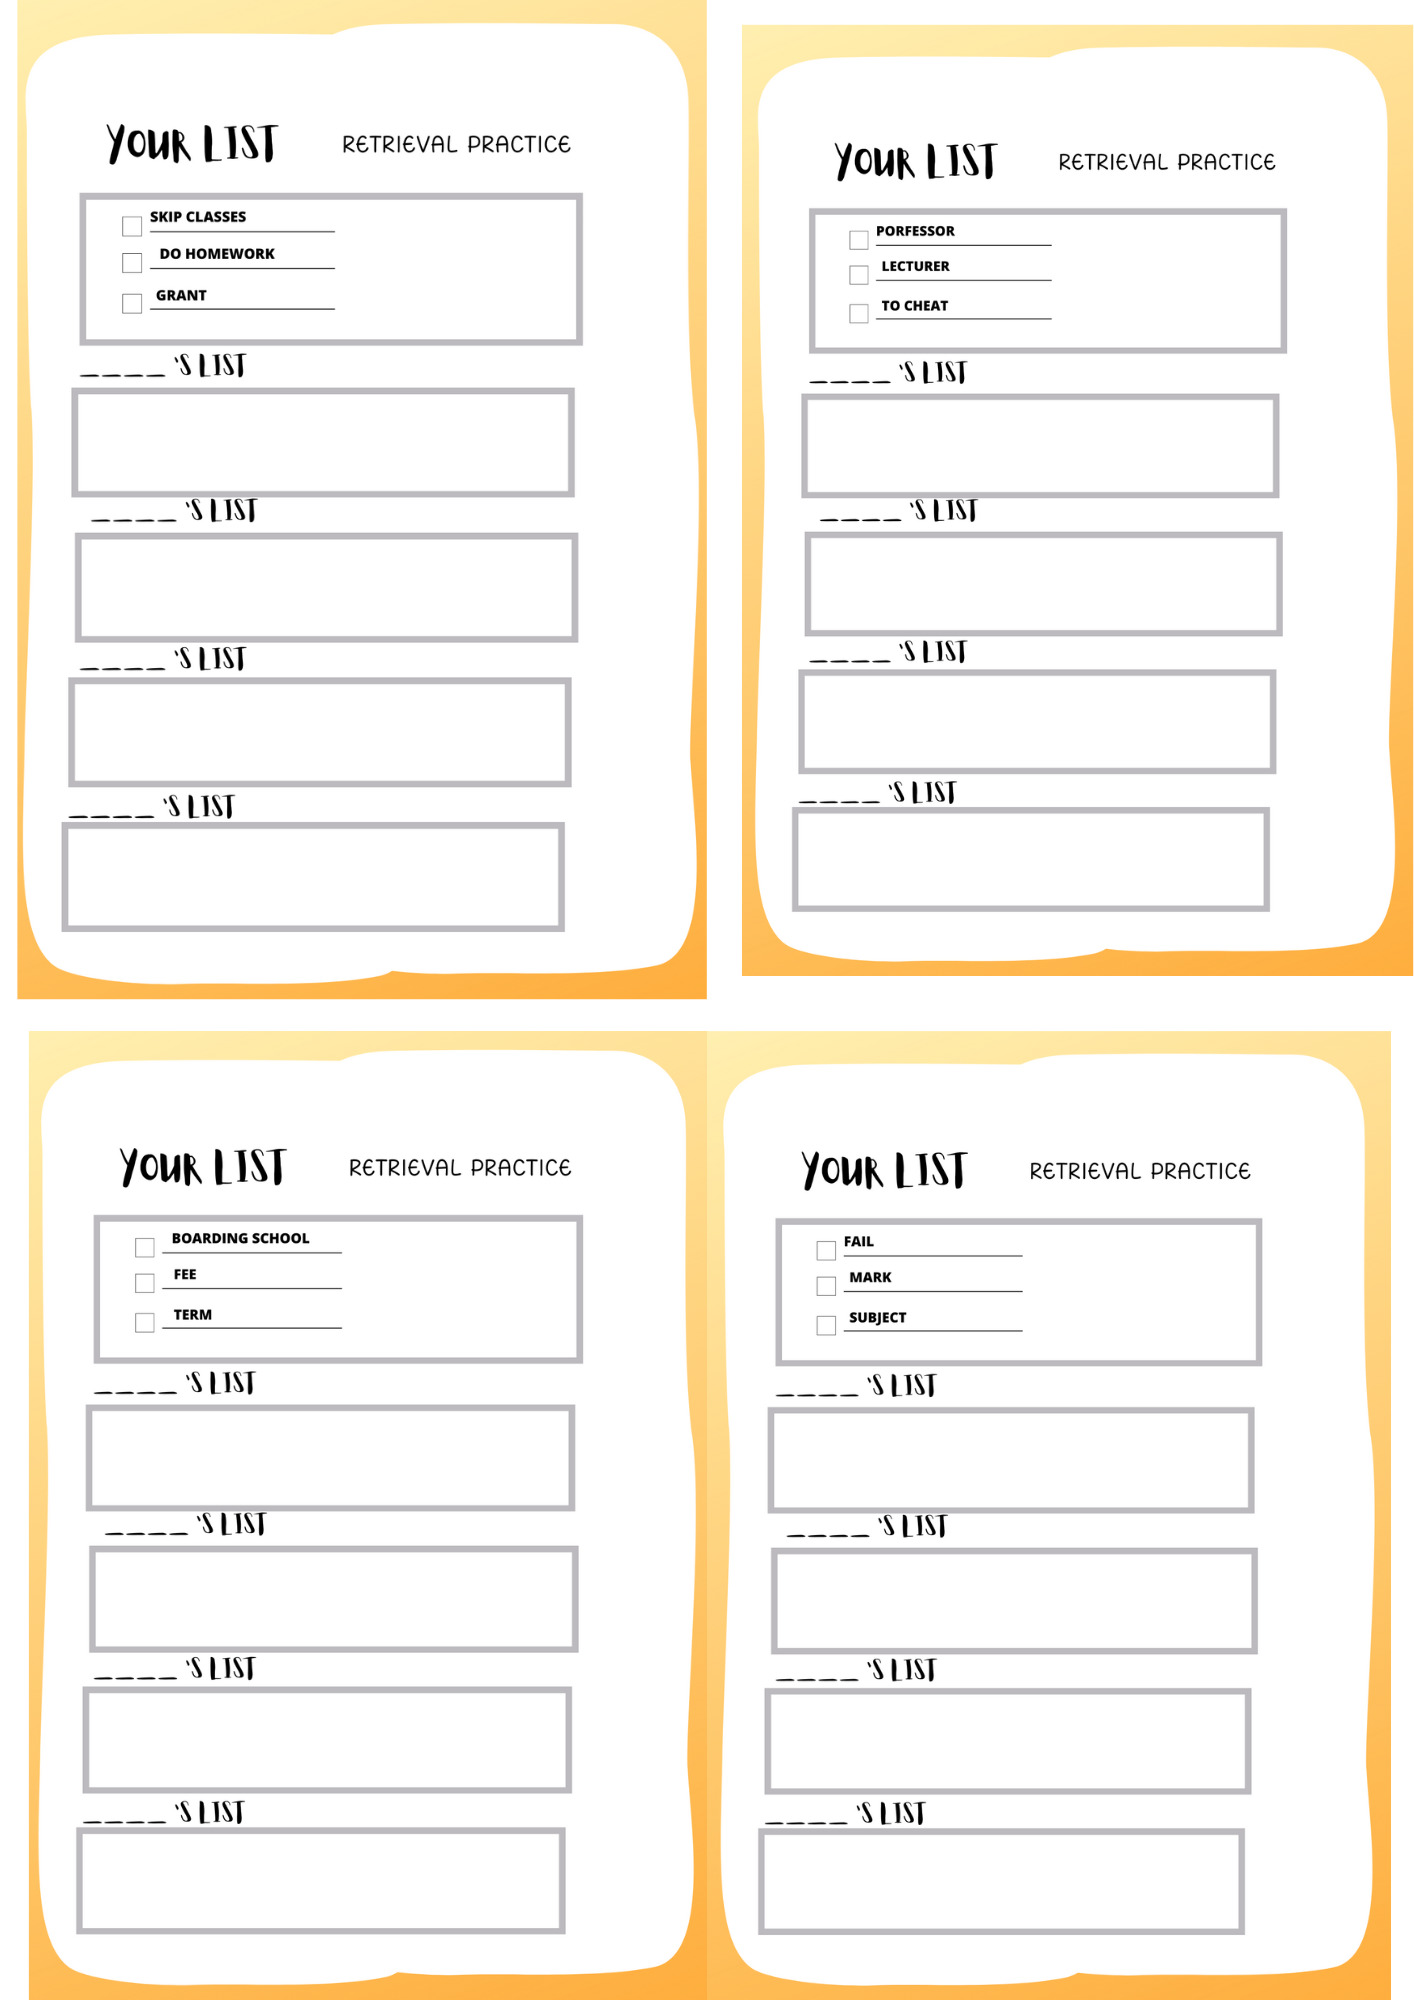
- Cards with the conversation questions. One deck per group. PDF here
travelling conversation cards de cristina.cabal
-
- Reusable cards with useful phrases. One deck per group. PDF here.
Ready to play?Create groups of 3–4 students and give each group a board game, the two decks of cards, counters and a die. Students decide who starts the game. Student A throws the die and places his/her counter on the corresponding square, which contains a number. On the deck of cards with the conversation questions, he/she finds the card that matches the number of his/her square, reads it aloud and then takes a card from the Useful Language deck. These cards are placed face down on the table. The student will need to talk for at least two minutes, trying to use the expression on the card. Then, it is student B’s turn.
CREDITS
- Original board designed by @mrkucukyilmaz
- Useful phrases from intercambiodeidiomas