Monthly Archives: February 2017

Introducing Reported Speech Statements,Questions and Orders in a Different Way

This week’s post was not supposed to be a grammar post, it just so happened to turn out like that. Come to think of it, I have been teaching lots of grammar lately so I shouldn’t be surprised if my brain is filled with ideas for grammar teaching.

If I want my classes to be different from the ones I had when I was studying English at school (teacher-centred and book-centred), I cannot introduce all those digital tools I’m so keen on using and then go and spoil it all by asking students to read straight from a photocopy when it comes to grammar. I’m not saying it’s the wrong way to go about it, I’m just saying it’s not the way I teach or the way I’d like to be taught.

Admittedly, grammar is grammar, but can we make it a bit more appealing to our students?

Reported speech is probably one of my favourite grammar points and this is how I have introduced reported speech statements, questions and orders in my classes this week.


INTRODUCING STATEMENTS.

To introduce statements I often use quotes from famous people. The presentation you’ll see below is one I often use as my students, for the most part, are adults. But if you’re teaching teenagers, you can easily change the people in the slides and use celebrities they can relate to.

So the idea is to play the presentation, read the quote and then ask: “What did Marilyn say?” Guide students through the changes in reported speech and then show the second slide where the reported sentence is displayed.


INTRODUCING QUESTIONS.

I’ve been introducing reported speech questions in this way all my teaching career. The reason? Students collaborate from minute one and this is something I treasure.

I tell the students my son Daniel is 4 years old and he’s always asking questions. With all the drama I can muster I tell them that yesterday I got home really tired and wanted to rest a bit but my son Daniel had other plans for me and could not stop asking questions.

I draw on the board a boy and I call him Daniel and a woman and I call her Cristina- my name. I draw a big bubble next to Daniel and I ask students to guess what sort of questions he might have asked me. As they provide the questions I write them inside the speech bubble making sure there is a variety of wh- and yes/no questions and a variety of tenses. Once the questions have been written, I go on telling them that when my husband got home I was lying on the sofa with an ice pack on my forehead and looking dead tired  -remember drama is important- and when he enquired why I was so tired I told him all about my day and how I couldn’t rest because Daniel had asked all those questions.

  • He asked me why I was smiling
  • He wanted to know if he could watch cartoons.

INTRODUCING REQUESTS AND ORDERS.

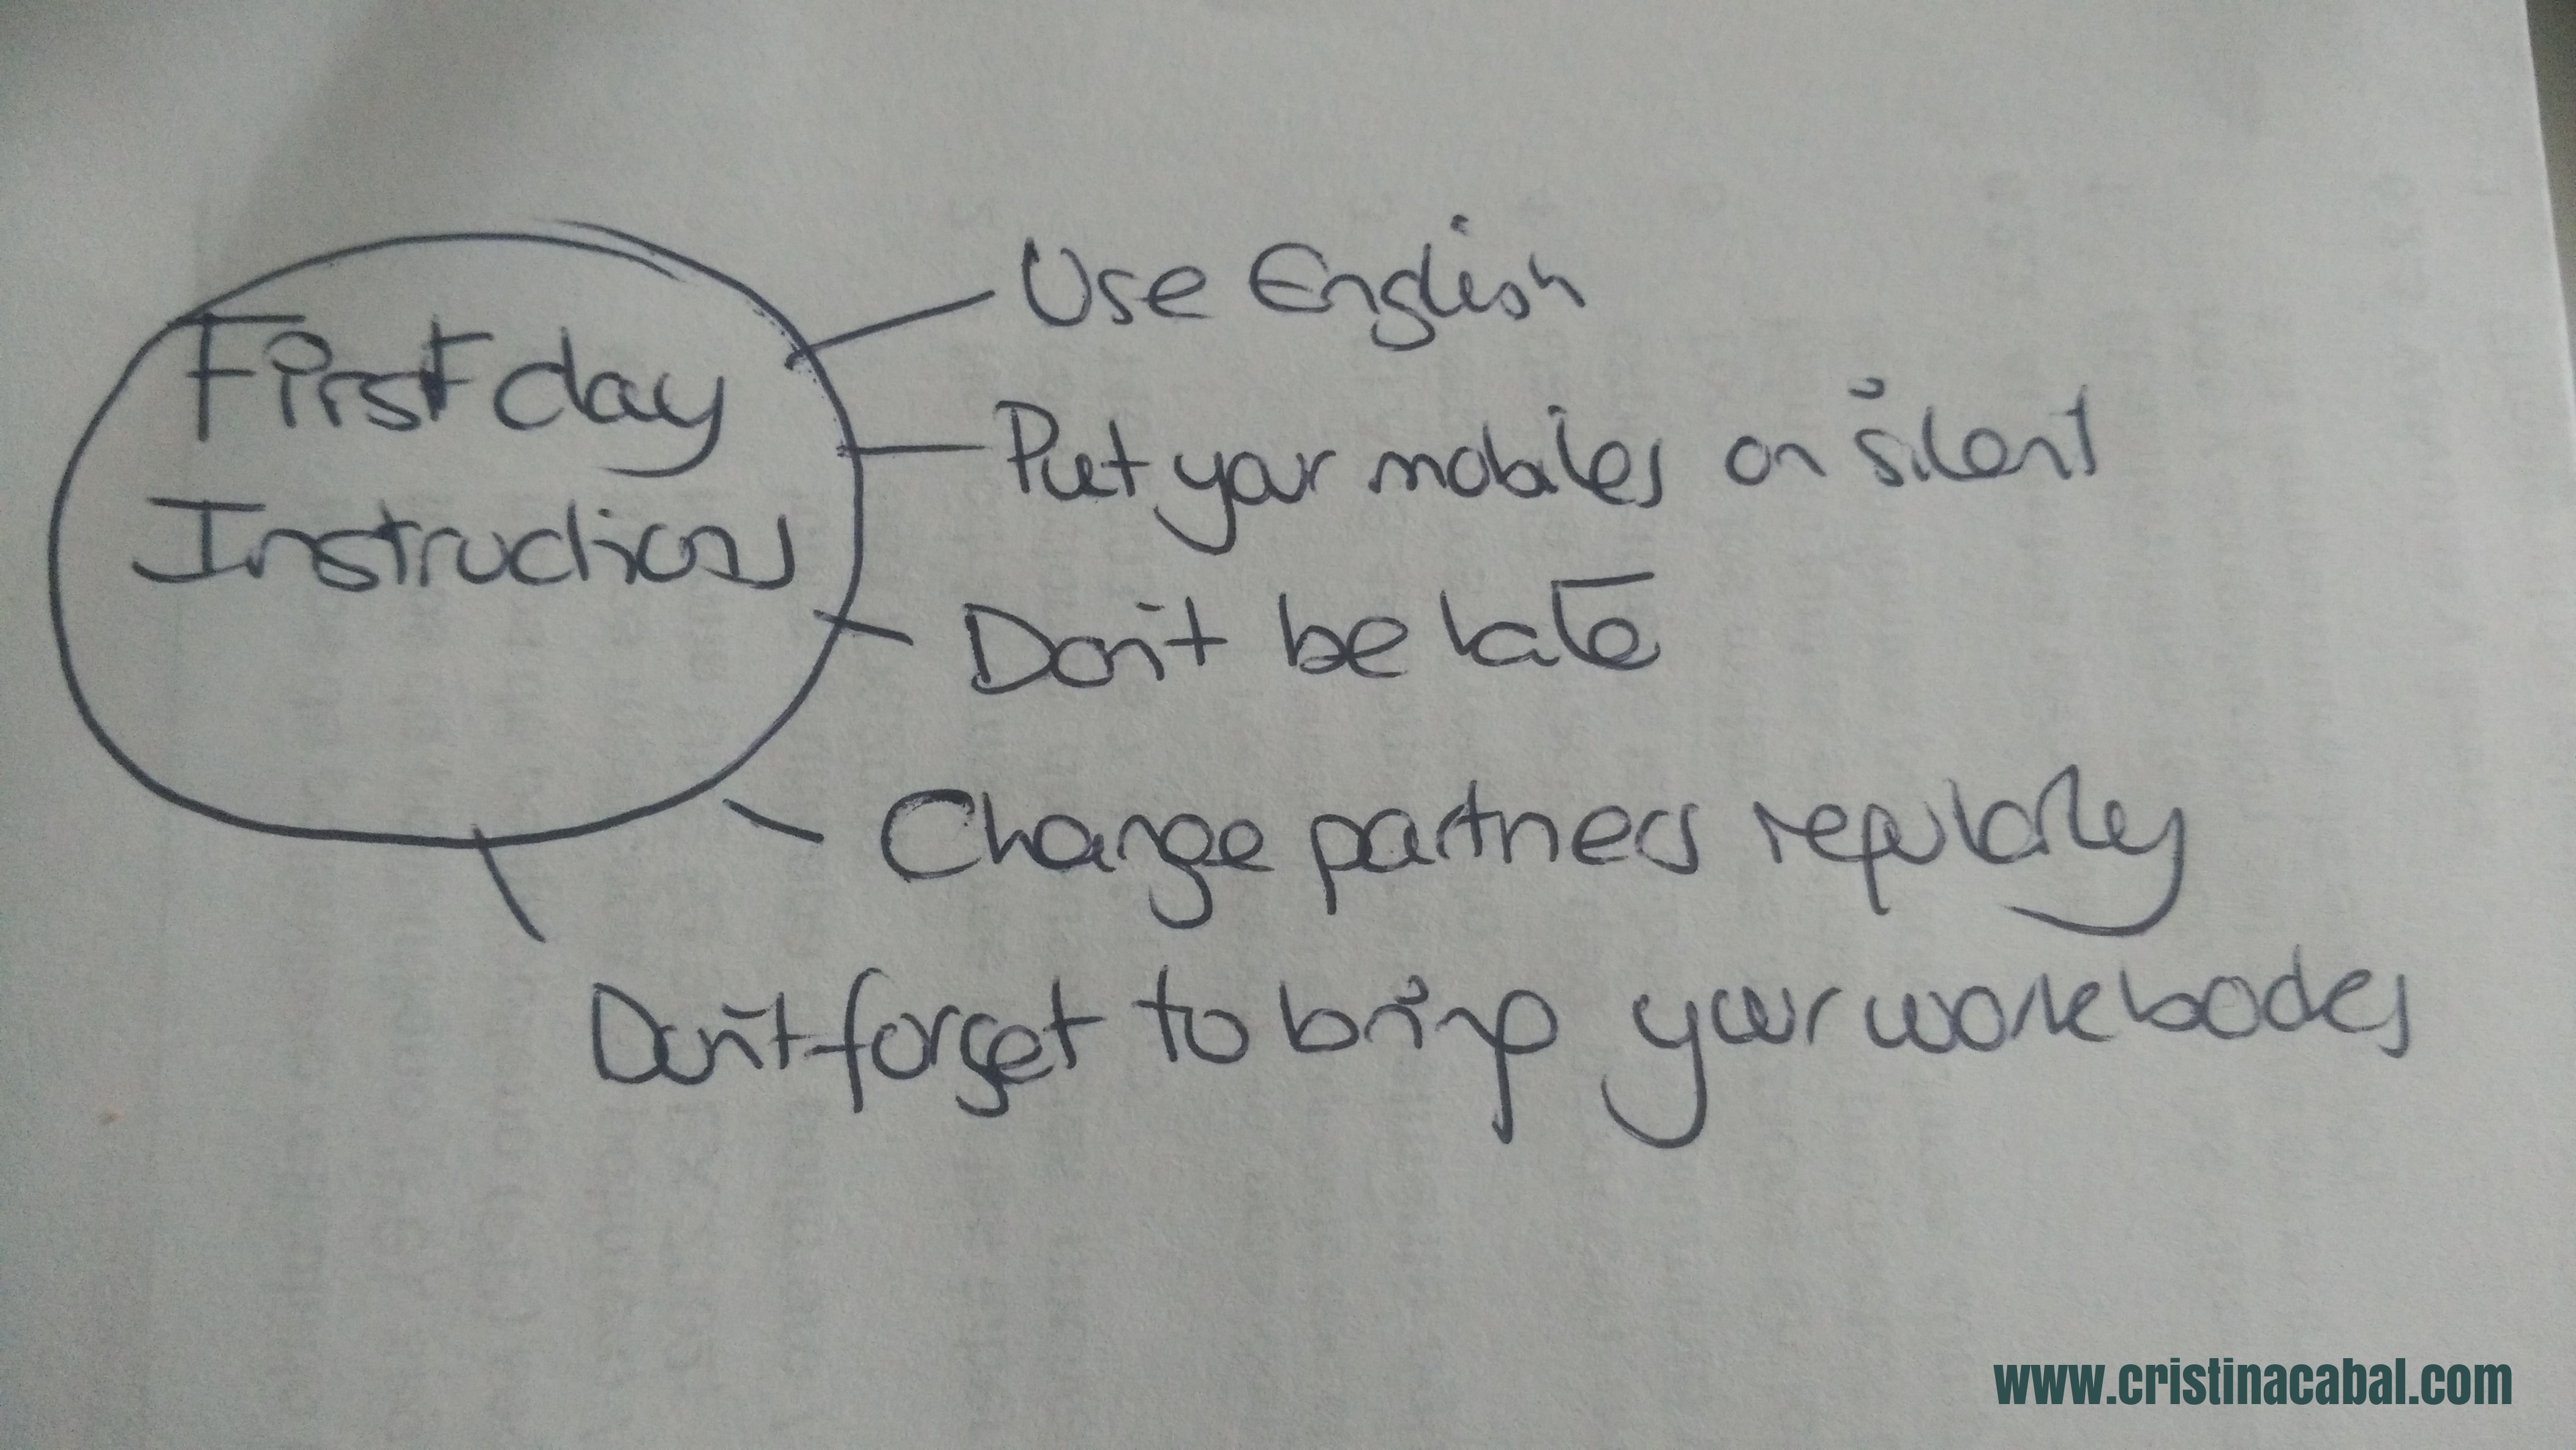
To introduce request and orders I write inside a circle on the board

First day instructions

and ask students to try to remember some of the instructions I gave them on the very first day in class.  Encourage them to tell you the exact words I used. They will probably say:

  • Use English
  • Put your mobiles on silent mode
  • Don’t be late.
  • Change partners regularly.
  • Don’t forget to bring your workbook

Write them on the board and choose a student who couldn’t attend that first day.

Tell students they now need to inform this student of the instructions I gave this very first day.

  • The teacher told us to use English in class
  • Cristina told us not to forget to bring our workbook

Hope it’s helpful! You might also be interested in this other post

Some nice activities to practise Reported Speech

Blog de Cristina is also on Facebook. Join us!

Some Activities to Teach Gerunds and Infinitives

I always claim that English grammar is easy, especially when compared to the Spanish or French grammar, but it gets a bit messy when it comes to verbs followed by infinitive or gerund.

The easy thing to say is that

  • some verbs are followed by infinitive (promise to go)
  •  some verbs are followed by gerund (can’t stand ironing).

But then we find that,

  • some other verbs are followed by infinitive or gerund with no change of meaning (start to study/start studying)
  • while some others are followed by infinitive and gerund with a change of meaning (stop to smoke/stop smoking)

And to add insult to injury,

  • some verbs are followed by infinitive with to (offer to help)
  • some others by infinitive without to ( make me study)
  • some verbs are followed by gerund, but if there is an object pronoun in between the verb and the gerund, then the gerund becomes infinitive (recommended reading / recommended her to read) …

Amazing, isn’t it?

Well, I suppose there’s nothing we can do about it, so let’s get down to some serious studying.


  • Level: Intermediate
  • Time: 60 minutes

THE GRAMMAR.

Download the document here


      THE PRACTICE:

Exercise 1. The Quiz


Exercise 2: The Rewriting Exercise


3.  Speaking and/or Writing: Storytelling Competition


  • Go to wheeldecide.com. Ask students to tell you verbs followed by gerund first, and then verbs followed by the “to” infinitive. Feed the wheel with these verbs.
  • Explain that in this activity they will need to seat in a circle in groups of 4.
  • Explain that you will write on the board the beginning of a story and then, in their groups, they will need to continue it.
  • Write on the board the beginning of a story. You can use this Short Story Generator.
  • Spin the wheel.
  • To make sure students will use the verb in the correct way, ask them to tell you whether the verb displayed in the wheel is followed by infinitive or gerund.
  • The oldest person in the group will start telling the story using the target verb in the wheel.
  • Give the student one minute to continue the story and then spin the wheel again for the next student.
  • If a student cannot come up with an idea to continue the story, he’s eliminated.
  • Continue until there is only one student left. This student will be the winner if he manages to give the story in his group a suitable ending.

Here’s the wheel I have used with my students.

Join us on Facebook

Integrating Technology for Active Learning: An Activity Using Google Slides and Padlet.

There is no denying I use a lot of technology in my classes. It gives me great pleasure to discover a new tool and design an activity around it. I really think this is what keeps me motivated after so many years teaching. The challenge that mastering a tool brings and the possibility to use it in my classes to boost students’ motivation and spark their interest is certainly something that keeps my own motivation alive and kicking

Today, I would like to share with you an activity that I did with my intermediate students. I loved designing the activity and the way my students got involved activating their communicative and writing skills during the whole process.

Tools used:

Aims:

  • to develop students’ communicative skills
  • to develop students’ writing skills
  • to revise vocabulary related to “work”
  • to integrate technology in the classroom
  • to encourage collaborative work

Before the class.

I created a Google presentation using Google Slides and wrote the content for the first two slides. I also added three extra blank slides (see below)

I created three Padlets and called them: Work 1, Work 2, and Work 3

In each of these 3 blank slides I inserted a link to one of these Padlets.


During the class.

 One. I asked students to form groups of 4. I have 12 students in this class, so I had three groups, one for each blank slide. If you have more students, you can easily add another slide to accommodate two more questions. I asked each group to write three or four questions related to “work”. I certainly encouraged them to come up with some juicy questions and avoid simple ones such as “Where do you work?”

Two. Once they have written their questions, the groups read them aloud and the class decides on the best two from each group to keep.

Three. At this point, there are two things you can do

  1. Assign each group one of the three slides and ask them to write their two questions, being careful not to delete the link to Padlet. Share the link for your Google Drive presentation making sure you share the link with editing permissions (read and write).  I have shortened the link using Google shortener.
  1. If you think this step might be complicated for your students, you can always write them yourself. Have the groups dictate their two questions and move on to the next stage.

Four: Speaking. Ask students in their groups to discuss the questions in the three slides encouraging them to use work-related vocabulary. Get feedback.

Five: Set homework.

Show the presentation from the very beginning where they will see the instructions for their homework.

Explain that at home they will need to answer one of the two questions in each slide. They can do it by writing their answers or by recording them.

Remind them it is the same shortened link you shared with them in Three.

See one of the Padlet below


Hecho con Padlet

You Have an Email! An Interactive Writing Activity

It’s true that although I’m a technology enthusiast there are still some things that I want to see written in paper. Especially when I’m studying I want to be able to underline, highlight, mark as irrelevant or write side comments in the margins.

So, for this activity, and despite finding lots of beautiful online presentations explaining the art of writing informal emails or letters (does anyone write letters anymore?), I have decided to stick to the traditional handout.


Level: B1 and above

Materials: checklist and handout (I have slightly modified it to adjust to my students’ needs)

Aims:

  • To teach students how to write informal emails with different purposes
  • To give students practice in writing some of these emails
  • To help students self-correct their own writings

THE THEORY

As explained above, I gave my students this excellent handout and we went through it. To make this process a bit more interactive, before each section we did a bit of brainstorming on the board tapping into the students’ prior knowledge. It is amazing to see how much they already know when you just take the time to ask them. After these brainstorming sessions, I always tell my students “Now, a bit more”. This “Now, a bit more” is based on the idea that new knowledge is constructed from old knowledge and I firmly believe this approach really makes it easier for students to learn and improve.


THE PRACTICE.

In this part the students will have to write two emails: a short one (50-60 words) and a longer one (140-160 words) in reply to a short one.

ONE. On the board write the following

  • Giving news
  • Apologizing
  • Inviting
  • Requesting
  • Thanking
  • Congratulating


TWO. Ask students to choose one. Make sure there is variety. They will find useful expressions for the email they have chosen to write in the handout provided.

THREE. Explain that they will need to write, on a clean sheet of paper, a short email to someone in the class. Tell them to follow the “salutation/body/closing structure. They will need to refer to the purpose of their email and then ask 2 or 3 further questions, related or not to the reason for writing their email. Remind them to keep this email short. Allow 10 minutes for this part.

FOUR. Once they have finished, ask students to swap emails with the person sitting behind them making sure they have not written the same kind of email. In that case, help them find someone else to swap emails with.

FIVE. Students will have to write an email in response to the email received, answering any questions asked. Ask them to refer to the handout and use a variety of expressions and a good range of vocabulary and structures. Allow 25 minutes for this part. They should aim to write between 140-160 words.

SIX. Students swap emails again and read the reply to their email.

SEVEN. Ask students to use this checklist to correct their partner’s email and give it a mark taking into account the following:

  • Content: Has he fulfilled the task? Has he answered all the questions?
  • Communicative Achievement: Has he used the right register or is it too formal? Does it sound natural?
  • Organisation: Is it well-structured? Is it logical and ordered? Has he used the right punctuation?
  • Language: Has he used a wide variety of vocabulary and structures? Is it adequate to the level? Are there spelling mistakes?

Correcting each other’s emails is not something the students feel confident about, but if before they start correcting, you write some repetitive mistakes on the board they’ll feel more confident correcting them. Ask them to underline anything that sounds incorrect to them and offer help.

EIGHT. The final step would be pairing up senders and recipients to comment on mistakes and marks awarded.

Guardar

Guardar

Irregular Verbs? Yes,Please!

My son Lucas was complaining he was going to have a permanent crick in his neck from spending hourrrrrs (or words to that effect) trying to learn irregular verbs in English when it occurred to me  there might be plenty of sites on the Internet to help students, and my own son in this case, with this seemingly daunting task.

And just as I predicted there are some cool sites that offer a nice alternative to the traditional pen-and-paper method of learning irregular verbs.

Hard to believe me? Then, try these games and I bet you’ll be delighted next time you are asked to study them. Dear Lucas, this post is for you!!!

Jeopardy Quiz Game

Fun activity to teach action verbs in the irregular past simple tense. It can be played in teams (up to 4). It is especially useful for teaching ESL intermediate learning and teaching.

Irregular Verb Wheel Game

An enjoyable game where irregular verbs are chosen at random from a spinning wheel. In this game you have 2 minutes to answer questions related to the verb forms of the irregular verbs displayed in the wheel. You get 1 point for every correct answer plus a bonus 10 points for every verb you get 100% correct.

Hangman Game

From eslgamesplus.com, the always entertaining hangman game; in this case, with irregular verbs. A great timed activity to review irregular verbs while reinforcing their spelling.

Irregular Verbs Walk the Plank

A fun activity where the teacher is presented as an animated character on a pirate ship about to be eaten by sharks. You’ll need to answer correctly all the questions to see the teacher being eaten by the sharks (don’t worry, there’s no blood!). A game for kids that I enjoyed a lot and played more than once 🙂

Create your own.

If you’re not happy with any of the games above, you can always create your own. Superteachertools gives you the possibility of creating your own jeorpardy quiz in a very easy way.

Who said learning English is boring?

Blog de Cristina is also on Facebook. Follow me!! 🙂