Hello hello! Still enjoying Easter holidays? Yeahhh me, too! So, I just wanted to pop in real quick with an activity I think might make going back to the grind a little bit easier.
What are the main goals of this activity?
Revise and activate newly-acquired vocabulary
Reinforce how to formulate questions
Boost students’ speaking abilities
Introduce movement in the classroom: gallery walks
How to do it
Write six to eight words or expressions you want to revise on cards, big enough to see from a distance. Stick them on the walls of the class for everybody to see.
Depending on the number of students in your class, ask them to work in pairs or groups of three. For each word on the wall, the group must think of an open question using the target vocabulary.
Walk around the room and help with grammar and spelling.
Once the group have their question, ask them to write it on a post-it note or a scrap of paper and put it next to the target word on the wall.
When they have finished and all the questions are displayed on the walls, ask learners to stand up and, in new groups, do a gallery walk discussing the questions.
Artificial Intelligence- you can choose to embrace it or ignore it, but I assure you it is not going anywhere. It is here to stay, so I choose to love it and use it, to squeeze it and to have fun with it.
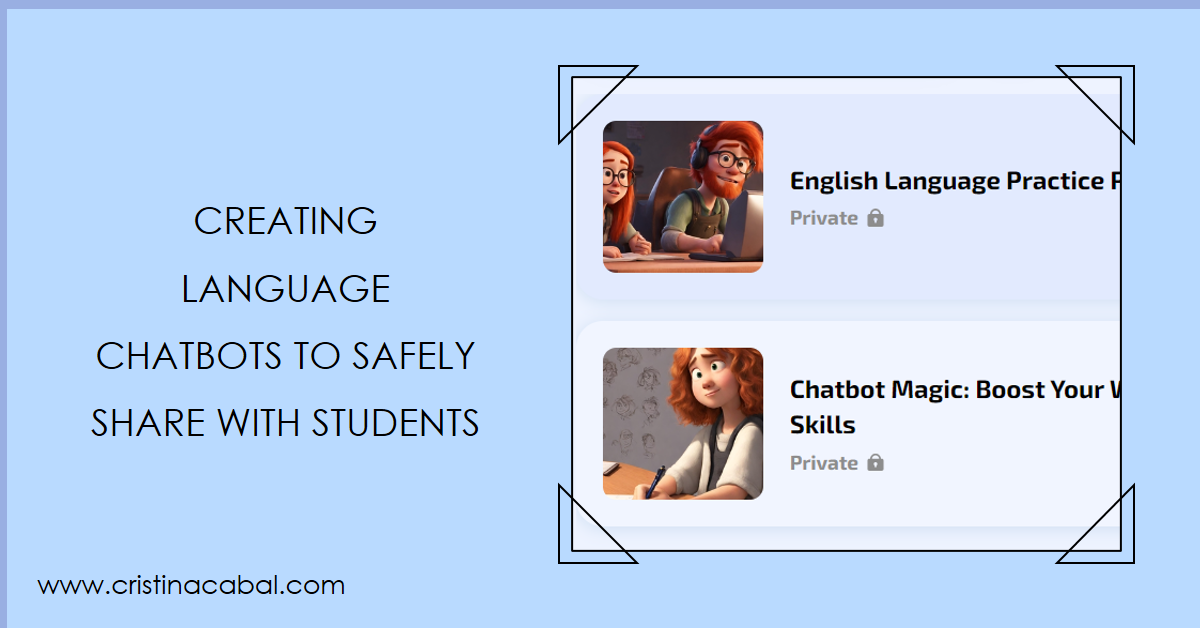
I am so into it that if I see something AI-related that seems like it can remotely be useful for my classes, I want to try it straight away. So, I had been experimenting with chatbots for a while but being a simple English teacher, all the platforms I tried were either too difficult, not free or not student friendly. And these things were essential not only for me, but also for the teachers I train. So, when I read about language chatbots in Lana Kandybovich’s blog ,ELTcation,I told myself “Let’s dive right in”. And I did.
You cannot believe how easy it is. It took me less than 30 minutes to create two chatbots, though I have to say that I had my buddy ChatGPT to lend me a helping hand in crafting the instructions.
Safe and Student-friendly as they don’t have to register, and it doesn’t share students’ data. Students can interact with text and audio.
Shareable. The chatbot can be shared with everyone, or you can create private sessions, just for your students, for example it can be set as homework. In this case, their interactions will be graded, If you wish so, and feedback offered. The interactions will never be shared with anyone but the owner of the chatbot.
Multipurpose. You can create a chatbot for almost anything you can think of and in ; you just need to write the right instructions and be specific about what you want your chatbot to do. You can even upload a document or your rubric so that the feedback is based on it.
Multilingual. It supports 50 languages
Customizable. You can personalize its appearance to match your classroom style. You can build your chatbot from scratch or have AI assist you.
It might not be perfect, but it certainly works for me.
So, to address one of the main problems my students have, I have created
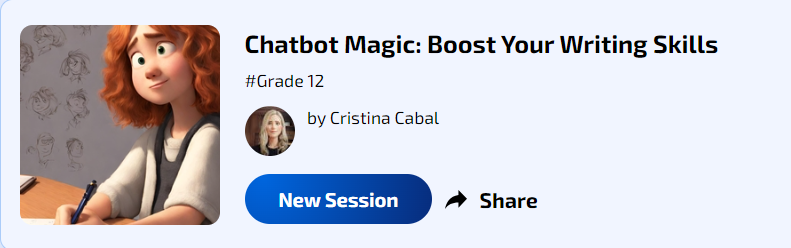
1.Chatbot Magic: Boost Your Writing Skills,
In this tool, Cabal Scribe, the chat assistant, will help students enhance their writing. It analyses their text and provides feedback on grammar mistakes, spelling errors, and other identified issues. Its goal is to assist students in improving their writing. While it may not be as effective as a teacher, it can certainly be helpful when a teacher is not available. Feel free to click on the link to try it yourself and/or share it with your students.
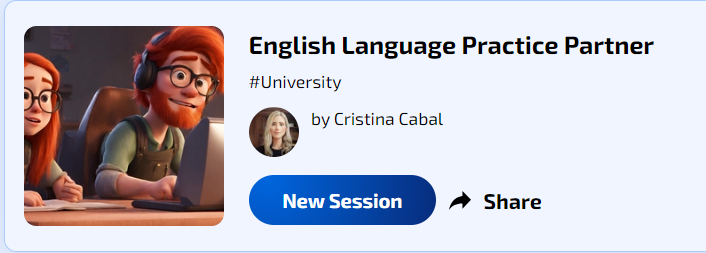
2. Miss ChatAI: an English Language Practice Partner.
The aim of this chatbot is to interact with students by asking questions and providing answers on any topic they wish to discuss. The chatbot will also offer feedback on grammar and vocabulary mistakes or any other kinds of errors and suggest alternatives when necessary. Students can write sentences, questions, or paragraphs, and the chatbot will provide personalized feedback while continuing the conversation. In its initial interaction with a student, the chatbot will inquire about their English level to tailor its questions and responses appropriately. Once the conversation topic has been established, the chatbot will suggest vocabulary that is both related to the topic and appropriate for the student’s level. Feel free to click on the link to try it yourself and/or share it with your students.
It might not be your case, but most teachers, including myself, do not dedicate enough time to practise writing in class. And this needs to be fixed because students may simply get better if given the right guidance and enough practice. However, I think it’s crucial that we ask them to reflect on their errors and then, ask them to make the necessary corrections, rather than just correcting them ourselves.
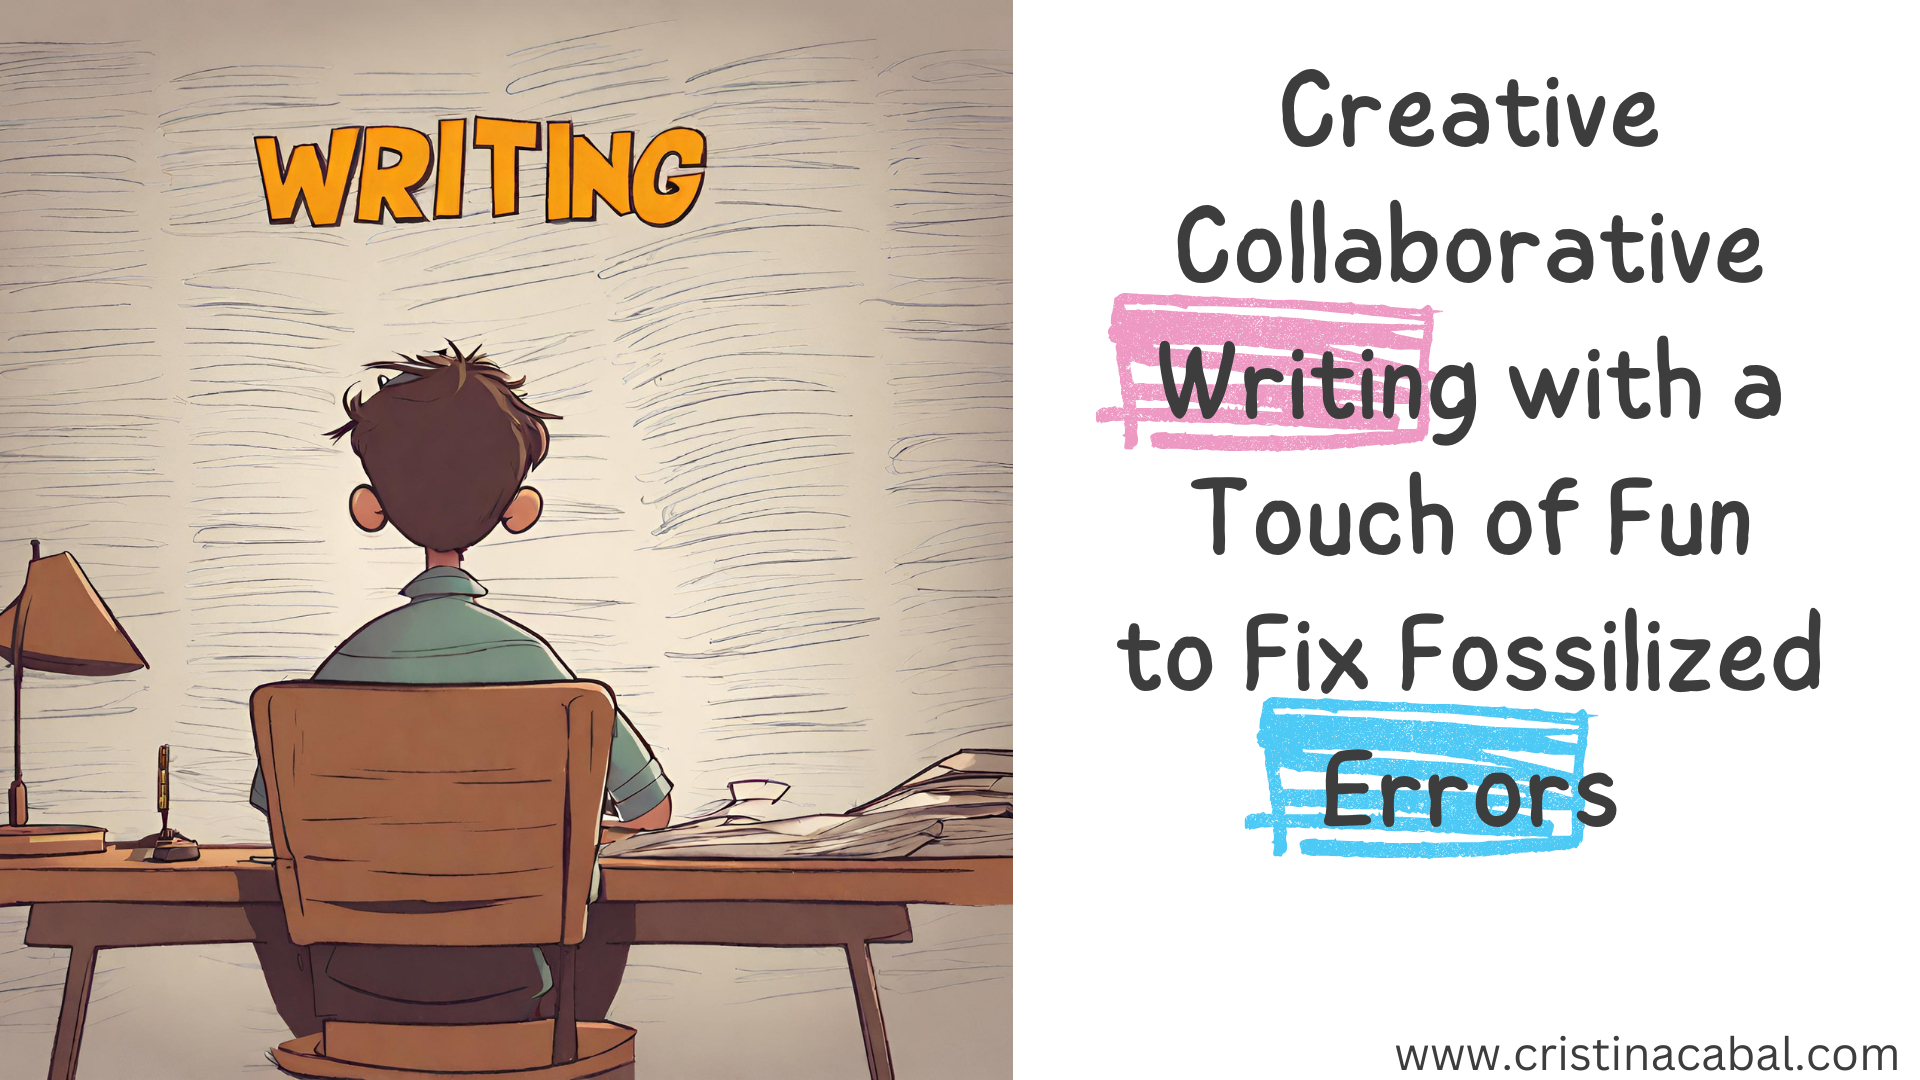
This exercise you are about to read is fun, creative, and collaborative; it gets students out of their seats but most importantly, gives them an opportunity to learn from their mistakes and fix fossilized errors.
On Fossilized Errors
Fossilized errors are persistent mistakes that students make despite repeated correction. You know what I am talking about, don’t you? While teachers play an important role in identifying and correcting these errors, it is imperative for students to take ownership and conscientiously analyse and rectify their errors; that’s, in my experience, the most effective way to eliminate them. If you ask me and generally speaking, when students are given a composition with corrected errors, they just have a quick look at them, but they don’t truly reflect on their mistake and then, inevitably, they are bound to make the same mistake over and over again.
IMPORTANT:For this activity, I have used a classroom that has several small whiteboards on the walls. I am not going to deny that using these whiteboards is more appealing, but what if you don’t have these cute whiteboards? No problem, it will work just the same with A3 or A4 paper (the bigger, the better)
Step by Step
STEP 1: FORMING PAIRS AND GETTING A STORY STARTER
Pair up students.
Display the visual below and explain that the boxes contain different story starters. Ask pairs to choose a box. The sentence inside the box will be the beginning of their story. All pairs must choose a different box, meaning they will all have different beginnings.
I have asked each pair of students to stand next to a board (alternatively, as explained, a A3 or A4 sheet of paper ) and write the beginning of their story.
Give students about 5/6 minutes to continue the story in any way they fancy.
STEP 2: ADDING A RANDOM PROMPT AND A CONNECTOR OF CONTRAST
After approx 5 minutes, draw students’ attention and ask a volunteer for the whole class to
choose a box from the exercise below. Pairs will have to continue the story, incorporating the prompt in the box. Right after opening the box with the prompt,
click on the wheel (fed with connectors of contrast and purpose and some verbs) and ask them to continue the story using the connector/verb randomly picked in the wheel.
Give students 5 or 6 minutes to continue the story.
How many times have I repeated Step 2?
I have repeated this procedure three times (i.e. three prompts+ three connectors). Make sure you tell them when they need to finish their stories.
Step 3. Giving students Feedback on their Writing
Give students something to do while you quickly underline the mistakes in their writings. Keywords here: underline their mistakes. I don’t correct them, I underline them. This is vital if you want students to get rid of errors.
Step 4. Students correct their mistakes
Ask students to stand up in their pairs and comment, reflect and try to fix the underlined mistakes.
Important: I ask them not to delete the original text so that I can have it as a reference.
Step 5. Quickly give feedback on their corrections
Step 6. Students vote for the best story
Student stand up again, read their classmates’ stories, and individually vote for the best. They do it by drawing a heart next to the story they like best.
Let’s talk about writing today! If you’re searching for a writing activity that is engaging, effective, promotes collaborative work, and takes only about 20 minutes to complete, then look no further! I have a simple yet effective activity that can help you achieve all these goals.
As an educator, I am always looking for new ways to help my students improve their writing skills. That’s why I’m excited to share an activity that I’ve created which has proven to be both effective and engaging for students. In this case, it’s been used in a C1 level class, but it can easily be used with any level. In this blog post, I’ll be explaining the details of this activity and providing examples of how it has helped my students write more advanced texts. If you’re looking for a fun and creative way to help your students improve their writing, then keep reading!
This activity consists of two parts, with the first part being designed specifically for C1 students, or possibly strong B2 students. If you teach lower levels, you’ll need to create your own slides for Part 1 of the activity, but you can still use Part 2 and 3 in this post.
Part 1: The theory
I have created this brief presentation to target some specific points to help them write more advanced sentences. We have focused on 5 key points, including reduced relative sentences, order of the adjectives and using a noun as a compound adjective.
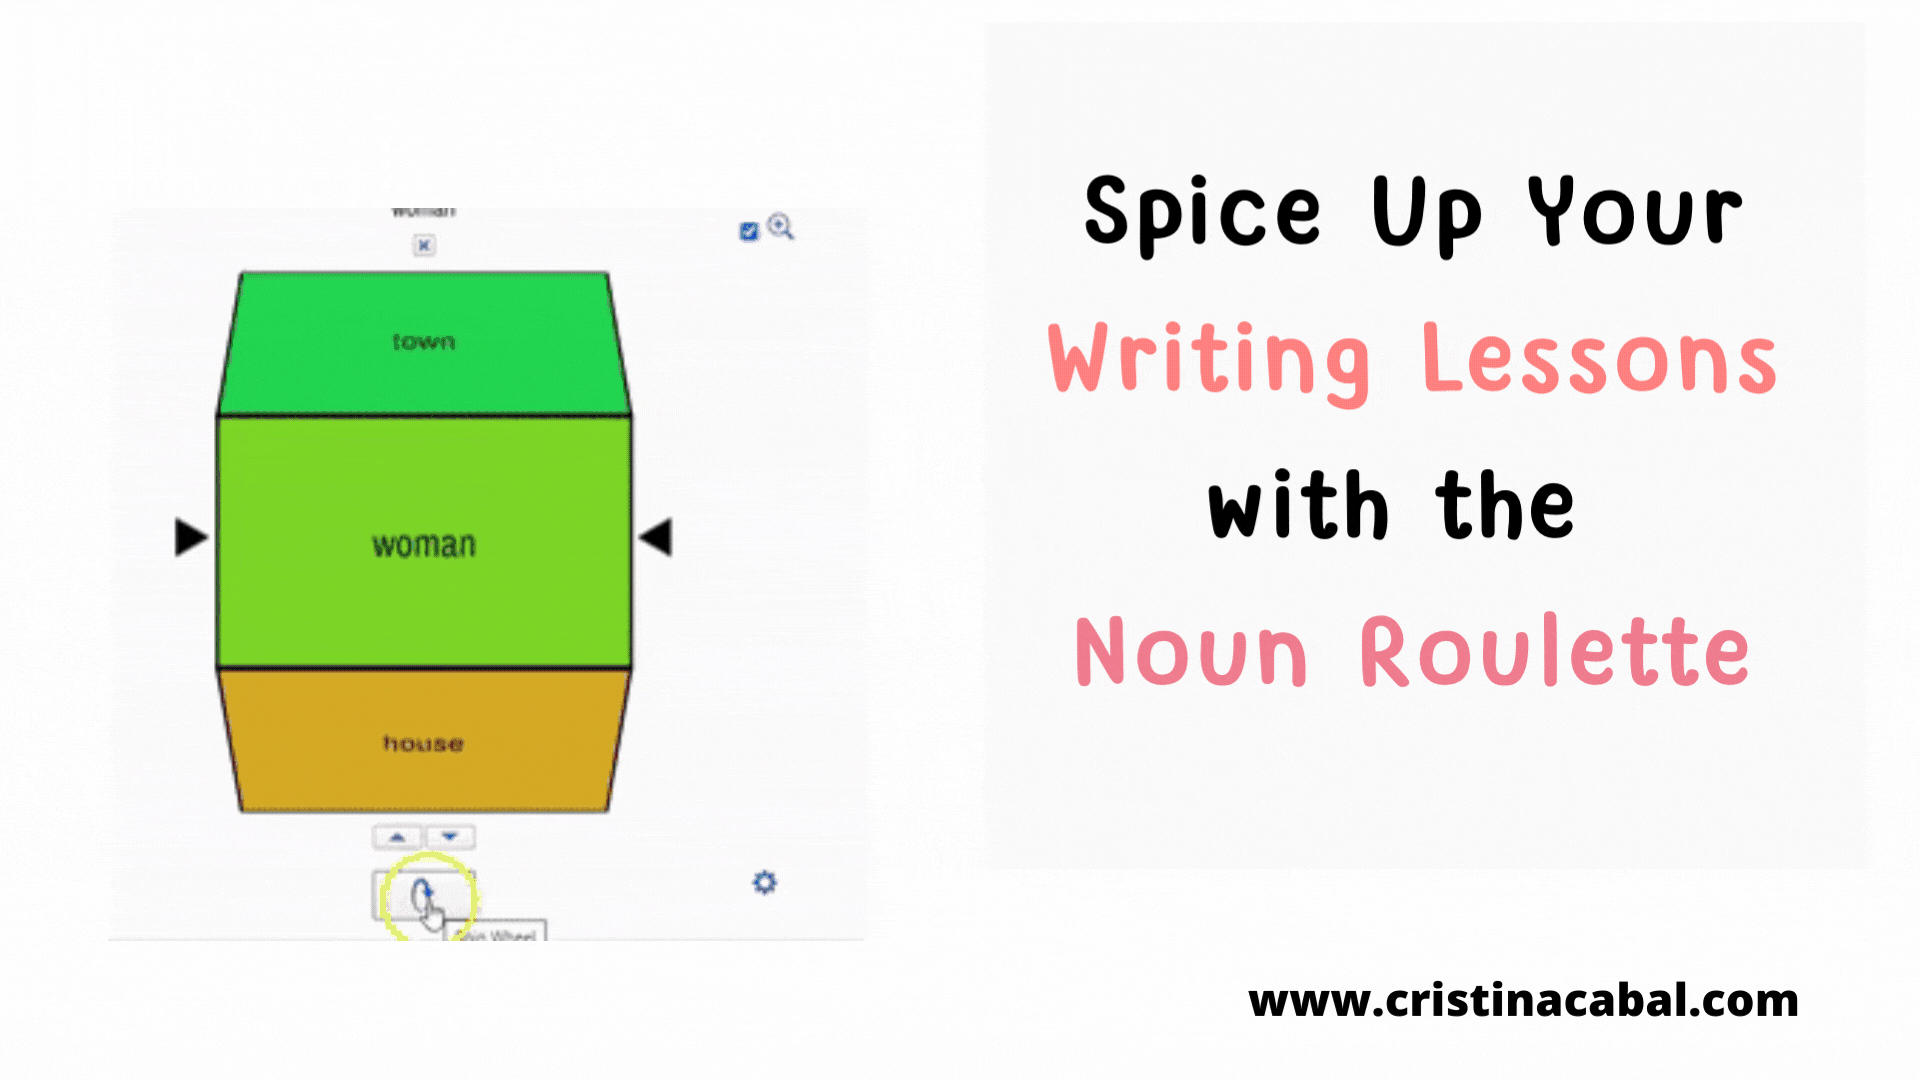
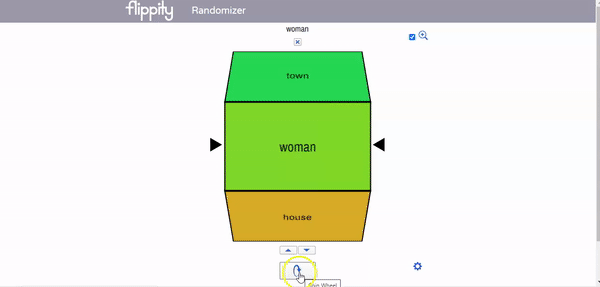
In the last slide, you will find the Noun Roulette Randomizer. Yay!
Time to recycle spare photocopies! Cut them into strips of paper large enough to write a long sentence on.
Ask students to pair up and give each pair 3 or 4 strips of paper.
Display the noun roulette and explain that it will randomly select a noun. For example: collection.
Click here to see the roulette in action. To create your own, click here and type your own words. Easy-peasy!!
In their pairs, they will have about 2 minutes to come up with their best sentence by incorporating some of the points worked with in the first part of this activity. They must include the noun “collection”.
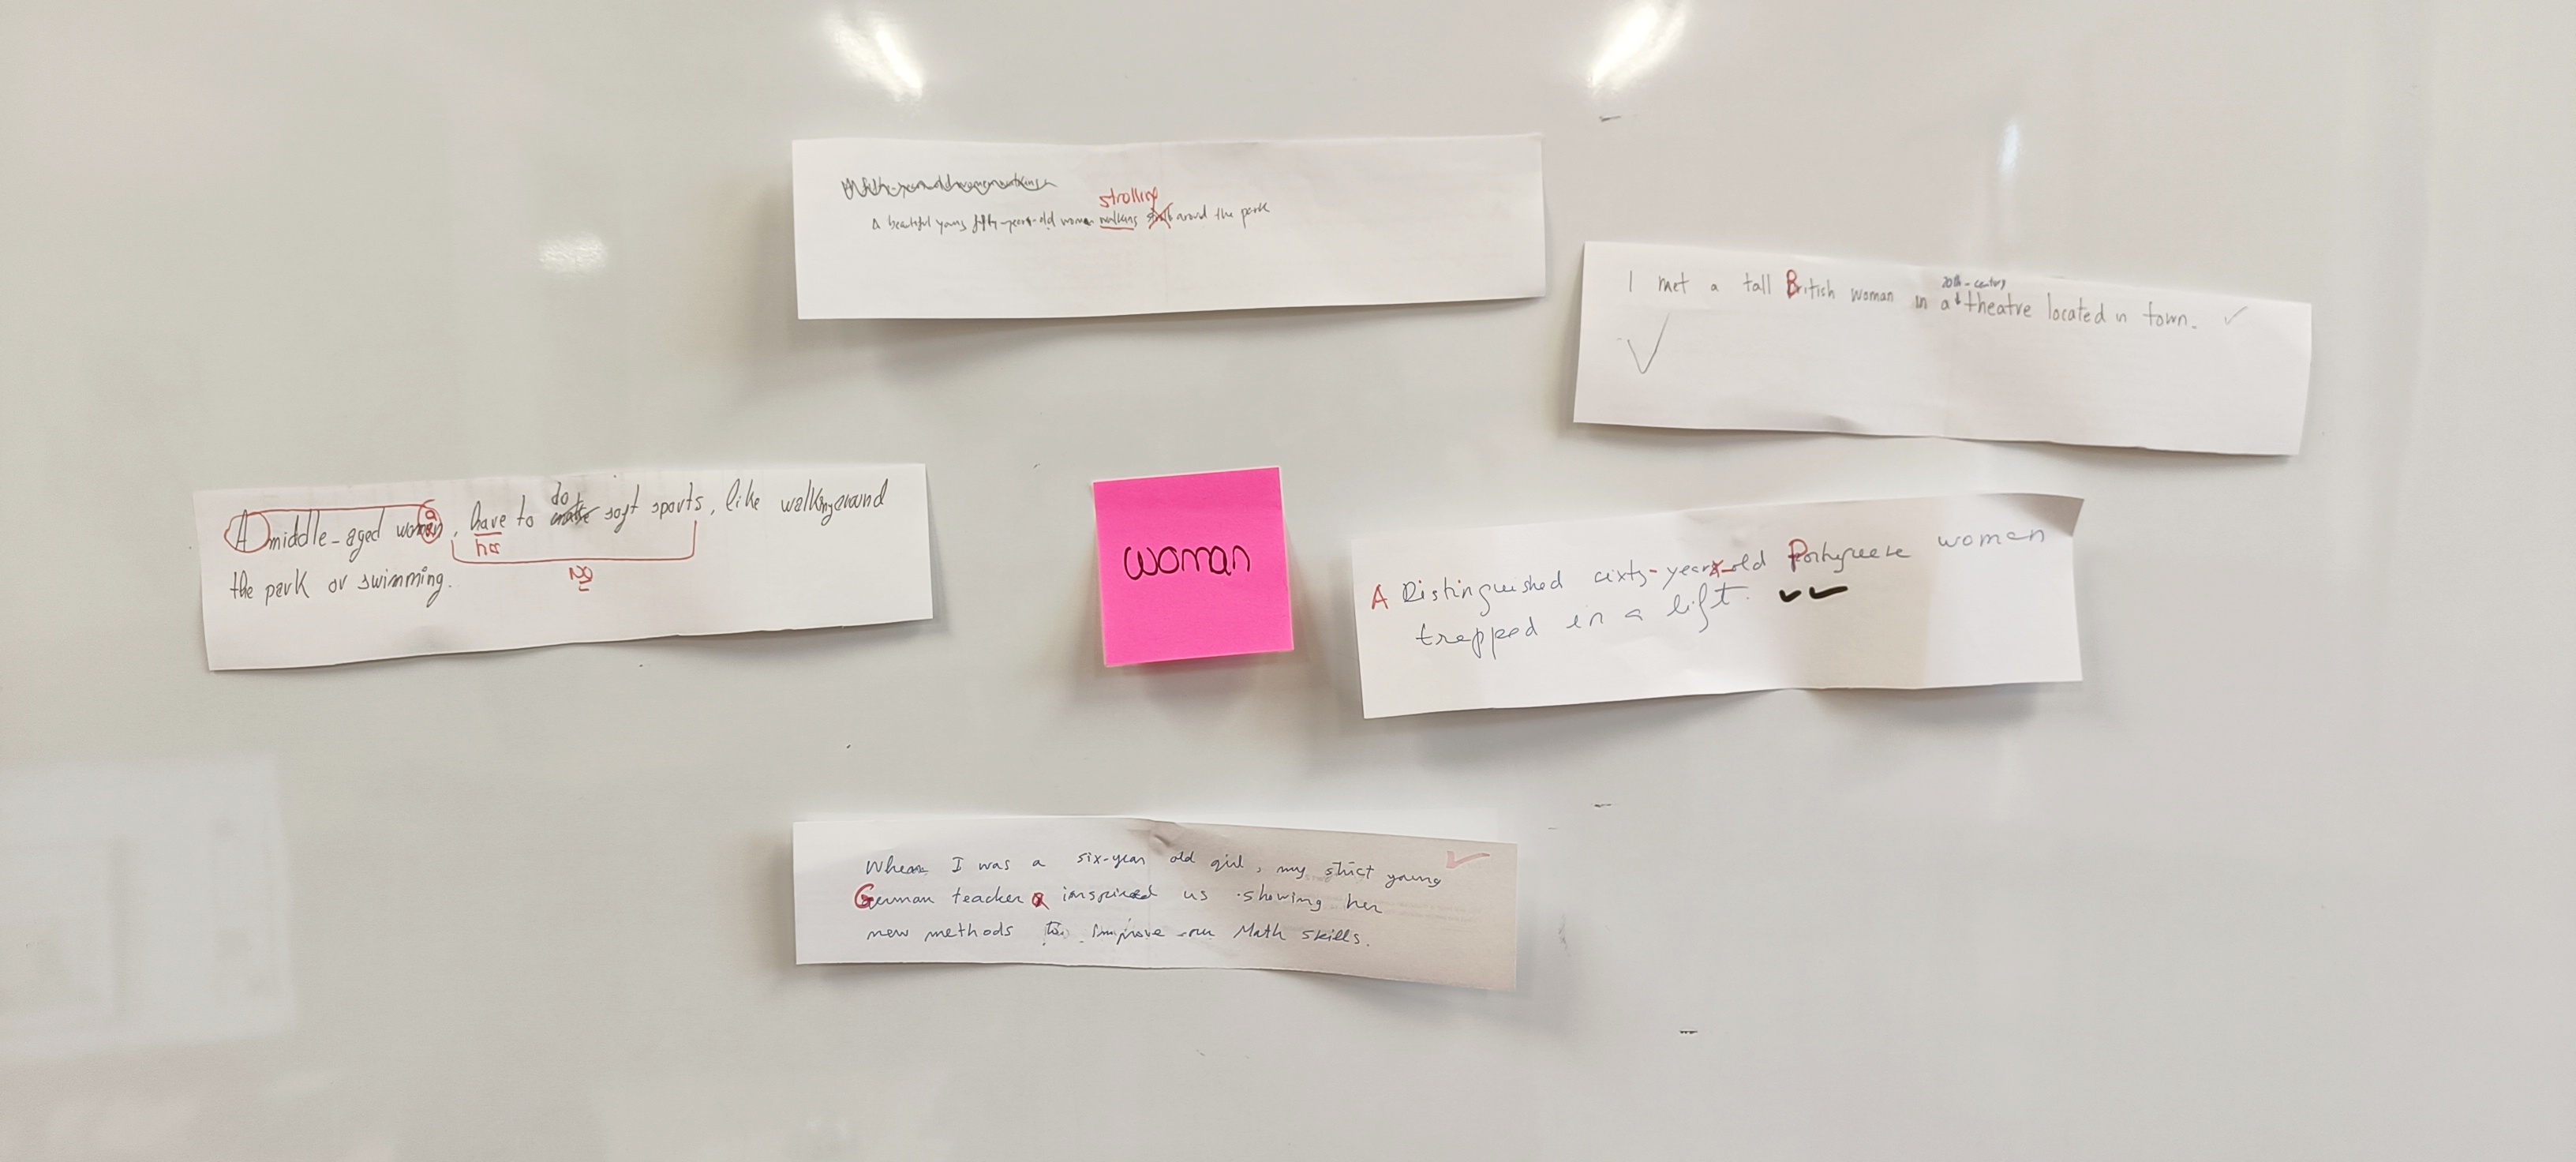
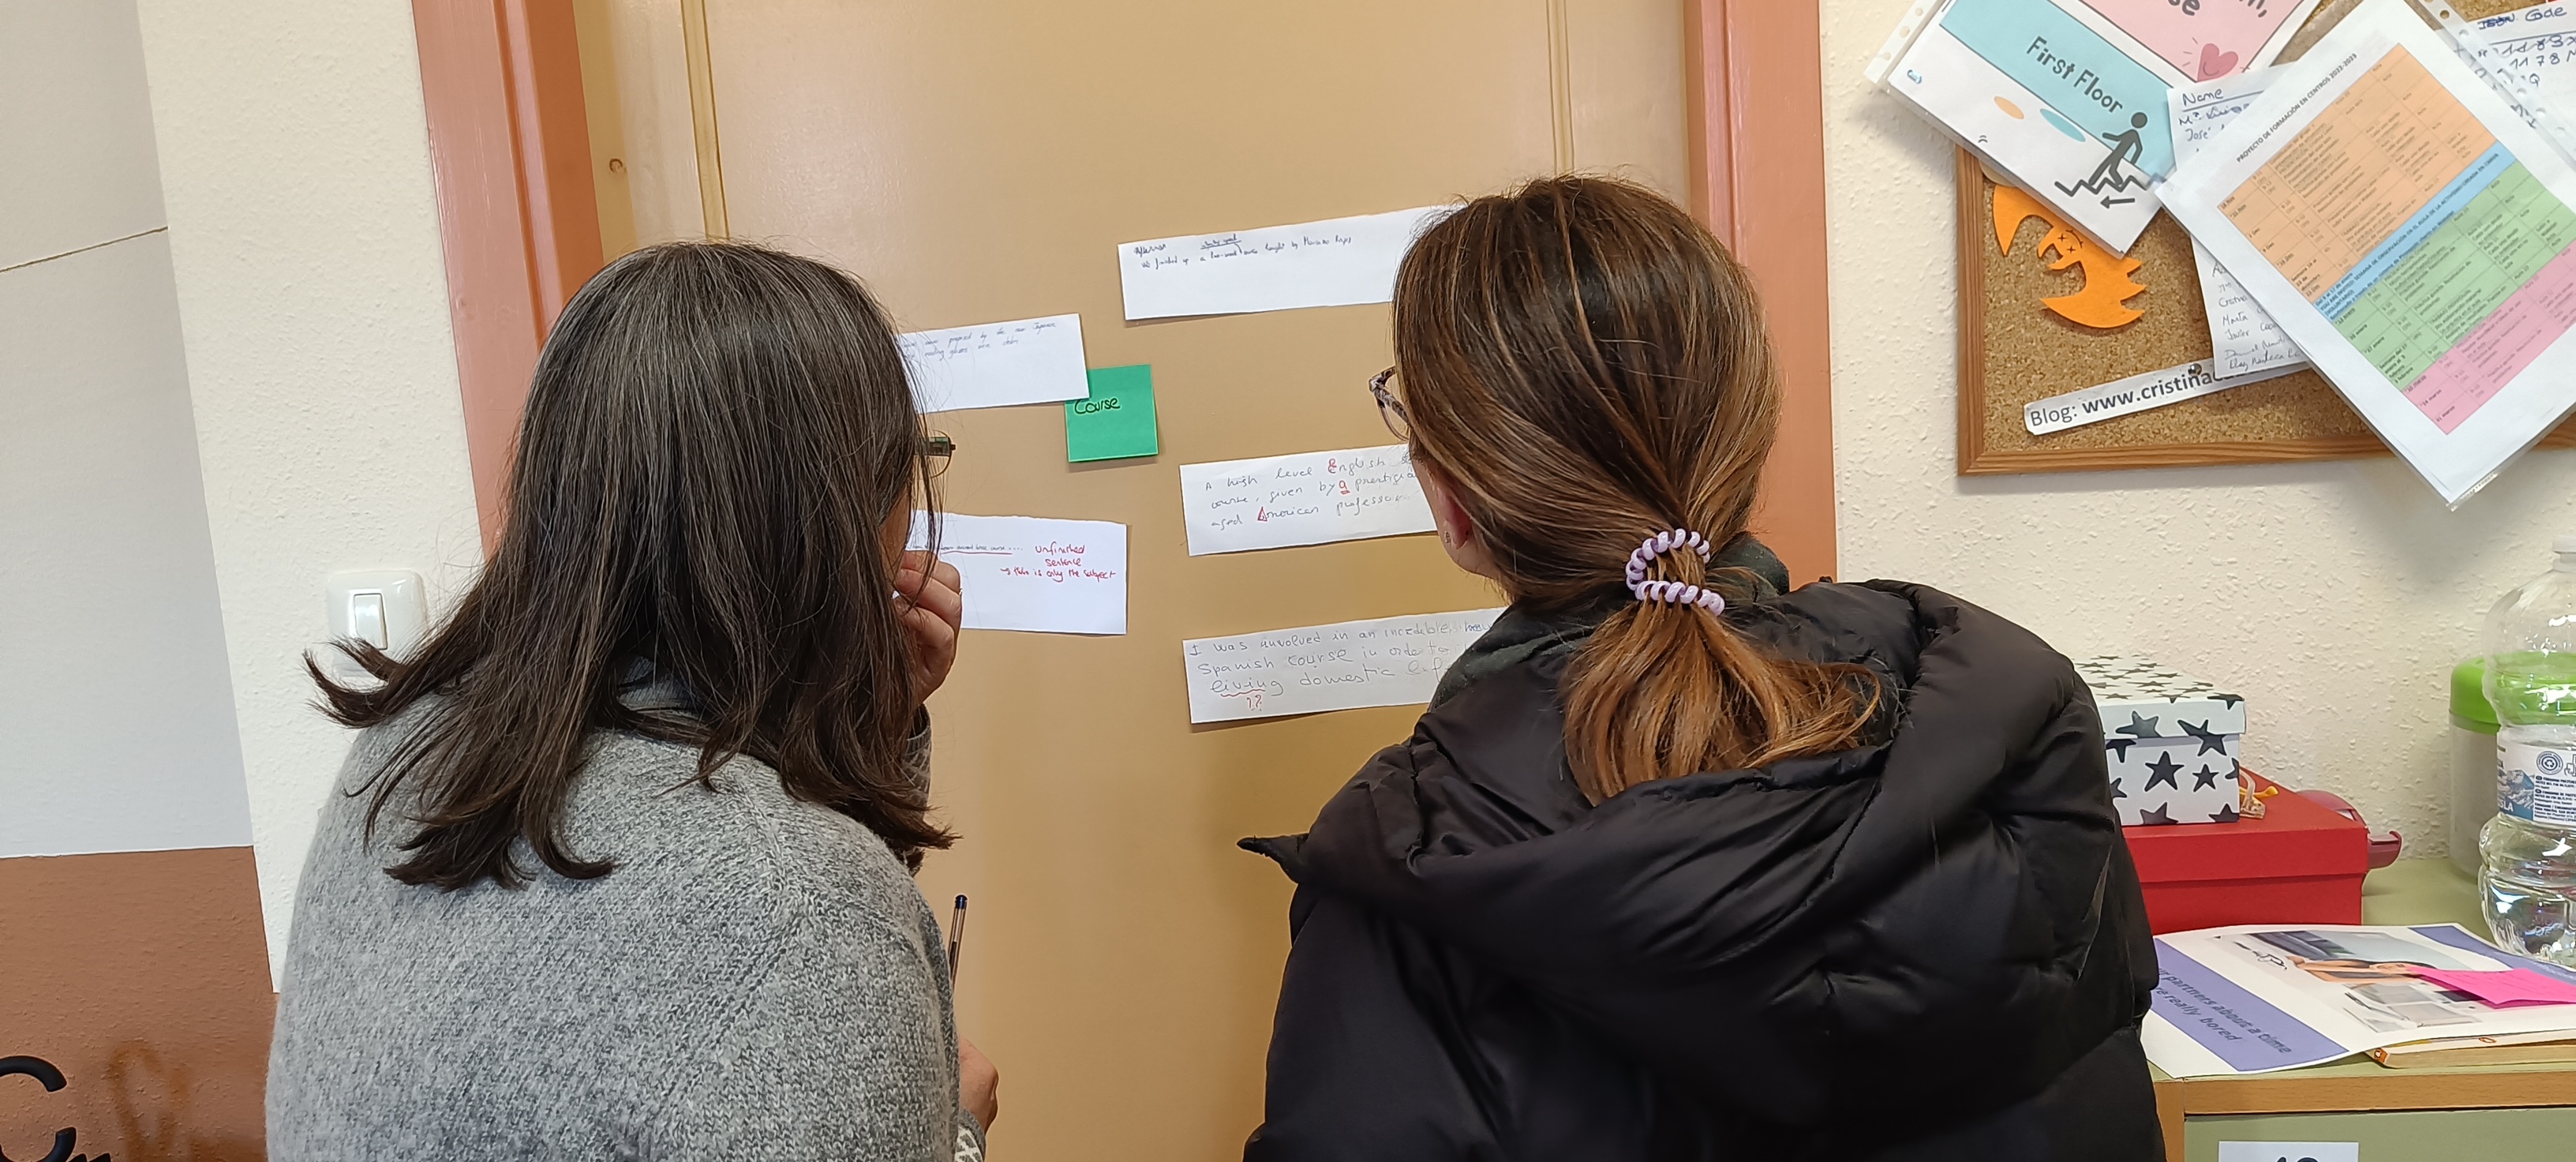
In the meantime, I’ve written the word ‘collection’ on a post-it note and posted it on a visible part of our classroom wall.
Once they have finished writing their “advanced” sentence, we will put them up on the wall, surrounding the noun. You can use Sellotape or Blue-tack for this.
Select a new noun with the roulette and do it all over again. I have done this 3 or 4 times.
What is your role as a teacher? Yes, you need to be working, too. Once they have placed their sentences on the walls, correct their mistakes.
Part 3: Voting
Once the sentences have been written and mistakes have been corrected, instruct students to stand up in pairs and read all the sentences surrounding the nouns. They will now need to vote for the sentence they think is the best in terms of showing a more advanced level, regardless of the mistakes they might have made. To mark the sentence they like best, they will just have to put a tick on the strip of paper containing the sentence, as you can see in the picture.
This has two aims:
1. To help students identify their own and their peers’ mistakes, which is a valuable learning experience.
2. By voting on the best sentence, students come to understand their own ability to distinguish between writing that meets the C1 level and writing that falls short.