Tag Archives: collaborative

Creative Collaborative Writing with a Touch of Fun to Fix Fossilized Errors

It might not be your case, but most teachers, including myself, do not dedicate enough time to practise writing in class. And this needs to be fixed because students may simply get better if given the right guidance and enough practice. However, I think it’s crucial that we ask them to reflect on their errors and then, ask them to make the necessary corrections, rather than just correcting them ourselves.

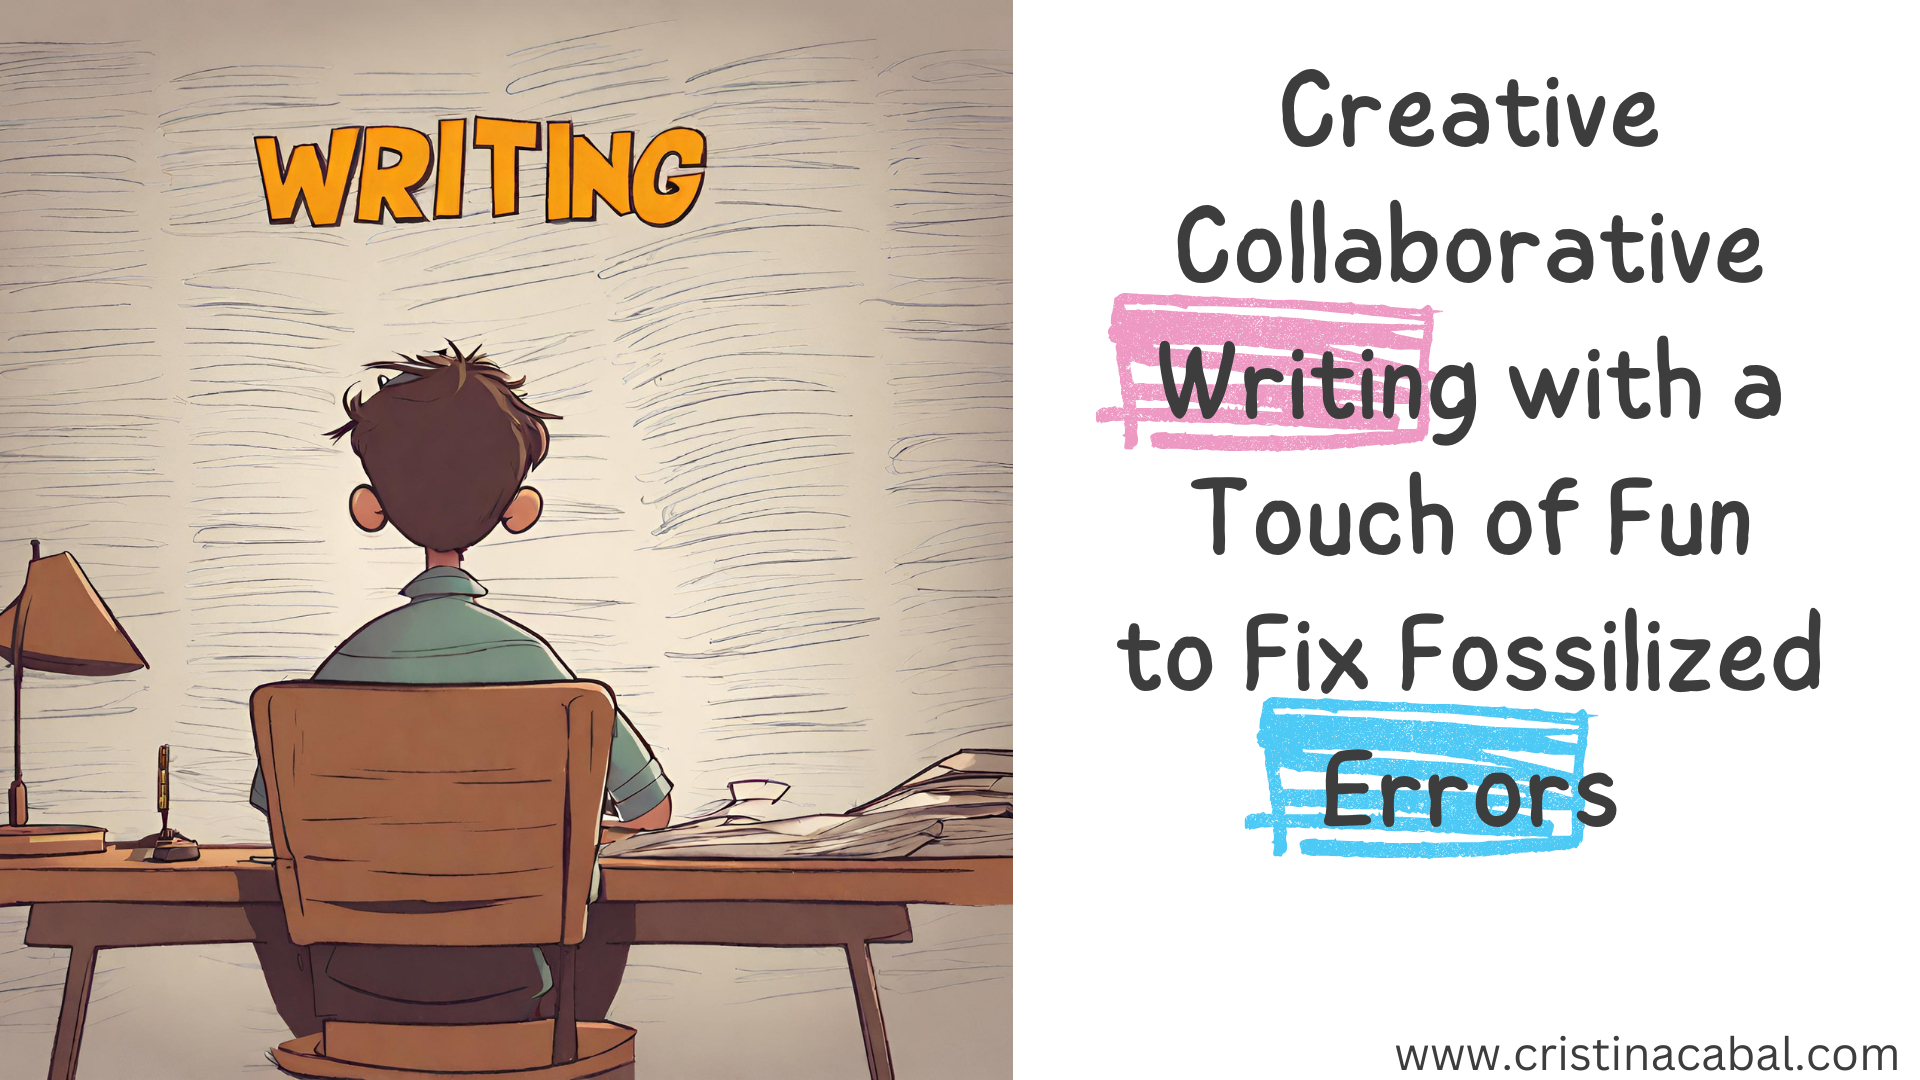
This exercise you are about to read is fun, creative, and collaborative; it gets students out of their seats but most importantly, gives them an opportunity to learn from their mistakes and fix fossilized errors.

On Fossilized Errors

Fossilized errors are persistent mistakes that students make despite repeated correction. You know what I am talking about, don’t you?  While teachers play an important role in identifying and correcting these errors, it is imperative for students to take ownership and  conscientiously analyse and rectify their errors; that’s, in my experience, the most effective way to eliminate them.  If you ask me and generally speaking, when students are given a composition with corrected errors, they just have a quick look at them, but they don’t truly reflect on their mistake and then, inevitably, they are bound to make the same mistake over and over again.

IMPORTANT:For this activity, I have used a classroom that has several small whiteboards on the walls. I am not going to deny that using these whiteboards is more appealing, but what if you don’t have these cute whiteboards? No problem, it will work just the same with A3 or A4 paper (the bigger, the better)

Step by Step

STEP 1: FORMING PAIRS AND GETTING A STORY STARTER

  1. Pair up students.
  2. Display the visual below and explain that the boxes contain different story starters. Ask pairs to choose a box. The sentence inside the box will be the beginning of their story. All pairs must choose a different box, meaning they will all have different beginnings.
  3.  I have asked each pair of students to stand next to a board  (alternatively, as explained, a A3 or A4 sheet of paper ) and write the beginning of their story.
  4. Give students about 5/6 minutes to continue the story in any way they fancy.

STEP 2: ADDING A RANDOM PROMPT AND A CONNECTOR OF CONTRAST

After approx 5 minutes, draw students’ attention and ask a volunteer for the whole class to

  • choose a box from the exercise below. Pairs will have to continue the story, incorporating the prompt in the box. Right after opening the box with the prompt,
  • click on the wheel  (fed with connectors of contrast and purpose and some verbs) and ask them to continue the story using the connector/verb randomly picked in the wheel.

Give students 5 or 6 minutes to continue the story.


How many times have I repeated Step 2? 

I have repeated this procedure three times (i.e. three prompts+ three connectors). Make sure you tell them when they need to finish their stories.

Step 3. Giving students Feedback on their Writing 

Give students something to do while you quickly underline the mistakes in their writings. Keywords here: underline their mistakes. I don’t correct them, I underline them. This is vital if you want students to get rid of errors.

Step 4. Students correct their mistakes

Ask students to stand up in their pairs and comment, reflect and try to fix the underlined mistakes.

Important: I ask them not to delete the original text so that I can have it as a reference.

Step 5.  Quickly give feedback on their corrections
Step 6. Students vote for the best story

Student stand up again, read their classmates’ stories, and individually vote for the best. They do it by drawing a heart next to the story they like best.

Follow me on

Exploring Cities: 3 Classroom Activities to Supercharge Speaking Skills

I am not saying these three activities are great, but I am saying they are

  • visual
  • engaging
  • effective
  • dynamic
  • collaborative
  • thought-provoking
  • challenging
  • Interactive
  • … shall I continue?

So, they are the perfect answer to introduce and end a lesson about our cities and future cities.

1. INTRODUCING

Ask students to discuss the following question in pairs or small groups:

When you think about the concept of a futuristic city, what kind of city comes to mind?

USEFUL VOCABULARY

  • Sustainable development
  • Megacity
  • Vertical farming
  • Urban sprawl
  • Green architecture
  • High-speed rail
  • Smart city
  • Zero-emission autonomous vehicles
  • Renewable Energy
  • Sustainable Transportation
  • Eco-City
  • Drone Deliver

Display the pictures and allow students time to comment in pairs and then,  have a whole class discussion. These images are unique and, as I am sure you have guessed, created with AI.

HOUSING by cristina.cabal

2. DISCUSSING: GIVING A STUDENTS A CHOICE

This activity is designed to engage students in debates and discussions based on their chosen statements.

Before the class

  • In each corner of the classroom, hang a clothesline by using a rope and some adhesive hooks. You will need to assign a corner to each group of 4-5 students
  • Depending on the number of students you have, you will need to print as many sets of cards (one set for each corner) as groups in your class.
  • If you make groups of 5 students, you will need to come up with 5 controversial statements. You can read mine below. You will also need clothes pins to hang the cards on the clothesline. Assign a clothesline to each group.

During the class

  • Give the students a photocopy with some functional language to express opinion, agree and disagree with someone else’s opinion. Ask them to choose 3 or 4 expressions from each list and encourage them to use these expressions in this activity.
  • Divide the class into 4 groups and assign each group to one of the four corners of the classroom.
  • Tell the students to stand up, go to their assigned corner, and choose the statement (phrase) they like the most or believe they can argue for or against effectively from the cards hanging on their group’s clothesline.
  • Have the students sit down and give them 5 minutes to prepare their arguments.
  • Start the debate within each group. Student A should begin by showing their card, stating whether they are in favour of or against the statement, and presenting their reasons.
  • Encourage other group members to listen carefully, take notes, and contribute their opinions to the discussion.
  • After Student A has finished, it’s Student B’s turn to present their card and arguments.

These are the controversial statements I have used for this activity

AGREE OR DISAGREE by cristina.cabal

3. THE HOUSING CRISIS. ORAL MEDIATION: retelling in groups

Lead-in activity

Give each student a piece of paper and ask them to write down one idea for addressing the housing crisis. It could be an affordable housing initiative, a zoning policy, or a rent control measure. Collect the papers and randomly distribute them to different students. Put the students in groups of three and ask them to discuss the strengths and weaknesses of the idea on their piece of paper with their group.

The activity

I have used AI to turn text into speech to enhance students’ pronunciation. You will find the QR Code with the audio on page 2  (below).

  • The handout below, Housing Crisis in Cities, is divided into three parts: causes, consequences and solutions
  • Divide the class in groups of 3 students and assign each student in the group a part ( causes. …). Ask them to individually read their part once, underlining any new vocabulary. Divide the whiteboard into three columns( causes, consequences and solutions)  and ask students to contribute with the vocabulary they have underlined. Explain meanings.

  • Once all vocabulary issues have been solved, give students about 5-10 minutes to read their part several times. If they want to improve pronunciation, instruct them to listen to their part  (audio provided by the QRCode). PDF here. 
  • Ask the students that have been assigned Causes of the Housing Crisis to retell the information they have read in as much detail as possible, and then ask the students in their group to contribute with their own ideas by asking :  Can you list more reasons behind/ consequences of /solutions for the housing crisis?
  • Repeat procedure for Consequences and Solutions, with students contributing with their own ideas.
  • Finally, engage students in a whole-class discussion.

Housing crisis by cristina.cabal

Follow-up: Give your students this quote: “Housing is a basic human right, and it is the responsibility of governments to ensure that everyone has access to safe, affordable, and stable housing.” Ask them to express their opinion about it.

More activities revolving around Cities

Creating an Audio Bookflix

Ahhhhh, May. I love spring, but honestly, what I don’t love is how I am supposed to rush to try to cover all the units in the book as the end of the course is knocking on my door. Less than a month and that’s a wrap for this school year. And I am beginning to panic! Are they ready to take final exams?

But, today, let’s forget about exams. I want to share with how I have changed the way my students do a book review. In the old times, we used to do this compulsory activity in written form, but with the amazing possibilities IA offers my students, I feel asking them to write a book review is pointless, don’t you think so? What is going to prevent them from copy/pasting the review or learning the summary by heart? Tricking me is very tempting, especially when pressed for time! So, I figured it would be a good idea to have them record themselves doing the book review. That way, they would work on their pronunciation skills while completing the assignment.

STEPS TO CREATING AN AUDIO BOOKFLIX

Step 1: Choosing a book

Easy. Students pick a book from the school library section that matches their level. I gave them enough time to read it and set a deadline.

Step 2:  Recording their audios

Students used the free app, Vocaroo, to record themselves. Why did I choose Vocaroo? For these reasons: 

  • It is free and very easy to use.
  • Students don’t to have to register or download anything. 
  • It offers a QR Code for your recording, which was just what I needed.

Step 3: Uploading their reviews

I created a PowerPoint presentation – if you use Google Slides it is just the same. The first slide outlines the instructions and the second slide provides an example of the desired outcome, including the correct positioning of the content. I then replicated this second slide as many times as students in the class (see pictures below).

My students’ ages range from 16 to 70ish; I think it is important for you to know that everybody can do it as long as you give clear instructions and take the time to demonstrate what they need to do. In my case, I recorded a video to guide through the process. You can see it here.

First slide: instructions

Second Slide

Third Slide: sample


Step 4 : Showcasing students’ work

It is now time to showcase students’ work. I bought  brown wrapping paper at the post office, printed the letters Book Flix using Typea4, downloaded the book covers and the QR codes, arranged them nicely on the wrapping paper. Finally, I hung the display on one of the walls in our classroom for everyone to enjoy. 

Step 5: The surprise

I told students that when gluing the QR Codes under the book covers, I had made 3 mistakes, i.e., in three cases the QR code does not match the cover. They will need to help me fix the problem. They can try either before or after the class starts. The first student to spot my mistakes will get a prize. I am still thinking about what.

I hope you have liked the activity!

An Outdoors QR-Codes Listening and Speaking lesson about Cities

I need to share this activity. It really has all the ingredients for a perfect lesson.

Things I want you to know about this lesson.

  • It is super engaging and gives your class a touch of modernity
  • It is collaborative
  • It deals with two basic skills, listening and speaking, but a lot of subskills are also at work.
  • It gives students and teachers a good excuse to stand up from their seats and even take the lesson outside, as I did.
  • It helps build rapport in the class, which is sooo important at the beginning of the course

I am not going to lie to you. It needs some initial preparation, but it pays off. Believe me! Besides, I find the whole process of preparing the activity very entertaining. Ok. I know. You don’t have time. The good news is that you can always use mine if you like my choice of cities.

  • Topic: Cities
  • Level: C1
  • Main skills: listening and speaking
  • Time: 50-60 minutes
  • Materials: here
Before the session
  1. Before the session, look for a video that can easily be divided into parts. In my case, we were learning about cities and their problems so I decided on this one 10 of the most overrated cities from one of my favourite channels on Youtube. I chose only 4 cities to form groups of 4 students.
  2. I used Camtasia to make 4 new videos, one for each city: Rome. London, New York and Río de Janeiro. If you don’t have Camtasia, don’t let this put you off, you can easily use the free online https://online-video-cutter.com/es/.
  3. Once you have the videos, you need to upload them to, for example, Google Drive.
  4. Once online, you need to copy the URL and create a QR Code. I create mine here. The Gif below shows how to do it once the video is uploaded to Google drive.

5. Now, you need to print the  4 QR Codes on separate pieces of paper.

6. Before the class, you will also need to tell students to download- I bet they already have it- a QR Code reader (I use QR Scanner) to their mobile phones and bring some earbuds for the next class.

Done!!! See? No big deal!! Now, everything is ready. Ready for the fun part!! 🙄

Tell the students this class will be done outside. Yay!! It could be the aisle or any other place on the premises that has enough room for the students to move. In my case, I used the schoolyard and pasted the QR Codes on the walls, well, not exactly walls as you can see from the picture.

Part 1.Listening and  Retelling
  • Ask students to form groups of 4. Each of them should choose a different city
  • Ask students to scan the code for their city and take notes.
  • Explain they will need to share as many details as they can about the city of their choice with their group. Apart from the main specifics of the city, they will need to explain why the city is overrated.
  • Allow 15 minutes for this part as students will need to watch their video several times to write down as many details as possible.
  • Next, students get back to their groups and start sharing the information gathered about their cities.
Part 2:  Speaking. Critical Thinking


In their groups, students talk about the issues the city in their videos has and together they debate whether the city where they live faces these same problems. Ask them to elaborate on their answers and offer possible solutions to tackle the problem.

Hope you have enjoyed my lesson and decide to give it a try!!

Flipping Students: a Collaborative Project  with other EEOOII Using Flipgrid

It’ s April and temperatures should have risen but I am writing this post while outside it is freezing cold and raining. I guess this is the downside of living in the north of Spain!

I know this not the perfect time to share this activity as we are all heading for final exams,  and I certainly don’t expect any teachers to email me right away suggesting a collaboration for the next month, but I do hope you do not forget this post and that the next school year we can find a way to collaborate and join our classes.

Some ideas that prompted this activity:
  • To encourage autonomous learning: to find new ways of learning and offer more opportunities for students to do more oral practice in a safe environment outside the walls of the classroom.
  • To encourage the use of effective technology. For this project, we used Flipgrid.
  • To demonstrate how anybody can use technology as long as you explain and model how to do it. Some of the students in this project are older than 70.
  • To collaborate: To spice up the activity by having students from other regions and countries collaborate with my class.
Tool used: Flipgrid. 

Flipgrid is a powerful reliable website owned by Microsoft. It is 100% free. It is a fantastic platform for collecting video responses to prompts that you pose to your students.

Why do I like it?

  • Students can improve their speaking ability from their homes, repeating their performances as often as they like. Stress-free.
  • Teachers can listen and send written or video feedback via email if they wish.
  • Students don’t need an email address, which is perfect for younger students.
  • Students record or upload a video and they can pause while recording, trim their videos and add more time or just delete it and start all over again.
  • Recording time goes from 15 seconds to 5 minutes.
  • They can reply to each other’s videos.
  • Educators are 100% in control with video moderation, access controls, etc
  • You can easily connect your class with other classes, not only in your country but also all around the world using the GridPal feature. There are thousands of educators willing to connect.
  • Flipgrid works on computers, laptops or any mobile device. If you use a mobile device to make your video, as my students did, you’ll need to download the free app.

The Project: Steps followed

1.Finding teachers from other schools willing to collaborate

That was the first step. I needed 3 teachers from 3 different regions who had some knowledge of how Flipgrid worked. To be honest, I didn’t feel like sending tons of emails to the different schools asking for collaboration. I thought it would be time-consuming and probably ineffective.  Besides, I  am very active on Facebook and Twitter and I thought it was the fastest way to find potential collaborators. And Bingo! In just one week I  had my 3 teachers: Purva Bachani from EOI Guía (Sta María de Guía- Las Palmas(Gran Canaria),  Marisa Rodríguez from EOI San Roque (San Roque-Cadiz) and Silvia Oslé from EOI Torrelavega  (Torrelavega-Cantabria). We have never seen each other, but we share the same passion: teaching. We created a Whatsapp group to speed up the process of setting up the project.

2. Setting up the Grid and the Topic

I created the common grid (class) and using the Grid Actions Button selected Add Copilots. Then, I added Marisa’s, Purva’s and Silvia’s emails and sent them an invitation.  From that moment, they had all the permissions to edit and add topics, but they could not delete the Grid (class)or the Topic I had previously created.

3. Setting up the activity

As it was the beginning of the course, we decided to do two activities (explained below), trying to maximize as much as possible the interactive part. Once the topic has been created, Flipgrid generates a code that you share with your students. This code and a Google or Microsoft email account is all they need.

(What you see below is the Topic with the 2 tasks. The Grid (class) is called Flipping EOI Students)

Task 1. A get-to-know-you activity. We didn’t want the questions to be the usual where-do-you-live or what-is-your-favourite-food. A bit of research on the Internet and again Bingo! We found the perfect inspiration in the videos “73 Questions with…” where Vogue interviews popular celebrities and asks them some rapid-fire questions to get to know them. The questions are good and we thought our students could either write their own questions or practise listening comprehension and choose the ones they liked best. These were the 2 links we provided: Selena Gómez and Emma Stone 

We gave students about a week to record their first video introducing themselves, saying which school they were studying in and their chosen get-to-know-you question.

Task 2. They had to choose 3 students from different EEO0II and answer their questions. We asked them to talk for about 1 minute elaborating on their answers as one of the aims of the activity was to practise listening and speaking. To help students and show them how to respond to each other, I recorded a  short video tutorial.

This second task took longer than the first as they had to record three videos answering to three students. Lots of speaking here, preceded by lots of rehearsing= lots of learning.

Note: although at first, it took a bit of convincing, very soon they were really into the project and some students went as far as to record themselves showing some landmarks of their cities and some even dressed up using hats and fake moustaches or wigs.

The surprise. As a surprise for the students, and again using social media sites, we asked for collaboration from native speakers and managed to convince a bunch of them to do task 2 as if they were students, too.  It was a nice gift for them and a way to say thank you for being such nice sports. Here I want to thank people at Flipgrid headquarters for being so supportive and agreeing to collaborate straightaway. ( thanks George, Rayna, Ann, Karen, Joseph, Kathrina and so many others).  I am proud to be a Flipgrid Ambassador.

(below is a picture of some of the students that collaborated in this project. I have erased their names. The people in the bubbles are the students answering this specific student)

Follow-Up Activities:

Using our private Whatsapp group, we brainstormed post-project activities. These are some of the ones we did.

  • Mixtapes: A Flipgrid feature that allows you to combine videos from different grids. We created one of these MixTapes using the native speakers’ recordings, playing some of them in class and asking students to first identify the get-to-know-you question and then summarize the answer.
  • Another idea was to ask students to work in groups of 3 or 4, play a get-to-know-you question and ask them to answer it within their groups. Then, play the answers to the question and give a point to the students whose answers coincide with those on the videos.
The activity in numbers

351 videos recorded, 15,663 views and 89.7 hours of recorded time.

I think I can say that without a shadow of a doubt that we have passed this first collaborative activity with flying colours. Thanks Silvia, Purva and Marisa.  I could not have done it without you.