I love grammar, don’t you? But I’m not going to lie, sometimes I struggle with making grammar interesting. A lot of times it’s just plain boring grammar. However, when I am feeling inspired, using technology can change everything. Technology is great at showing content, you just need to grab the content from your course book and combine different tools to make a great lesson.

![]()
![]()
![]()
![]()
Step 1. The boring part. Teaching grammar.
I am not going to give you the spiel about how important grammar is. I guess if you are reading this blog, it’s because we are all on the same page here.
Feeling lazy myself today, I am going to give my students the grammar from this website: Cambridge English Dictionary. Who would know better?
Step 2. Revising grammar with an animated video.
I am going to use the first 0:50 seconds and save the grammar for prefer and would prefer for a better occasion. You might need to play twice. The second time, I normally pause the video and ask students to give me their own sentences.
Step 3: The exercises.
This is a challenging exercise as all the sentences are different and exemplifying different structures with would rather.
How to do it, or rather, how I do it:
- First time: I display the sentence and ask students to write down their answers. Allow about 1 minute for this task and then ask students to give you the answer, flip the card and correct. Note: some students will prefer to do the exercise orally and you’ll see a bunch of them staring at the screen waiting for you to ask for the right answer. It’s important to insist that, in this part, they’ll need to write their answers down as it is the first time they will see a variety of different examples of the use of would rather and it might be challenging.
- Second time: Class as a whole. Orally, do the exercise.
- Third time: at the end of the class or maybe the next day, I do it again, asking individual students to provide the correct answer.
I have used Quizlet to create the study set and I have shared the link with my students so that they can revise at home.
Flip the card to see the answer.
Note: there is nothing like technology to revise again and again without students getting bored. You just need to change the approach.
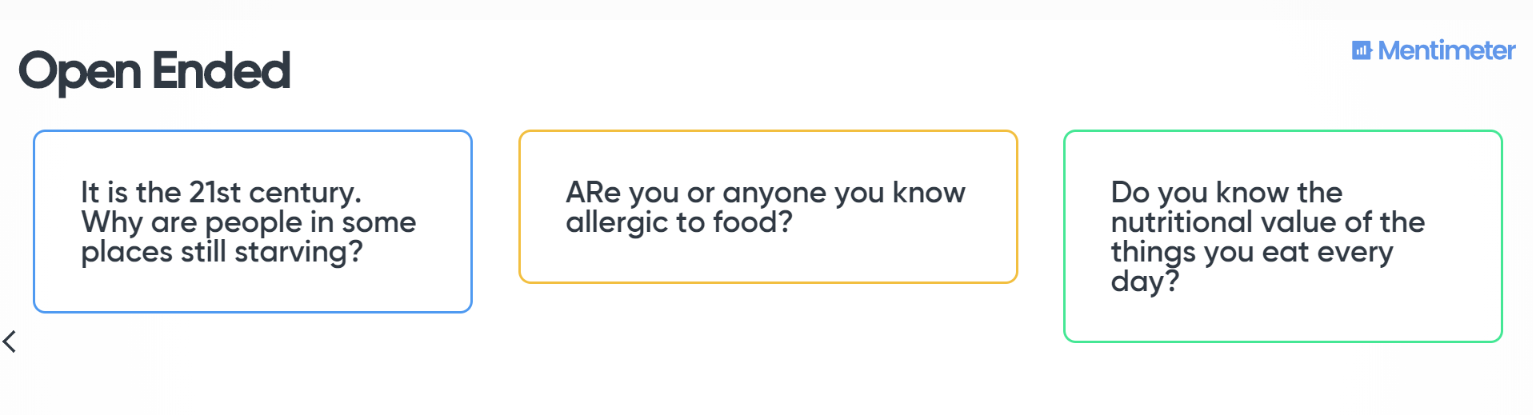
Step 4: Speaking. Digital Gallery Walk
An engaging activity using a more engaging tool to present it. Ask students to stand up- remember this is a gallery walk- and choose a partner to talk about the first question. Ask them to stop, find a new partner, and display question number 2. Allow 3 or 4 minutes per question and encourage students to use the target grammar in their answers.
If you want more oral practice, you’ll find lots of would you rather questions here. Some of them really give me the creeps and would rather not use them. But this is up to you! 🙂