Tag Archives: flipgrid

Lesson Plan for C1: Politics and Politicians.

I am certain I am not the only one who is fed up with politicians. Should you ask my friends, they’ll tell you that I never talk about politics. I never criticize or praise politicians. I talk about life, about life issues, but always being respectful of other people’s attitudes. I don’t like radical people. I don’t want them around me. I know that some of you might think knowing about politics is a necessity. I don’t disagree.  However, getting into heated arguments with people who have a different point of view is, in my opinion, a waste of time and frustrating. So, I don’t do it. And, in this frame of mind, I will approach this lesson about Politics.

PDF Teacher’s     PDF Student’s

Warm-up. Whole class
  •  What’s the first thing that pops into your mind when you hear the word POLITICIAN?
  • What is the minimum voting age in your country? Should it be higher or lower?   See: Voting age around the world
  • What are the main political parties in your country? Who is the most controversial politician?  useful vocabulary here.


Working on Vocabulary: Adjectives
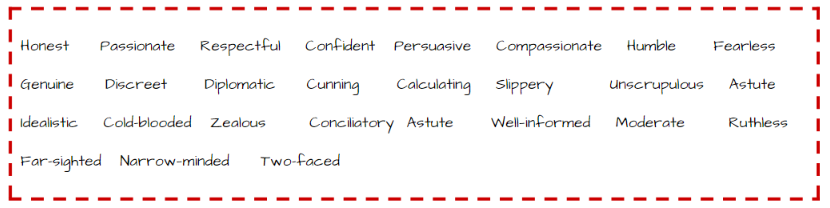
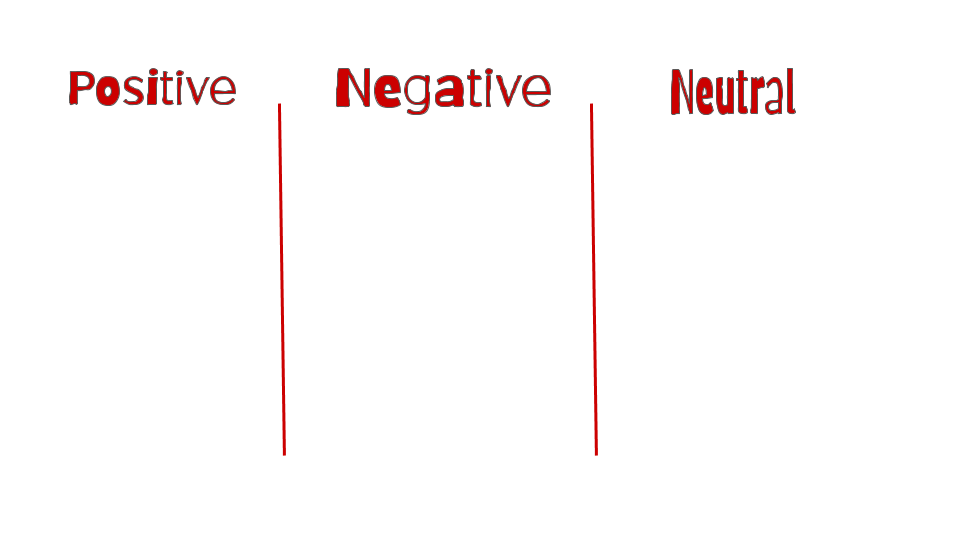
  • On the board, write three headings: positive, negative and neutral and ask students to do the same in their notebooks. Tell them you are going to dictate a list of adjectives and qualities that can be applied to politicians.
  • Start calling out adjectives and ask them to place them under one of the columns. You might need to spell some of them, or alternatively write them down on the board. It is a good opportunity to drill pronunciation and clarify/teach meanings.
  • Do the exercise on the board. There might be slight disagreements and that is just fine.

Focusing on Listening:  How the US  and the UK election works

This listening exercise has different parts

Individual work:

  • Students are divided into pairs. Student A listens to How the US election works and Student B to How the UK election works. In my case, I have set it as homework but you can do it in class, asking students to bring some earbuds.
  • As students listen, ask them to write down any words/expressions related to the topic. Ask them to look them up and practise their pronunciation as they might be asked to explain some terms to the class.

In class:

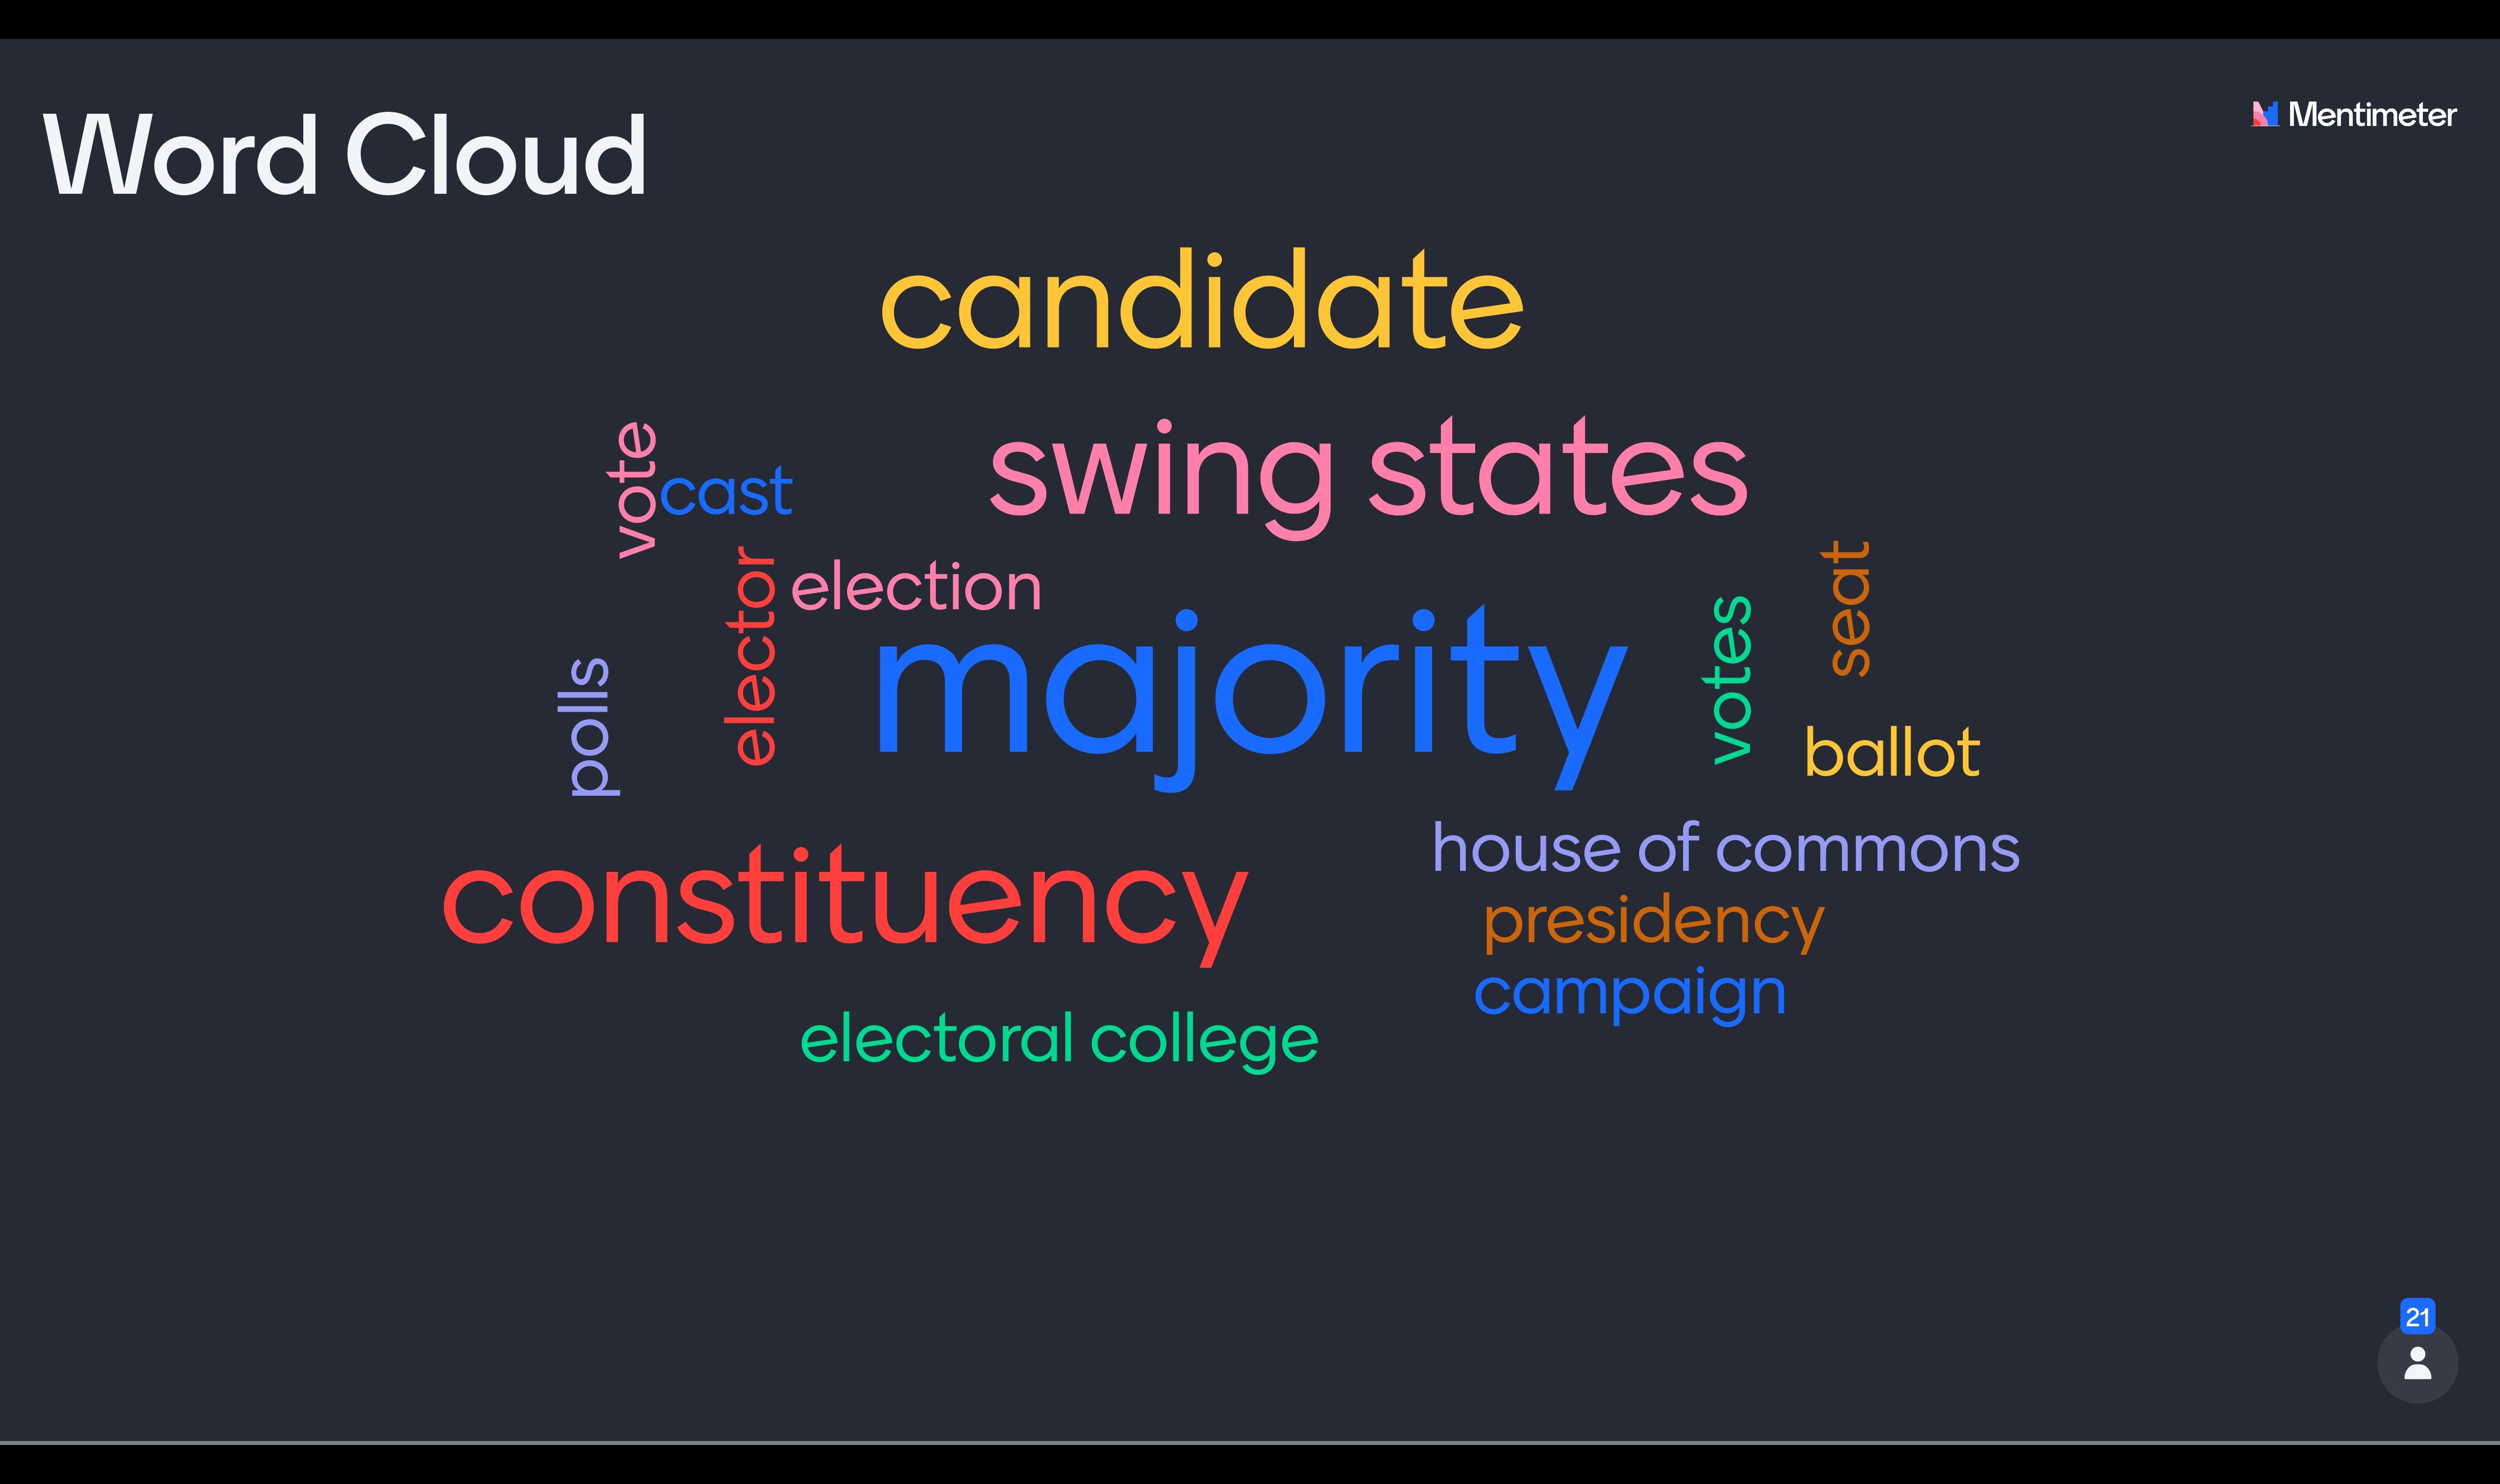
  • Using Mentimeter, ask them to write the words they jotted down from the video. Once the cloud is formed, point to one word and ask them to explain it.

  • Pair up A and B and ask them to report their findings.

Student A. How the US election works

Student B: The voting system in the Uk

Follow up: Cloze with a twist.

Give students the transcript for both videos. Tell them you have deleted some words from the transcript. They will have to listen very attentively as there are no empty spaces showing there is a missing word. Ask them to compare in pairs before correcting the exercise.  You will find the exercise in the PDF.

Working on Vocabulary

Have a look at how these verbs collocate

  • Boost the economy
  • Harm/benefit someone or an organization
  • Put a strain on the finances of a country/area
  • Exacerbate a problem
  • Undermine the morale of citizens
  • Create divisions
  • Lead to tensions
  • Cut taxes
  • Extend working hours
  • Increase public spending
  • Abolish unemployment benefits
  • Allow a vote on independence
  • Increase penalties for…
  • Damage the economy
  • Resolve existing social problems
  • Rise of income inequality
  • Reform the education system
  • Solve social problems
  • Ensure prosperity
  • Hold an election
  • Rig the election
  • Stand for election

Other words you might want to know: floating voters. popularity ratings, a right-winger, a left-winger, a polling station, a running mate, a high turnout, voting booth, ballot card

Speaking

Before each section, ask students to call out 6 words or expressions they have learned in this unit. Divide the class into As and Bs and assign As three words and Bs three words. Display the first section and ask them to take in turns to answer the questions trying to use the vocabulary on the board

Politcs and Policiticians


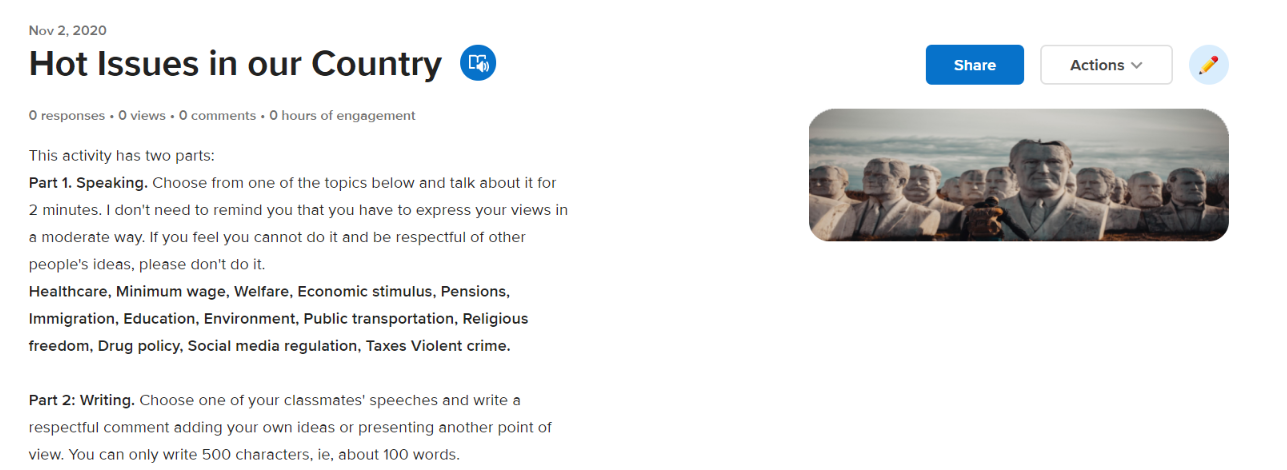
Speaking and writing using Flipgrid

I have been dying to use Flipgris’s new update. “And what is it that has you so excited?” -you might be wondering. Well, it is the possibility of responding to a video in a written form.  Imagine the possibilities, imagine the potential it has for language teaching.

So, here’s the first activity for my students using the brand new Text Comments. I know it is a dangerous activity, but I teach adults and am relying on their self-restraint.

Remote Teaching: 3 Tools to Assess Students’ Speaking Skills

And here we are. Trying to make the shift to online teaching as smoothly as possible. For most of us, it is uncharted territory. Lack of information as to how we need to assess our students does not help either. We are on a roller coaster of emotions and sometimes we feel stuck, restless and unsure about what to do to help our students.

But, we need to stay at home. This much is clear. For how long? Quite uncertain. What is certain is that remaining at home is an unprecedented act of love to take care of each other and that we need to stay safe to keep our loved ones safe.

How can we assess our students’ speaking skills?

Meanwhile, the question of how to assess our students remains unanswered. In this post, I am going to share with you 3 easy ways to assess your students’ speaking skills. The tutorials are in Spanish but I have added notes in English to help you understand the steps you need to follow. Most of the times, the notes are unnecessary as everything in the app is in English.

1. The Easiest One:  Audio Recording with Vocaroo

Why do I like it?

  • Students don’t have to register.
  • They just need to click a button and start recording.
  • They can upload their own recording and then share the link with their teacher.
  • They get a link for their recording and share it with their teacher. So, no need to upload or download their recording unless they want to.

2. As if you were in class: Videoconferencing with 8x8.vc

Why do I like it?

  • Neither the teacher nor the students have to register.
  • You can create your own room with a click and then share with your student the link for the room, which is always 8×8.vc/ (nameofyourroom)
  • It is a videoconference platform so the interaction is automatic as if you were in class.

3. The Whole Package: Video Recordings with Flipgrid

This is a more complex tool but it allows students not only to record themselves from their homes and then share the video clip in a secure platform but also interact with their classmates or teachers. Not in real time, though

Why do I like it?

  • It is very reliable and safe for the students
  • It is completely free.
  • Students can record up to 10 minutes
  • They can upload their own video clip or record their own computer screen
  • Teachers can send written or video feedback within the app straight to the students’ email.
  • Teachers can develop their own rubric.
  • Teachers are   100% in control of the videos
  • Teachers can even share the recording with the student’s parents.

(NOTE: you might want to watch the original webinar here) 


Flipping Students: a Collaborative Project  with other EEOOII Using Flipgrid

It’ s April and temperatures should have risen but I am writing this post while outside it is freezing cold and raining. I guess this is the downside of living in the north of Spain!

I know this not the perfect time to share this activity as we are all heading for final exams,  and I certainly don’t expect any teachers to email me right away suggesting a collaboration for the next month, but I do hope you do not forget this post and that the next school year we can find a way to collaborate and join our classes.

Some ideas that prompted this activity:
  • To encourage autonomous learning: to find new ways of learning and offer more opportunities for students to do more oral practice in a safe environment outside the walls of the classroom.
  • To encourage the use of effective technology. For this project, we used Flipgrid.
  • To demonstrate how anybody can use technology as long as you explain and model how to do it. Some of the students in this project are older than 70.
  • To collaborate: To spice up the activity by having students from other regions and countries collaborate with my class.
Tool used: Flipgrid. 

Flipgrid is a powerful reliable website owned by Microsoft. It is 100% free. It is a fantastic platform for collecting video responses to prompts that you pose to your students.

Why do I like it?

  • Students can improve their speaking ability from their homes, repeating their performances as often as they like. Stress-free.
  • Teachers can listen and send written or video feedback via email if they wish.
  • Students don’t need an email address, which is perfect for younger students.
  • Students record or upload a video and they can pause while recording, trim their videos and add more time or just delete it and start all over again.
  • Recording time goes from 15 seconds to 5 minutes.
  • They can reply to each other’s videos.
  • Educators are 100% in control with video moderation, access controls, etc
  • You can easily connect your class with other classes, not only in your country but also all around the world using the GridPal feature. There are thousands of educators willing to connect.
  • Flipgrid works on computers, laptops or any mobile device. If you use a mobile device to make your video, as my students did, you’ll need to download the free app.

The Project: Steps followed

1.Finding teachers from other schools willing to collaborate

That was the first step. I needed 3 teachers from 3 different regions who had some knowledge of how Flipgrid worked. To be honest, I didn’t feel like sending tons of emails to the different schools asking for collaboration. I thought it would be time-consuming and probably ineffective.  Besides, I  am very active on Facebook and Twitter and I thought it was the fastest way to find potential collaborators. And Bingo! In just one week I  had my 3 teachers: Purva Bachani from EOI Guía (Sta María de Guía- Las Palmas(Gran Canaria),  Marisa Rodríguez from EOI San Roque (San Roque-Cadiz) and Silvia Oslé from EOI Torrelavega  (Torrelavega-Cantabria). We have never seen each other, but we share the same passion: teaching. We created a Whatsapp group to speed up the process of setting up the project.

2. Setting up the Grid and the Topic

I created the common grid (class) and using the Grid Actions Button selected Add Copilots. Then, I added Marisa’s, Purva’s and Silvia’s emails and sent them an invitation.  From that moment, they had all the permissions to edit and add topics, but they could not delete the Grid (class)or the Topic I had previously created.

3. Setting up the activity

As it was the beginning of the course, we decided to do two activities (explained below), trying to maximize as much as possible the interactive part. Once the topic has been created, Flipgrid generates a code that you share with your students. This code and a Google or Microsoft email account is all they need.

(What you see below is the Topic with the 2 tasks. The Grid (class) is called Flipping EOI Students)

Task 1. A get-to-know-you activity. We didn’t want the questions to be the usual where-do-you-live or what-is-your-favourite-food. A bit of research on the Internet and again Bingo! We found the perfect inspiration in the videos “73 Questions with…” where Vogue interviews popular celebrities and asks them some rapid-fire questions to get to know them. The questions are good and we thought our students could either write their own questions or practise listening comprehension and choose the ones they liked best. These were the 2 links we provided: Selena Gómez and Emma Stone 

We gave students about a week to record their first video introducing themselves, saying which school they were studying in and their chosen get-to-know-you question.

Task 2. They had to choose 3 students from different EEO0II and answer their questions. We asked them to talk for about 1 minute elaborating on their answers as one of the aims of the activity was to practise listening and speaking. To help students and show them how to respond to each other, I recorded a  short video tutorial.

This second task took longer than the first as they had to record three videos answering to three students. Lots of speaking here, preceded by lots of rehearsing= lots of learning.

Note: although at first, it took a bit of convincing, very soon they were really into the project and some students went as far as to record themselves showing some landmarks of their cities and some even dressed up using hats and fake moustaches or wigs.

The surprise. As a surprise for the students, and again using social media sites, we asked for collaboration from native speakers and managed to convince a bunch of them to do task 2 as if they were students, too.  It was a nice gift for them and a way to say thank you for being such nice sports. Here I want to thank people at Flipgrid headquarters for being so supportive and agreeing to collaborate straightaway. ( thanks George, Rayna, Ann, Karen, Joseph, Kathrina and so many others).  I am proud to be a Flipgrid Ambassador.

(below is a picture of some of the students that collaborated in this project. I have erased their names. The people in the bubbles are the students answering this specific student)

Follow-Up Activities:

Using our private Whatsapp group, we brainstormed post-project activities. These are some of the ones we did.

  • Mixtapes: A Flipgrid feature that allows you to combine videos from different grids. We created one of these MixTapes using the native speakers’ recordings, playing some of them in class and asking students to first identify the get-to-know-you question and then summarize the answer.
  • Another idea was to ask students to work in groups of 3 or 4, play a get-to-know-you question and ask them to answer it within their groups. Then, play the answers to the question and give a point to the students whose answers coincide with those on the videos.
The activity in numbers

351 videos recorded, 15,663 views and 89.7 hours of recorded time.

I think I can say that without a shadow of a doubt that we have passed this first collaborative activity with flying colours. Thanks Silvia, Purva and Marisa.  I could not have done it without you.


3 Useful YouTube Tricks, a Video Listening+Speaking Activity. A Flipgrid Proposal.

Unit 1 of my textbook is dedicated to questions. All sorts of questions: indirect, with prepositions at the end, negative interrogative questions, echo questions, question tags… etc. Yeah, I know. Lots of teaching here. On the bright side, teaching questions offers such a variety of activities you can do with your students that sometimes it is hard to find the time to do all the amazing stuff published all around the web.


This year, for my first lessons dealing with questions, I have decided to choose one of the hundreds of interviews to celebrities available online. It is still the beginning of the course and I wanted something quick and not too difficult to understand. And, I found this interview with Selena Gomez who, to be honest with you, I didn’t know much about just perfect as it is all about questions and, more specifically, get-to-know-you questions.
Anyway, I wanted a short simple listening exercise and I wanted to post it on the blog so that my students could do it again at home. To do the whole activity, I needed to solve a few technical issues regarding YouTube which I’ll detail below, in case you find them helpful.

YOUTUBE VIDEOS: SOME TRICKS YOU MIGHT WANT TO KNOW
  • Sharing a youtube video with a specific start time

You probably know how to share a video starting at a specific point. You don’t? Well, that’ s pretty easy to do.

  • Sharing a youtube video with a specific start and end time

That’s a bit more complicated. Keywords “ a bit”. The first thing you need to know is the specific time you want your video to start and to finish. For example, if you need your video to run from 1:20 to 2:15, you need to convert it into seconds.

1:20 -1 minute= 60 seconds+ 20= 80 seconds (start time)

2:15- 2 minutes= 120 seconds+15 = 135 seconds (finish time)

Now, grab the embed code for the video. In my case, it was

<iframe width=”560″ height=”315″ src=”https://www.youtube.com/embed/_GFkHA5EZdE?start=1″ frameborder=”0″ allow=”autoplay; encrypted-media” allowfullscreen></iframe>

Change the start time and instead of 1, write 80 and then add &amp;end=135

The resulting embed code is

<iframe width=”560″ height=”315″ src=”https://www.youtube.com/embed/_GFkHA5EZdE?start=80&amp;end=135 ” frameborder=”0″ allow=”autoplay; encrypted-media” allowfullscreen></iframe>

  • Getting the transcript. Call me lazy but if technology can save me some time….

You can easily get the transcript from a youtube video clicking on the three dots next to the save button.

VIDEO-BASED LISTENING ACTIVITY:  18/73 QUESTIONS WITH SELENA GOMEZ

(Follow -up activity:  I am looking for  one or two EOI teachers, teaching the B2.2 level, to work with me on a  simple single get-to-know-you project using the free online tool Flipgrid. If anybody is interested, please send me an email)

  • Level: B2
  • Skills: listening and speaking

As I have mentioned above, I wanted a short listening activity which could serve as a springboard for a speaking get-to-know-you activity among my students.

LISTENING COMPREHENSION

Procedure:

  • Play the video once and ask students to just listen. At the end of the video (the video is set to stop at 2:08) students will probably complain that it goes too fast. My advice? Smile and say “You can do it! “, because they actually can.
  • Give them the handout with the questions and play the video twice more.
  • Before you play it a third time, ask students to share their answers in pairs and, needless to say,  in English.
  • Play the video once more, pausing after each answer. Ask students to provide the answer and repeat procedure for question 2.

Here are the questions. To get the answers, just display the transcript as indicated above.

SPEAKING  ACTIVITY:  15 minutes
  • Play the video again, this time and depending on the number of students, play a couple more minutes or if necessary the whole video.
  • Tell students, they will need to listen very attentively to the questions asked to Selena and choose one they would like to ask their classmates.
  • Ask them to write it down and check with you that it’s Ok.  When they are ready, ask them to stand up in a mingling activity and interview as many classmates as possible.