Cloze Test Activity, Blog de Cristina’s Style
We are talking about Cloze Tests today. Not the printed fit-all-size cloze texts that you can get and photocopy from any textbook or exam preparation book, but the online tailor-made no-prep cloze tests you can get at the wonderfully simple site created by L. George. See it here
Why is it Cristina’s way, you might be wondering? Well, because it combines two of my favourite ingredients in an activity:
- A touch of technology
- A game-like activity

The online tool I have used to create the cloze has two features you can choose from: text only (that you can easily copy/paste into a document) and interactive (that you can save as an HTML page). The tool is free and you don’t even need to register.
In this exercise, I have used the simpler text-only version.
![]()
![]()
![]()
![]()
![]()
![]()
![]()
Cloze Test Exercise with a Twist
Choose a text that contains a variety of terms you want your students to revise or work with.
- Go to l.georges. Copy/paste the text in the box
- Choose Text Only and No Clues
- On the right yellow box with the options, choose “every… words” ( I have chosen to gap my text every 9 words)
- Using the OHP, display the gapped text on the board or alternatively, print it and give it to your students. Two students can share a copy.
TASK
- Ask students to work in pairs. Give or show the Close Test and ask them to predict the lexical category or part of speech that could fit each gap: is it a noun, an adjective, a preposition or maybe an article? Allow a couple of minutes for this task. You might want to show an example.
For example, I wrote a letter___ my mother (students will most likely agree, they ‘ll need a preposition to fill in this gap)
Let’s start:
- Ask Student A to face the board. Ask Student B to face away from the board and concentrate on the text.
- Tell students you’ll write the words on the board in random order, but each of the words will be identified with a number. If you have 8 gaps in the cloze text, you will write the words on the board preceded by the number. Tell Student B to do the same in case he cannot guess a word in the allotted time. For ex: 1. house 2. wrote 3. for.
- Write one of the missing words on the board, and ask student A to define the word, or give a synonym or antonym for student B to guess and write down. For example, if the word on the board is “wrote”, Student A might say “it’s a verb in the past and you use a pen or a pencil to do it”.
- Tell students you’ll write a new word every 30 seconds. If Student B guesses the word quickly, he might try to use the rest of the time (up until the 30 seconds) to try to place the word in the right gap but tell them you’ll not wait.
- Continue in the same way until you have written all the missing words. The words should be written in random order.
NOTE: If one of the words hasn’t been guessed, at the end of this part Student A will need to try to define the words again. (Remember that the words are still written on the board). This time, Student A can help Student B by giving him the first letter.
- Once they have all the words, Students A and B will work together to complete the gapped test.
- Place a bell on your table and ask the first pair to finish to come up to your table. Silently check that the exercise is correct and if it is, ask them to ring the bell. From that moment, the rest of the class will have one minute to finish the exercise.
- Choose another text and repeat procedure. This time Student B will face the board and Student A will concentrate on the text.
Note: If you are a student, this is a great tool for self-study. Choose a text from around the web, gap the text every 10 words and then select the interactive feature, which will check your exercise. Enjoy learning English!
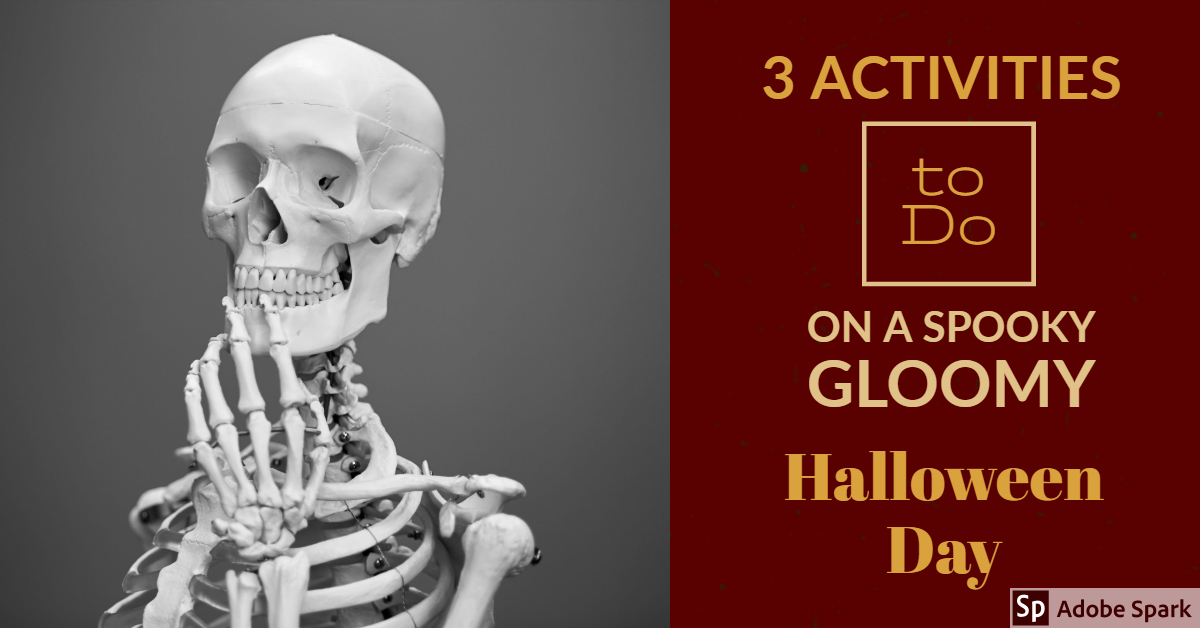
Three Activities to Do on a Spooky Gloomy Halloween Day
You see, Halloween and me, we are not on friendly terms. I don’t really get good vibes off this holiday. Gory and scary … just scares me. But, that’s ok. I don’t have to like every single holiday. However, I have students and teaching a language is not only about words, it’s also about the culture and traditions of the country you are trying to teach. Halloween is important in Anglo-Saxon countries so this year I have made a point of trying to give it some real attention. I’ll even attend a small Halloween party, where I’ll be wearing a knife-through-head prop and some Halloween skeleton tights. Organising the party? Let’s start small! This year, the party will be hosted by my enthusiastic colleague Marta Dominguez, who has also provided me with some of the activities you’ll see below.
![]()
![]()
![]()
![]()
![]()
![]()
![]()
Activity 1. Video Activity. The Ten Steps (2004)
This activity aims at
- learning vocabulary: adjectives to describe houses
- improving their listening skills
This is a great short film (less than 9 minutes and worth every second) that sets the right atmosphere. Draw the curtains and turn off the lights.
I would like to just for one day forget I’m an English teacher and just play the film, but I can’t. So, we are going to work a bit on vocabulary before the film starts and we are going to focus on some questions to answer in pairs after watching the film.
Before playing the video, show them the picture below or alternatively pause the video. Do the vocabulary exercise with them ( handout)

The Ten Steps
Activity 2. Writing and Story-Telling
This activity aims at
- developing creative writing
- using their stories to develop oral fluency
Remember the lights should be off and the curtains drawn. Lighting a candle might be a good idea for two reasons: it helps create a mysterious atmosphere and prevents students from reading from their essays.
The New York Times has a site where, every day, they publish a picture prompt to inspire students writing. Days prior to the great Halloween Day, I have shown my students this picture and asked them to write a scary story about this house. They should bring their stories on the day of the party.

The idea is to put students in groups of four and tell (not read) their stories. Each group will decide on the best and the whole class will listen to the best stories from each group and then vote on the best one.
It’s also a good idea if you share a story of your own and yes, in case you’re wondering, I’ll still need to correct their stories.
Activity 3. A bit of fun with Kahoot.
This activity aims at:
- teaching about traditions
- developing digital abilities
- having fun 🙂
I would just not feel fine if, after all the spooky storytelling, my students went home and couldn’t sleep that night, so a Kahoot is in order.
Again, I have not created it. My colleague Marta has just chosen one from the enormous bank of Halloween quizzes Kahoot has and we have adapted it to our needs.
Happy Halloween! Let’s enjoy the holiday break!
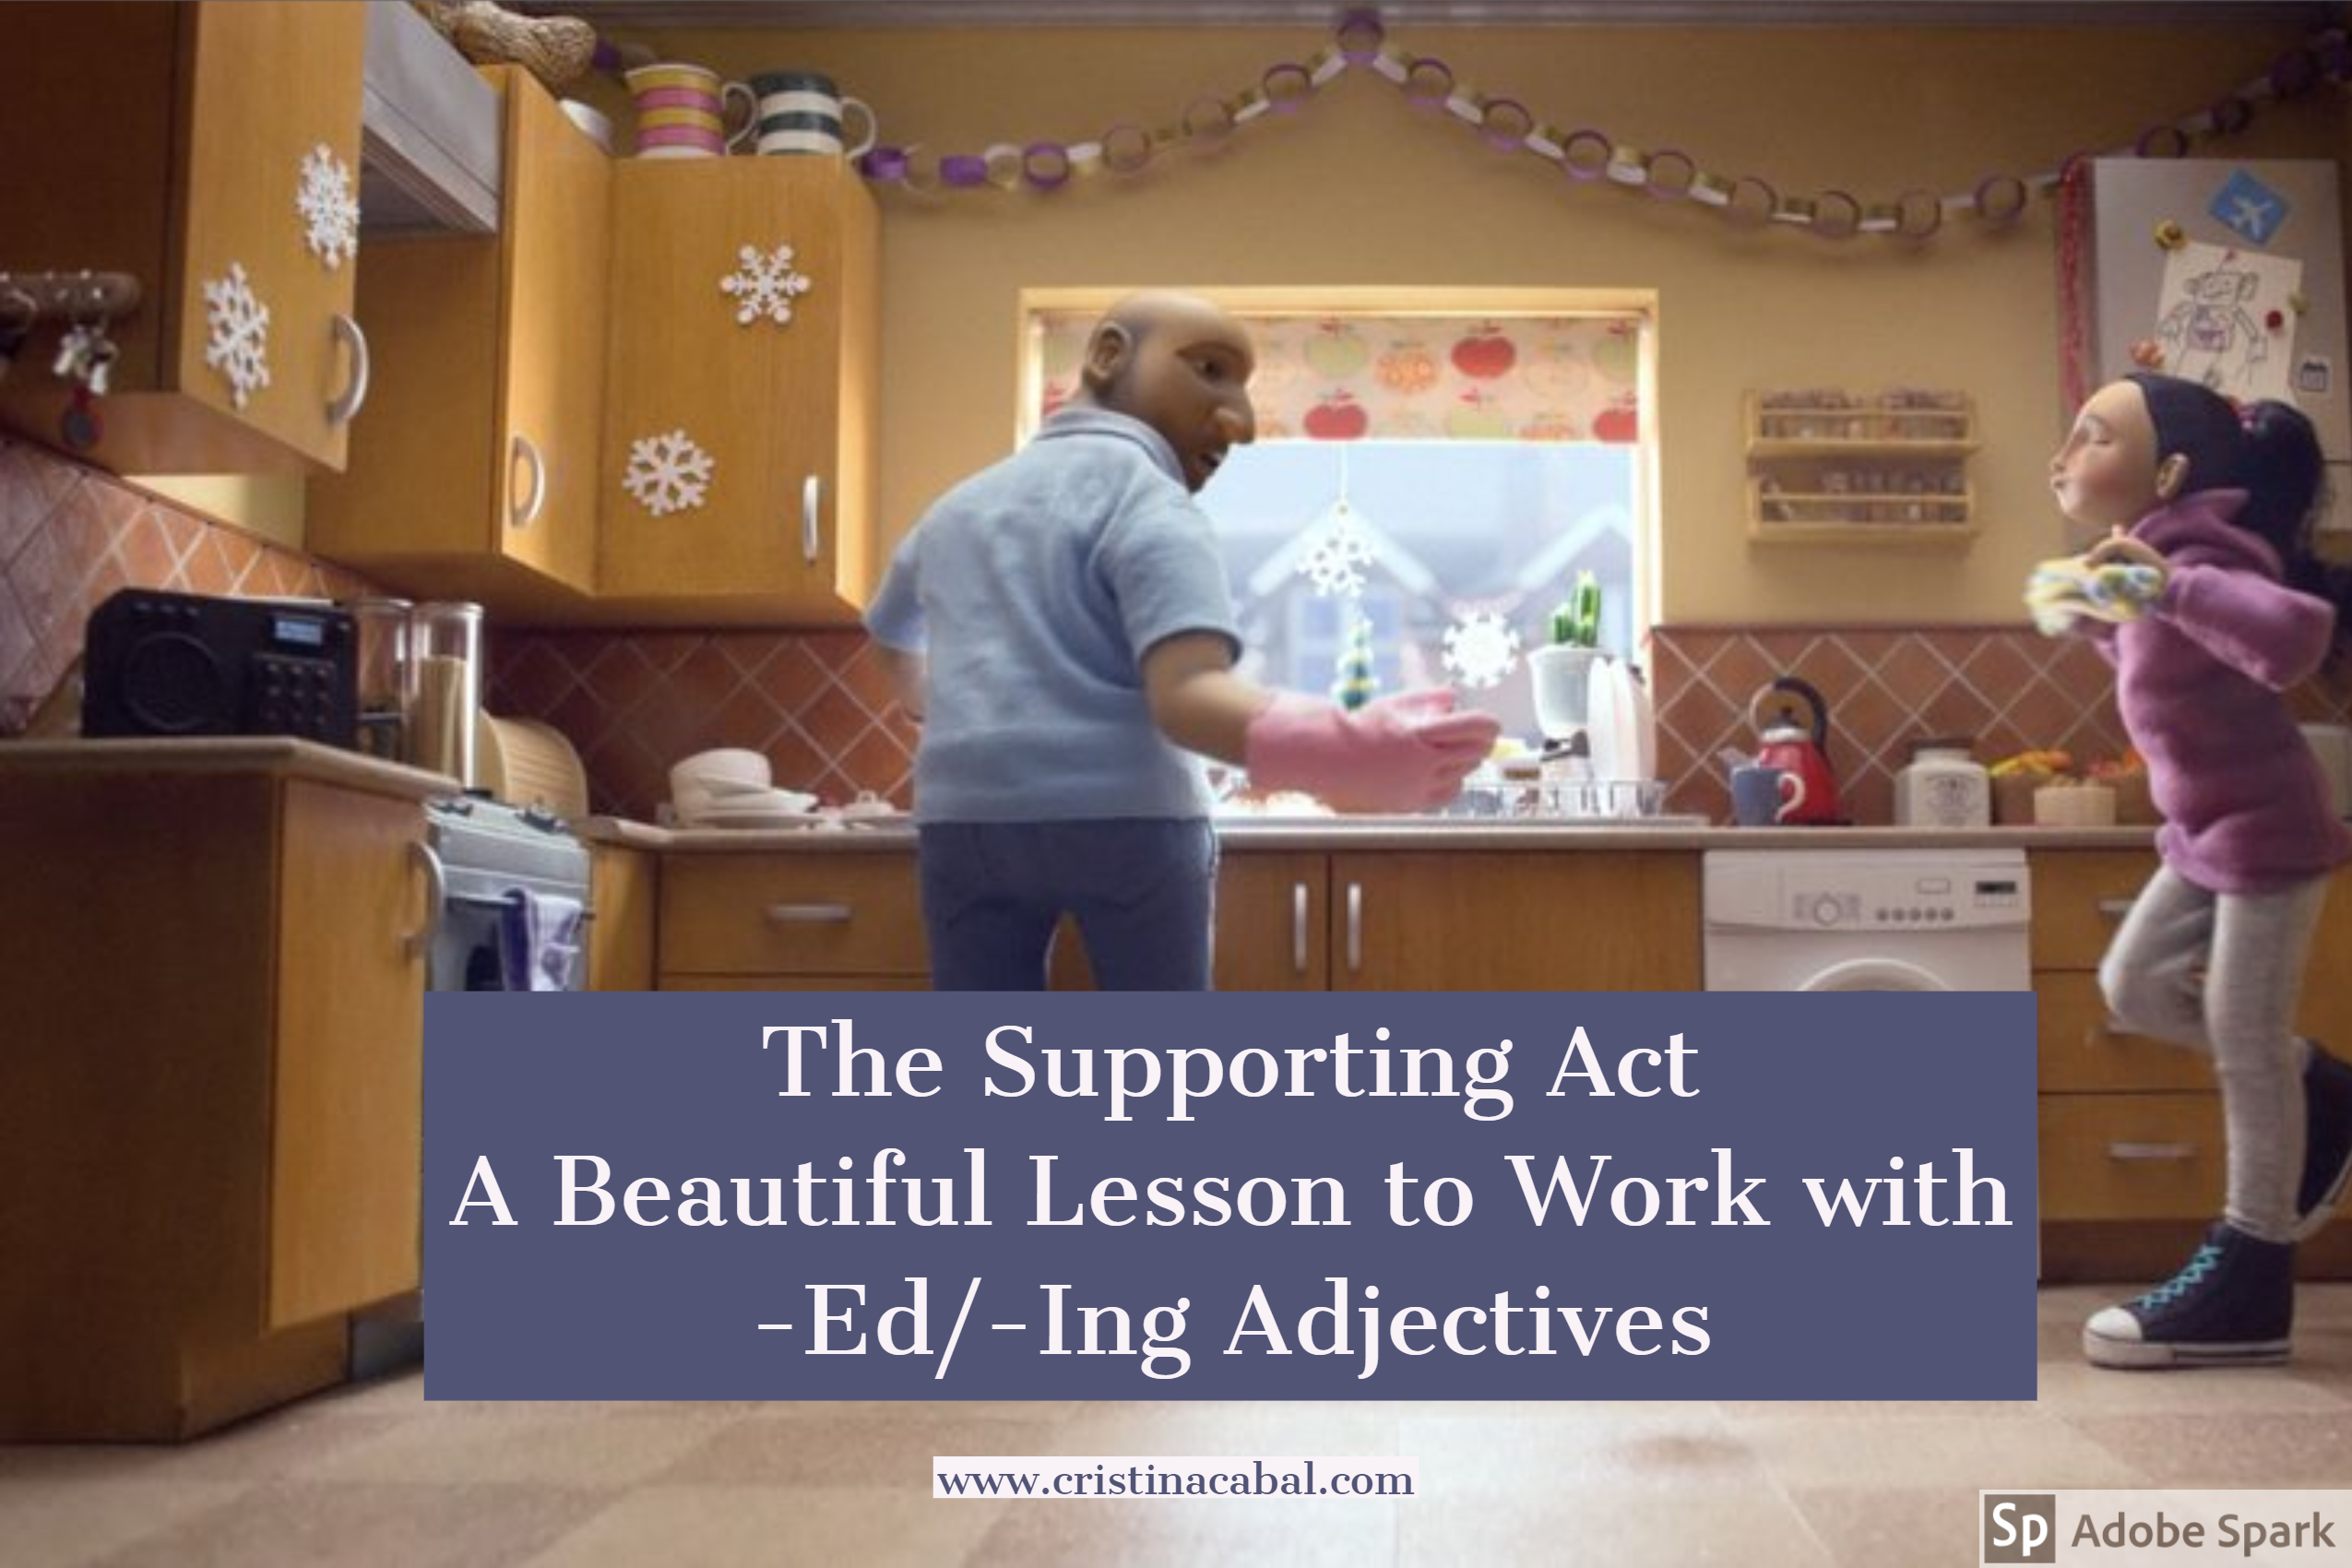
The Supporting Act- A Beautiful Lesson to Work with -Ed/-Ing Adjectives
I’m currently in the middle of —what I like to call—beginning-of-the-course chaos. I am busy doing nothing, wasting time on probably unnecessary things and when the day ends, I find I have done nothing from the to-do list I carefully planned in the morning. Total chaos.
Today, I have a guest post from a colleague from EOI Oviedo, Ángeles Jimenez, who from time to time, saves my a** by agreeing to send me some of her creative activities. This is one of them. I hope you like it as much as I did.
![]()
![]()
![]()
![]()
![]()
![]()
This lesson plan is based on a two-minute short film launched by the B.B.C on Christmas 2017. It’s suitable for intermediate and higher levels.
The lesson starts with a lead-in speaking activity to help students differentiate -ed from -ing adjectives. It’s then followed by a brainstorming activity where students get a lot of talking time.
-ed / -ing adjectives can be a challenging task to teach as students mix them up easily. Sometimes such confusion can lead to amusing mistakes such as “I’m boring” or “I’m tiring” when they truly mean “I’m bored” and “I’m tired”.
![]()
STEP 1
To clear up the confusion, I start with a warm-up activity. I write, on the whiteboard, 3 or 4 -ing adjectives and tell students they will need to come up with a wide range of things, activities and/or people that can fit in each category. “Boring”, “Exciting”, “Frightening” and “Disgusting” are some of the -ing adjectives that work well.
For example, if I write the adjective ” Boring” students might say: studying for exams, politics, queuing at the supermarket…etc.
This is an engaging warm-up as students can personalise the grammar point you’re trying to teach.
I begin with myself writing the word “moths” in the “frightening” column. They may not be familiar with the noun but students love it when the teacher includes anecdotes and personal examples. They get involved in the activity in no time!
Once the whiteboard is full of the students’ own ideas, I then follow with a “How do you feel” question to elicit the -ed adjective.
Example: “How do I feel about moths? I feel frightened”
and I write the word “frightened” on the board with capital letters underlying the -ed part to emphasize that’s how I feel. To make sure they’ve understood the difference, I go through the adjectives on the board asking the same question: “How do you feel about studying for exams?” To round up, a simple graphic is very helpful:
Something ING ⇒ makes you feel ED
![]()
Step 2

I project the frame above from the silent advert because it’s open to interpretation, it offers a lot of speaking practice and I find it’s a great way to revise the use of narrative tenses, especially for intermediate levels. I ask my students to come up with a short story that can explain what is happening/happened, what the girl is/was doing, how she is feeling and what they think is going to happen at the end.
At a more advanced level, they can even make deductions. Elicit some examples such as “It’s late. She must be worried because her parents haven’t arrived home yet”
Also, make sure they use as many adjectives related to feelings as they can.
![]()
STEP 3:
- Play the video.
- Speaking: Ask students to compare it with the stories they created. Ask some follow-up questions: Did they like it? Did they find it touching? Can they relate?
- Vocabulary and speaking. Pdf here. Give the students the handout that accompanies the video activity. It includes an exercise to learn new vocabulary, another exercise to revise -ed / -ing adjectives and last, but not least, a more ludic and relaxing one to test how good their memory is. You can see the first two exercises below:
![]()
Vocabulary exercise. Summarising the story. Choose the most appropriate word from the drop-down menu
![]()
Oral exercise. Using adjectives -ed adjectives to talk about feelings. Ask the following questions and encourage students to use -ed adjectives
- Watch the T.V add and talk about how the girl felt…
- when she came out of school. Ex: excited
- when she gave her dad the talent show leaflet.
- when her dad answered the call.
- when she rehearsed at home, in the street…
- How did her dad feel when he saw her jumping on the escalators?
- Why did she slam the door?
- How did she feel when she …
- drew the curtains?
- couldn’t remember the dance?
- when her dad came out of the audience to help?
- the dance finished?
Silent movies have a great potential for language teaching. They’re a fantastic tool to get students to produce language at any level since it’s the task the teacher sets the one that provides the level. They usually find it easier to memorise vocabulary and grammar when it’s associated with a captivating image or story and when it comes to holding their attention, a short clip does the trick.
Thank you Ángeles, a beautiful activity.
3 Useful YouTube Tricks, a Video Listening+Speaking Activity. A Flipgrid Proposal.
Unit 1 of my textbook is dedicated to questions. All sorts of questions: indirect, with prepositions at the end, negative interrogative questions, echo questions, question tags… etc. Yeah, I know. Lots of teaching here. On the bright side, teaching questions offers such a variety of activities you can do with your students that sometimes it is hard to find the time to do all the amazing stuff published all around the web.
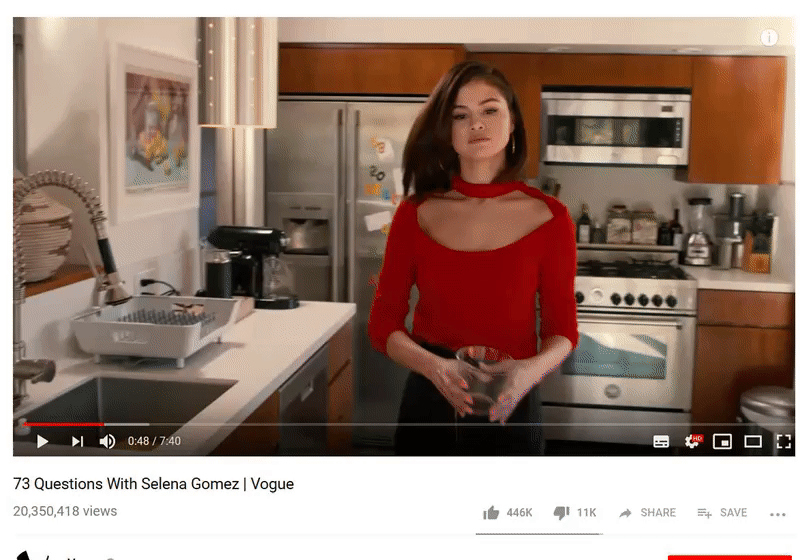
This year, for my first lessons dealing with questions, I have decided to choose one of the hundreds of interviews to celebrities available online. It is still the beginning of the course and I wanted something quick and not too difficult to understand. And, I found this interview with Selena Gomez who, to be honest with you, I didn’t know much about just perfect as it is all about questions and, more specifically, get-to-know-you questions.
Anyway, I wanted a short simple listening exercise and I wanted to post it on the blog so that my students could do it again at home. To do the whole activity, I needed to solve a few technical issues regarding YouTube which I’ll detail below, in case you find them helpful.
YOUTUBE VIDEOS: SOME TRICKS YOU MIGHT WANT TO KNOW
- Sharing a youtube video with a specific start time
You probably know how to share a video starting at a specific point. You don’t? Well, that’ s pretty easy to do.
- Sharing a youtube video with a specific start and end time
That’s a bit more complicated. Keywords “ a bit”. The first thing you need to know is the specific time you want your video to start and to finish. For example, if you need your video to run from 1:20 to 2:15, you need to convert it into seconds.
1:20 -1 minute= 60 seconds+ 20= 80 seconds (start time)
2:15- 2 minutes= 120 seconds+15 = 135 seconds (finish time)
Now, grab the embed code for the video. In my case, it was
<iframe width=”560″ height=”315″ src=”https://www.youtube.com/embed/_GFkHA5EZdE?start=1″ frameborder=”0″ allow=”autoplay; encrypted-media” allowfullscreen></iframe>
Change the start time and instead of 1, write 80 and then add &end=135
The resulting embed code is
<iframe width=”560″ height=”315″ src=”https://www.youtube.com/embed/_GFkHA5EZdE?start=80&end=135 ” frameborder=”0″ allow=”autoplay; encrypted-media” allowfullscreen></iframe>
- Getting the transcript. Call me lazy but if technology can save me some time….
You can easily get the transcript from a youtube video clicking on the three dots next to the save button.
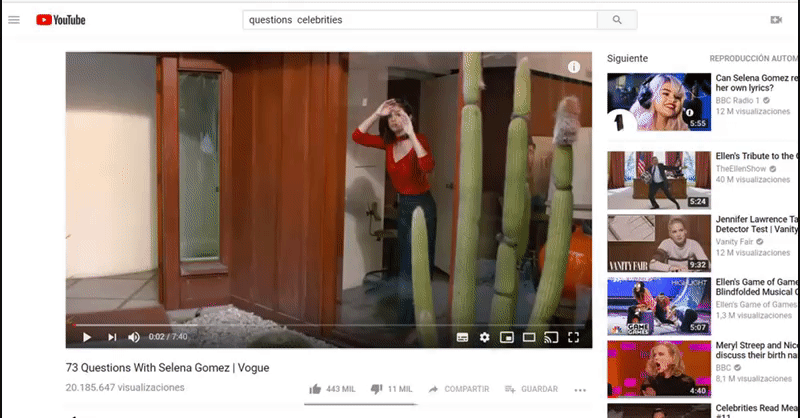
VIDEO-BASED LISTENING ACTIVITY: 18/73 QUESTIONS WITH SELENA GOMEZ
![]()
![]()
![]()
(Follow -up activity: I am looking for one or two EOI teachers, teaching the B2.2 level, to work with me on a simple single get-to-know-you project using the free online tool Flipgrid. If anybody is interested, please send me an email)
- Level: B2
- Skills: listening and speaking
As I have mentioned above, I wanted a short listening activity which could serve as a springboard for a speaking get-to-know-you activity among my students.
LISTENING COMPREHENSION
Procedure:
- Play the video once and ask students to just listen. At the end of the video (the video is set to stop at 2:08) students will probably complain that it goes too fast. My advice? Smile and say “You can do it! “, because they actually can.
- Give them the handout with the questions and play the video twice more.
- Before you play it a third time, ask students to share their answers in pairs and, needless to say, in English.
- Play the video once more, pausing after each answer. Ask students to provide the answer and repeat procedure for question 2.
Here are the questions. To get the answers, just display the transcript as indicated above.
SPEAKING ACTIVITY: 15 minutes
- Play the video again, this time and depending on the number of students, play a couple more minutes or if necessary the whole video.
- Tell students, they will need to listen very attentively to the questions asked to Selena and choose one they would like to ask their classmates.
- Ask them to write it down and check with you that it’s Ok. When they are ready, ask them to stand up in a mingling activity and interview as many classmates as possible.