…and there I go again. Up to my eyes in work this week and yet, I cannot resist the temptation of stepping outside the book and giving my students a taste of fun and the opportunity to listen to a piece of audio that is not staged and academic and still relevant to the lesson. I think I have managed to accomplish both. Some might say it is a sacrilege to spend more time than necessary planning lessons and that this time should be devoted to socialising, but, … in Spain, no chance of doing that in the near future, so here we are glued to the computer and virtually socialising.
![]()
![]()
![]()
![]()
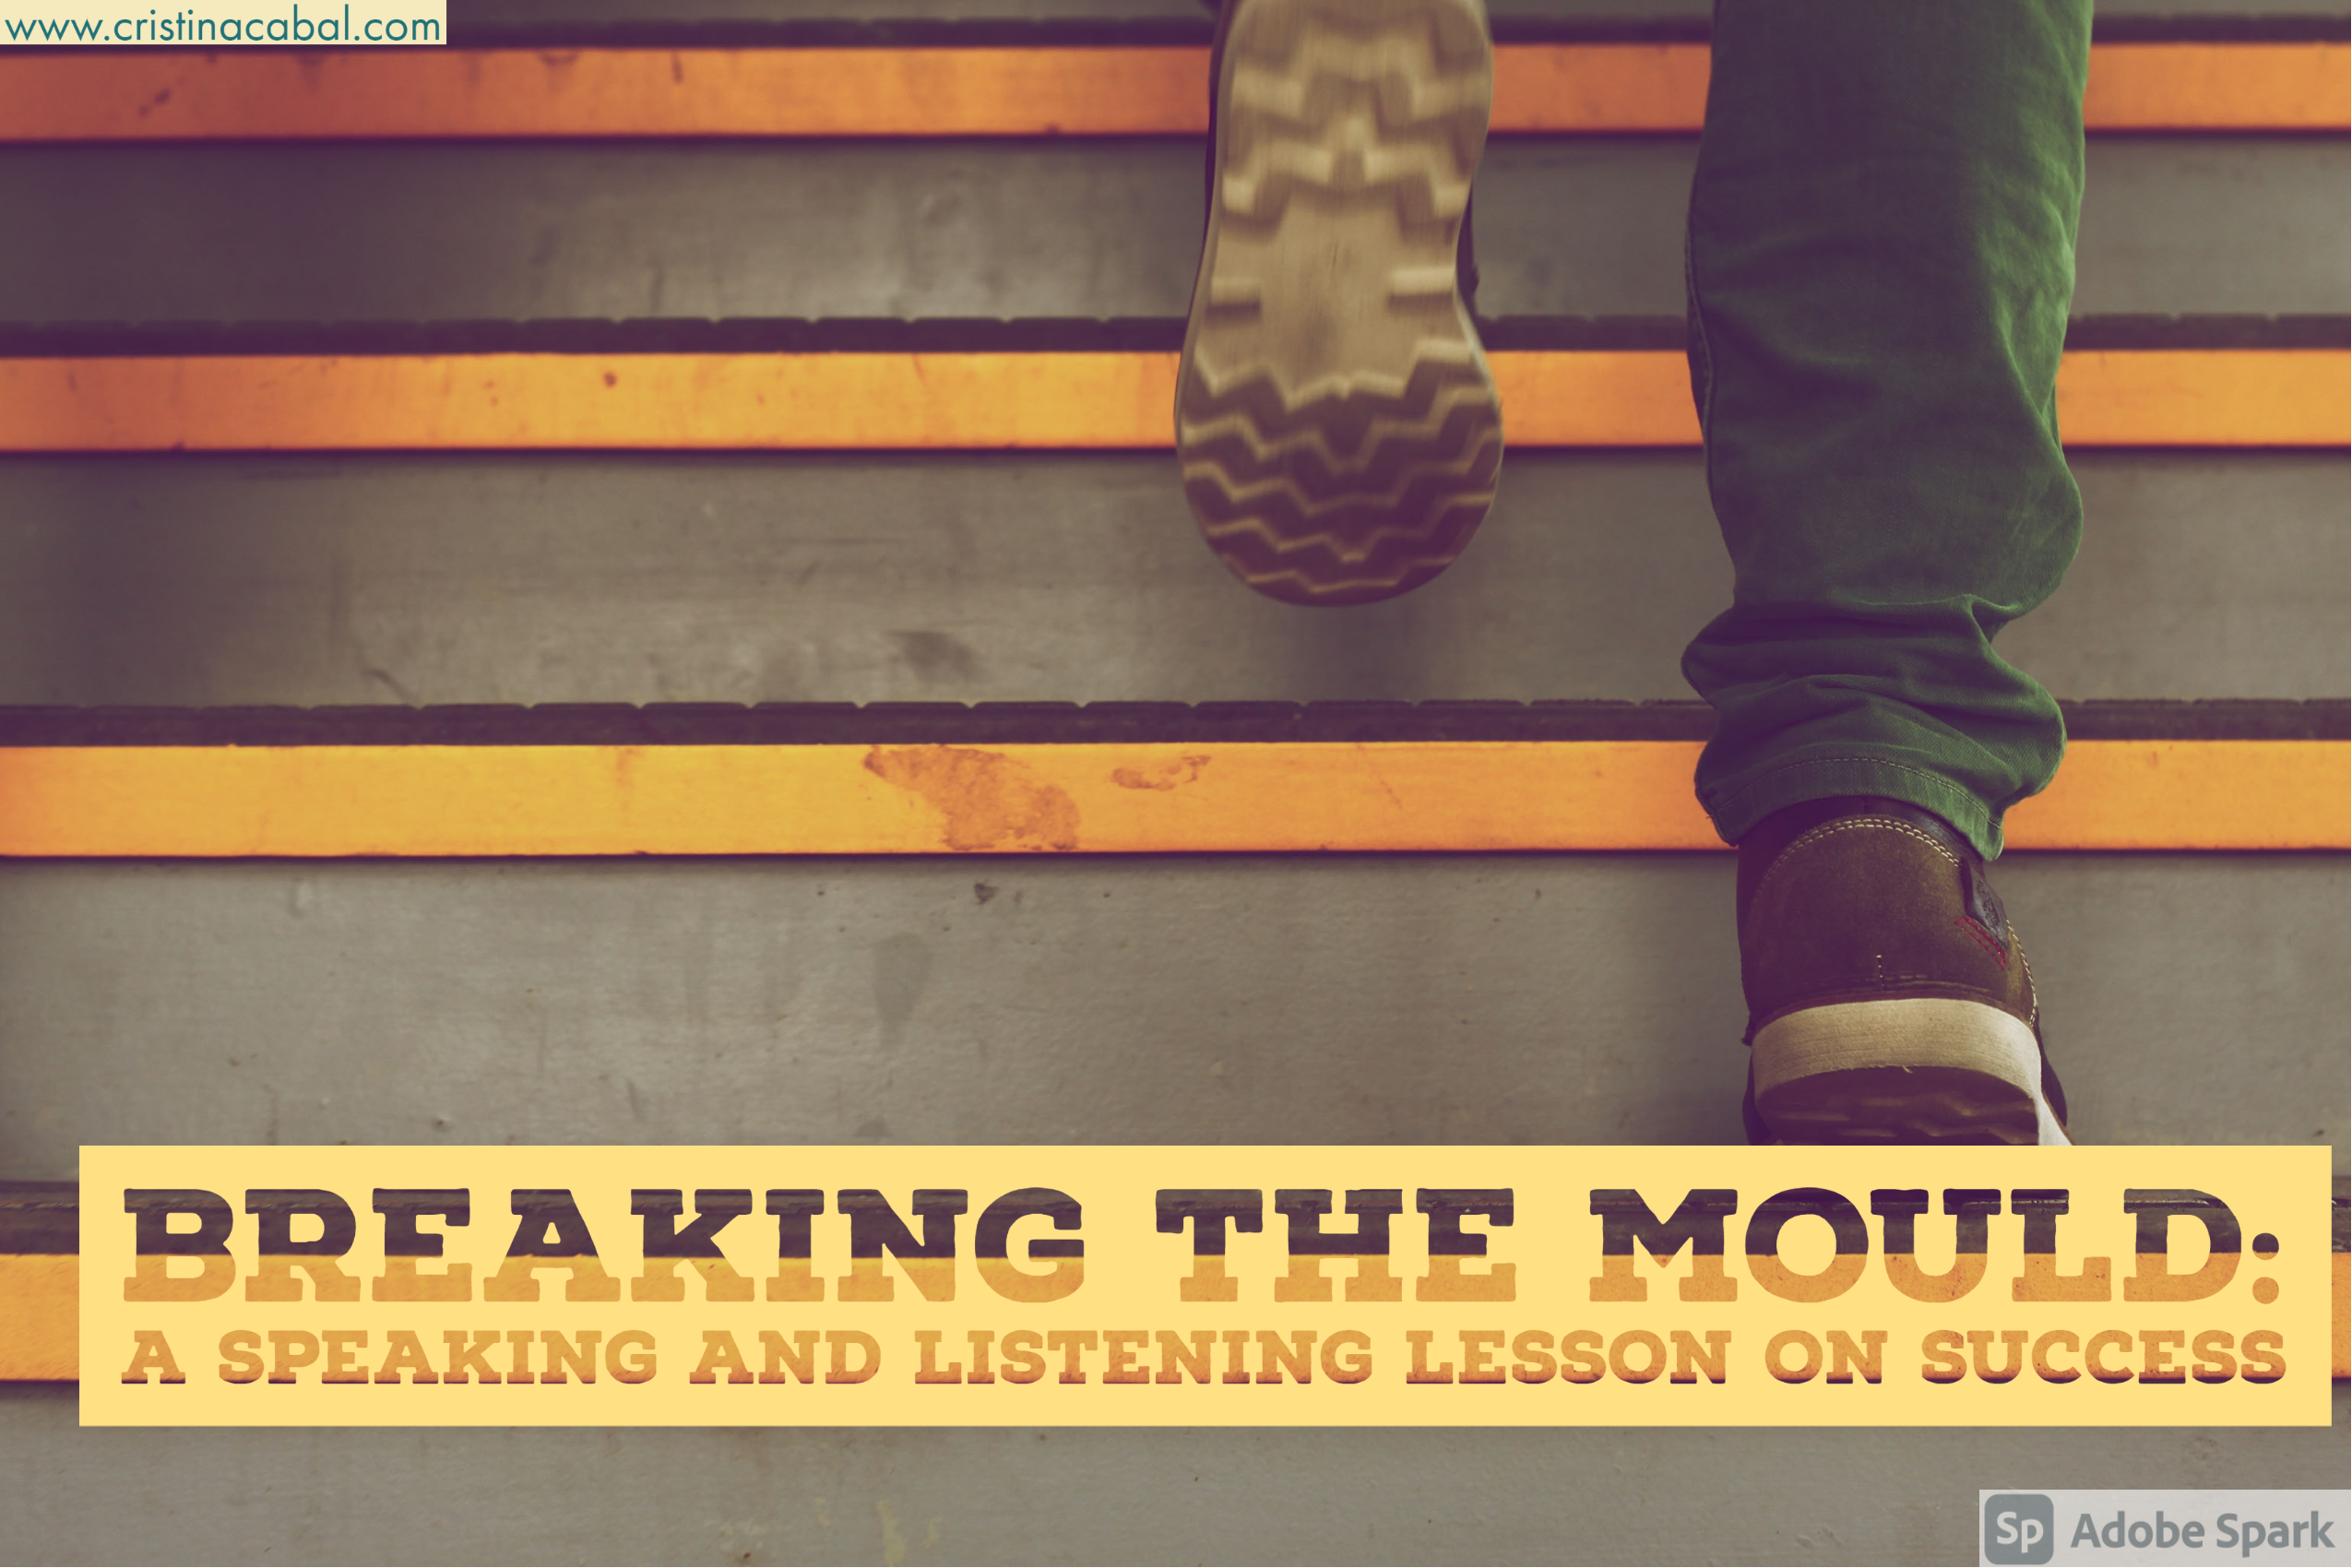
I am working with Language Leader Advanced and the lesson focuses on success and successful people. I have to admit I was greatly surprised that the three people chosen as representatives of this success were all women; one of them was Indra Nooyi, Chief Executive Officer of PepsiCo and a woman known for her communication skills and leadership. I loved it when I read she had grown up playing the game What would you do if you were the president of…? It kind of rubbed off on her, don’t you think?
This smallish lesson has two parts and is meant to be used as a side dish and part of a larger lesson on the topic of success.
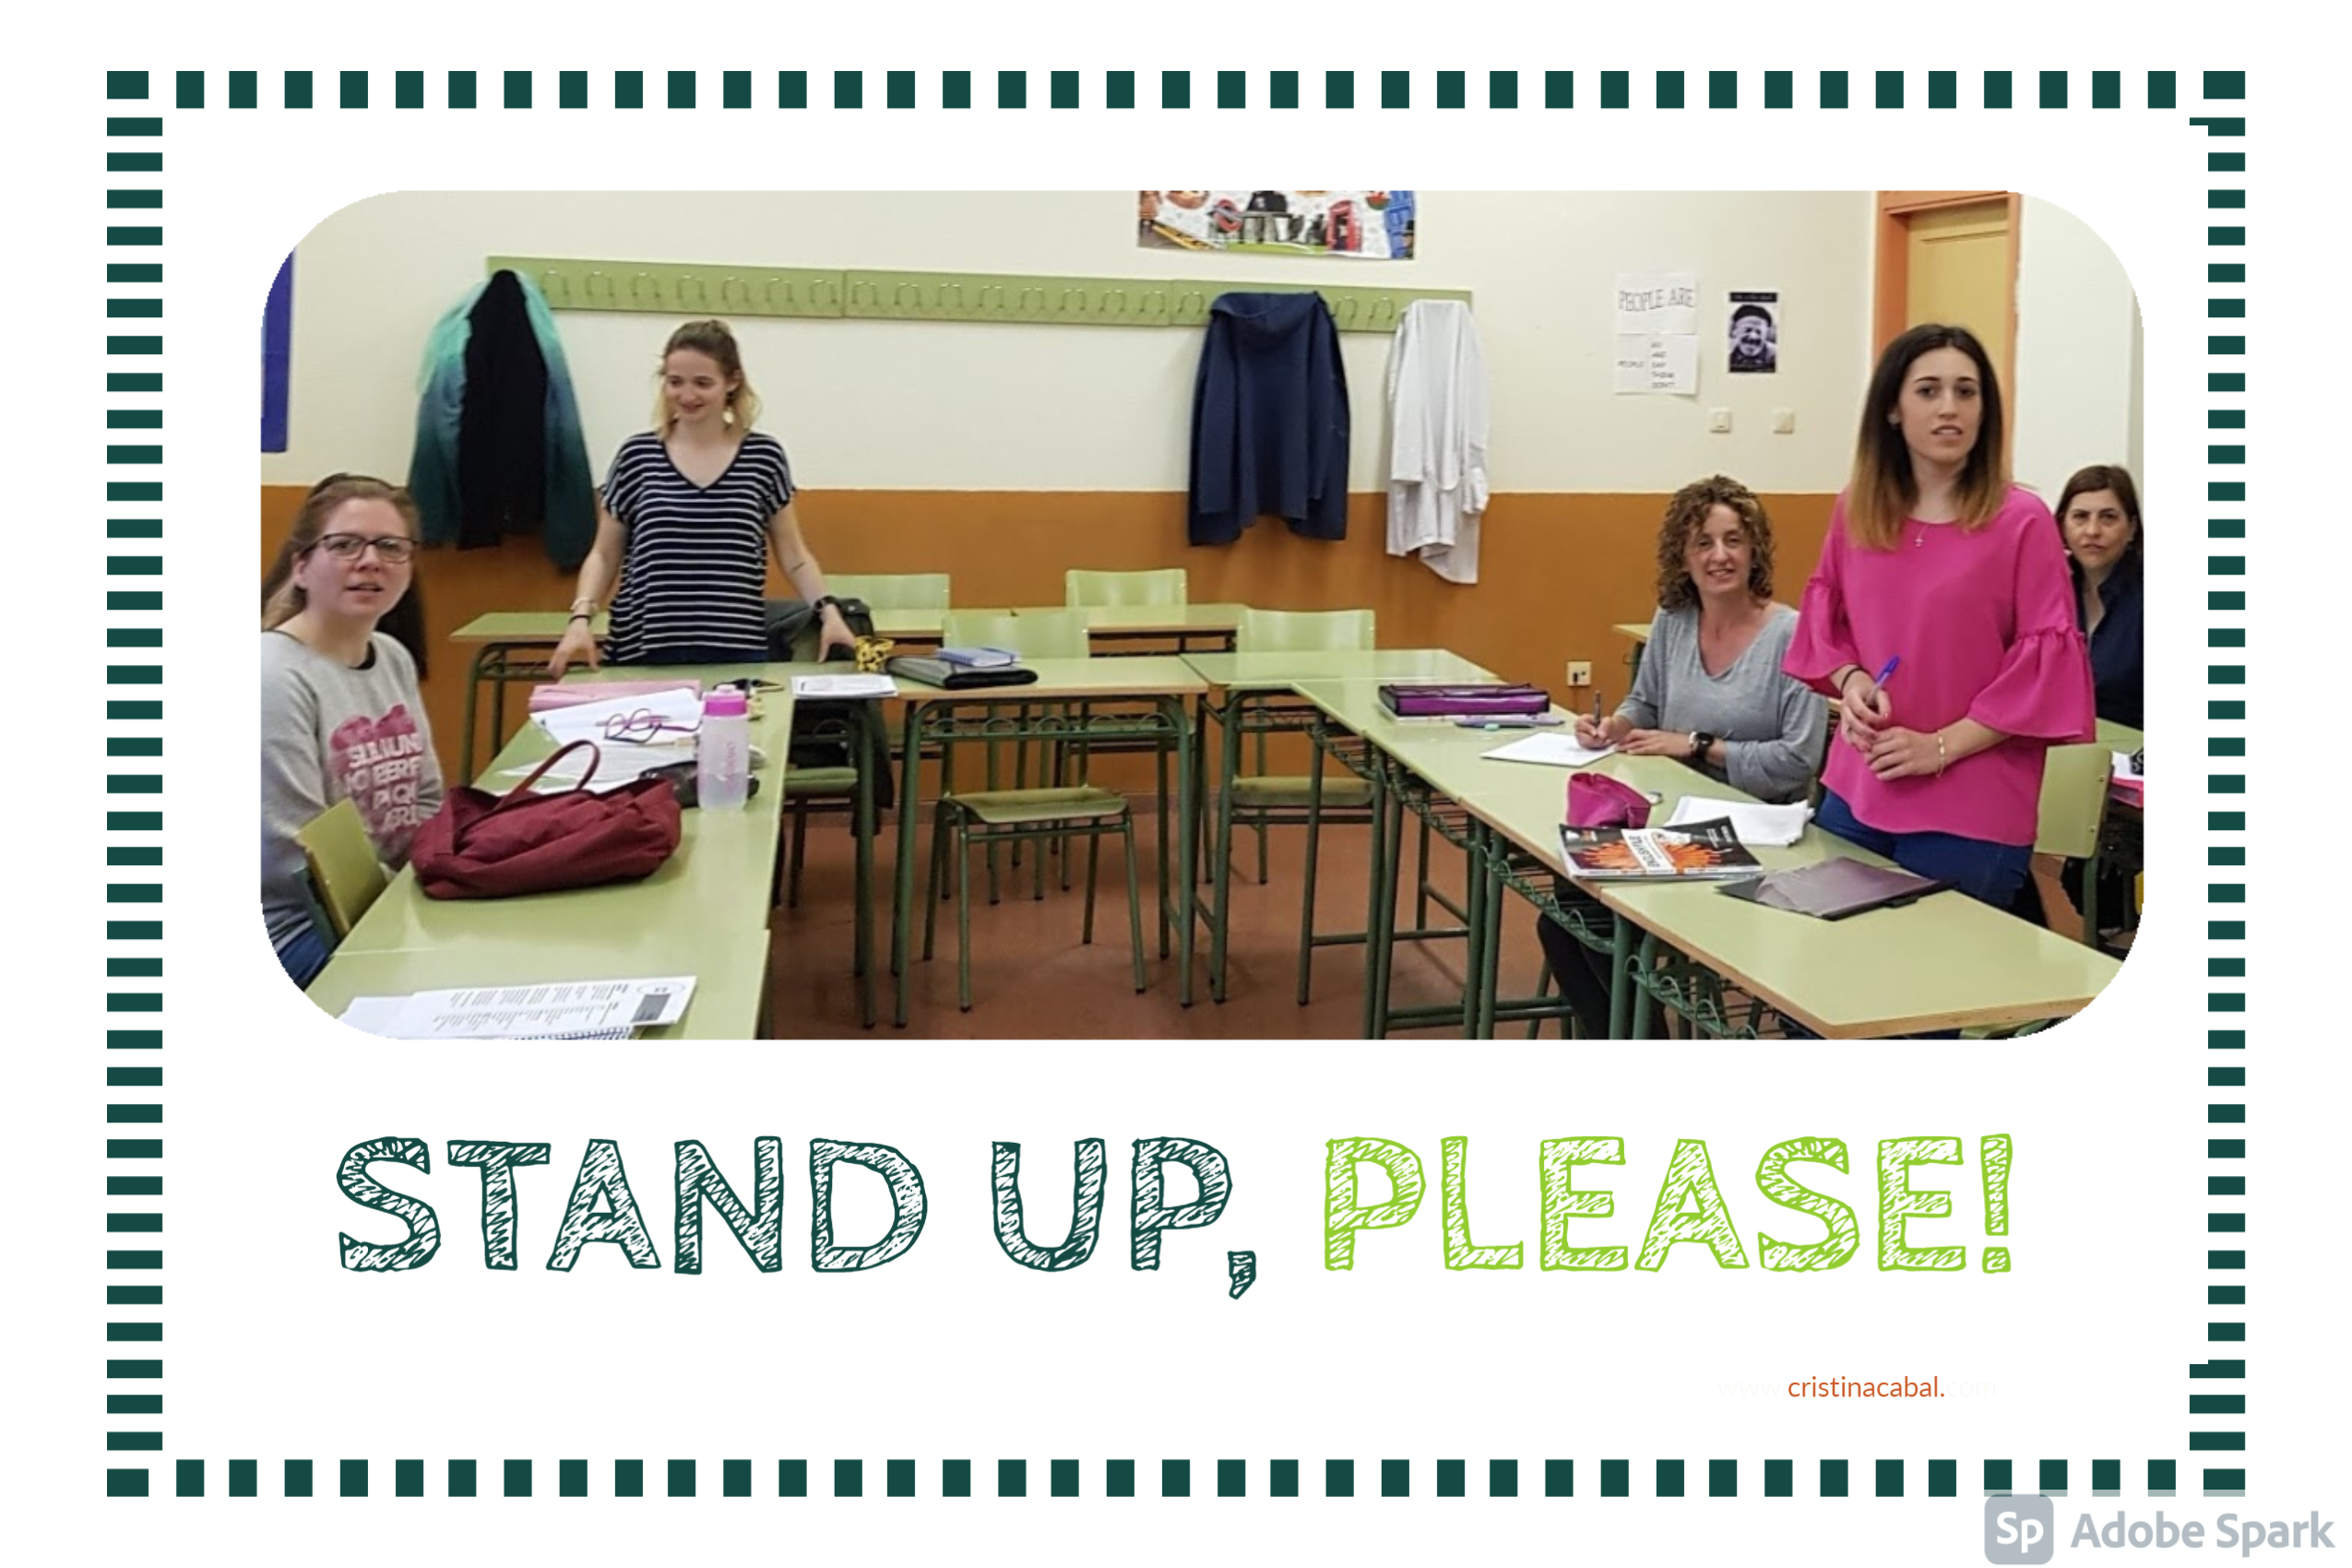
Game: speaking and learning vocabulary
1.Ask students to write the most defining 5 traits successful people share, in their opinion.
Introduce qualities such as willingness to learn, discipline, humble nature, sociability, integrity, passion, patience, willpower, self-confidence, commitment, consistency, the ability to embrace change…etc.
2. Tell students you are going to display the pictures of remarkably successful people. On one side of the flashcard, they will see their picture and on the other side, they will see some facts about their lives. Put students into pairs and ask student A to face away from the board. Student B will briefly have a look at the picture and then use some of the facts on the back of the flashcard to help student A guess the person on display. Warn students it is very important not to give specific details in order to make their partner sweat a bit, ie, if you are showing Mark Zukerberg, you cannot mention Facebook. Encourage them to use the facts on the back of the flipcard, but also the adjectives brainstormed in Exercise 1
There are 4 people on the flashcards and students take it in turns to talk about them. Do not forget to go through any new vocabulary before displaying a new name.
Listening Comprehension
A word: The audio is not very good in the sense that it is very low in volume, but my class is about 50 square meters, there are 20 students in it and they have all managed to do it. Just instruct them not make any noise.
Ready? Here we go!!
First time listening
Listen to Indra Nooyi talking about what she calls her list of essential skills for leaders “ the five C’s” and cross out the words/expressions as you hear them. There are some distractors. I won’t tell you how many. You are a C1 student.
- The go-person
- Stand out from the pack
- Abreast
- True innovator
- Overinvest
- Mobilize the troops
- Graduate
- Flunked
- True innovator
- Sync
- Key elements
- Second-guessing
- Crashing down
Second time listening
Can you identify the five C’s?
Third time Listening
Make notes of what she says about each of them
Get the PDF here
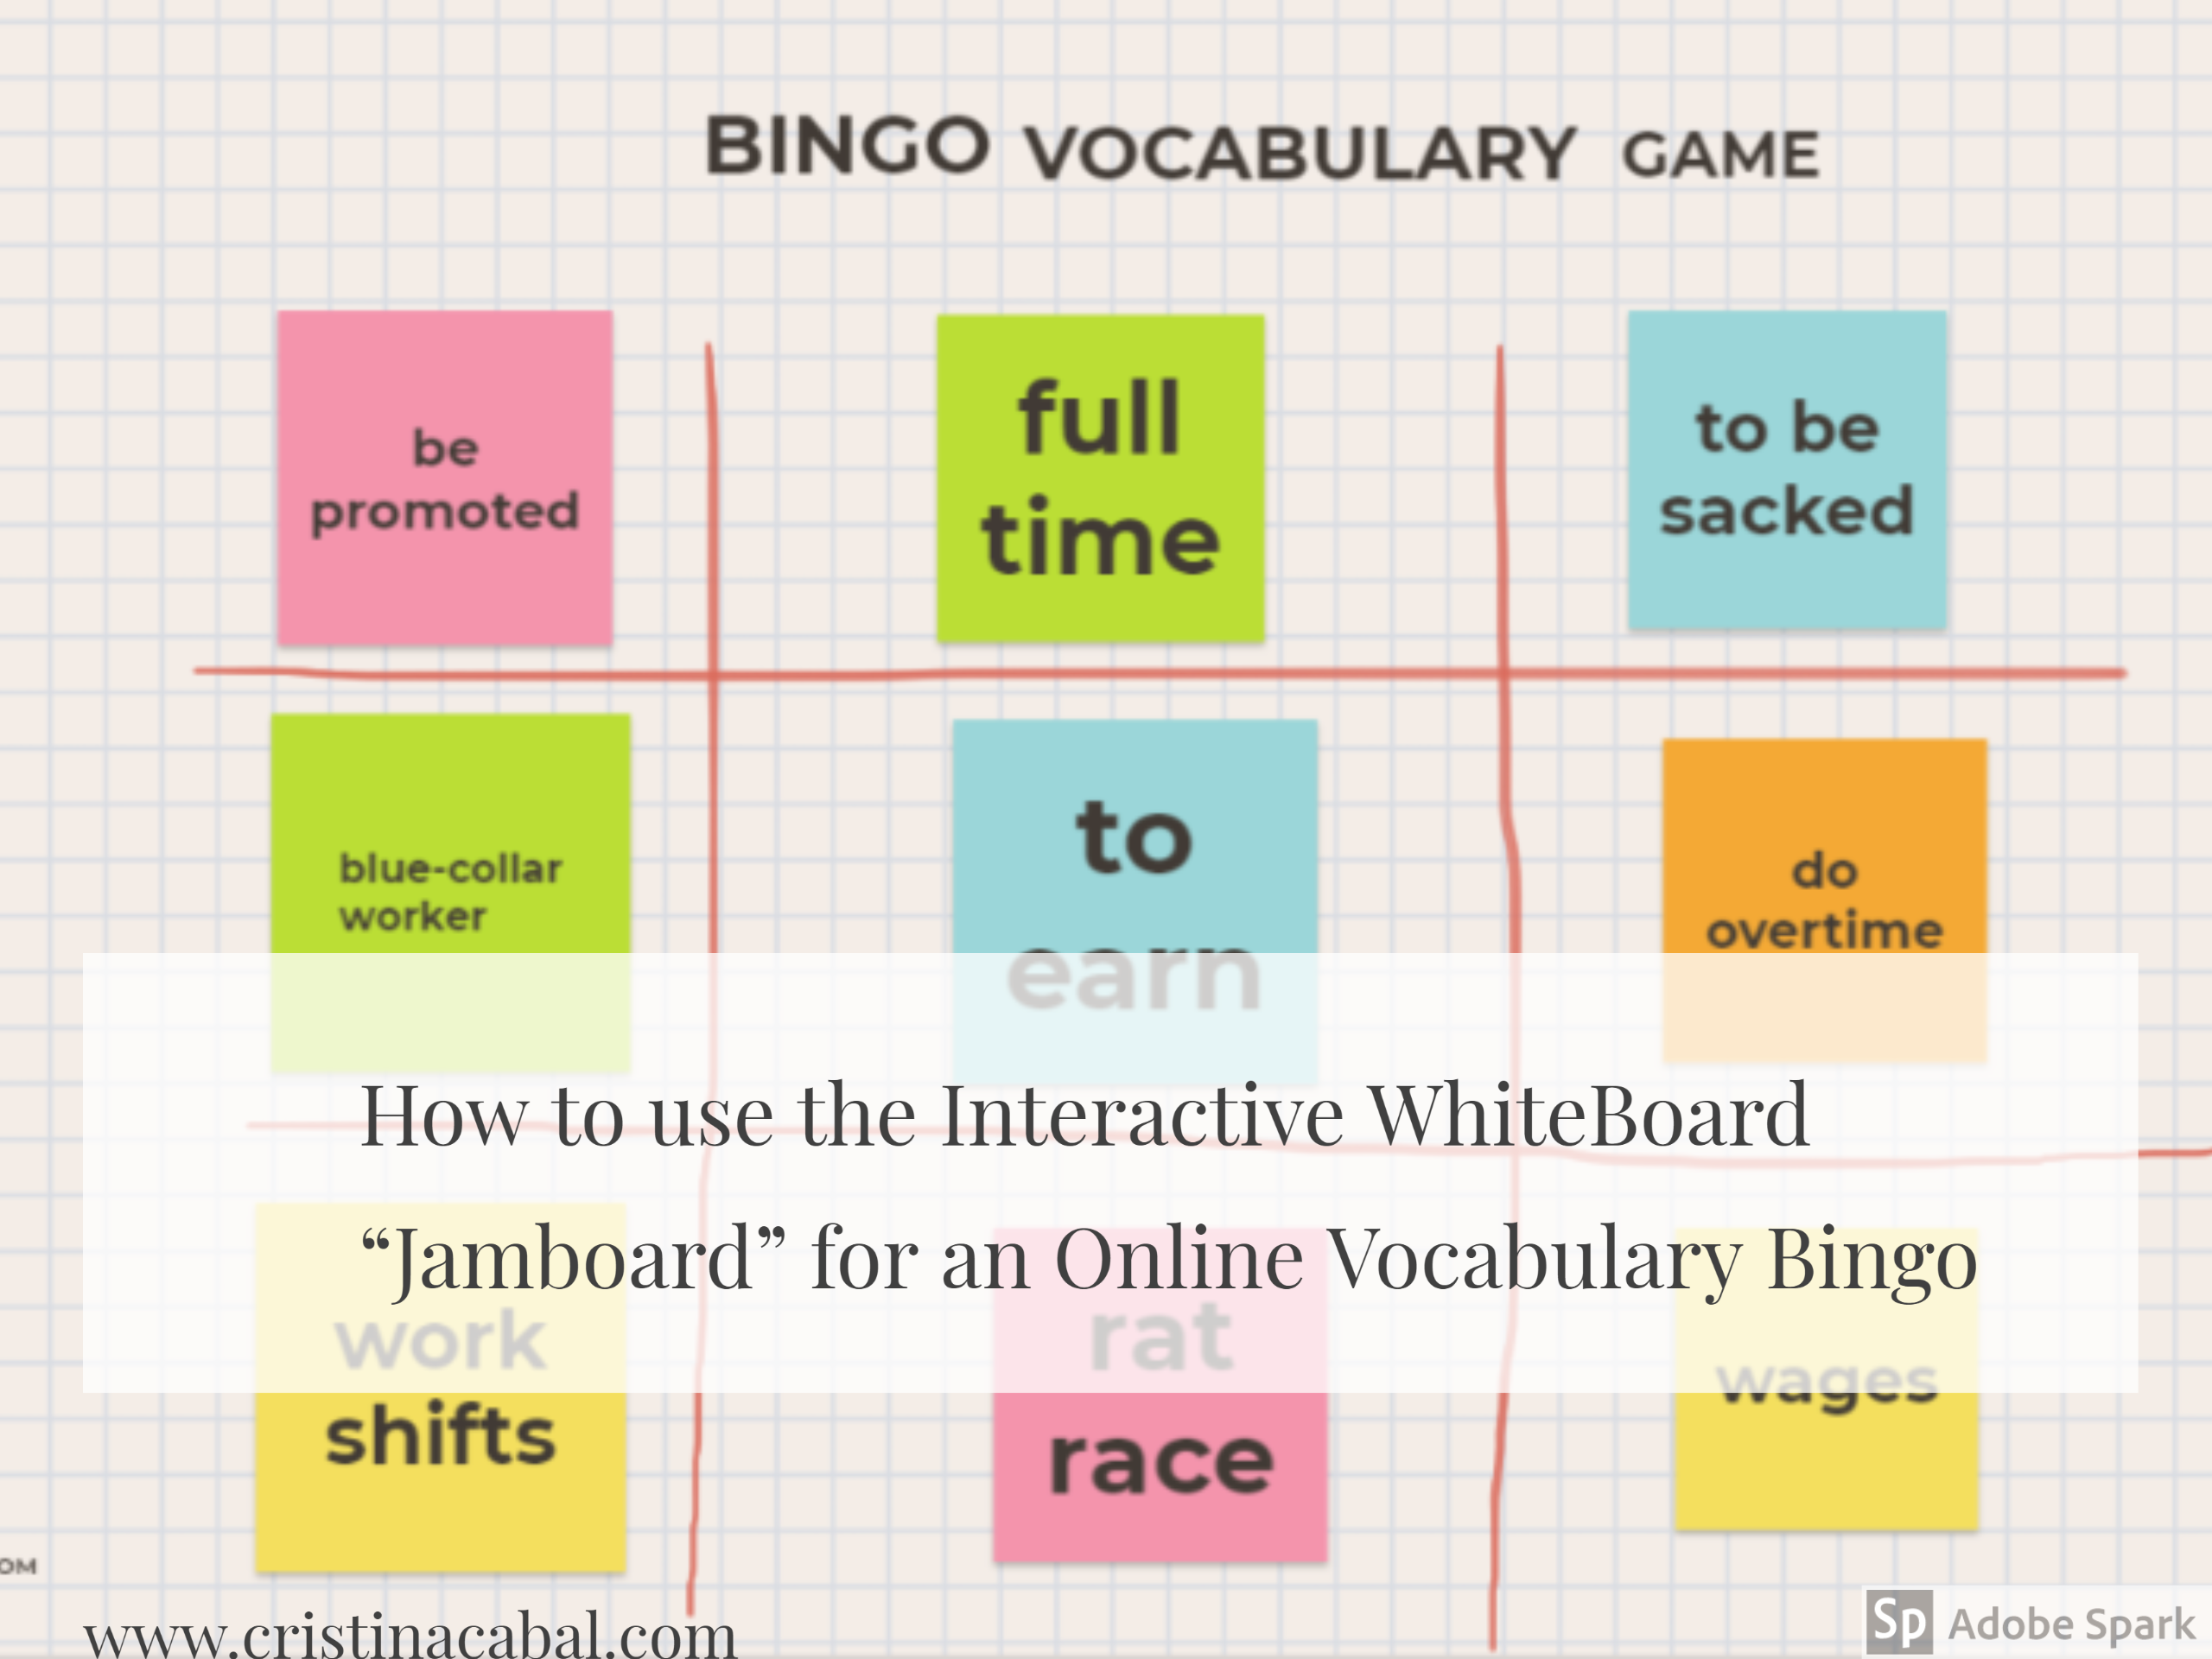
Vocabulary Revision from the Video