Today I want to share with you an amazing screen recording tool Screencast-o-matic, which has a lot of potential to teach and learn English.
Hey! Wait! I know, you are not tech-savvy. You don’t need to be. Trust me. When you finish reading this post, I’m sure you will be willing to give it a go . The reasons?
- It’s super easy to use! Do you know how to press a button? Then, you know how to use this tool.
- You don’t even need to register.
- It has a lot of potential to teach/learn English.

Let’s start:
What is Screen-o-matic?
Screencast-o-matic is a free (you don’t even need to register) easy-to-use screen recording. You can use your webcam or both. Screen-o-matic will capture everything on your screen and then, if you wish, share it.
How can I use it in the classroom?
As a teacher
1. For correcting your students’ written assignments. We all have been in this situation: a student is ill or away on a business trip, but he still needs to have some feedback on his written assignment. With this tool, it’s very easy to offer visual constructive feedback by giving audio and visual cues.
Have your students send you their essays by email. Record yourself correcting and explaining their mistakes. Then, send them the video. Thanks to Russell Stannard for this awesome idea. Here’s an example uploaded to screen-o-matic. Sorry, I don’t sound very energetic. It was very late and I was dead tired!
2. For assessing students’ speaking skill, especially when describing pictures or talking about slides. Ask them to choose one or several pictures and ask them to record themselves. Here’s an example of one of my students uploaded to youtube. Thank you Elsa! 🙂
3. For a variety of speaking activities:
- To explain a recipe
- To talk about your favourite group, hobby, family…etc
- To describe, for example, traditional games, unusual customs…etc.
- For first-day presentations
- For book/film reviews
The only limit is your imagination.
4. For recorded contests:
- It’s St Valentine’s day, ask them to invent a romantic story
- It’s Halloween, time for a horror story!
- Give them a set of pictures and ask them to create a story
- Give them some words and expressions and ask them to create a story
- For recorded minisagas (maximum of 50 words)
5. For asessing students’ reading fluency and pronunciation. Ask students to read a given text online and ask them to send their recording.
6. For flipping your classroom. Not every student learns in the same way so it would be a good idea to record some of the most difficult grammar points for weak students to revise at home.
7. Doing exams at home. You can even make things easier for students who, for personal reasons, cannot sit exams in the classroom. Send them the test and ask them to record themselves answering the questions either in written or oral form. It might be a good idea to give them a time limit to send back the video with the answers. You can ask them to use the webcam, too (for obvious reasons).
8. To make tutorial videos to explain a task they need to do online or how an online tool works, for example this one. The yellow pointer makes it easy for students to follow your explanations. Example here
9. Help your substitute teacher. You can even make a video to help your substitute teacher if you’re going to miss class.
As a student
10. Using your webcam, for collaborative projects.
11. As an alternative to a Power Point presentation individually or in groups.
12. To do any oral assignment with one or several slides.
13. To state your opinion on any given topic.
14. To record yourself when practising for oral tests.
Why do I like it?
- You don’t have to register or give your email address unless you want to upload it to their server.
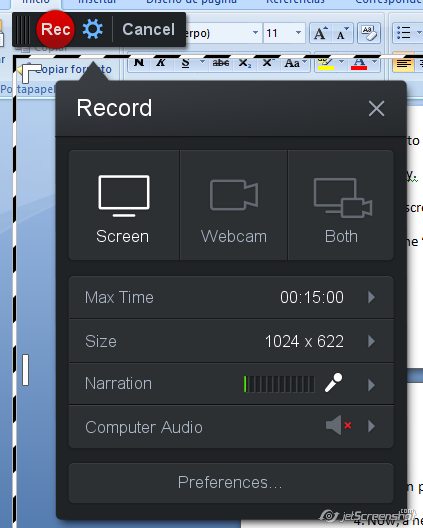
- You can record up to 15 minutes
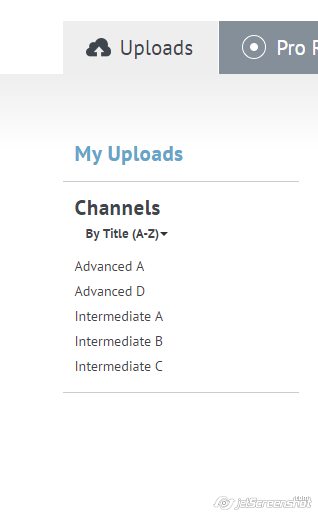
- You can create different folders for your different classes. If you create an account and share the email address and password with your students they can upload their own assignments and have everything neatly organised in folders.
- You can choose to record only your computer screen, you can use your webcam or both
- You can resize your recording window.
- You can choose the microphone you want to use and adjust the volume. For laptops you can use the built-in microphone.
Is it easy to use? Very easy.
- Go to screen-o-matic .
- The first time you use it, you’ll need to download a small program.
- Click the “Start Recording” button and the recording button will be launched.

- Click the red button Rec and everything inside the frame will be recorded.
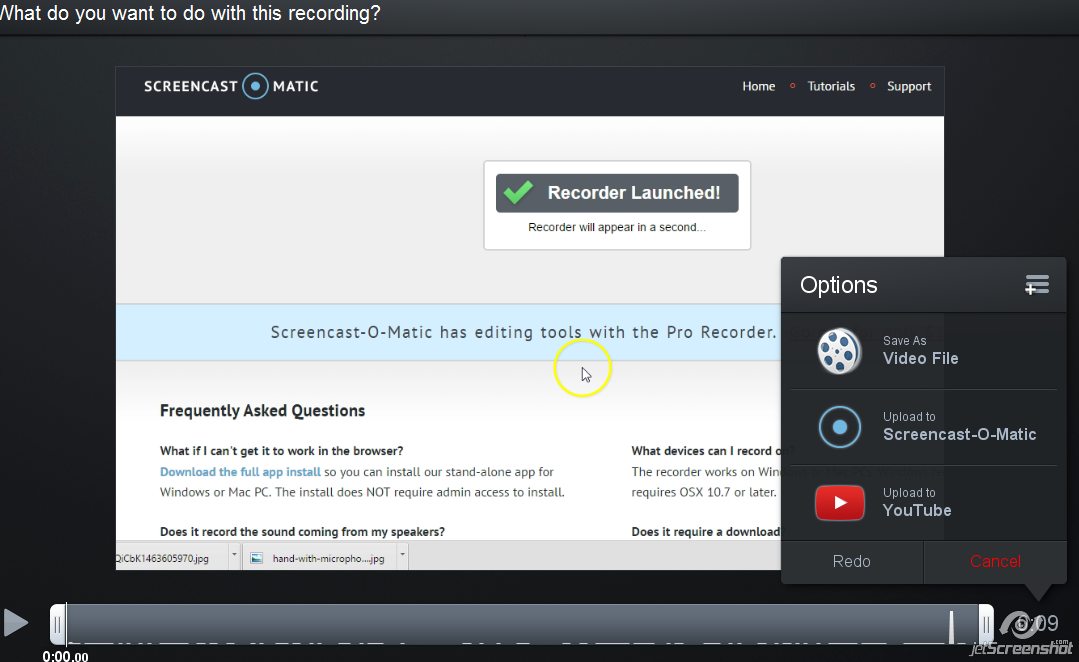
- You can pause or restart or click Done when you finish.
- Now, a new window will open offering you the possibilities of downloading your video, or uploading it to youtube or to Screen-o-matic.com (to use this last option you will need to register). Uploading to Screen-o-matic.com is free and it has some advantages:

- It gives you a unique url or an embed code to use on your website or blog
- You can create different channels and upload your recordings in an organised way. This is particularly interesting if you want to create a channel for your students to upload their recordings.

There is an online version, which works pretty well with Windows but not so well with Mac, and a downloadable version which works with both PC and Mac.There is a free and a pro version, but I should say that the free version works just fine.
Thanks for reading!


Thanks a lot, Nuria!
Best
Thanks a million, Cristina! You are always an inspiration for ESL teachers.
Sorry, there is a typo “couldn’t”
Hear!, hear! María. I coudn´t agree more.
Thanks María! Give it a go! It really has a lot of potential !
Love it, Cristina! Thanks! You always find a way to give us motivation to use the tools you use. You have a gift!