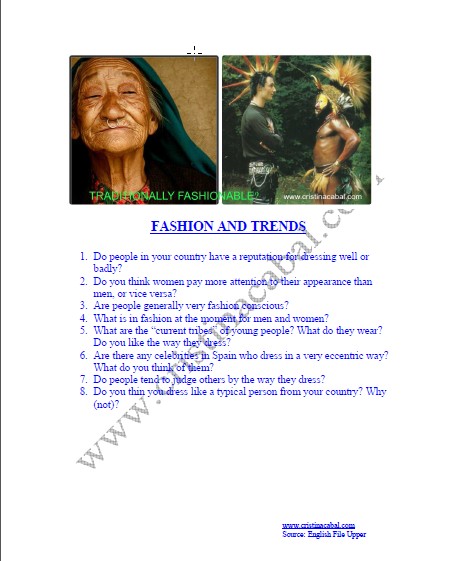
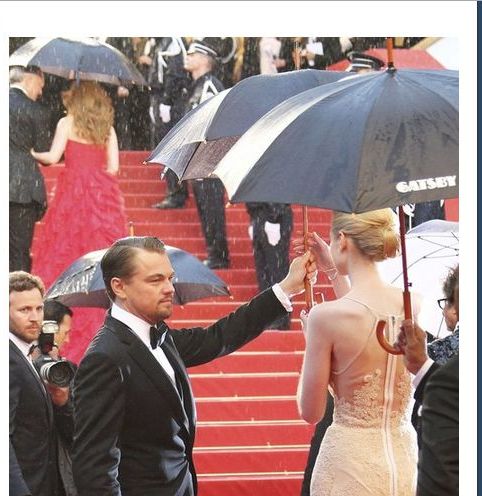
Tag Archives: speaking

Lesson Plan: Talking about Your Hometown .

This is a lesson for Elementary students.

Step 1. Reading and Listening

Mind mapping is a very important  learning tool for visual learners. This mind map has been created with Exam Time, which is very easy to use and  embeddable, a feature I always appreciate.

There are some steps previous to this mind mapping  we wrote on the board, essentially reading and listening about this issue. Form these listenings and readings we gathered and sorted vocabulary that was, then, written on the board.

Step 2. Mind Mapping

What you see below is a nice way of displaying what was written on the board of the classroom  with the help of my students.

por cristina.cabal
Step 3. Speaking

For this activity, instead of the typical photocopy with the list of questions to talk about, I have put students in groups of three or four and given each group a set of cards, which they had to place face down on the table. Students in turns pick up a card and talk for as much as they can about the given question. At this point I give my students the usual talk about how important it is now, to “show off.”

This is a snapshot of the cards. Click here if you want to print them.

Role Play : Renting a House

This year I am teaching  two different levels, the  2nd course in the Elementary Level and the 2nd course in the Intermediate Level.  Teaching the last courses within a level means my students will have to, necessarily, take the Certificación exam if they want to pass to the next level. The exam has different parts but I know you’ll agree with me if I say that the most stressful one is the Oral test. I know it is not everyone’s cup of tea to face a board of  two or three teachers  listening, very attentively, to every word you say. Haven’t you always wanted to be centre of attention 😉 ?

The oral Exam in the Elementary Level has two parts. The first part is a Role-Play. Here, the students will have to interact with the teacher. Students will be presented with a situation and they will have to take  one role, while the teacher takes the other role.

To prepare my students for these role-plays, I often use PhotoPeach, an online tool which allows you to create a free slide show in seconds. Dying to try my other slideshows with Role-Plays? Click here

This is the last I have uploaded: Renting a House. Prior to this online Role-Play, students, in pairs, have written an advert for a house/flat for rent and from this advert they have written a dialogue, which they have later performed.

This is the last step.

First Day : getting to know my students

I’ve been teaching for a long, loooong time and one might expect I don’t have to suffer from first-class stress . But I’ve come to terms with myself and admitted  that no matter how long I’ve been in the business, it is always going  to feel like  having a bull ( past the butterfly feeling) in my stomach. So again, I’m hunting books ,posts, and the Internet for ideas to use on the first day  to get to know my students and to give them the first chance to use the language. These are the ones I’m considering  – in case you want to use them.

By the way, these are the ones I used last year if you want to have a look https://www.cristinacabal.com/?p=2694

♥Interviewing your partner: Tell students they are going to interview four or five people they don’t know in the class. Ask them to write three or four questions to ask these people. Once it is done, students get up and walk around the classroom.

♥Get to Know you Bingo: this one requires a bit of preparation but it’s not like you are already loaded with exams, is it? Let’s play bingo, then! Now, the first thing you need to do is prepare a bingo sheet with some questions ( a grid of  4×4 , for example). Make sure students know how to play bingo- this is quite  important, as you can guess. Students get up and walk around asking questions to everybody in the class but they have to have a different name for each grid. So if a student asks a question to a student and this student says “yes”, he should write the name of that student in the grid and move on; if the student says “no”, he can then ask this same student a new question. The first person to get a line down or across shouts “LINE” and the first person to fill in all the boxes with a name shouts  BINGO.

I would , of course, encourage follow-up questions  when checking,  with  the students providing the questions- of course.

♥Who Am I..? I love this game to introduce myself to my students. It is played in teams and there is a winner. If you have been reading me for some time you know I am very competitive; that must be the reason why I am definitely going to use this one this year. The game was written by Paul Adams  and here is the link

♥Five Questions. Divide the class in five groups and ask each group to write a question they would like to ask you. In turns, one member of each group comes up to the board and writes the question. The students decide if the question is correct in terms of tenses, spelling …etc. Finally, the student asks the question. Before you tell them, give the students the chance to guess your answer.

♥Writing SampleI’m thinking it might be a good idea to use this warm-up after doing some oral practice. The idea is to ask students  to write a bit about themselves  to  get an idea of how advanced they are. Some ideas might be : Why are you learning English and why are you taking this course? or What’s your favourite hobby ?

Hope you can use some of these ideas!!!

The Flipped Classroom: Two Interesting Tools

I couldn’t just wrap up the school year and kick off the summer holidays without mentioning these two interesting tools I’ll be trying this summer to add to the list of useful tools I have been trying on and off in the flipped classroom setting. The Flipped Classroom Concept is the new trend in education. Classes are flipping all over the world. Well, maybe in Spain, it is not so popular yet but I think it has a great potential in classes where the students are motivated to learn.
The Flipped Classroom is a reversed teaching concept. Basically the teacher, through about 5 minute -created videos, teaches the students at home and then “homework” is moved to the classroom. One of the advantages of this method is that students learn at their pace and while some students might need to watch the video just once to understand the content, weaker students will not feel left behind as they will be able to replay the video as often as they like without feeling they are interfering with the normal pace of the classroom. The student, then, comes to the classroom to work on what was explained in the video and time in the classroom is spent on practising, something the students cannot do at home on their own. There is,obviously, more time for student-teacher interaction. In this flipped classroom setting there are two tools I’m willing to give a try this summer and which I thought I would share with you, in case you want to give the Flipped Classroom a go next year.

The first tool is similar to MyBrainshark and VoiceThread, which I have been using for two years. It’s called Narrable and it allows you to upload photographs and record yourself or upload an audio file narrating your photo. When you sign up you only get 5 free narrables but you can get more free narrables if you don’t mind sharing them in facebook.

The other one is a bit more complicated and demanding on the teacher’s side and if you are camera shy, like me, maybe not so appealing but, anyway I’m willing to try it.
It’s called Movenote and it helps you record a video of yourself teaching accompanied by slides. First of all, you have to upload your images or presentations ( it supports pdfs, excel,.. and many more) and then you record yourself using your webcam while you explain your images. There is also the possibility of uploading a previously recorded video and synchronising it with the slides. It’s free , you only need to sign up to an account . The only thing I don’t like is that you share via an url but it doesn’t seem to offer the possibility of embedding it in a blog or website.

Writing and Speaking : A Biography

It’s with great pride that I  show you the work of two of my students; they are  twelve and thirteen-year-old students  who, with a lot of effort on their part,  have managed to overcome the difficulties of speaking and pronouncing a different language. My Congratulations and Thanks  to Patricia Alonso and Juan Fernández for their effort and contribution to this blog. Keep up the good work!

Patricia has written and recorded  Marco Polo’s Biography  and Juan has done the same with  Fernando Alonso.Ladies first!