Tag Archives: methodology

Messy Words: a Vocabulary, Writing and Speaking Activity

It is October and autumn has officially hit. I am just beginning to come to terms with the fact that days are getting shorter and warm days are saying their goodbyes. Well, welcome autumn! I am all here for you!

Let’s kick it off this new season with a vocabulary revision activity that aims at reinforcing vocabulary while at the same time providing an opportunity for students to stretch their legs and interact with other students in the classroom. Gallery-walks, my favourite!

Aim: 

  • to reinforce the vocabulary of the lesson
  •  Use the vocabulary in context by
  1. writing an open-ended question containing the target word/expression
  2. answering the question by using the gallery-walk class dynamics

Procedure:

Before the class

  • Choose a few words you want to revise. I suggest 8-10 words. 
  • Fold a regular sheet of paper horizontally and cut it in half. You will get two slips of paper. This is a good opportunity to recycle the back of spare photocopies from other courses.
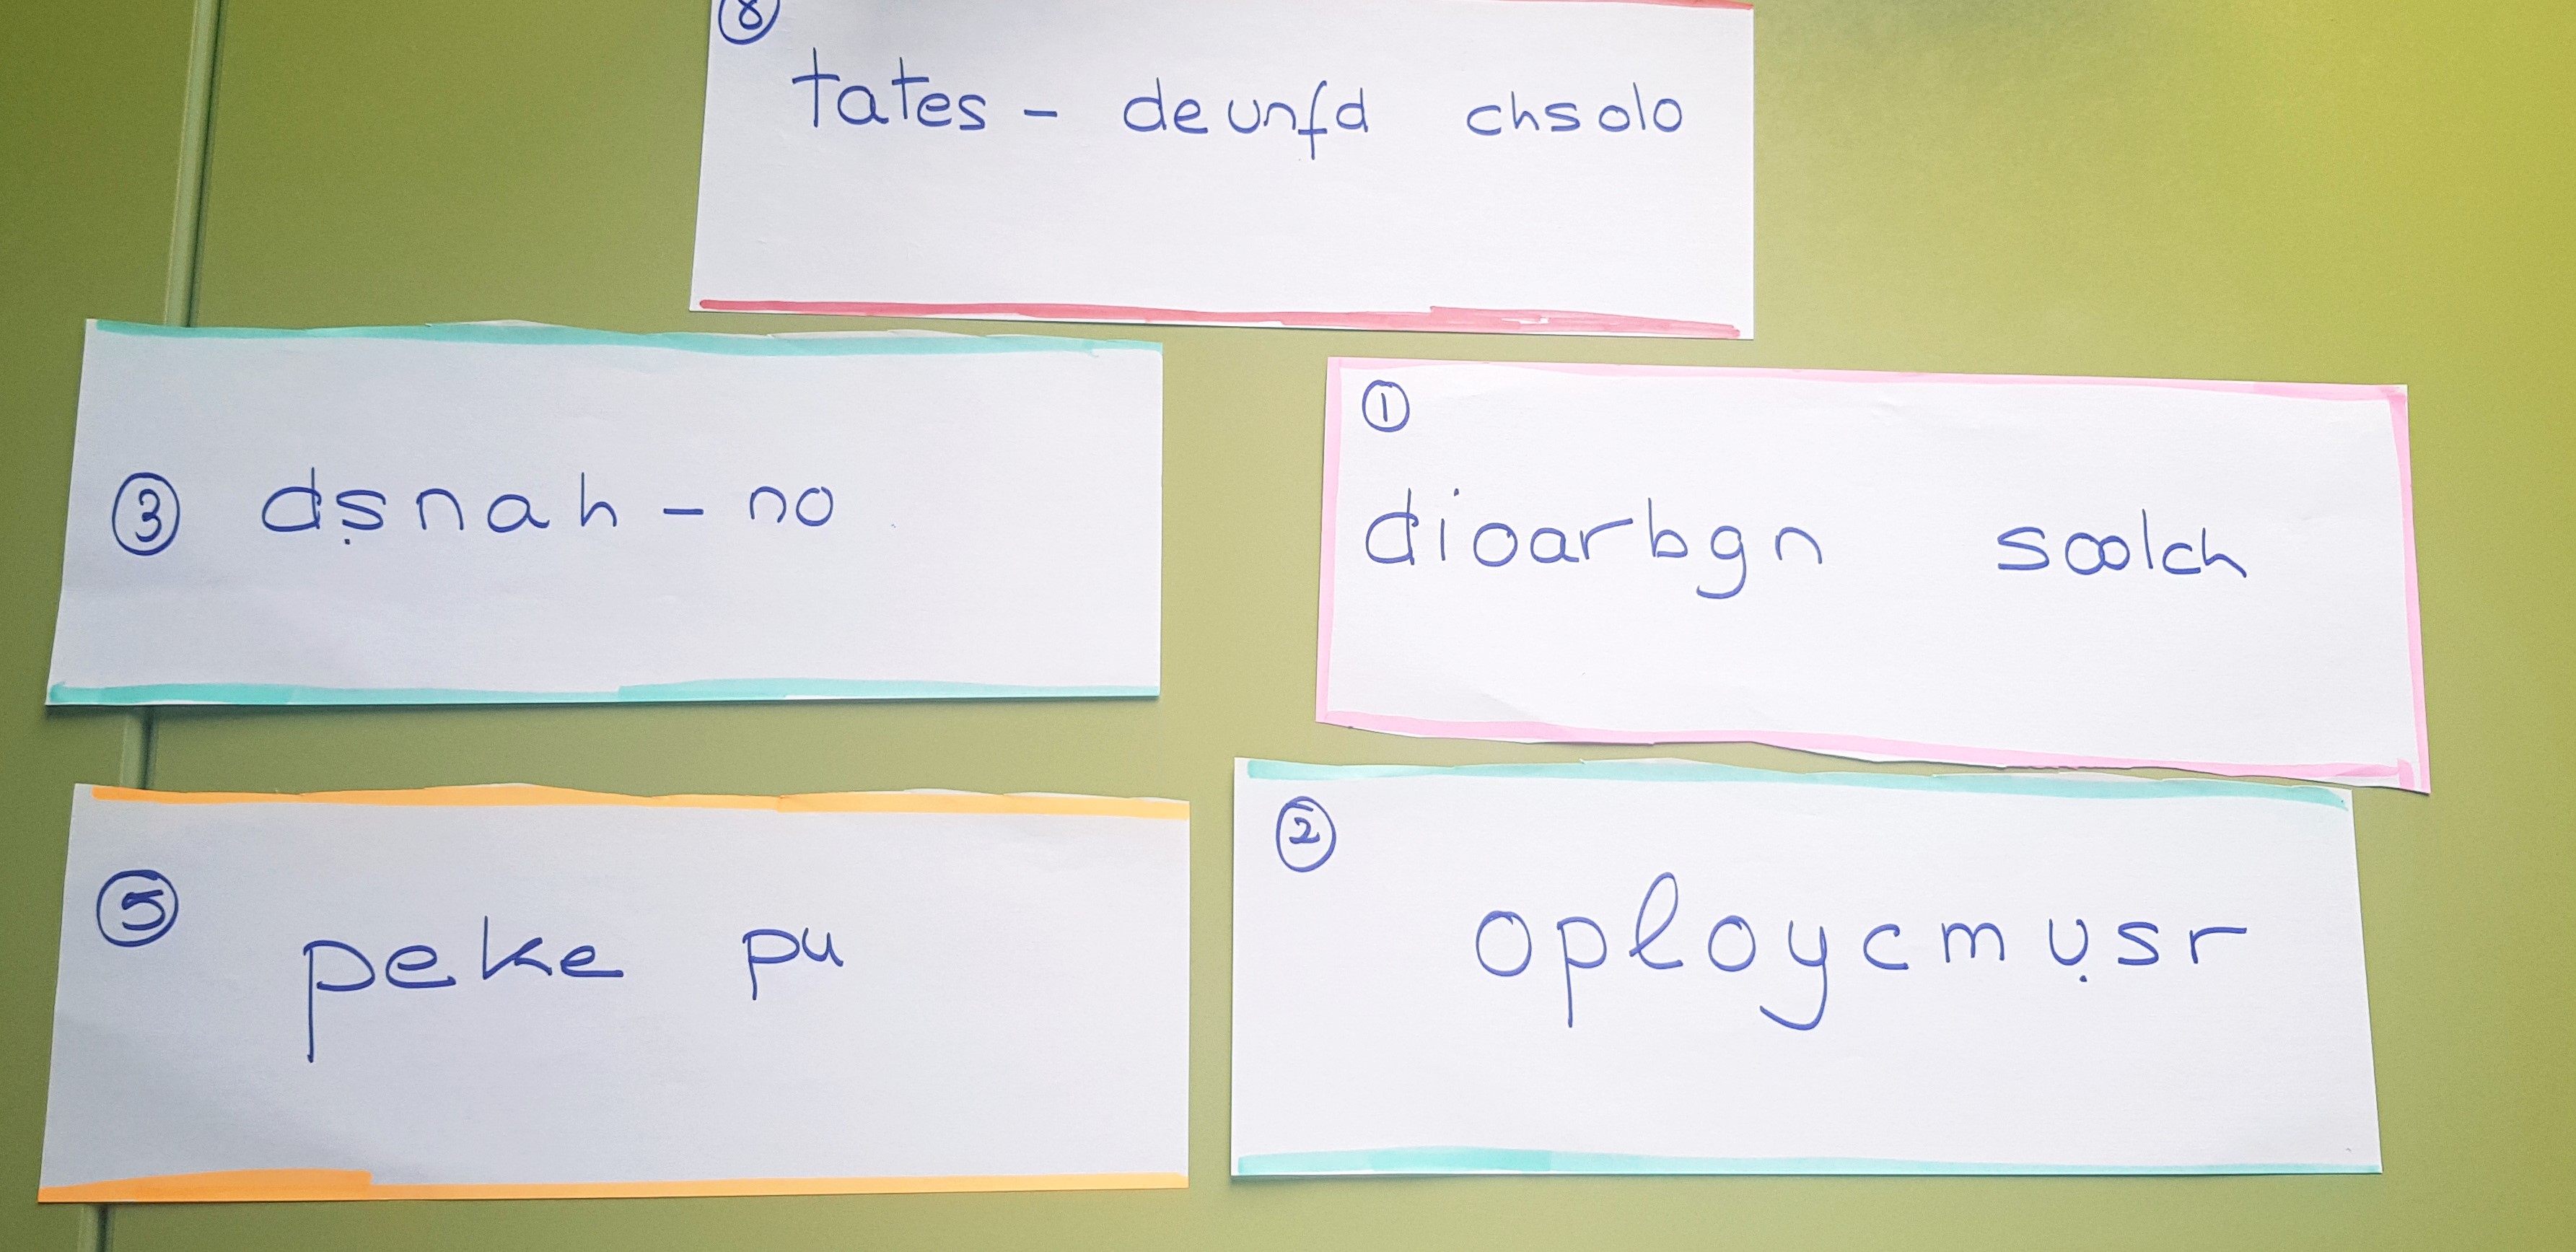
  • Write the letters of each word/expression you want to revise in random order. Number each of the slips of paper for easier reference.

During the class:

Step 1. Slips of paper on the walls

Put up the slips of paper on the walls of the class and ask students in pairs or in threes to stand up and work out what the hidden word on each slip of paper is. Ask them to number them as displayed on the walls. The first pair to have all the words, rings the bell (needless to say, there should be one on my table) and the rest of the class has one extra minute to finish this part.

Ask students to sit down.

Step 2. Writing open-ended questions

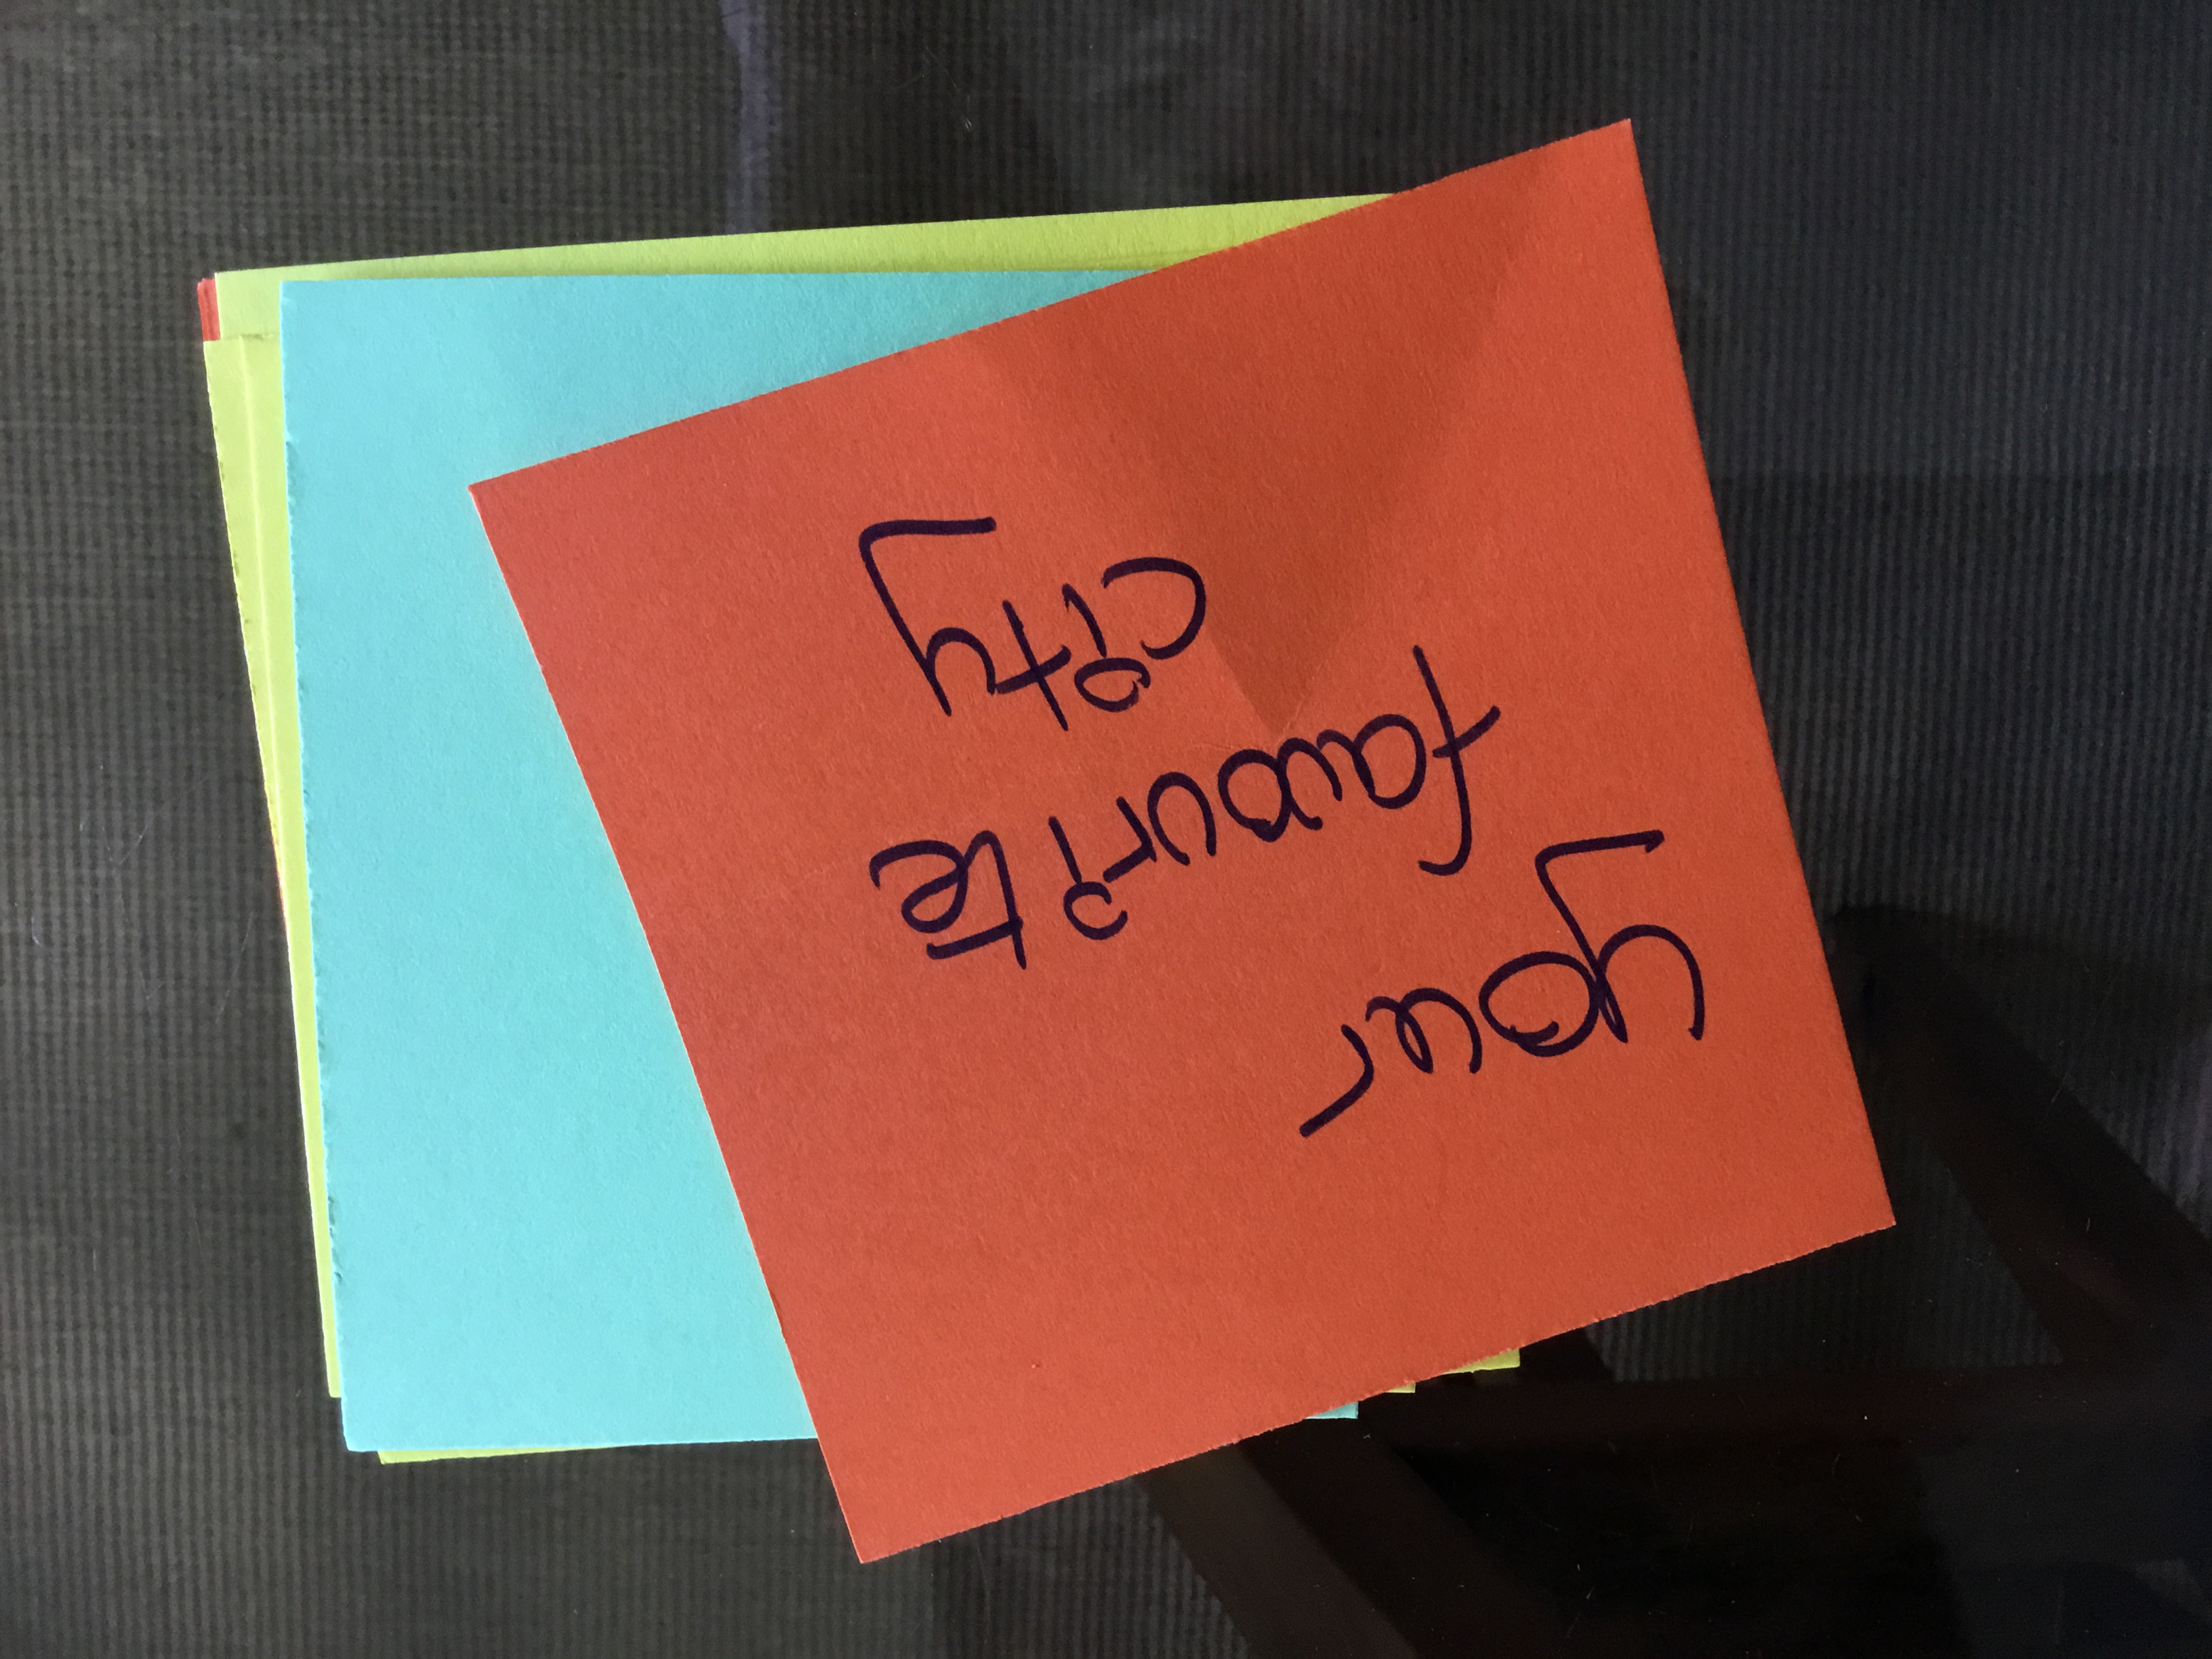
  • Students continue working in their pairs. Assign the pairs two of the words/expressions on the walls and ask them to write two open-ended questions –one per term related to “education” (this is the topic this week) containing the word or expression. 

For example, one of the words was “state-funded school” and one of the questions was “Would you send your children to a state-funded school? Why (not)?”

  • Give them small cards to write their questions and, using sellotape, place them next to the term the question refers to.  Ask them to write their names at the back of the card so that you know who has written the question and to give feedback.
  • Quickly correct the questions on the walls, and if there is more than one per word, choose the best one, which will remain displayed together with the slip containing the word in random order. Give the discarded questions back to their owners and allow them some time to focus on their possible mistakes.

Step 3. Speaking. Gallery walks

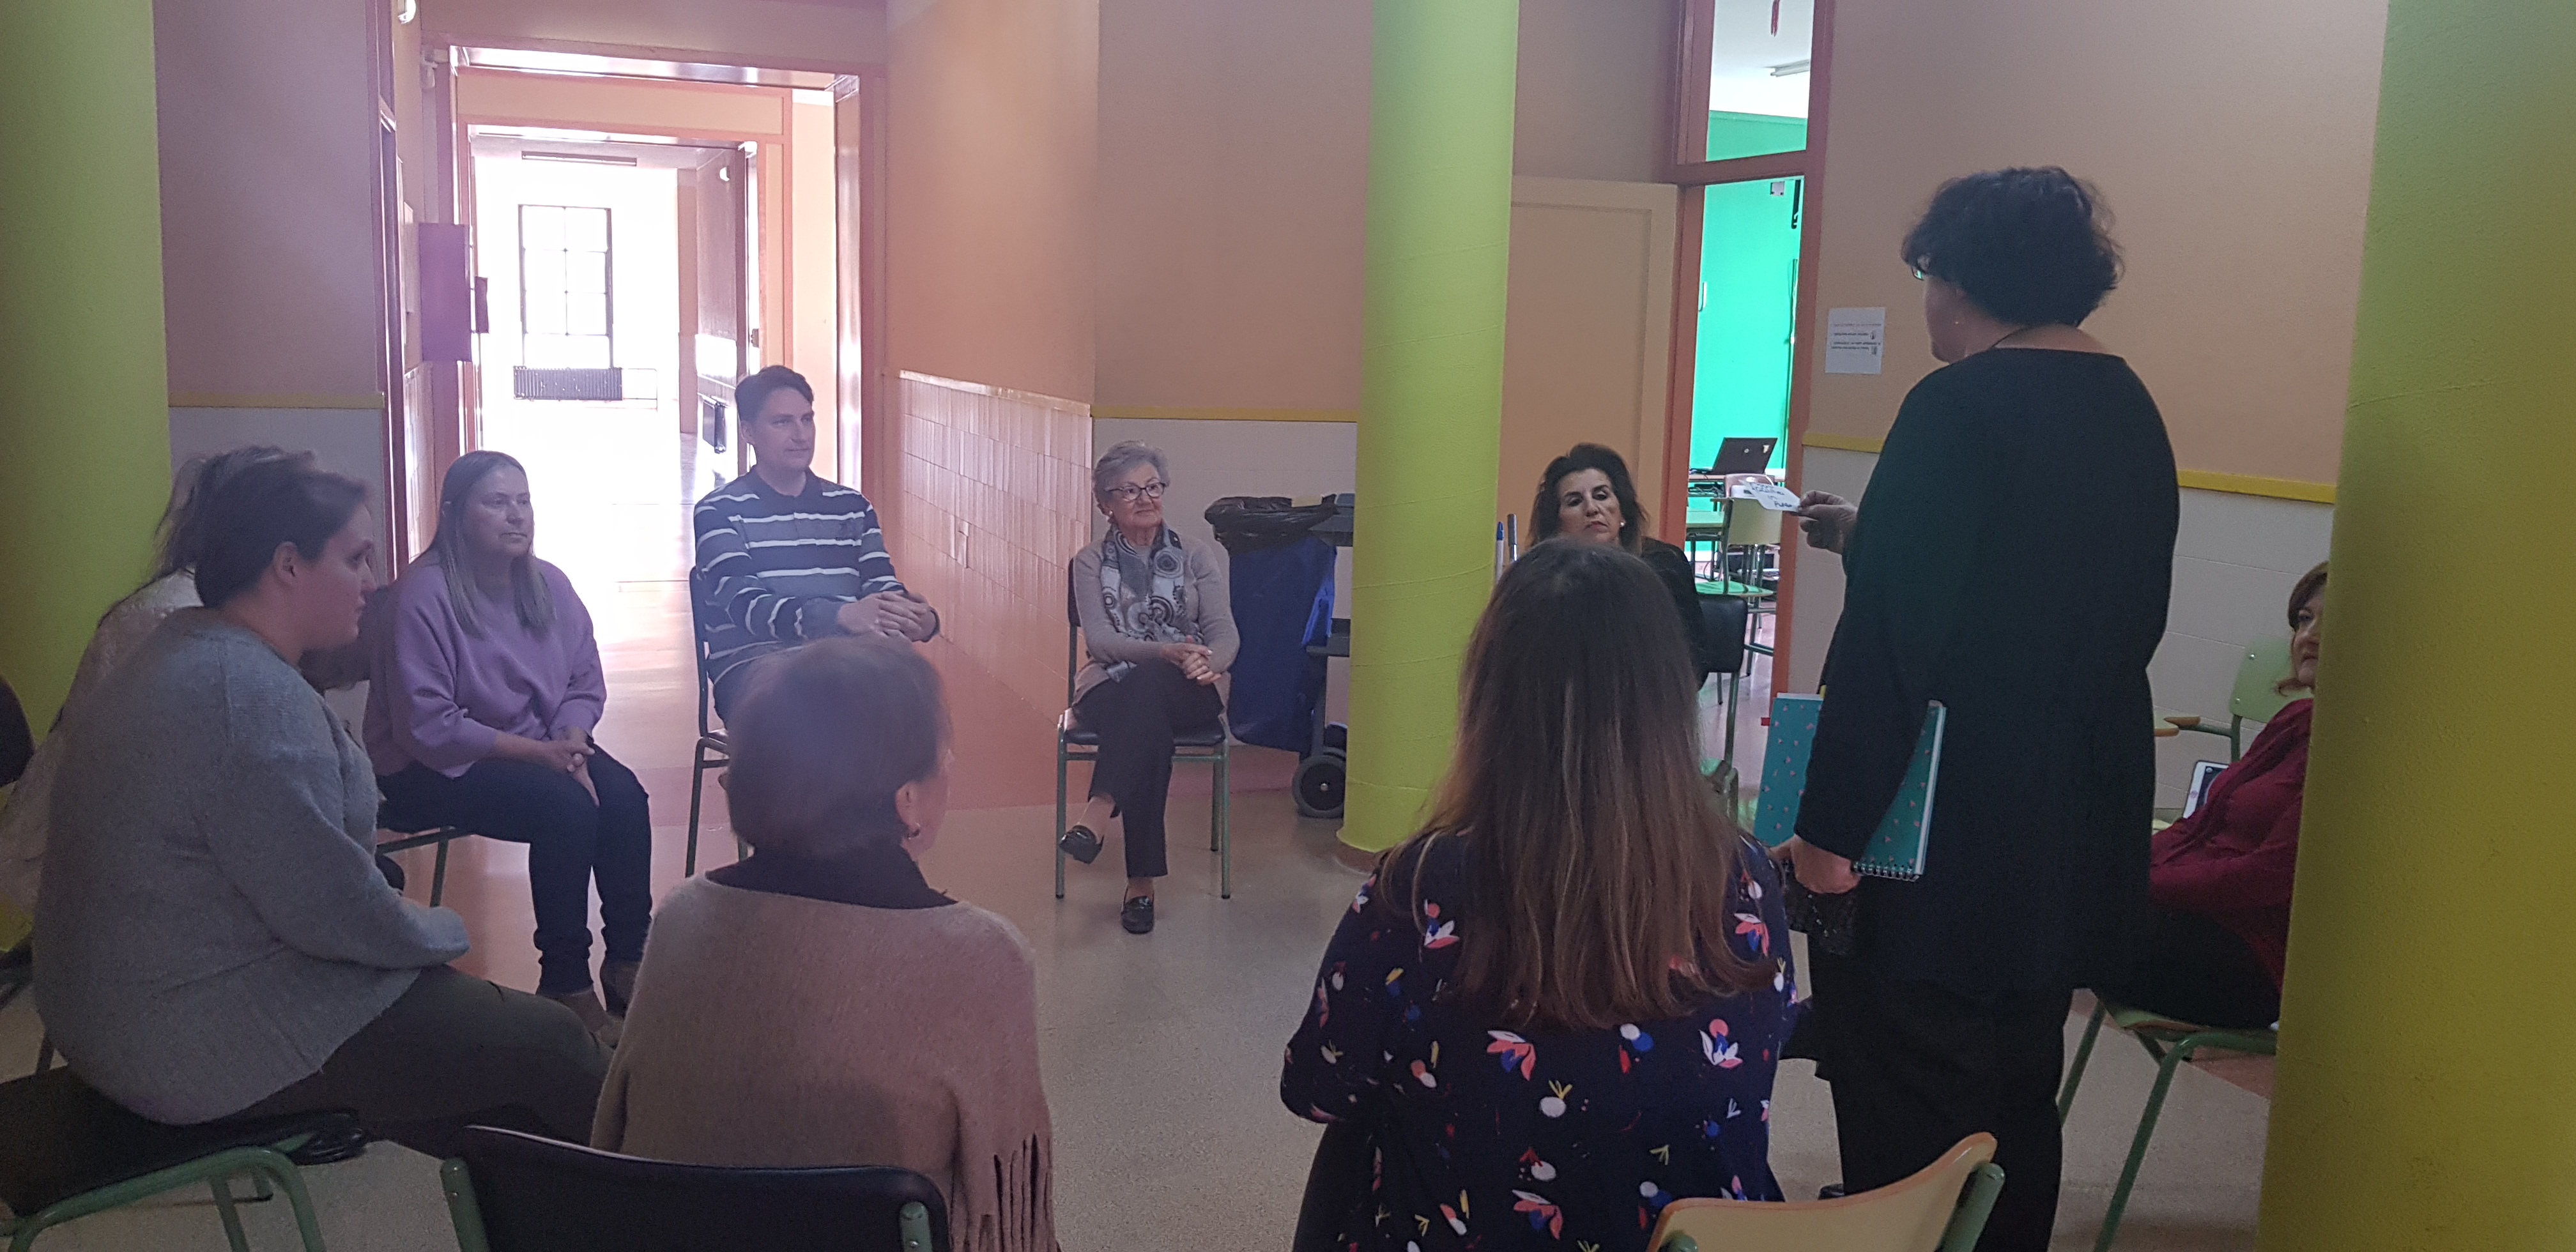
With the words and the questions displayed on the walls, ask students in pairs to stand up and choose a station (slip+card).

Instruct them to answer the question elaborating on the answer. Allow 5 minutes/station and then ask them to move clockwise to the next station. Repeat procedure.

Until next post! 🙂

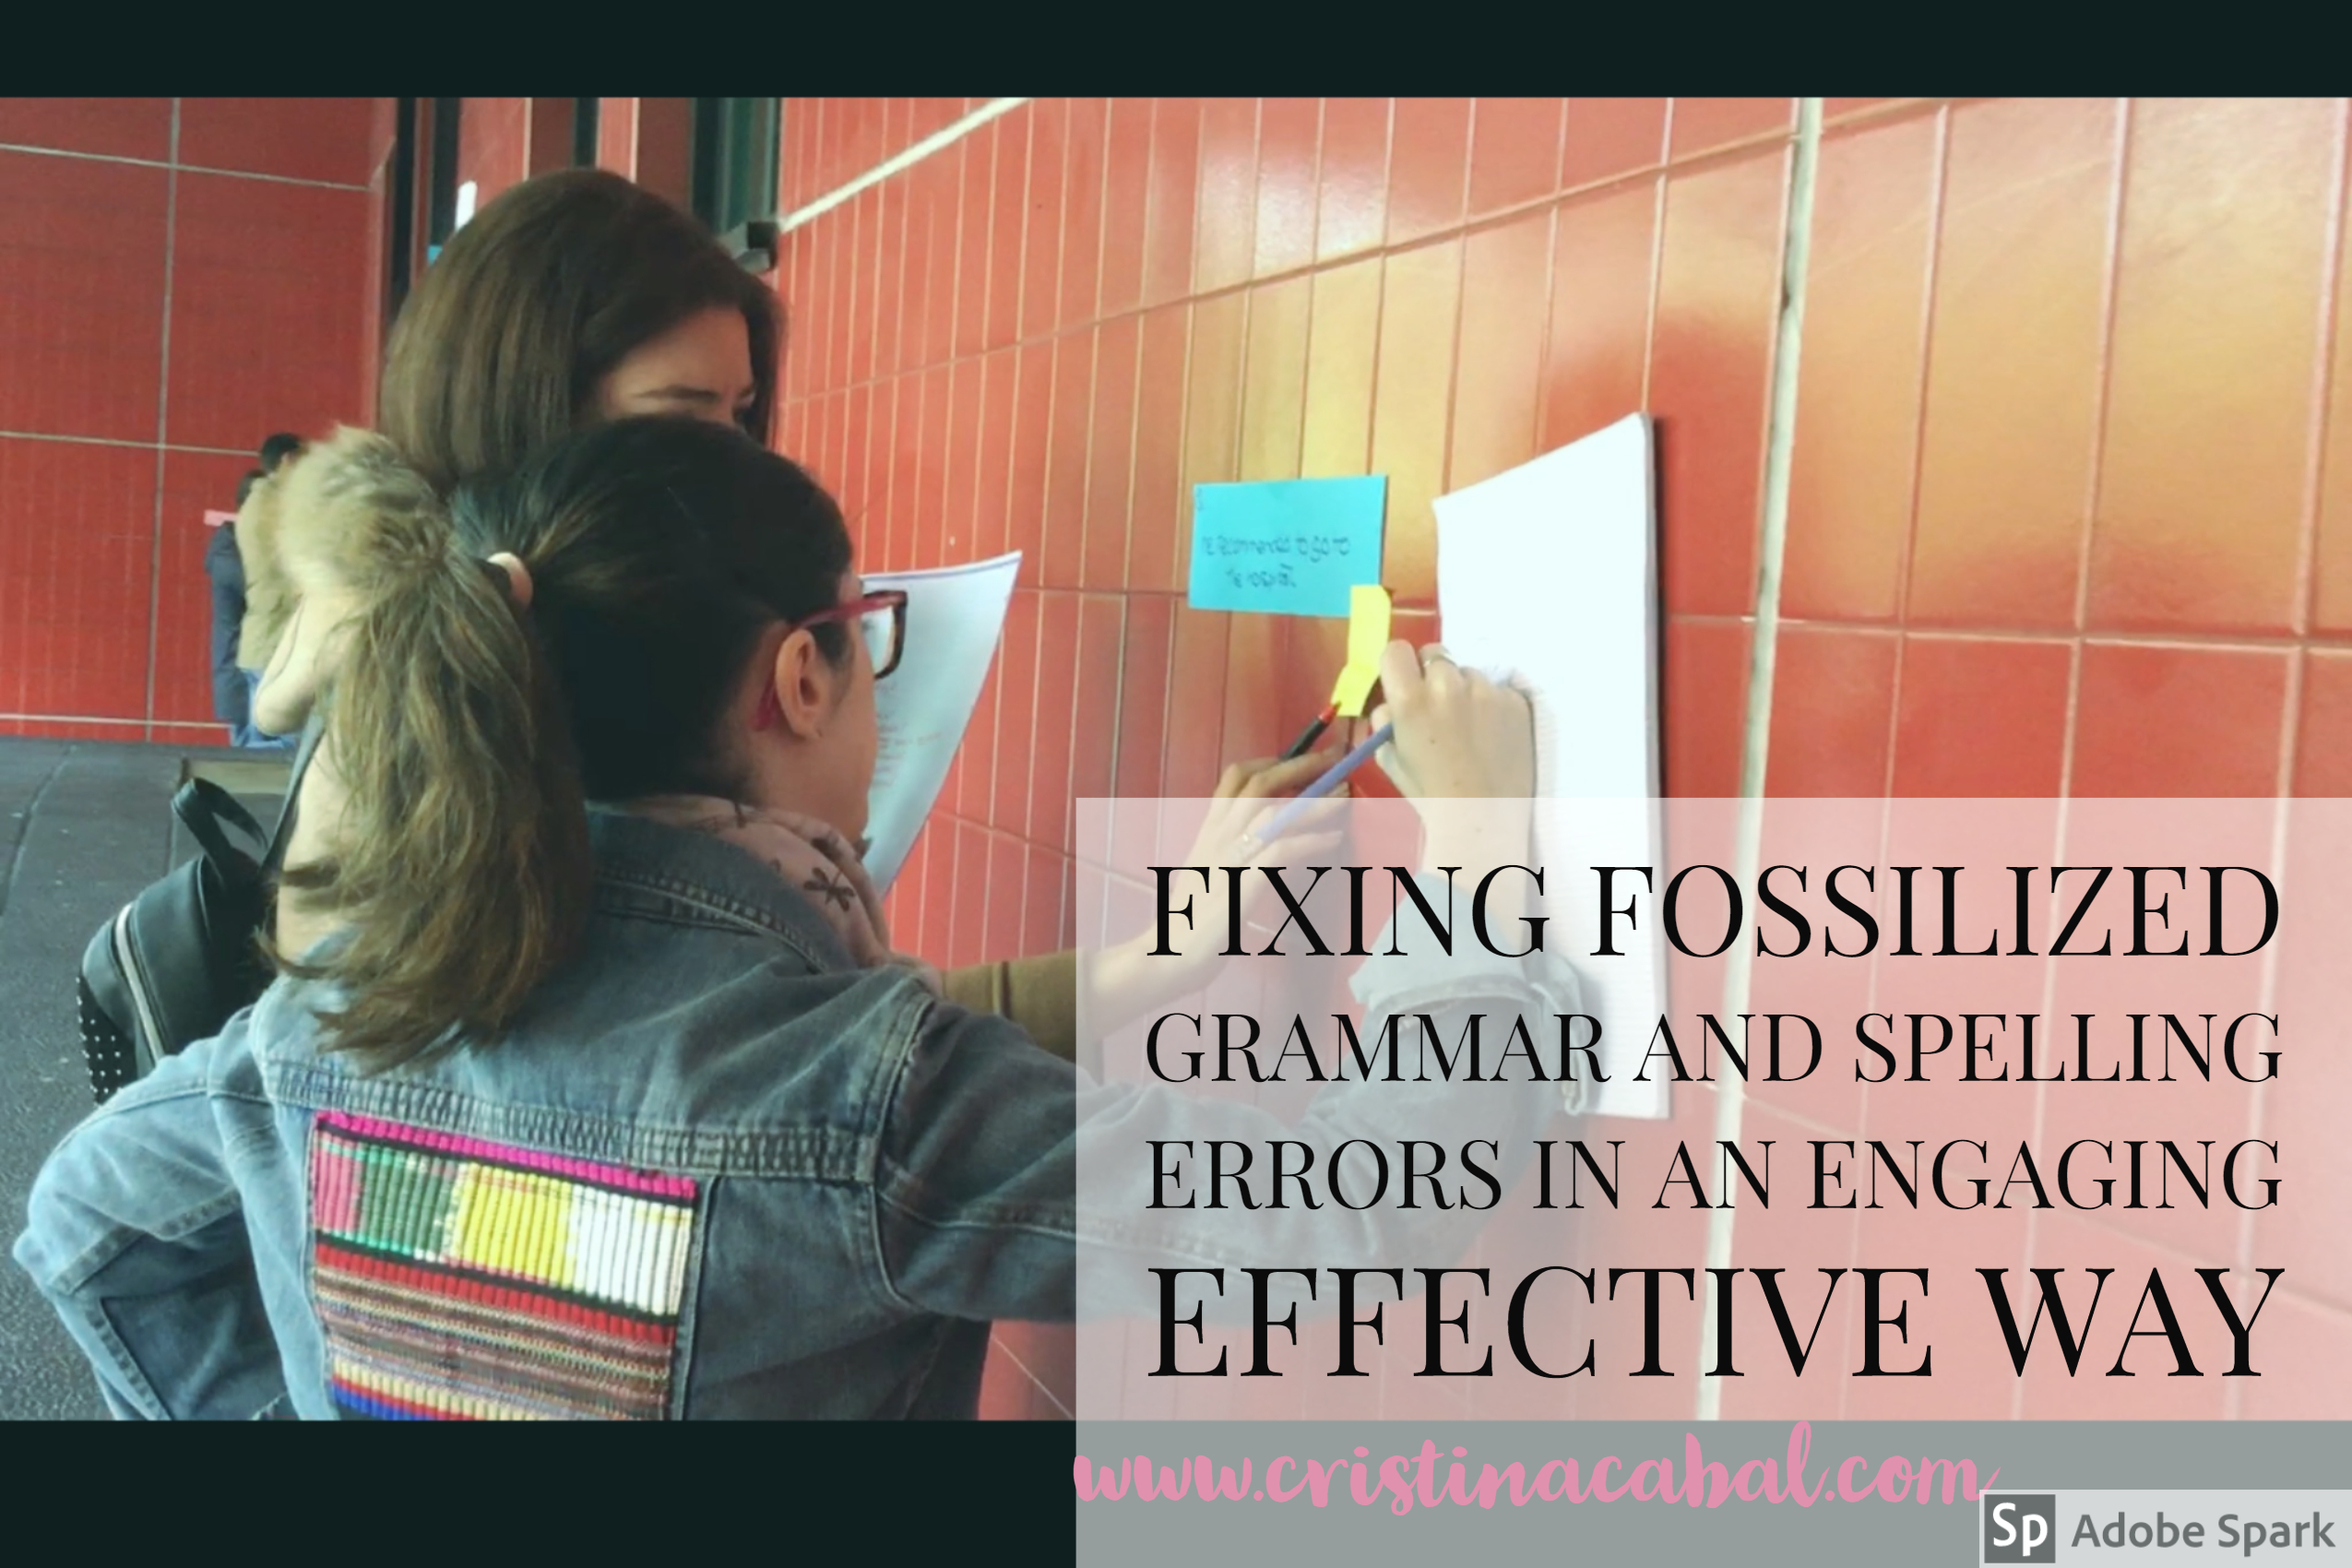
Fixing Fossilized Grammar and Spelling Errors in an Engaging Effective Way

End of the school year for me! And for you?

This is a post especially dedicated to all non-tech lovers! I am capping off this wonderful school year with an engaging yet effective activity for error correction. It may not be much when you read how to do it but trust me on this one, your students are going to love it!

If you follow me at all on my blog or on social media (facebook, twitter ), you will know that I am a huge fan of using technology in my classes. When I mean “huge”, I don’t mean that technology dominates my teaching practice. I use technology only when I think it’s going to contribute to effective learning. Otherwise, it’s time wasted.

Slips of paper are hands-down my favourite teaching tool. Essentially, they are scraps of paper that I use and reuse constantly in various ways. In fact, my record is having used the same set of slips of paper six times for a single class. I am sure some of my students will remember this day. They certainly learned everything on them.

The activity I am sharing with you today is a  brand new one. I have to say I am happy with the result. It worked really well, it was effective, meaningful and engaging.

This time slips of paper have been used to fix fossilized grammar and spelling errors, but I firmly believe that the use of slips of paper as a teaching tool is a great addition to any lesson plan.

Note 1: “fossilization” refers the way in which some errors become a permanent feature of a language learner’s language

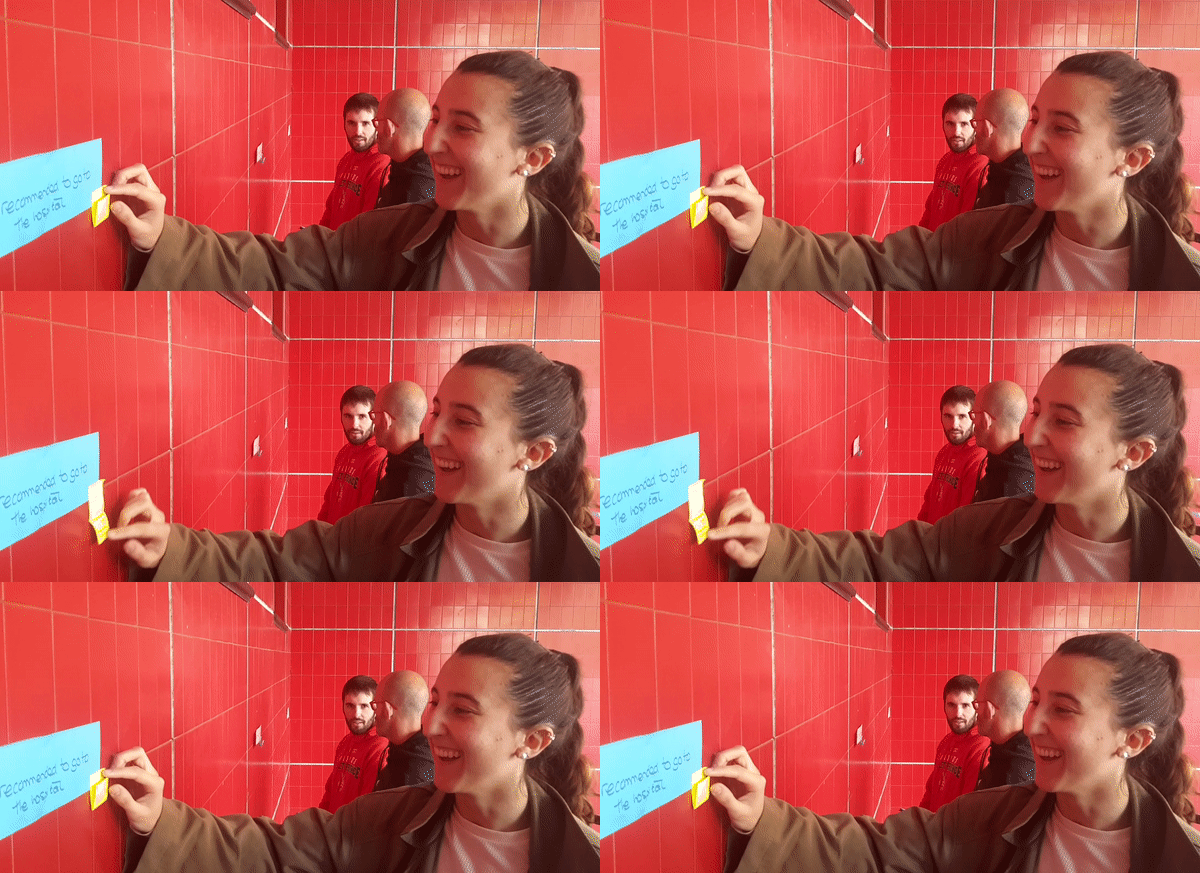
Note 2: at the end of the post, there is a video I’ve put together with some pics and clips I took from the activity. In case you want to see it. Just saying! 🙂

Materials:

  • slips of paper
  • sticky notes
  • sellotape or blue-tack
Before  the class

Yes. I am afraid there is some prep to do but it’s worth it.

  1. Correct their compositions and write down common or relevant errors: for this activity, I have used common spelling or grammar errors.
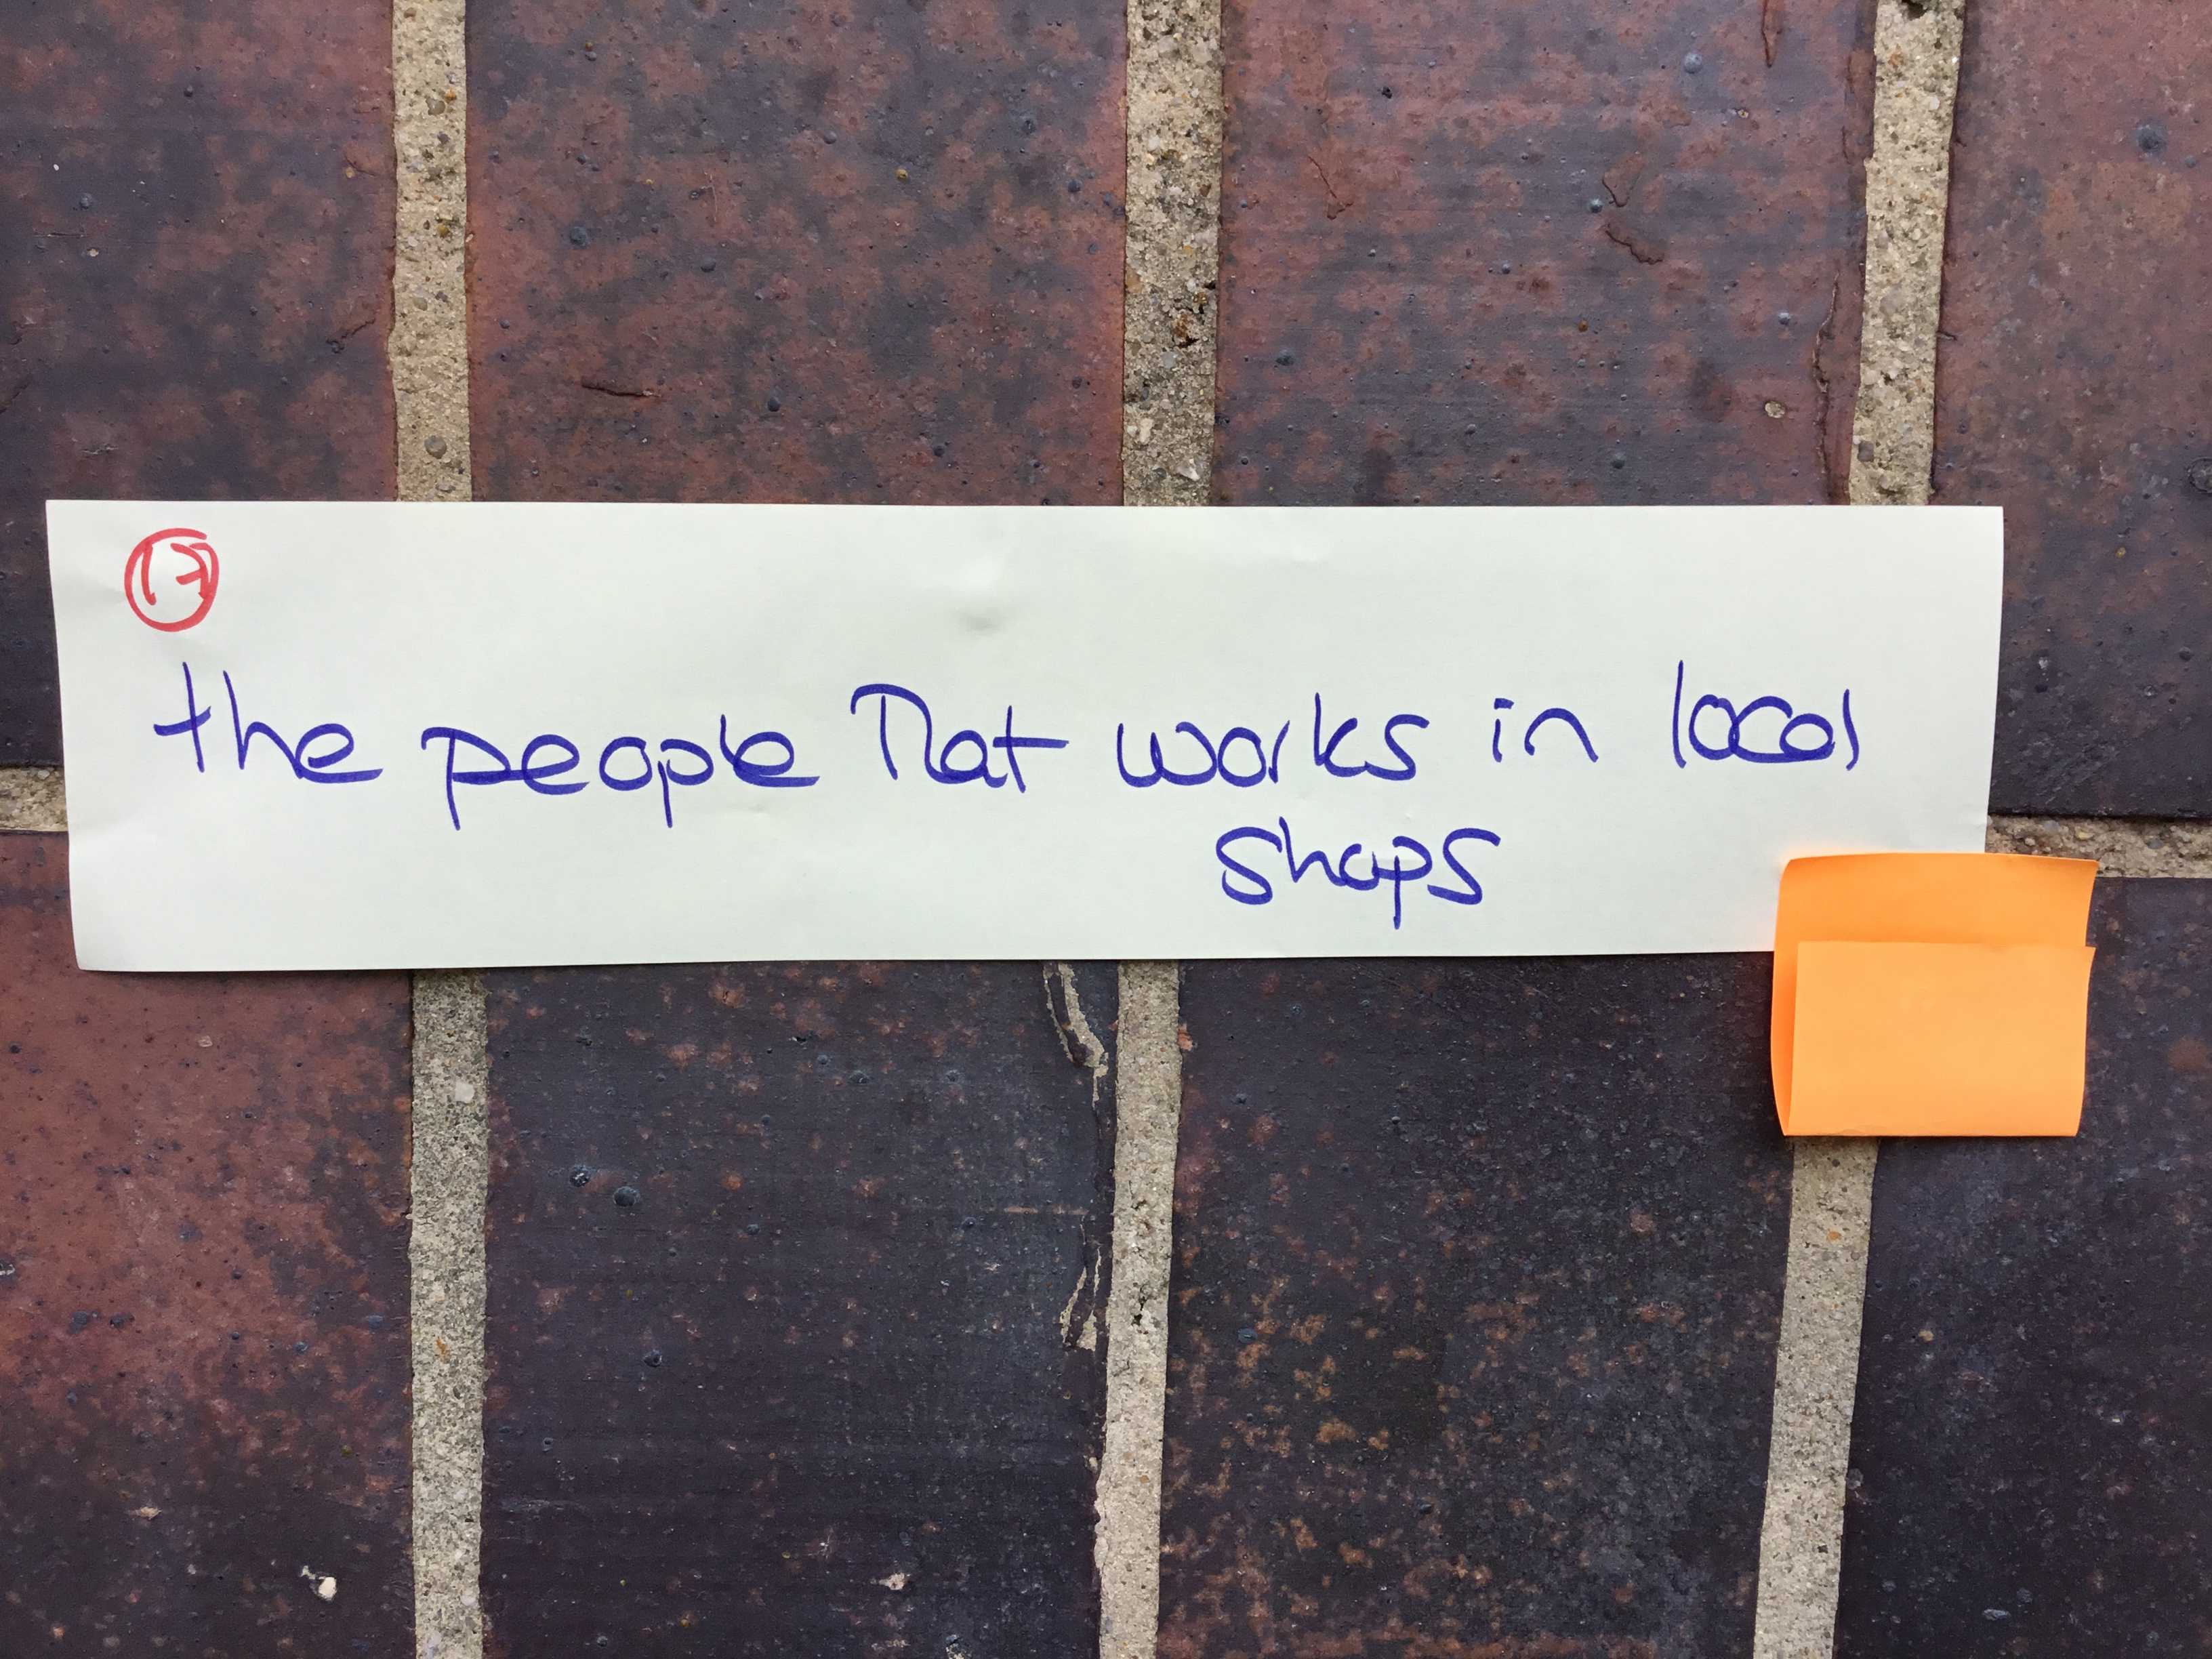
  2. Write them down on slips of paper.
  3. Write the correction on sticky notes or scraps of paper.
  4. Hang the slips of papers around the room. Identify each slip of paper with a number and write it down on the bottom right-hand corner.
  5. For each slip of paper, and displayed next to it, is a sticky note containing the correction. The sticky note is folded in half so that the right answer cannot be seen unless unfolded.

How to go about it

Round 1

  • Ask students to take out a regular A4 piece of paper, write Round 1 at the top and number it- whatever X slips of paper you are using. Ask them to do the same on another piece of paper and but this time they should write Round 2.
  • Note: It is spring so if it is sunny, why not take them outside the building and hang the slips of paper on the walls of the building? In fact, this is what I did. If you also play some upbeat music while they are doing the exercise, they are going to love you.
  • Ask them to form pairs.
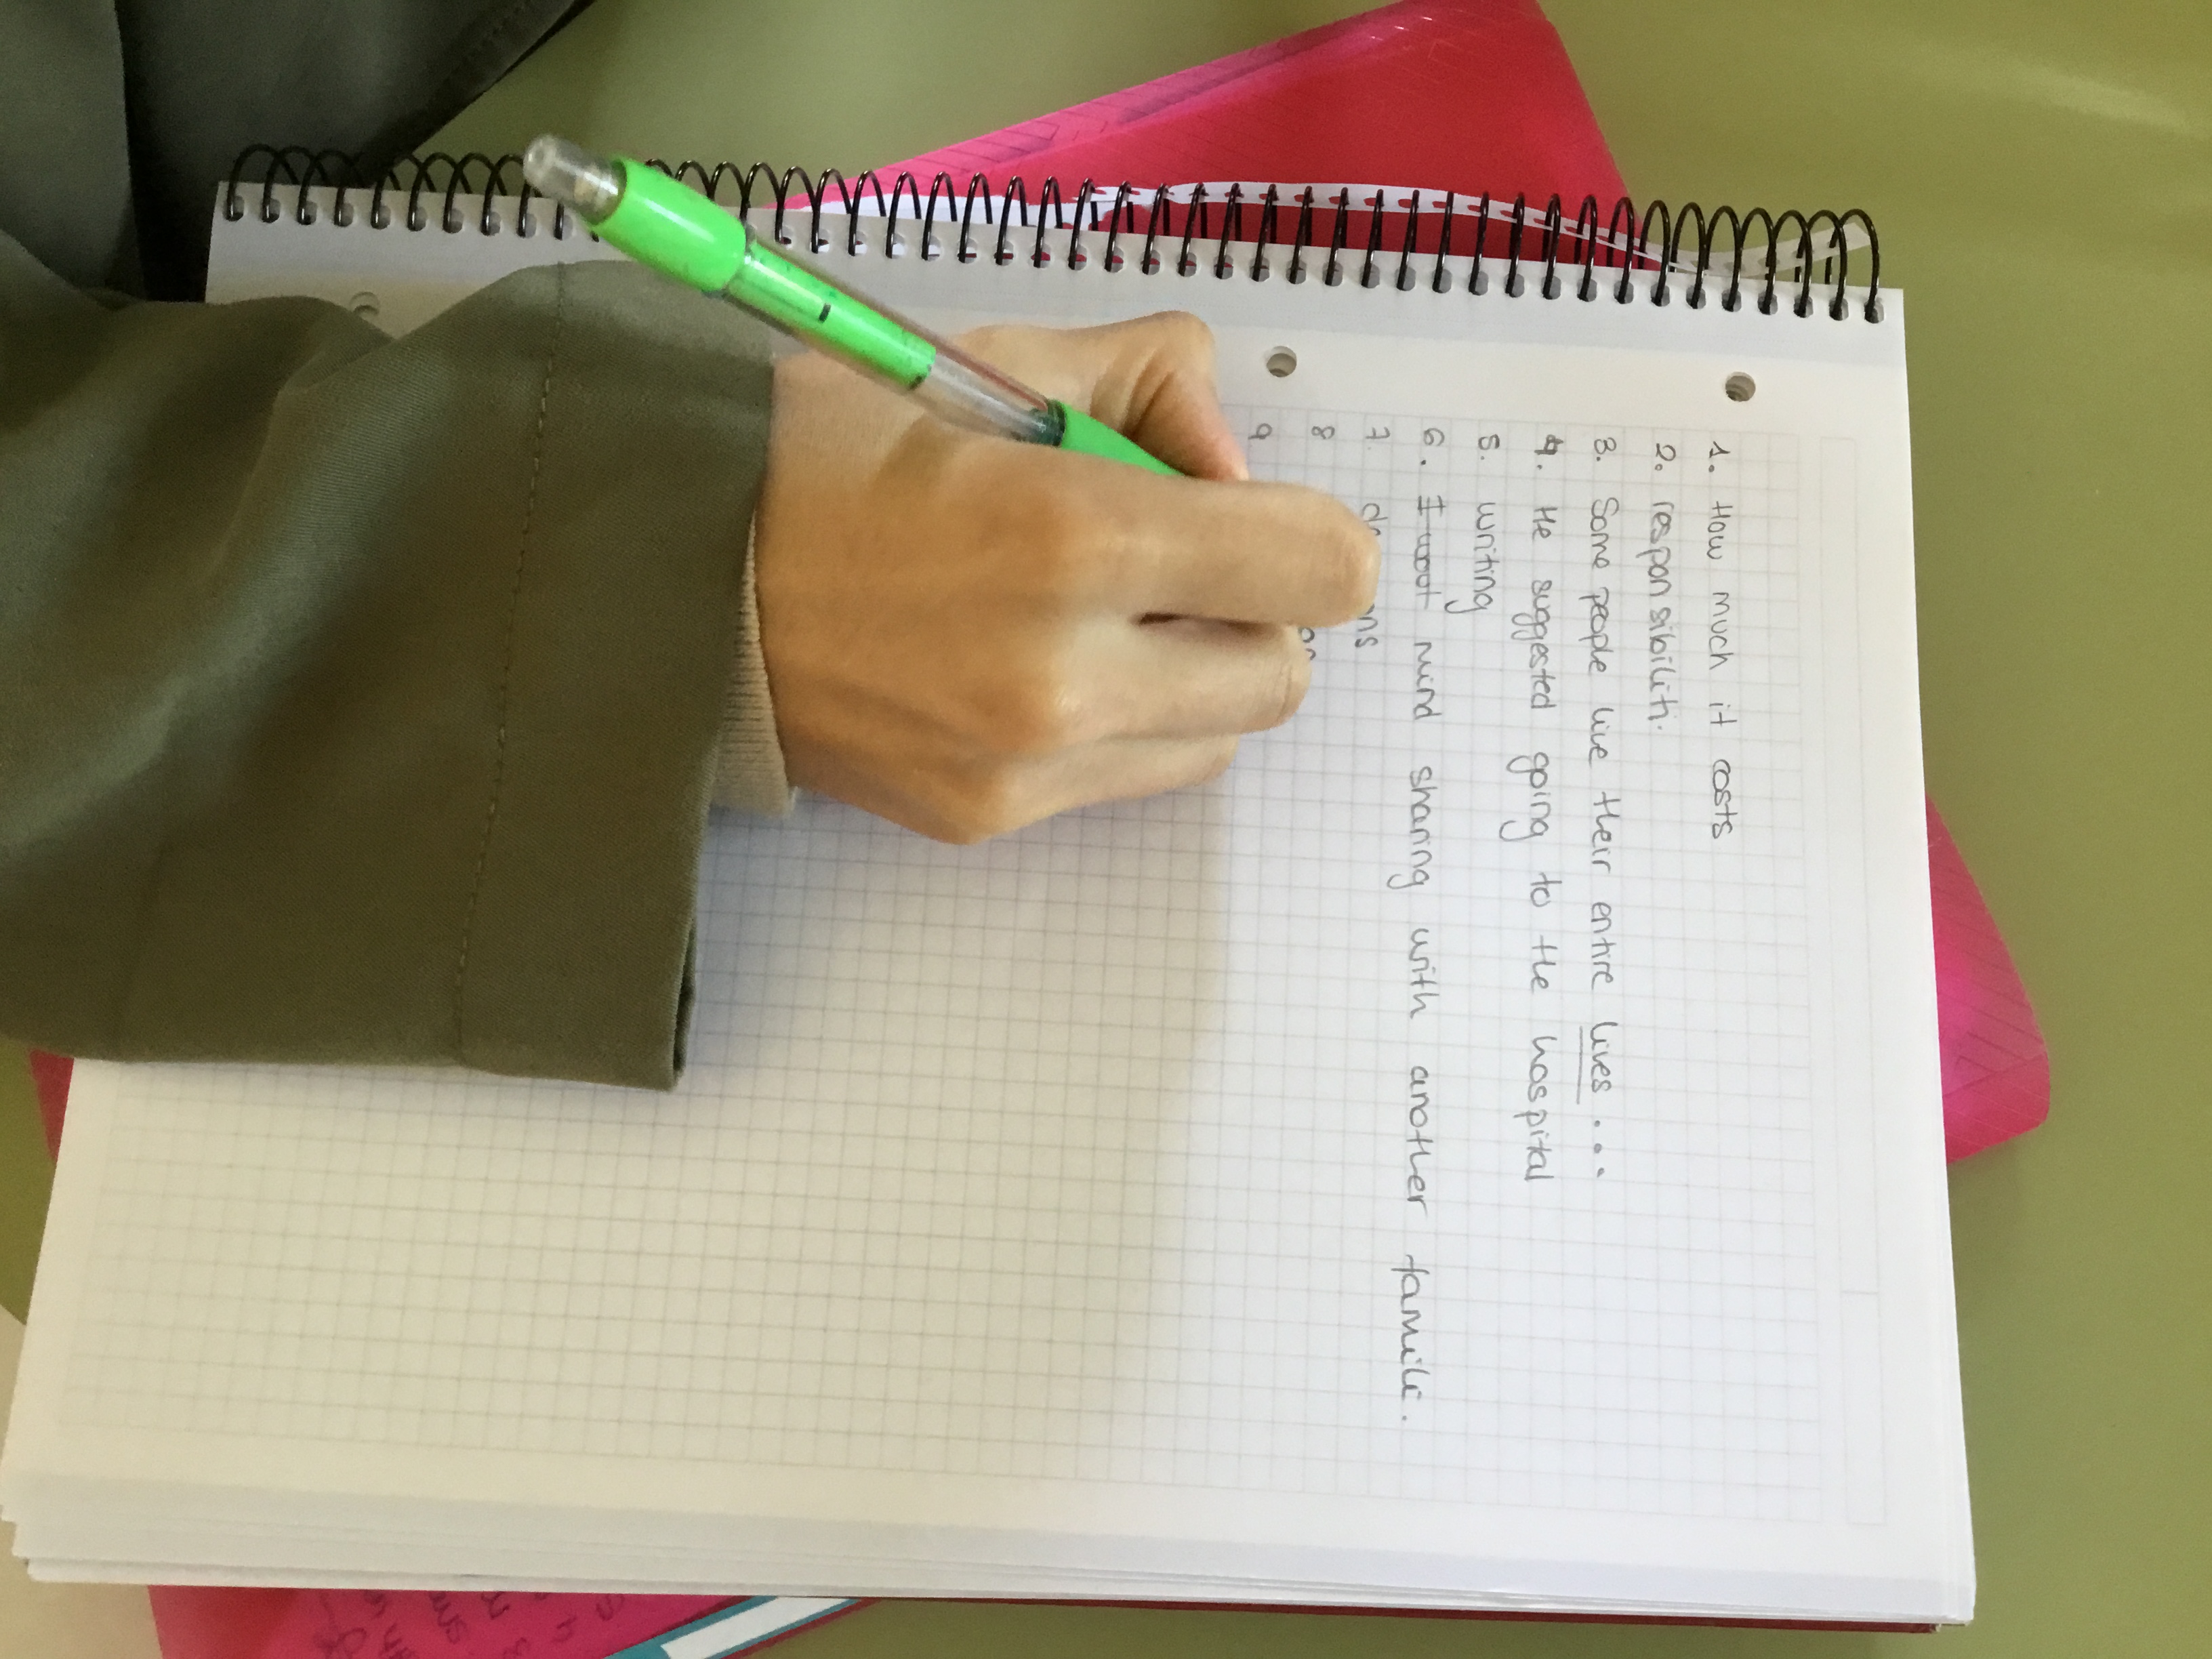
  • Ask them to walk around the class in their pairs, read the sentence, spot the error, discuss the way to correct it and then write their answers on the response sheet. If the number on the slip of paper is 3, they should write it next to number three on their response sheet.  Tell them it doesn’t matter where they start as they will end up doing all the cards.
  • Emphasize that they will need to speak English all the time and that they will both need to discuss how to correct the error- you want both of them to learn, not just one student-  then write down the answer and then, only then, unfold the sticky note with the corrected version.
  • I like to meander around the room and check to see if they are having difficulties with a specific error and try to help them figure out where the mistake is.
  • Once the activity is finished, I ask them to count up the number of mistakes they have been able to correct and write that number at the top of their paper.

Round 2.

We are working here with fossilized errors, ie, errors we have already corrected a thousand times but we haven’t been able to fix.  Reinforcement and consolidation are essential. So, let’s go for Round 2.

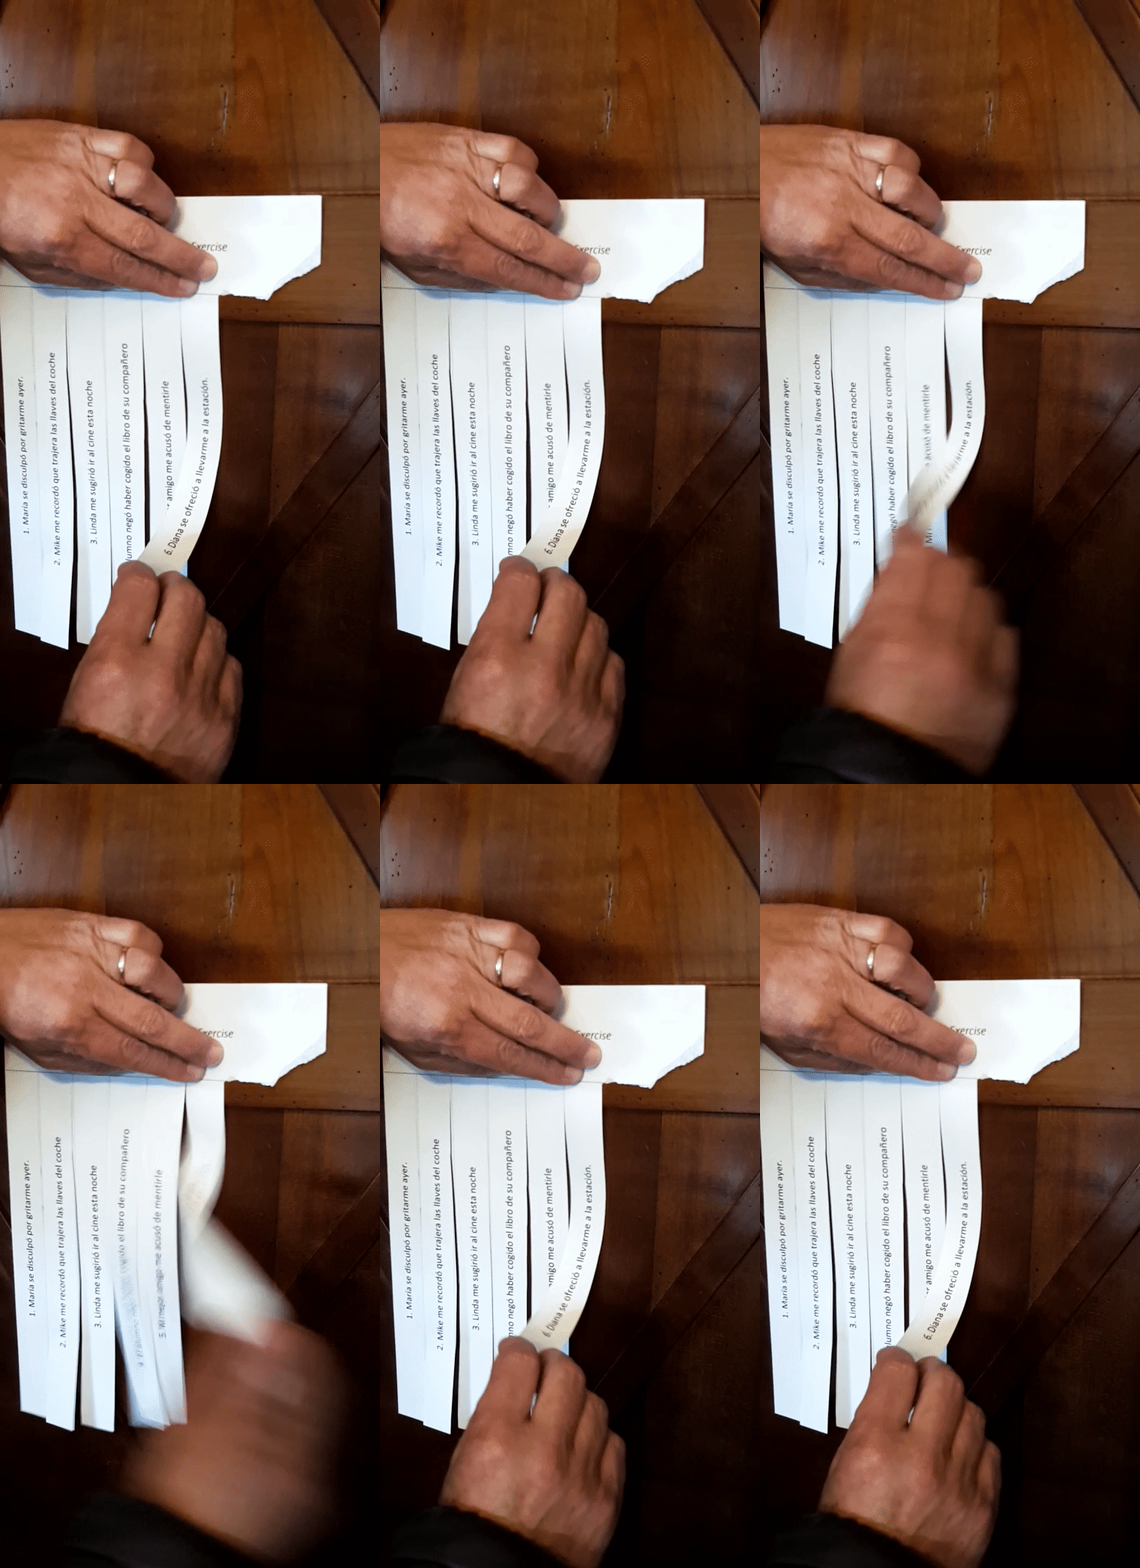
Group students: I asked students to form a line based on their birthdays (day/month). Once they formed the line, I ask them to work with the person on their right. (have a look at the video).

  • Explain that they are going to be competing against each other.  At the end of the activity, the winner is the student who has managed to correct the most mistakes.
  • Everything is the same as above, but this time they don’t discuss the error. Together and silently they read the error on the slip of paper, write the correction on their sheets of paper, compare their answers, unfold the sticky note and put a tick or a cross depending on whether they have been able to spot and correct the error. Hopefully, most students will have been able to fix all the errors.

Round 3

Yes. Again. Remember they are fossilized errors.

Follow-up: Ask students to sit down and ask them to write from memory all the mistakes they have been able to fix. Once they have finished, ask them to share them in pairs. Let’s hope that by writing them down from memory and talking about them in pairs …again, we will have helped them eliminate these fossilized errors from their oral and written production.

I love how slips of papers can turn into a simple and fun formative assessment tool that gets students out of their seats and learning, don’t you?

Have a look at the video now to have a clearer picture of the whole activity.

Desk Rotation: A Great Activity to Activate Vocabulary from Different Topics

Jennifer Gonzalez from Cult of Pedagogy once wrote: “Just because you covered it, that doesn’t mean they learned it”. This seems to be true here in Spain, and overseas. We are all in the same boat, apparently and unfortunately.

This activity is super simple and it’s loaded with effective learning as students take an active role during the whole activity. Besides, it’s the kind of activity that I like as it gets students out of their seat and moving.

Ingredients:

Collaboration+ movement+ vocabulary+ speaking + grass skirts + fun= effective learning

Aim:

  • to revise and activate vocabulary related to different topics
  • to use this vocabulary in a speaking activity
  • to spice up learning

Before the class:

  • Arrange the room so that the tables form stations.
  • Decide on the topics you want to revise and write each of them on a  different slip of paper. Stick each slip of paper on a different table ( station). You can use with sellotape or blue-tack.
  • Using a grass skirt poster, write down an open question for each of the topics you want to revise. Here’s the template, kindly provided by Tekhnologic
  • Cut a line between words but don’t cut them all the way so that the slip of paper doesn’t detach.
  • You will need one poster per group. I print them in different colours for easy differentiation
Step 1. Working with Vocabulary
  • Divide the class into small groups as many as topics you want to revise. For example: if you want to revise: sports, education, environment, travelling and technology, you will need to form 5 groups.
  • Arrange the room so that the tables form stations.
  • Assign one topic per table/station.
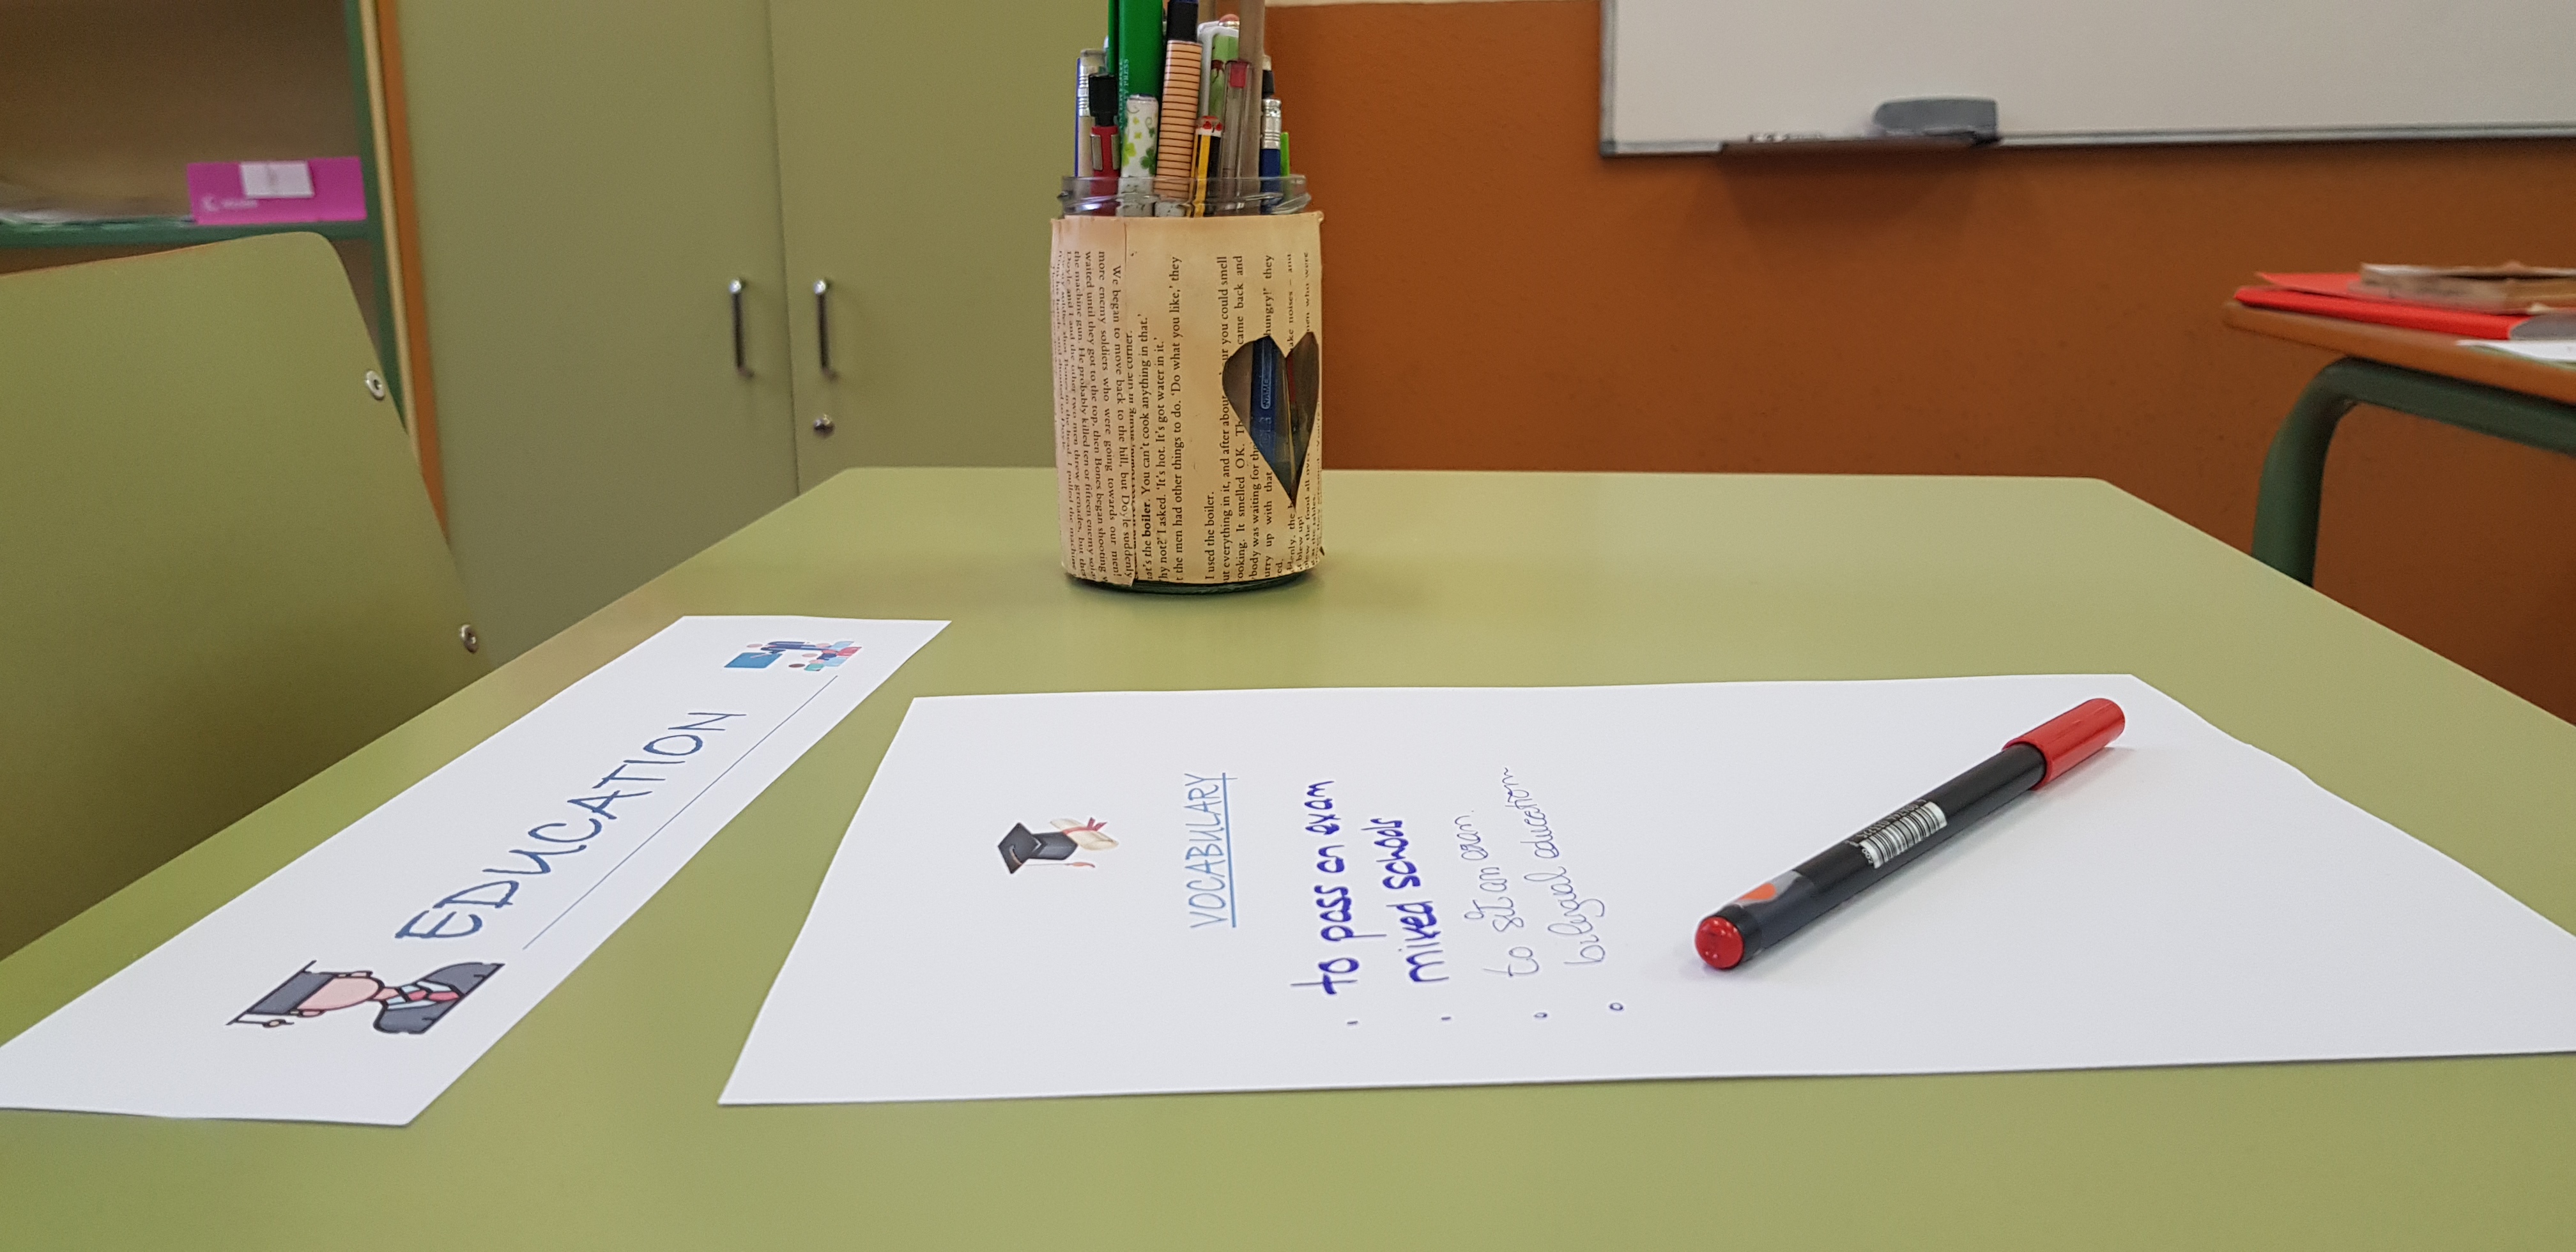
  • On the table, place a sheet of paper and write “Vocabulary” on it
  • Assign each group to each of the stations you have set up in the room.
  • Instruct them to write down on the sheet of paper provided vocabulary related to the topic and adequate to the level. If it’s a B2 level and the topic is Travelling, words such as “suitcase” or ” plane” would not be appropriate. Allow the 2″30′ for this part.
  • When the time is up, ask them to rotate to the next station.
  • Ask them to read the vocabulary other students have written so as not to have the same words and ask them to add new ones.
  • Continue until all the groups have covered all the stations.

USING THE VOCABULARY IN A SPEAKING ACTIVITY: GRASS SKIRTS. 

I know. Again. Grass skirts are quickly becoming my favourite non-tech tool.

  • Put the poster(s) on the walls of the class and assign a poster to each group.
  • As students rotate to the different stations, they tear off the corresponding question form their poster. They can only do it from their assigned poster.
  • Before they start talking, ask them to read through the list of related vocabulary they have all contributed to.
  • Give students about 3 or 4 minutes to discuss the question. Encourage the use of vocabulary.
  • Give each group a different coloured pen and ask them to put a tick next to the words they have used. Allow 1 minute for this part.
  • Ask them to rotate to the next station and repeat procedure.

A Speaking Activity: Just a Minute Musical Chairs

Do you want enthusiastic students? Then, be enthusiastic yourself!

It is just amazing where you can get inspiration for your next class activity. Inspiration is capricious and might strike you while showering, running or watching YouTube videos.

To be perfectly honest, I do most of my thinking while I am driving to work. That’s probably the only time when I am not multitasking and can concentrate on only one thing: driving. And that is a far cry from the morning madness of preparing classes while at the same time thinking about the need to check the stew- that is almost always eaten with a lingering burning taste- or the shopping I need to do or the laundry I need to wash. While driving, I just drive. And think.

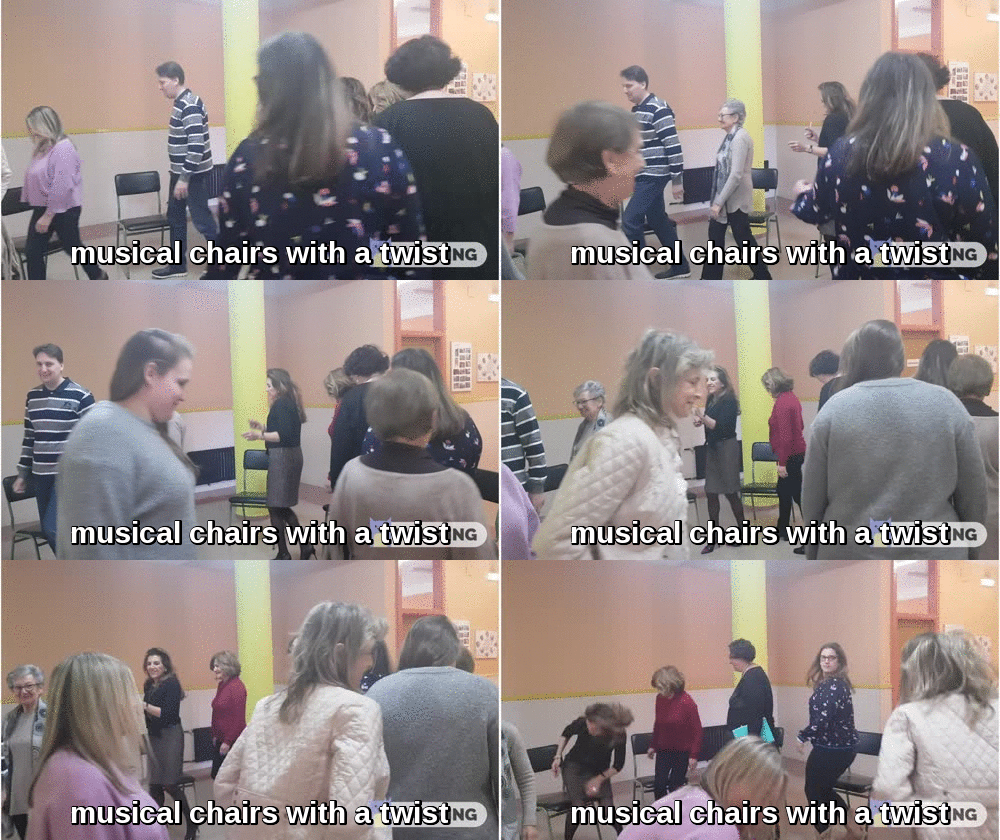
So, this activity sprang to mind while I was driving. As it is always the same road and I go on auto-pilot ( I am sure some of you can relate), I remembered a video I saw on Twitter of a workshop in an EOI in Madrid where teachers were playing what I think was, musical chairs. And it got me thinking.

Could I try it with my students? I teach adults and some of them are on the wrong side of 70. Will it work? It worked!

Before the game starts
  • Arrange the chairs in a circle. There should be one chair less than the number of students.
  • Write cards with some topics to write about. Alternatively, you can give each student a card and ask them to write a conversation question.
  • Without telling students, divide the class into two teams and write down on a piece of paper the members of each team. Don’t tell students which team they belong to. This will ensure that they won’t play tricks and save seats for a member of their team.
  • You’ll need some music. I have used my mobile phone to play”La Isla Bonita”

This game needs some rearranging of the class furniture. You will need to push the tables to the walls and form a big circle with the chairs. As my class is smallish, I use the hall just outside my class for this kind of activities. If the weather is nice, you can also take your students outside. I am sure they will be delighted.

Procedure
  1. Arrange the chairs in a circle. If you have 15 students, there should be 14 chairs.
  2. Tell students you have secretly formed two teams but they will not know the members of their team until the end of the game.
  3. You will need music and a timer.

Two options to play this game

Option 1.

  1. Ask students to stand inside the circle. Tell them that you’ll play some music and they will need to walk close to the chairs forming a circle.  When the music stops they should try to sit down on any available chair. As there is one chair less, one student will remain standing.
  2. Offer the student left standing the set of cards with the topic to talk about face down and ask him to choose one card.
  3. He will have to speak about the topic for 1 minute but if he pauses or hesitates, he will lose 1 point for his team. If he accomplishes the task, he will score 1 point for his team. You’ll have to keep track of the points awarded or taken off as until the end of the game no one knows which team they belong to.
  4. Repeat procedure as many times as you like. I have done it 6 times.

Option 2.

Everything is more or less the same but there is no music in this option.

1.The student standing in the middle need to say something along the lines of…

  • Move if you have a brother or a sister
  • Move if you have ever failed an exam
  • Move if you have ever lied to a friend

2. Again, the students left standing will choose a card and talk about the topic for one minute. The rules for Option 1 apply in Option 2.

Who wins?

Keep track of the number of points each team gets. The team with the most points at the end of the game wins! Reveal the names of the students in each team, add up the points and announce the winner.

What is my role as a teacher?

I am afraid I cannot just enjoy the game. I am teaching here and they are learning. So, while the student is making the speech, I am jotting down pronunciation slips and important grammar mistakes. When the exercise is finished, on the board I give them feedback as a whole class.

It is very easy for the teacher to overlook this part but for me, it’s essential my students understand that playing a game in class is only another way to learn.

Just remember, if you want enthusiastic students, be enthusiastic yourself! There is no other way!

Activating Vocabulary in a Reading Comprehension Activity.

Now, this is my kind of activity. Fun, engaging, communicative and effective! And… almost no-prep!

If you have been reading my blog for a while now, you surely know about my obsession for “activating “ the vocabulary I teach in class. For this reason, you will always find me devising and designing strategies to bring to life the vocabulary taught during the lesson.


This activity I am going to share with you today turns a seemingly boring reading comprehension exercise into an engaging collaborative activity with lots of vocabulary learning involved.

It works really well when you have a text that can easily be divided into sections. Let’s take, for example, a text where 4 people give their opinion about Languages.

Procedure:

Before the class ( I said "almost" non-prep) 

Choose 5 words or expressions in each section you want your students to learn or reinforce. Write them down on a piece of paper (see picture below). You can obviously choose more or fewer words, but 5 works fine for me. Don’t show it to your students. Yet.

In class

Working with vocabulary

  • Form as many groups as different sections in the text you have and assign each group a section to read. For example, group 1 gets text 1, group 2 gets text 2… etc.

Note: In one class, I only had 8 students, so there were only two students in each group. Not a   problem. It worked just fine.

  • Once groups are formed, ask students to individually read their assigned text and underline any words or expressions they think might be worth using/ studying/using.
  • In the group, ask them to compare the words/expressions they have underlined and come up with only 5.
  • Ask them to write them on a piece of paper. Tell them you have also chosen 5 words from their texts. They will score 1 point for every coincidence.
  • Divide the board into four columns ( as many as sections/groups you have) and assign a column to each group.
  • Ask a representative from each group to write the 5 items they have chosen on their assigned column on the board, and explain meanings to the rest of the class.
  • Once this is done, read the words you have chosen and assign a point for every coincidence. On the board, add your chosen words to those written by the group. Clarify meanings and repeat procedure with the rest of the groups.

Retelling

Form new groups. Ask every student in Group 1 to form a different group with students from Group 2, 3 and 4. Allow them to reread their texts once or twice and ask them to retell their part making sure they use the vocabulary on the board.

Finally, do the reading comprehension questions as a whole class. Everybody should be able now to answer the questions for the whole text.