I don’t know about other languages, but these two verbs, Finish and End Up, can be easily confused in Spanish. Is it also true in your language?
Do you often see this mistake? I do. We missed the bus and finished taking a taxi. I do. Even when teaching C1 levels. Well, this is about to change.
EXPLANATION
So what is the difference between these two verbs? How can we use them?
END UP
- if you end up somewhere, you eventually arrive there, even though you did not originally intend to go there.
Many of his friends ended up in prison for different crimes
- if you end up doing something or end up in a particular state, you do it or get to that state even though you did not originally intend to.
We missed the bus and ended up taking a taxi
If the crisis continues, we will end up with millions and millions of unemployed
In Spanish, it can easily translate as “terminar por”
FINISH
- If you finish, or finish something you are doing, producing or dealing with, you reach the end of it, so there is no more for you to do, produce or deal with.
I’ve just finished doing the ironing
When we finished eating, we left
- When a course, film, sale, etc finishes, especially at a planned time, it ends
The course starts in September and finishes in May
In Spanish, it can easily translate as “terminar de”
NOTE: The good news is that both verbs are followed by gerund so, you see, here you can not make a mistake.
PRACTICE
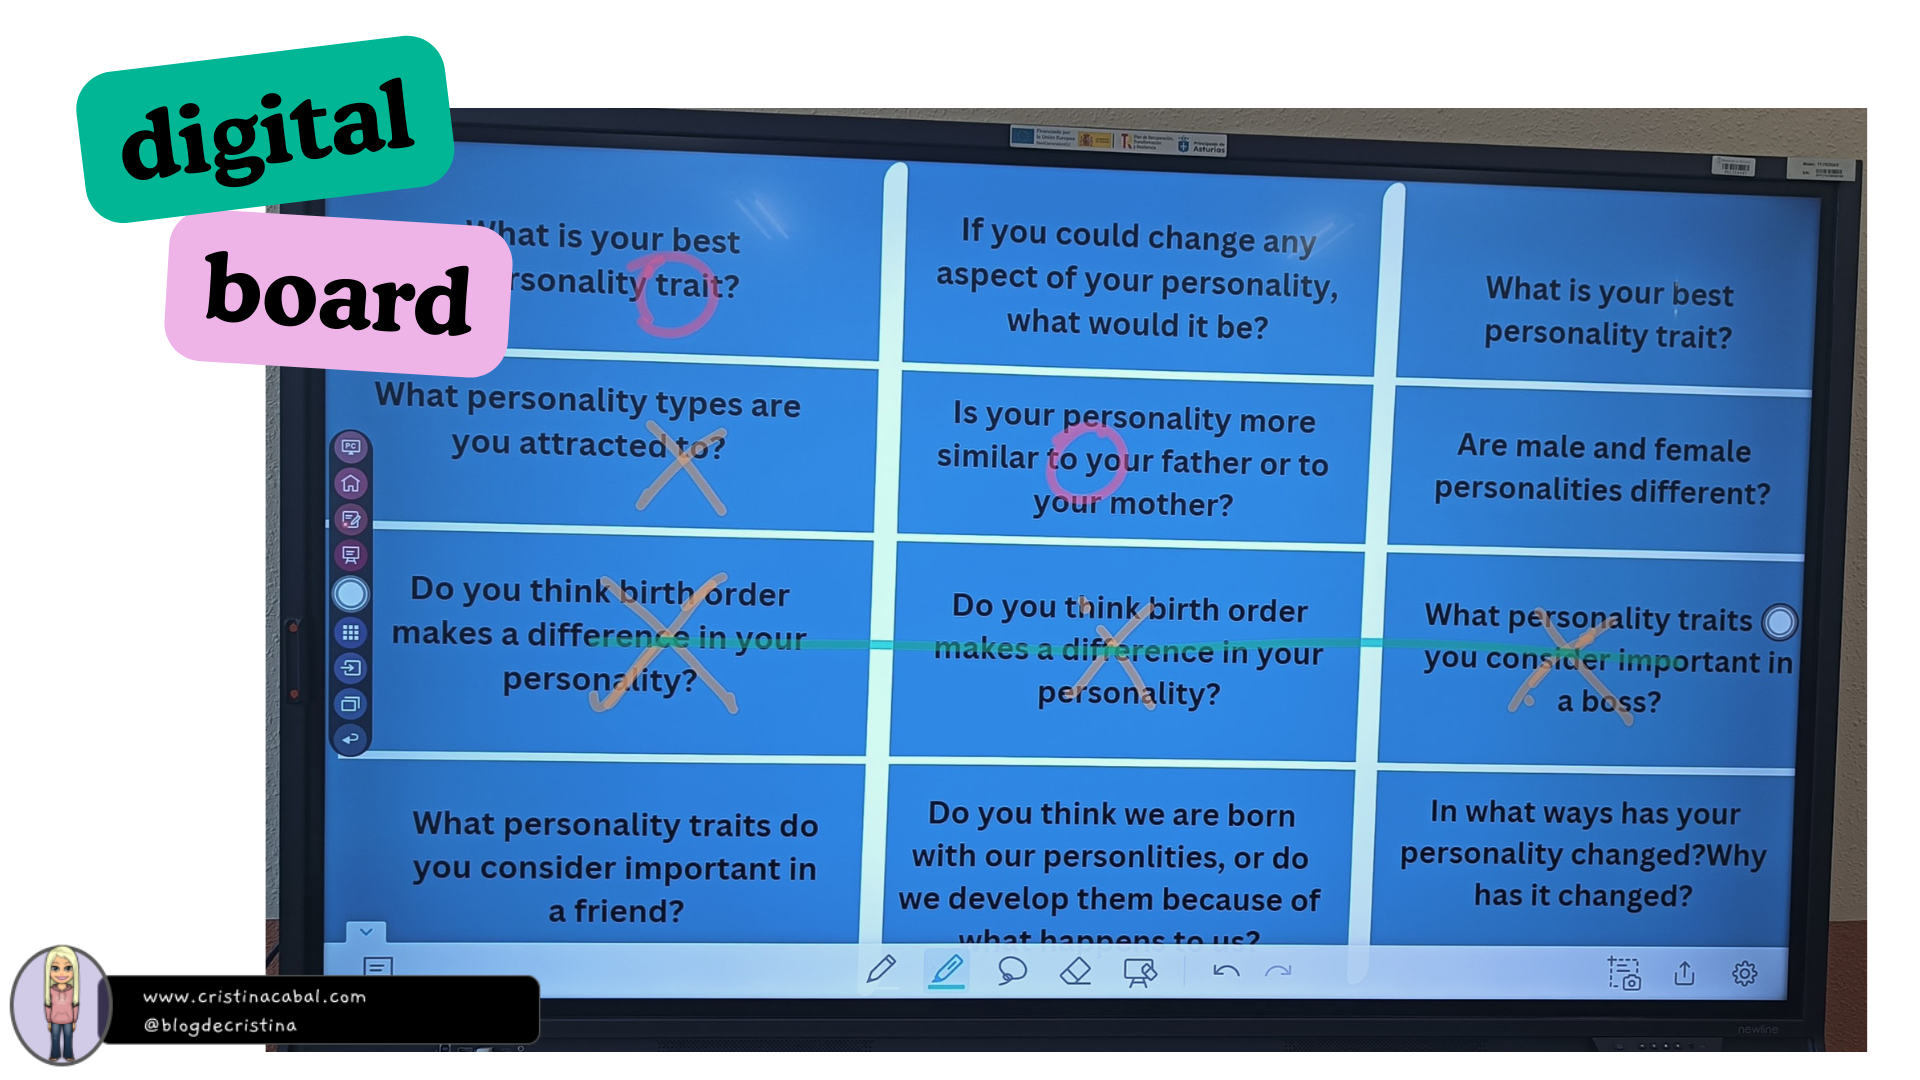
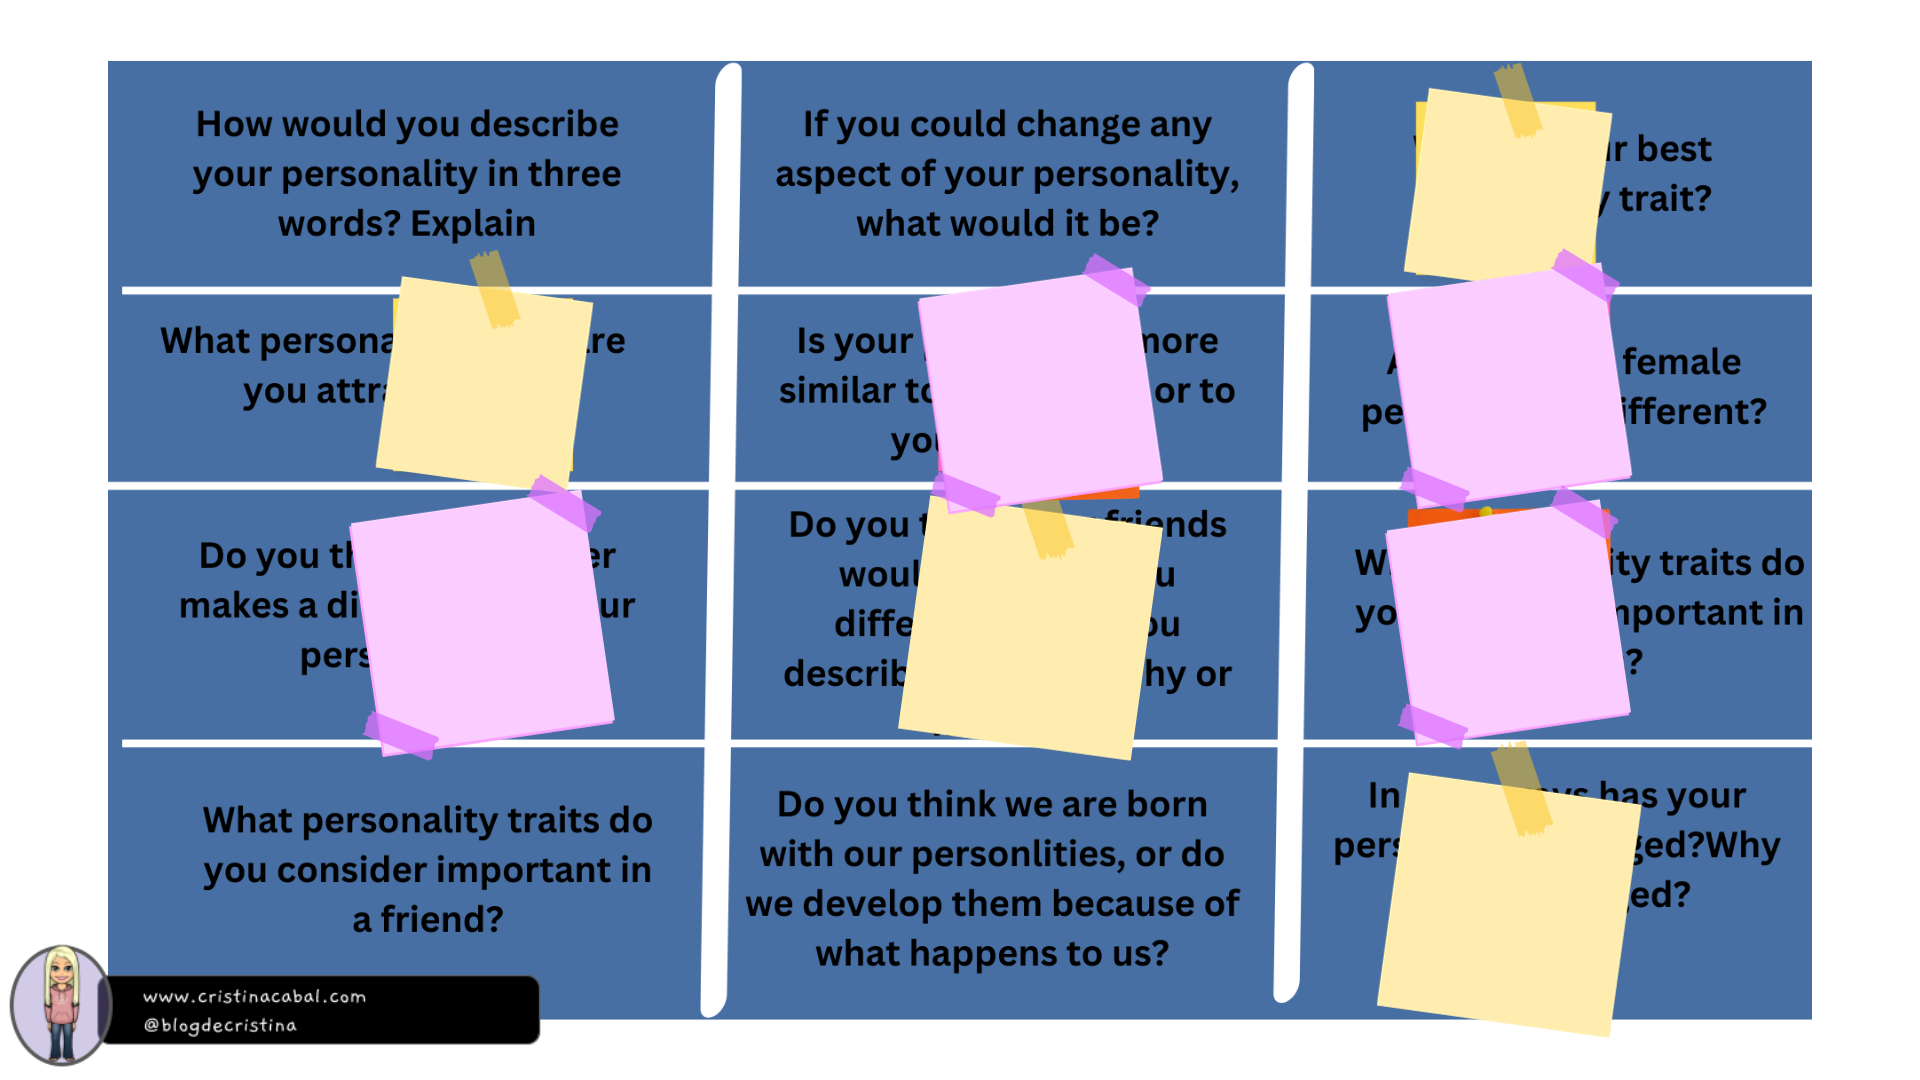
- A QUIZ . We start with a beautiful exercise I have created on Wordwall. I am teaching C1 students about Cities and City Life so, all the sentences revolve around this topic.I have tried to use in the sentences some of the vocabulary taught in this lesson.
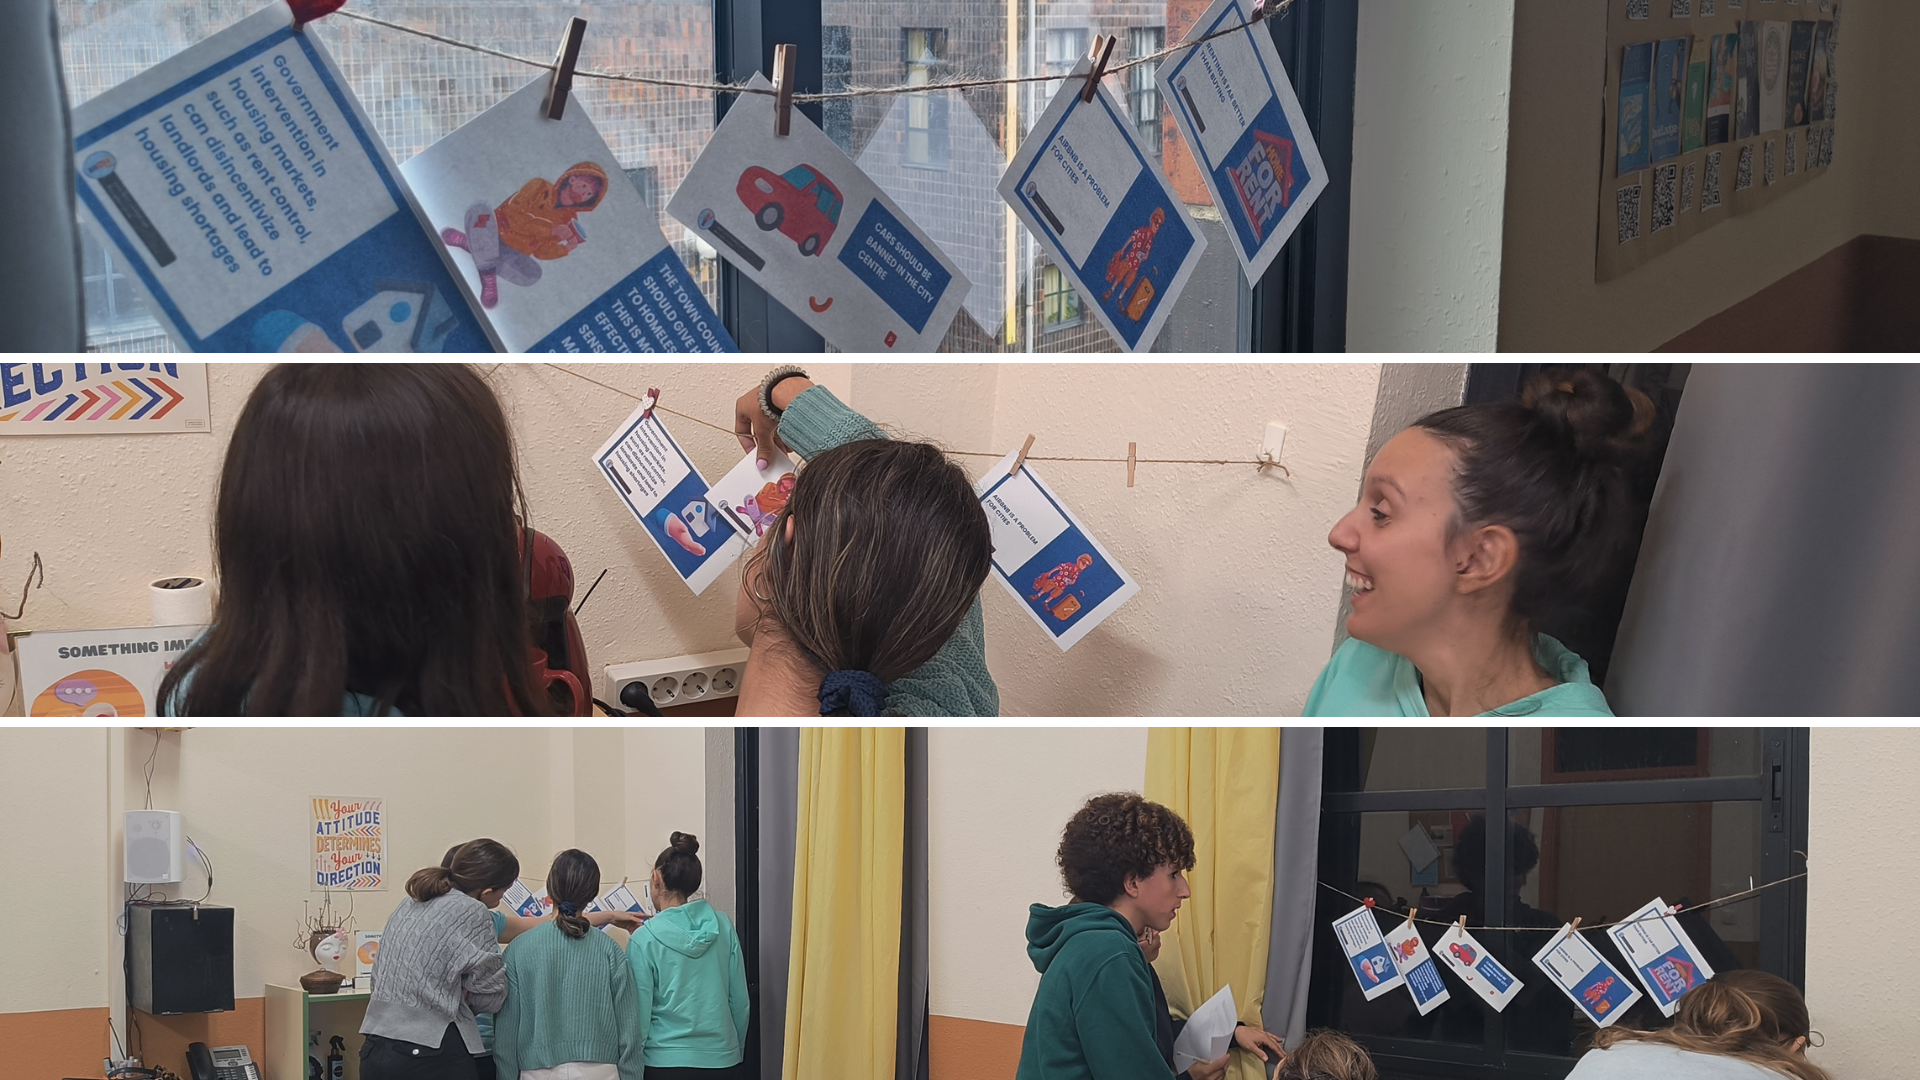
2. TRANSLATION. I love, and I know for certain that they like, doing small translation exercises. They claim it helps them fix the structures better. So, here it goes, a small translation activity, using flip cards. Much easier sentences than in the previous exercise.
How to go about it
- Divide the class into pairs or groups of three students. Pair A, Pair B… etc
- Display the first sentence to be translated and give them some time to complete the task. (you decide how much time they have, but the key is to give them neither too much time nor too little.
- Ring a little bell to indicate time’s up and ask pairs to raise hands if they know how to translate the sentence. You will listen to the translated sentence of the pair who raised their hand first. If it is OK, they score 1 point. If incorrect, with a lot of drama, shout NOOOO!!! Pairs need to be ready to raise their hand quickly if they think they have managed to write the correct translation. If, say Pair D, raises their hand and the sentence is OK, they score 1 point; if incorrect repeat procedure shouting NOOOO!!! until a pair gets the correct translation. Flip the card and comment on any errors other pairs might have made.
- Continue in this fashion with the rest of the sentences.
3. SPEAKING. Have a look at these quotes and pay attention to how these two verbs are being used. Which quote do you like best ? Why?