End of the school year for me! And for you?
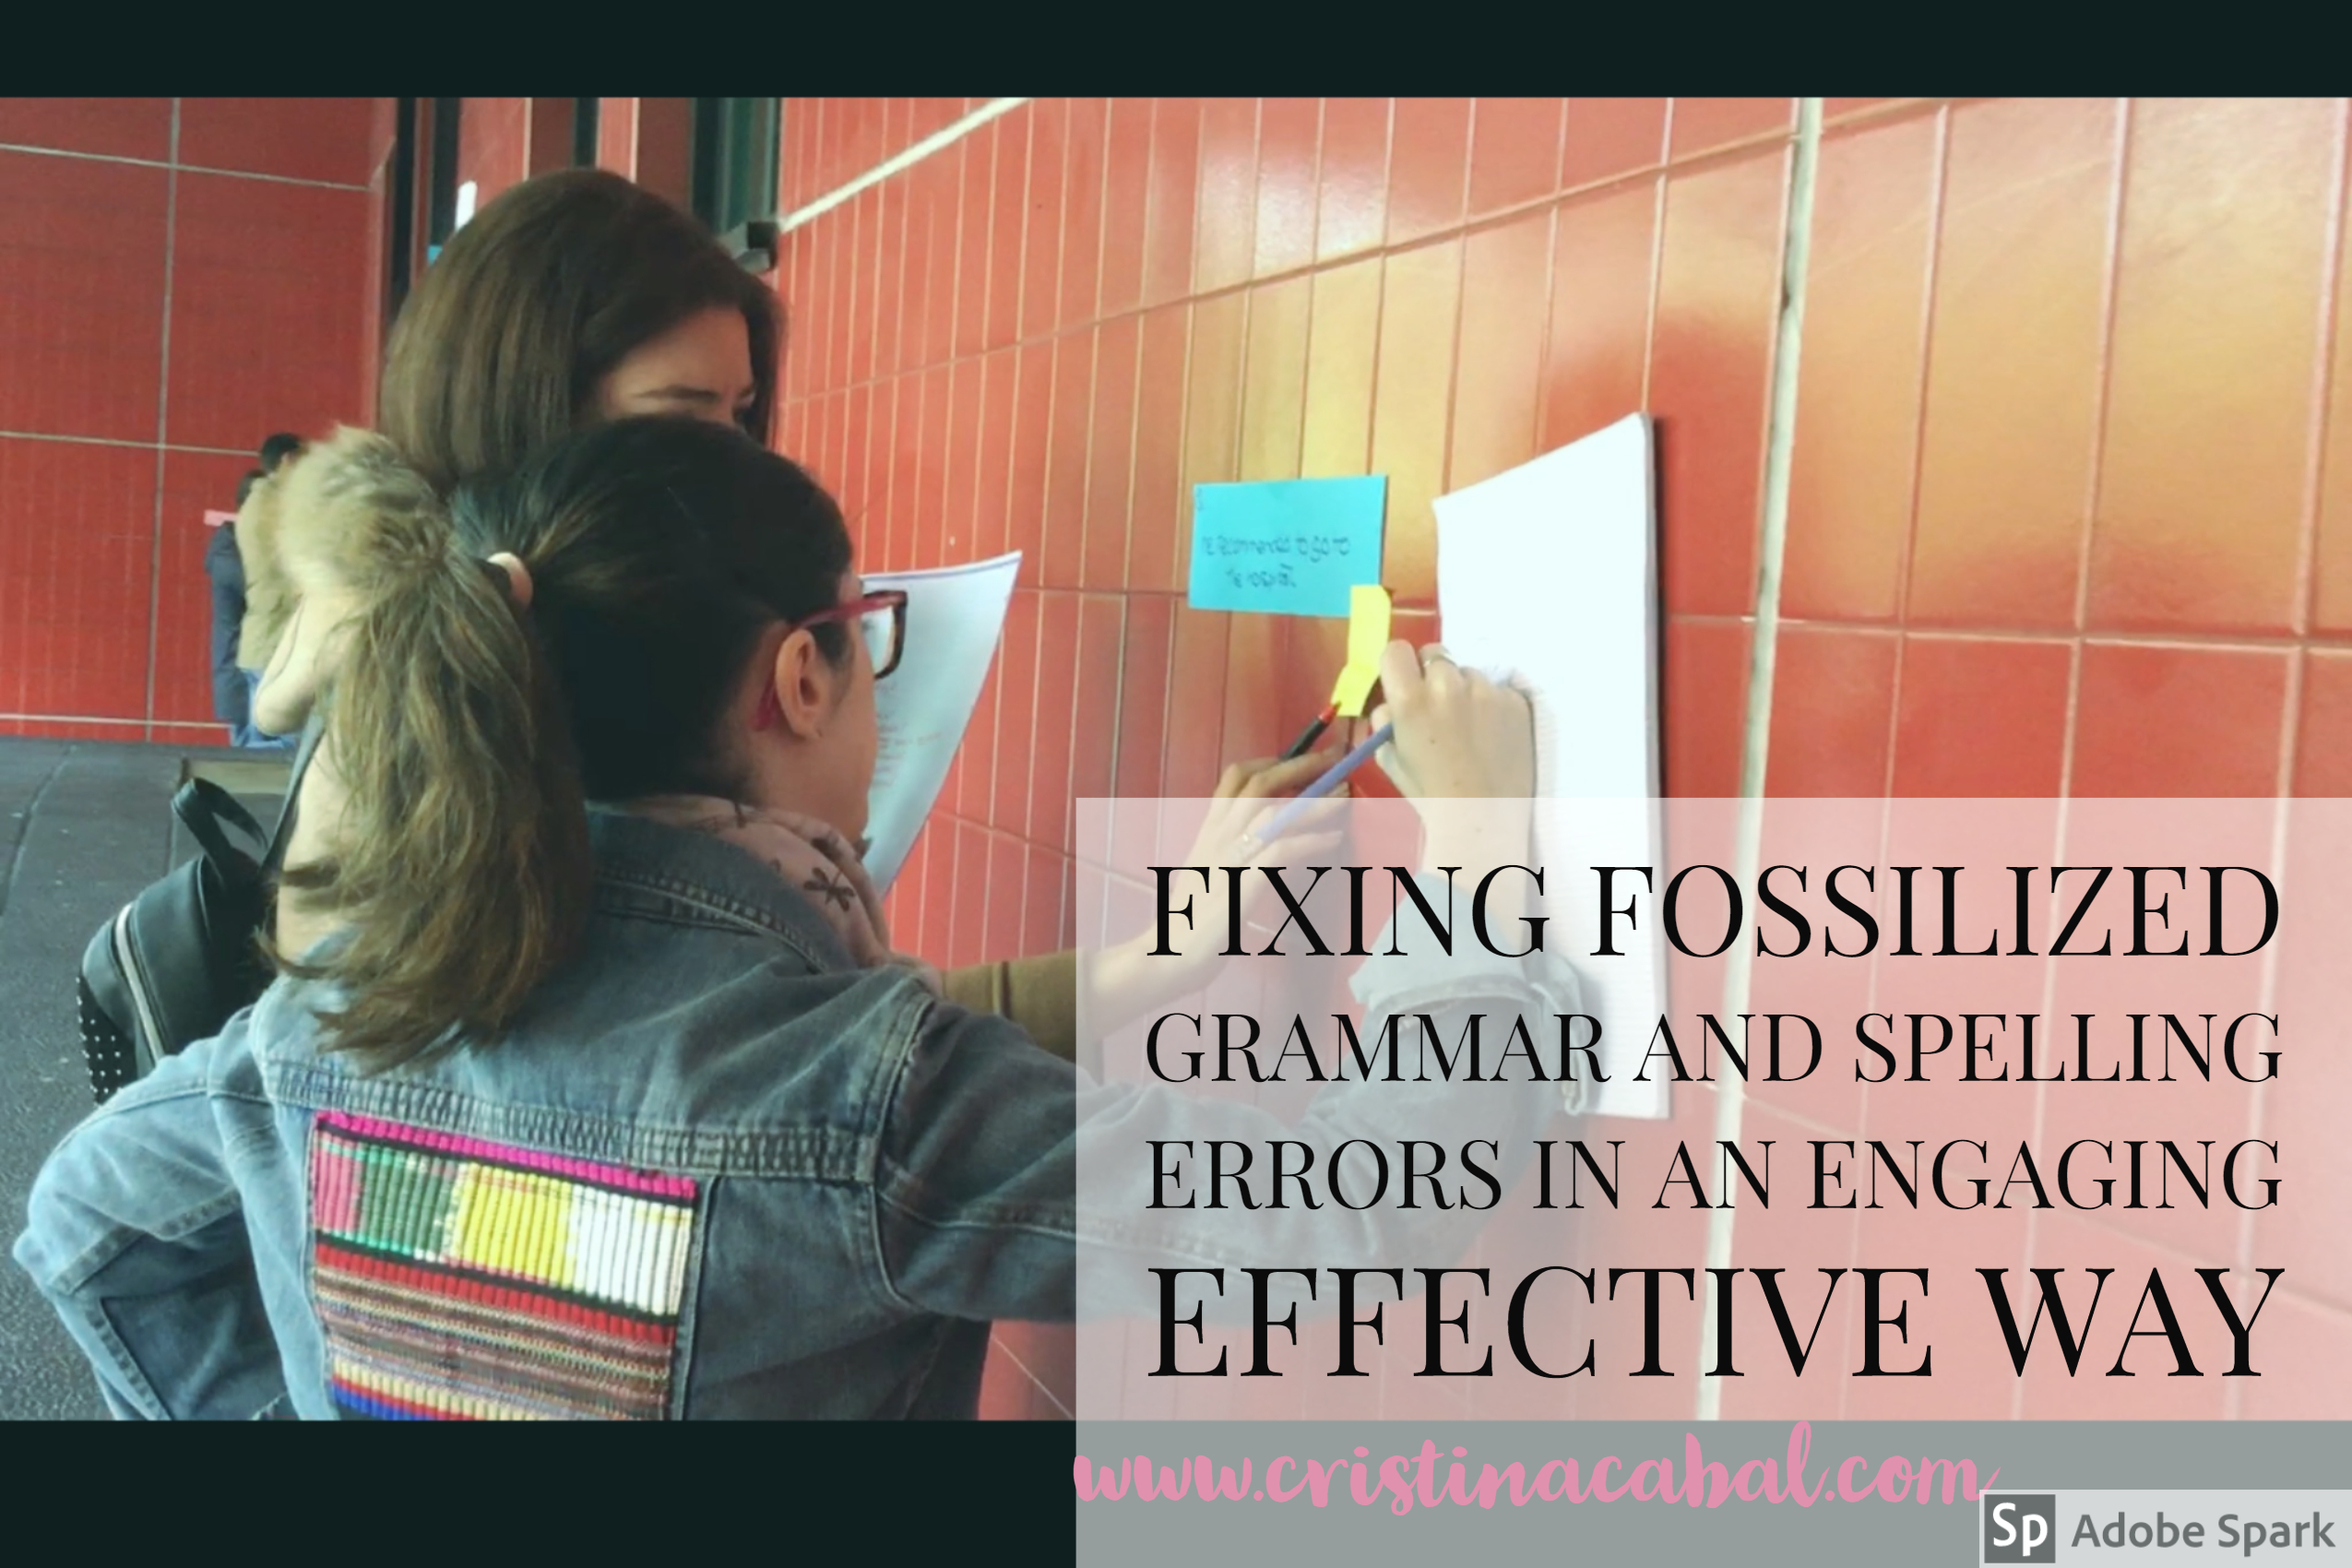
This is a post especially dedicated to all non-tech lovers! I am capping off this wonderful school year with an engaging yet effective activity for error correction. It may not be much when you read how to do it but trust me on this one, your students are going to love it!
If you follow me at all on my blog or on social media (facebook, twitter ), you will know that I am a huge fan of using technology in my classes. When I mean “huge”, I don’t mean that technology dominates my teaching practice. I use technology only when I think it’s going to contribute to effective learning. Otherwise, it’s time wasted.
Slips of paper are hands-down my favourite teaching tool. Essentially, they are scraps of paper that I use and reuse constantly in various ways. In fact, my record is having used the same set of slips of paper six times for a single class. I am sure some of my students will remember this day. They certainly learned everything on them.
The activity I am sharing with you today is a brand new one. I have to say I am happy with the result. It worked really well, it was effective, meaningful and engaging.
This time slips of paper have been used to fix fossilized grammar and spelling errors, but I firmly believe that the use of slips of paper as a teaching tool is a great addition to any lesson plan.
Note 1: “fossilization” refers the way in which some errors become a permanent feature of a language learner’s language
Note 2: at the end of the post, there is a video I’ve put together with some pics and clips I took from the activity. In case you want to see it. Just saying! 🙂
Materials:
- slips of paper
- sticky notes
- sellotape or blue-tack
Before the class
Yes. I am afraid there is some prep to do but it’s worth it.
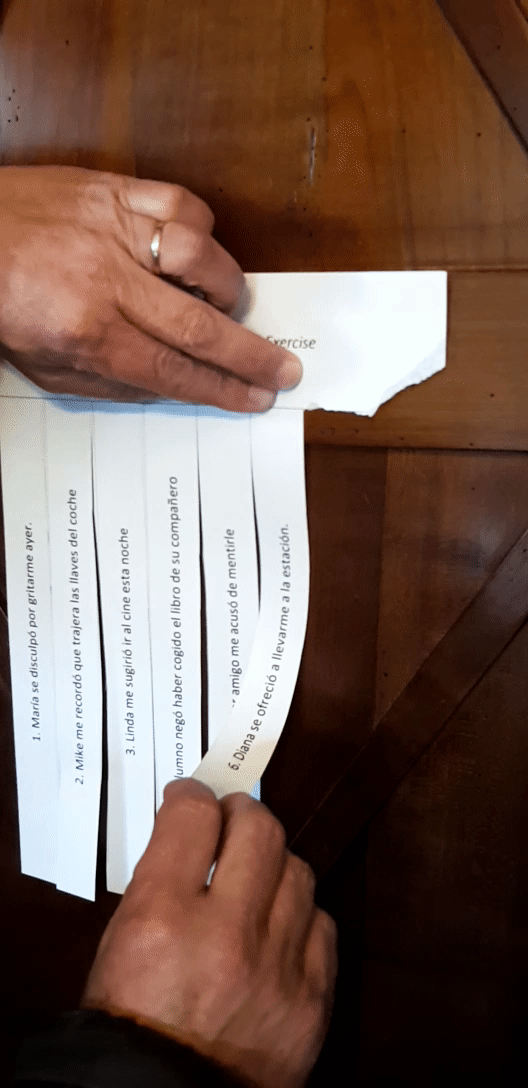
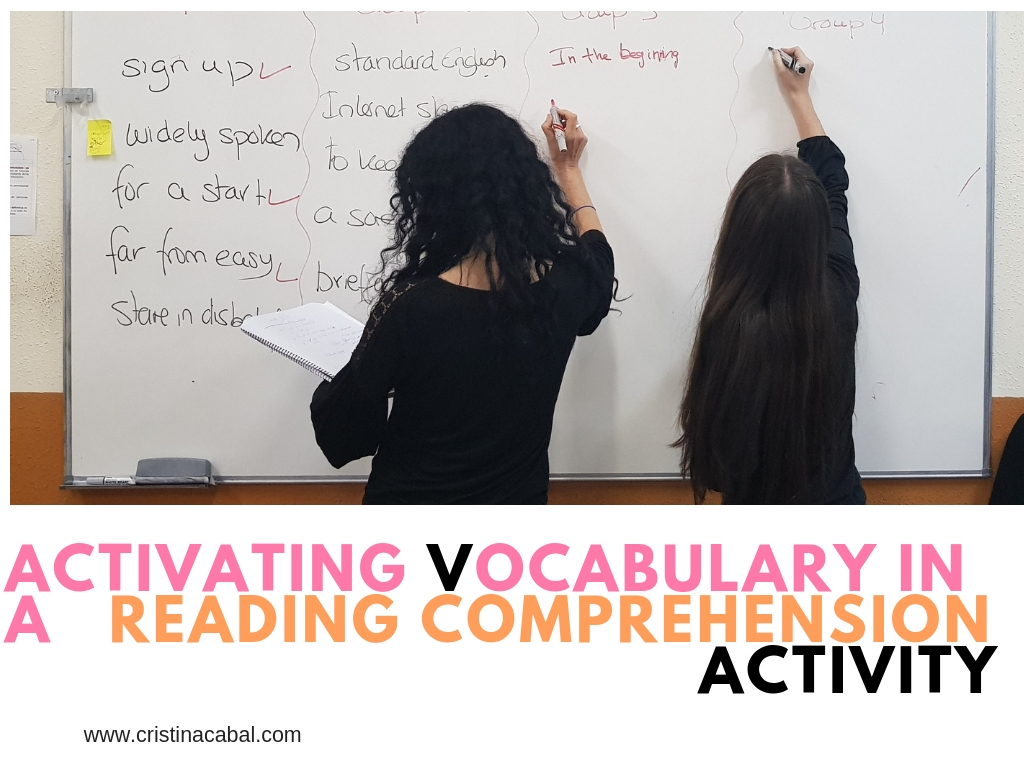
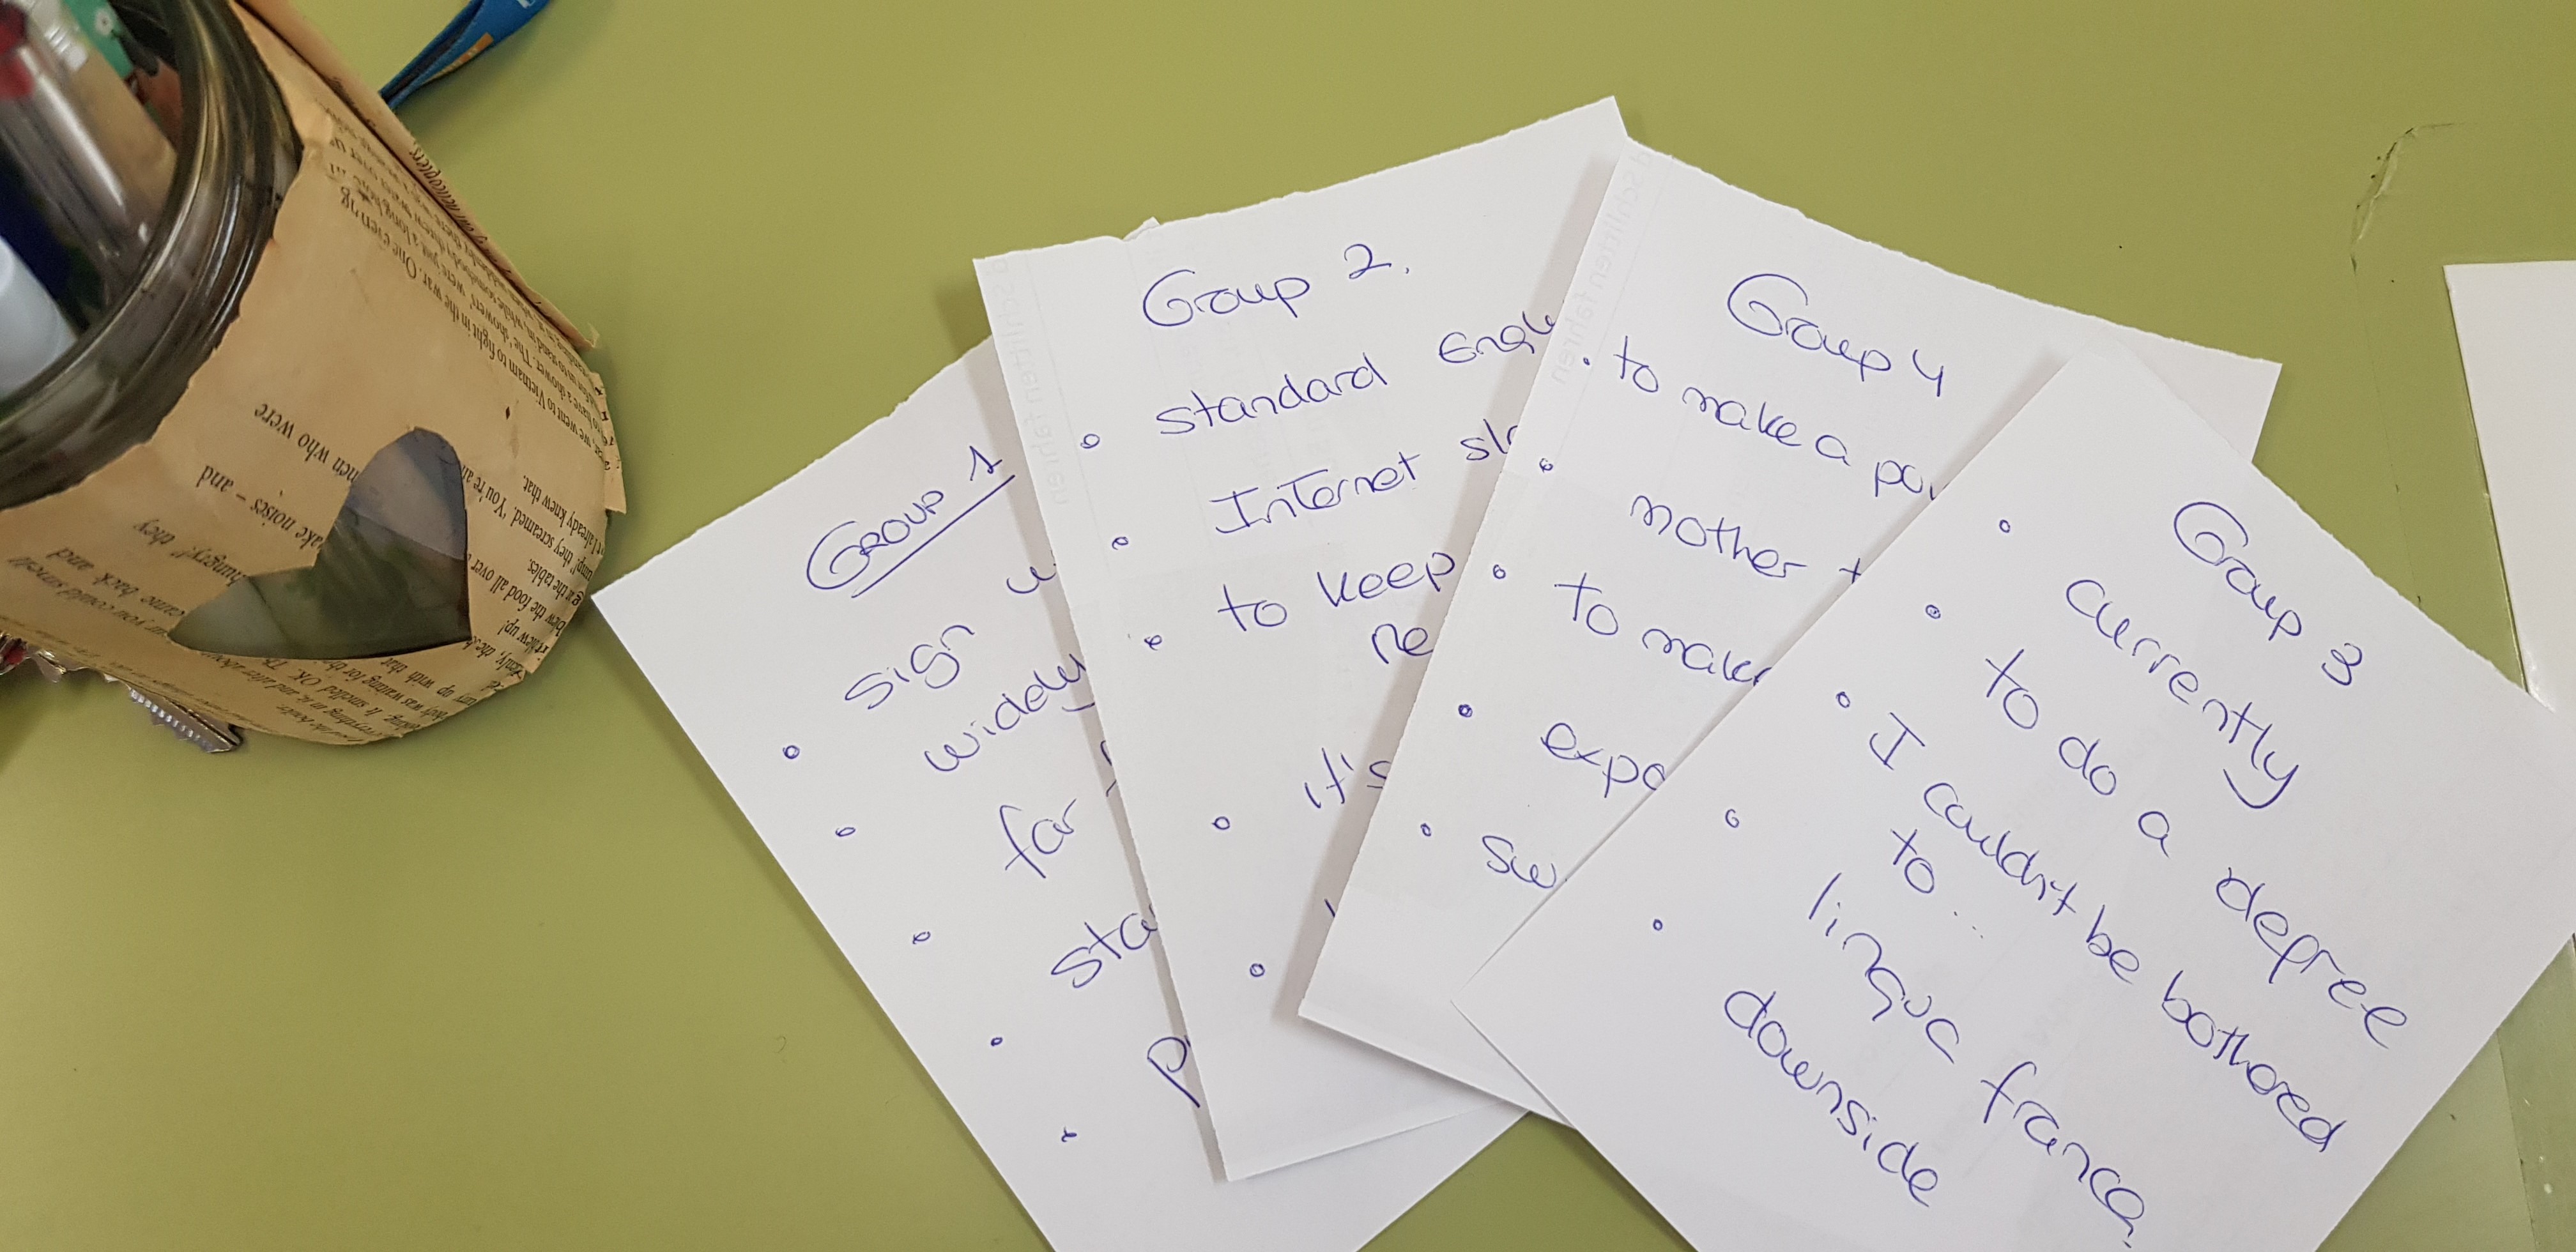
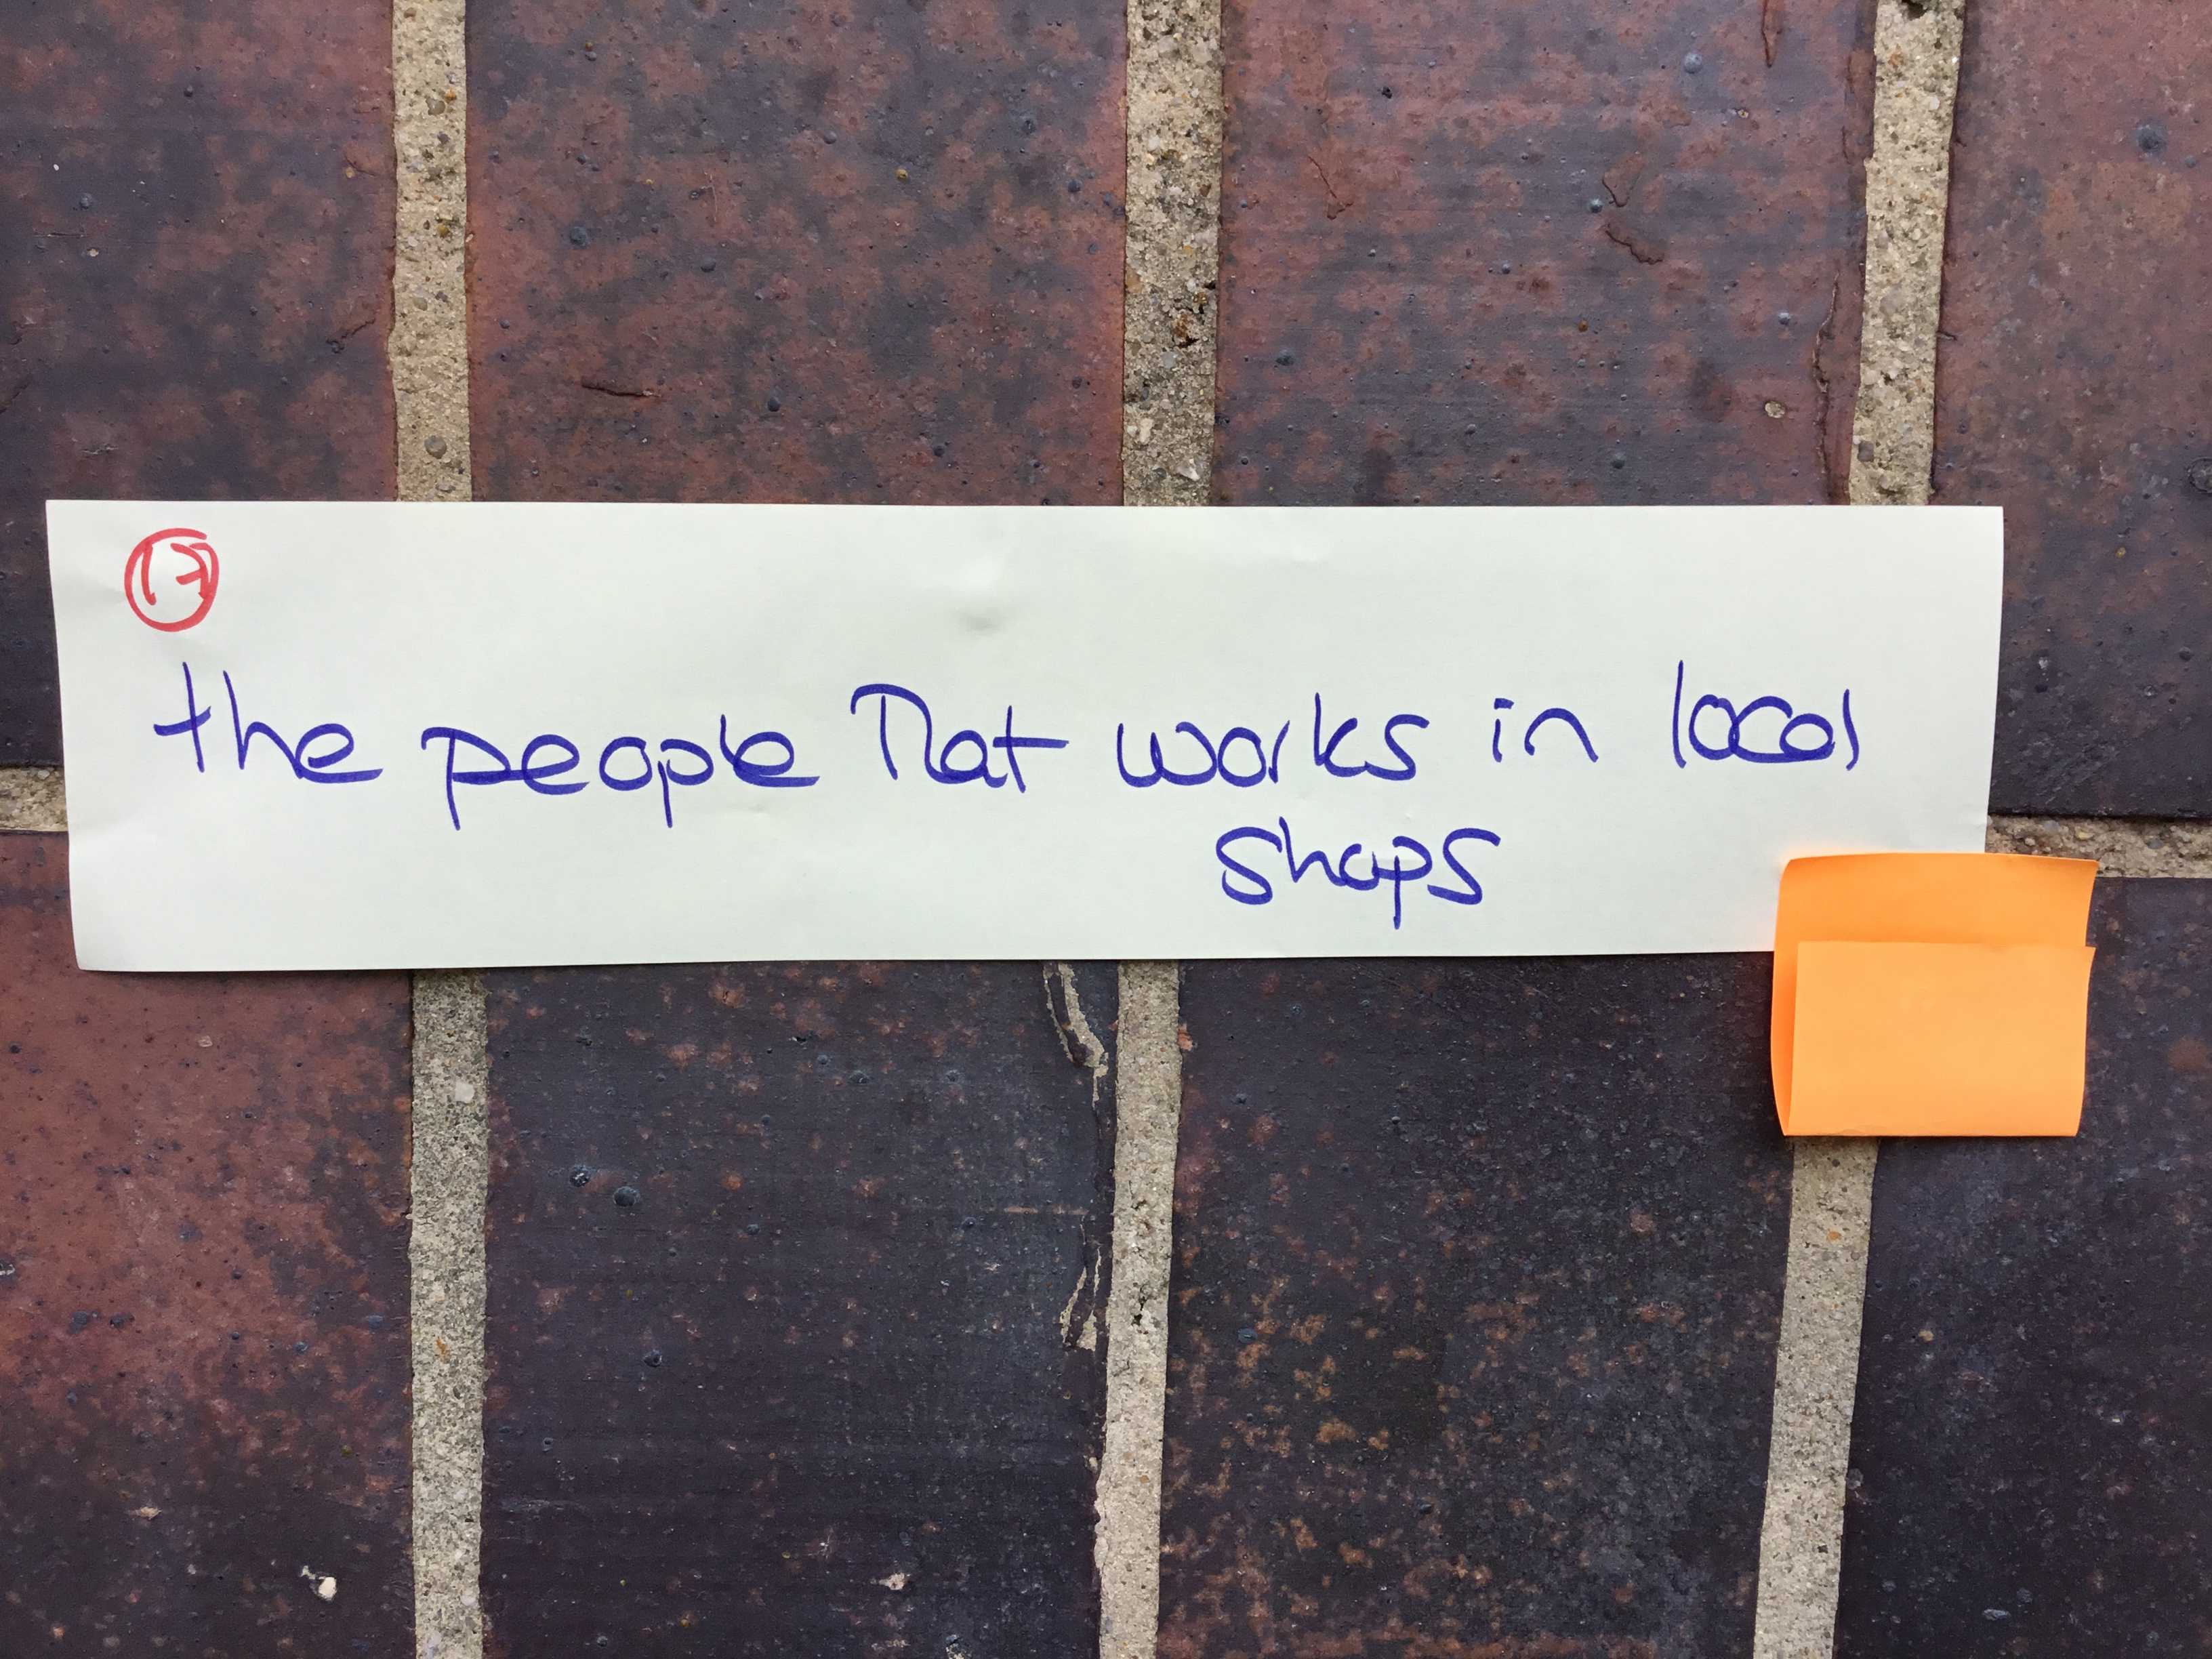
- Correct their compositions and write down common or relevant errors: for this activity, I have used common spelling or grammar errors.
- Write them down on slips of paper.
- Write the correction on sticky notes or scraps of paper.
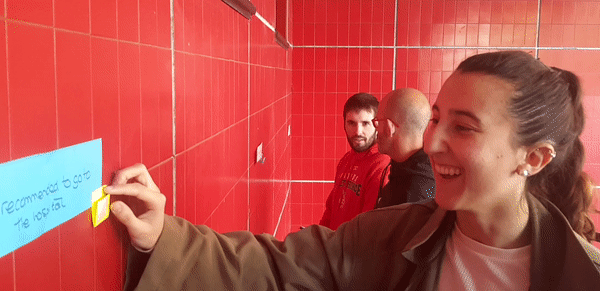
- Hang the slips of papers around the room. Identify each slip of paper with a number and write it down on the bottom right-hand corner.
- For each slip of paper, and displayed next to it, is a sticky note containing the correction. The sticky note is folded in half so that the right answer cannot be seen unless unfolded.
How to go about it
Round 1
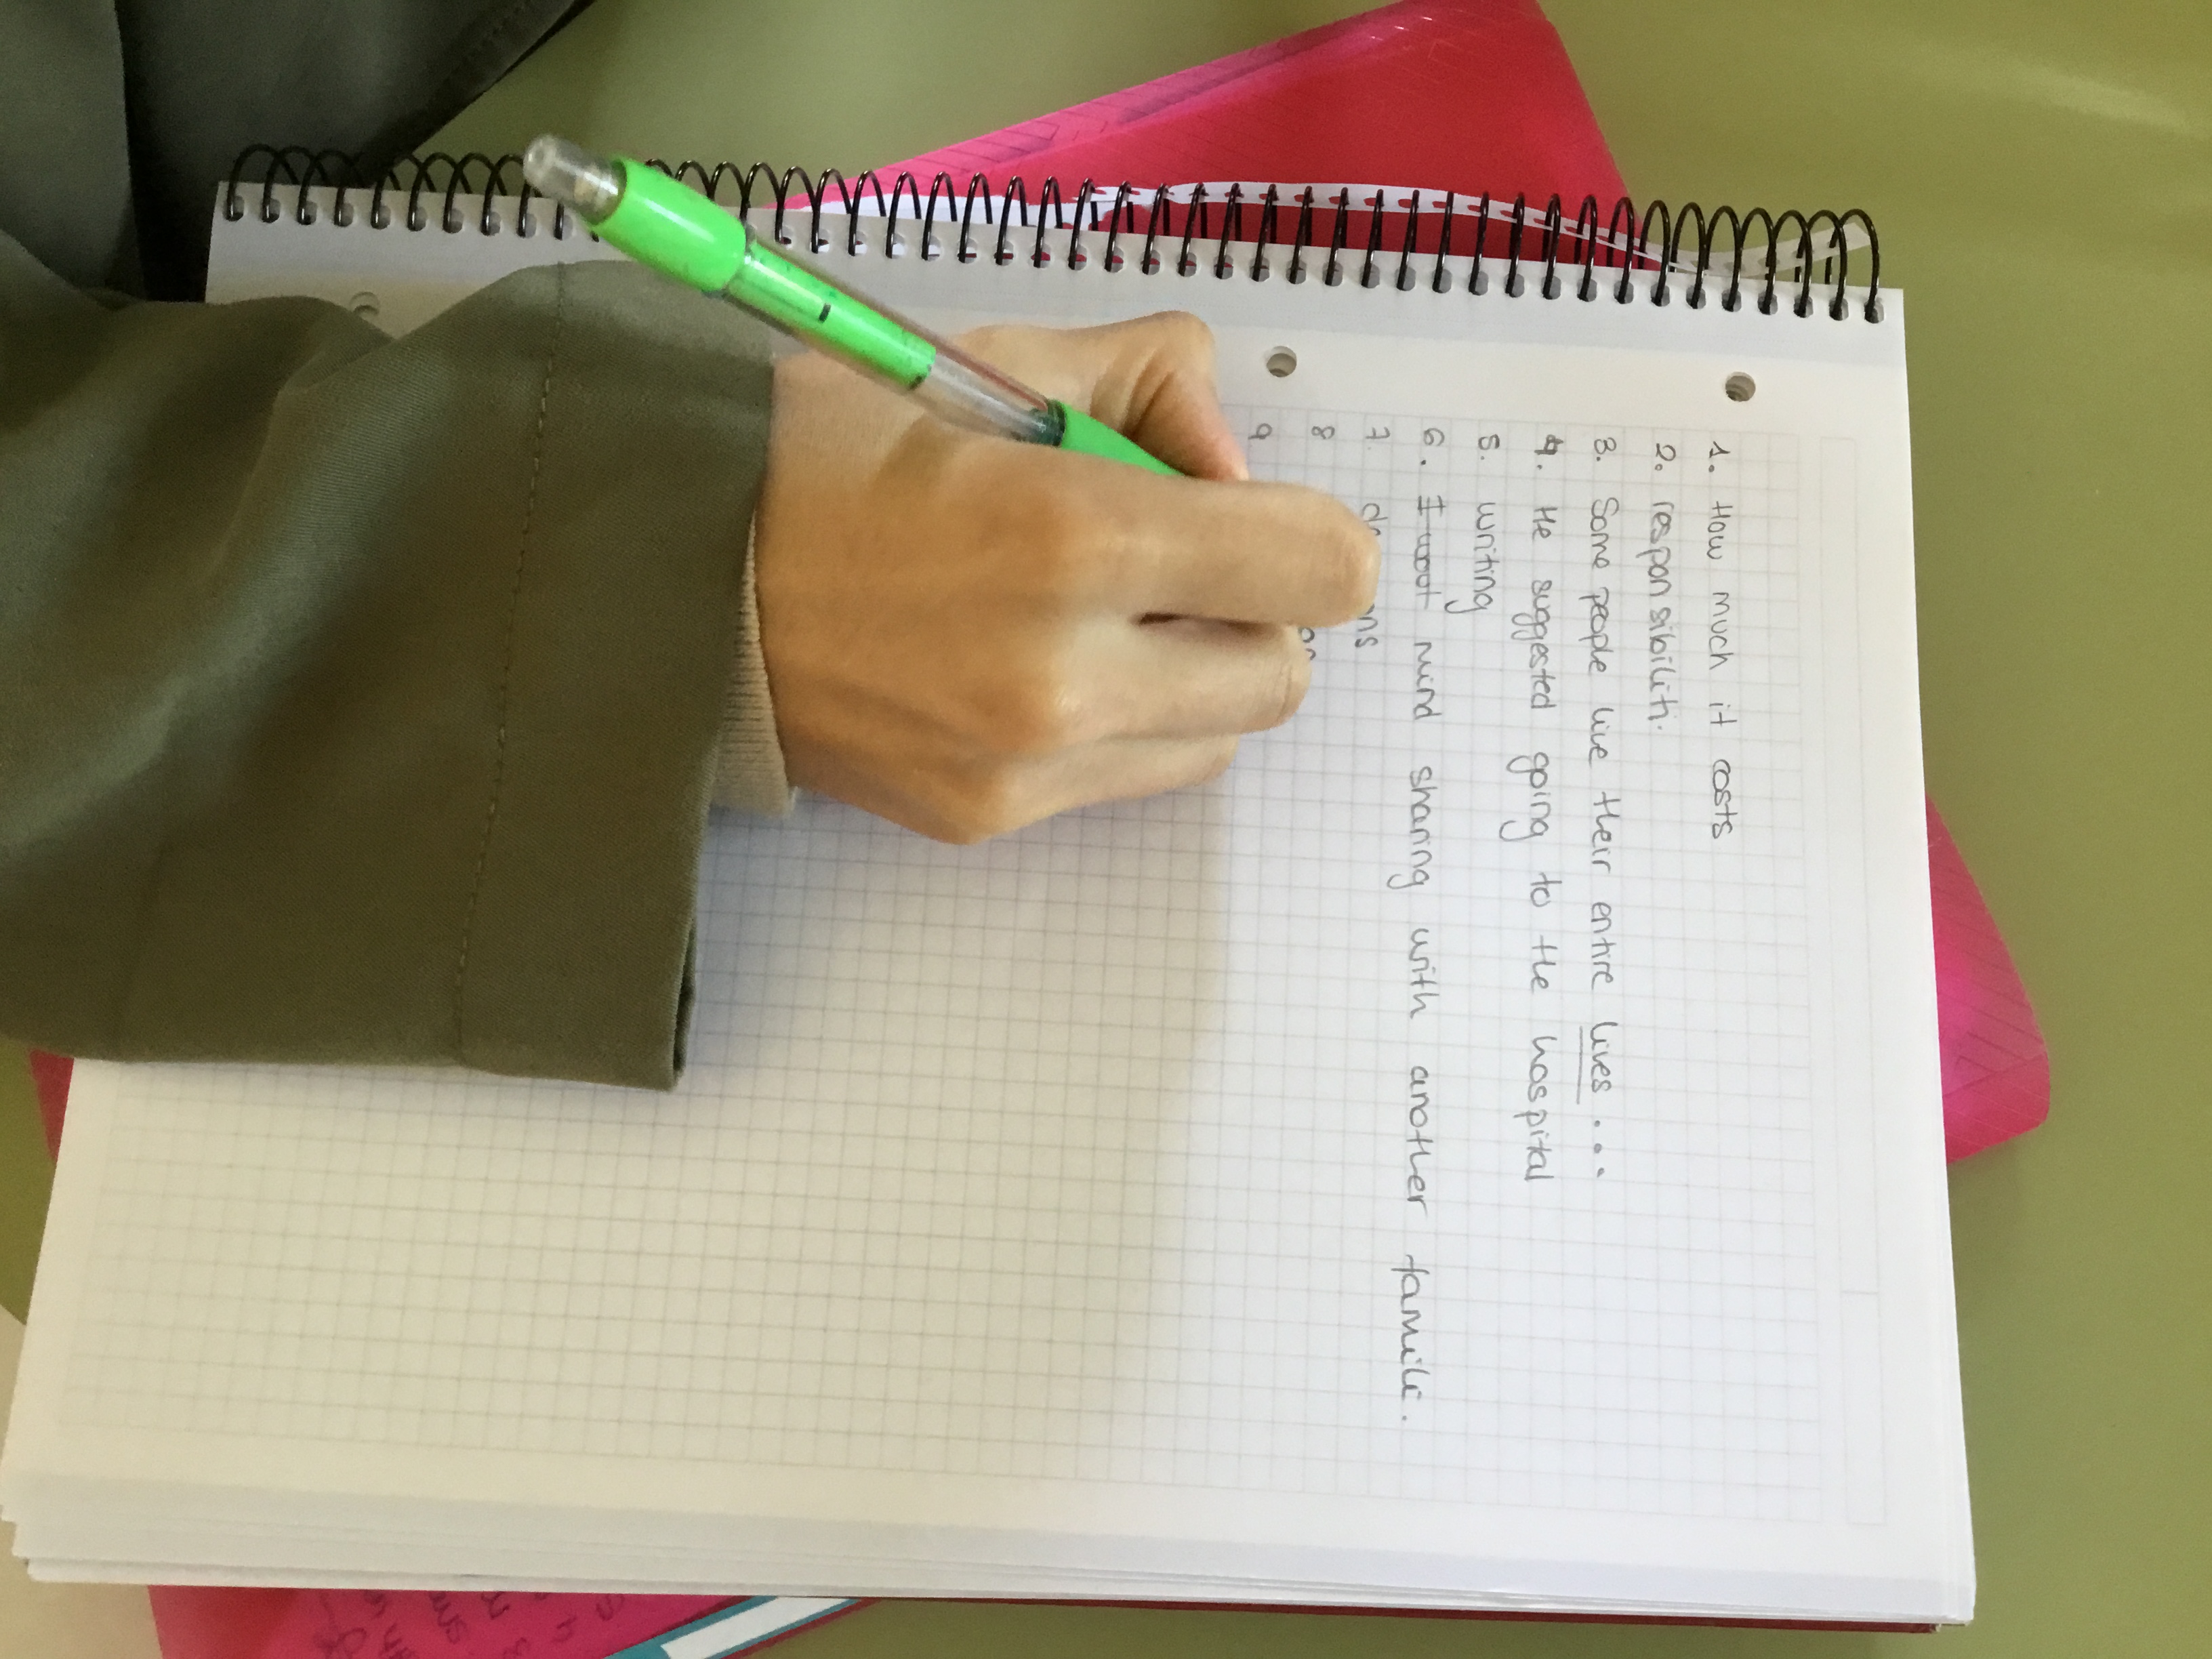
- Ask students to take out a regular A4 piece of paper, write Round 1 at the top and number it- whatever X slips of paper you are using. Ask them to do the same on another piece of paper and but this time they should write Round 2.
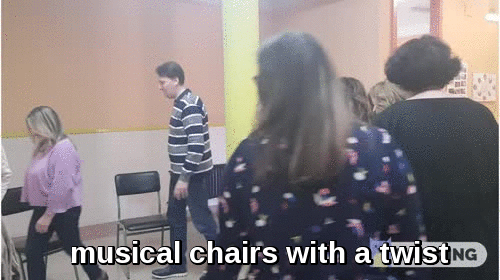
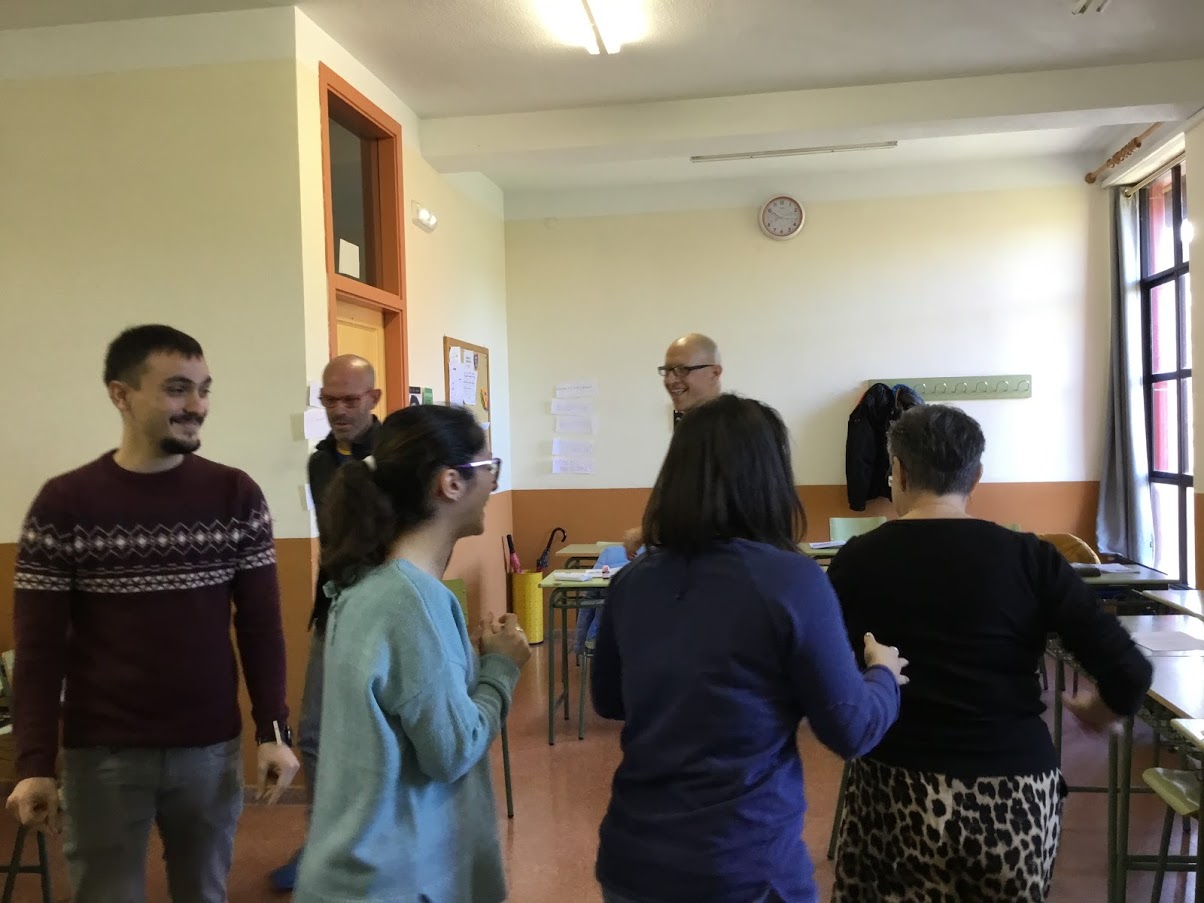
- Note: It is spring so if it is sunny, why not take them outside the building and hang the slips of paper on the walls of the building? In fact, this is what I did. If you also play some upbeat music while they are doing the exercise, they are going to love you.
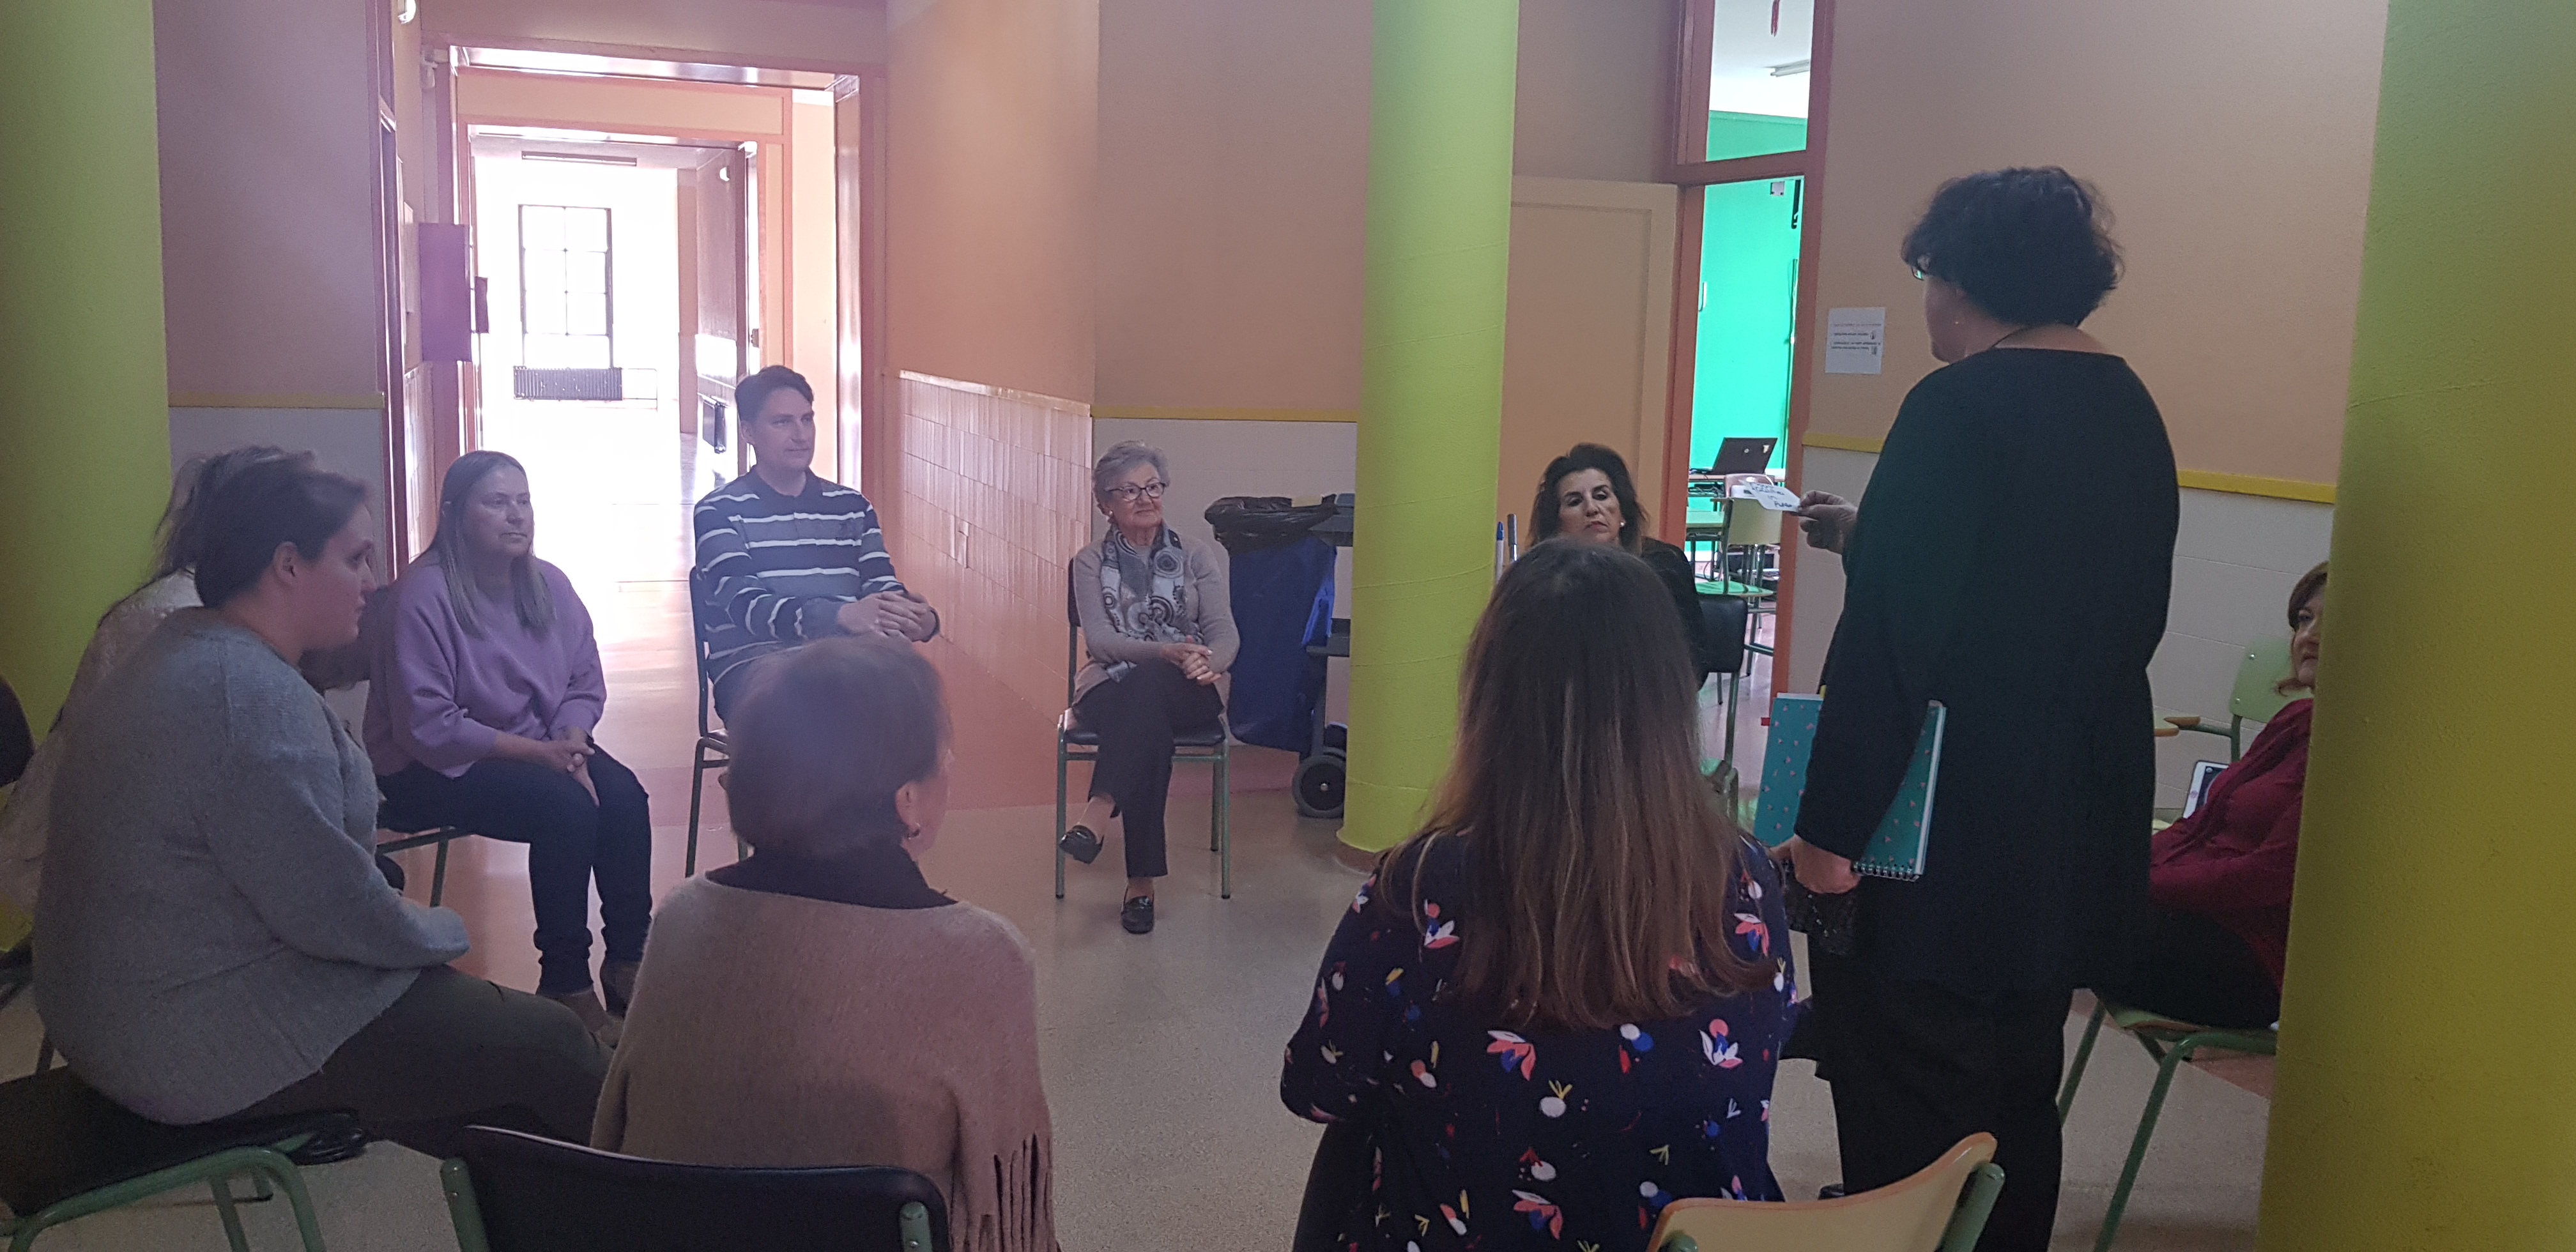
- Ask them to form pairs.
- Ask them to walk around the class in their pairs, read the sentence, spot the error, discuss the way to correct it and then write their answers on the response sheet. If the number on the slip of paper is 3, they should write it next to number three on their response sheet. Tell them it doesn’t matter where they start as they will end up doing all the cards.
- Emphasize that they will need to speak English all the time and that they will both need to discuss how to correct the error- you want both of them to learn, not just one student- then write down the answer and then, only then, unfold the sticky note with the corrected version.
- I like to meander around the room and check to see if they are having difficulties with a specific error and try to help them figure out where the mistake is.
- Once the activity is finished, I ask them to count up the number of mistakes they have been able to correct and write that number at the top of their paper.
Round 2.
We are working here with fossilized errors, ie, errors we have already corrected a thousand times but we haven’t been able to fix. Reinforcement and consolidation are essential. So, let’s go for Round 2.
Group students: I asked students to form a line based on their birthdays (day/month). Once they formed the line, I ask them to work with the person on their right. (have a look at the video).
- Explain that they are going to be competing against each other. At the end of the activity, the winner is the student who has managed to correct the most mistakes.
- Everything is the same as above, but this time they don’t discuss the error. Together and silently they read the error on the slip of paper, write the correction on their sheets of paper, compare their answers, unfold the sticky note and put a tick or a cross depending on whether they have been able to spot and correct the error. Hopefully, most students will have been able to fix all the errors.
Round 3
Yes. Again. Remember they are fossilized errors.
Follow-up: Ask students to sit down and ask them to write from memory all the mistakes they have been able to fix. Once they have finished, ask them to share them in pairs. Let’s hope that by writing them down from memory and talking about them in pairs …again, we will have helped them eliminate these fossilized errors from their oral and written production.
I love how slips of papers can turn into a simple and fun formative assessment tool that gets students out of their seats and learning, don’t you?
Have a look at the video now to have a clearer picture of the whole activity.