Before we dive into the content of the post today, I’d like for you to know a surprising fact about me. I love traditional teaching. Yes, chalk and board. I say “surprising” because if you have been reading this blog for a while, you will have probably noticed how often I incorporate technology in my lessons. True. I love surprising my students with a new idea to revise, learn or consolidate learning using a digital tool, but I absolutely also adore surprising them with an exercise where the only help is their mind, their classmates and occasionally their teacher.
If I combine both traditional and digital learning, then it’s just my dream lesson. And this is what you’ll find on this post, the traditional Cristina and an updated version of myself. Which one do I love best? That, I still need to decide.
![]()
![]()
![]()
![]()
![]()
![]()
- Aim: revise and consolidate vocabulary in a communicative way.
- Levels. B1 upwards
Although the ideas below work better for a topic-based lesson- in my case it was used to revise food-related terms-, I think it might also work to revise random vocabulary as long as you specify which vocabulary you want to revise.
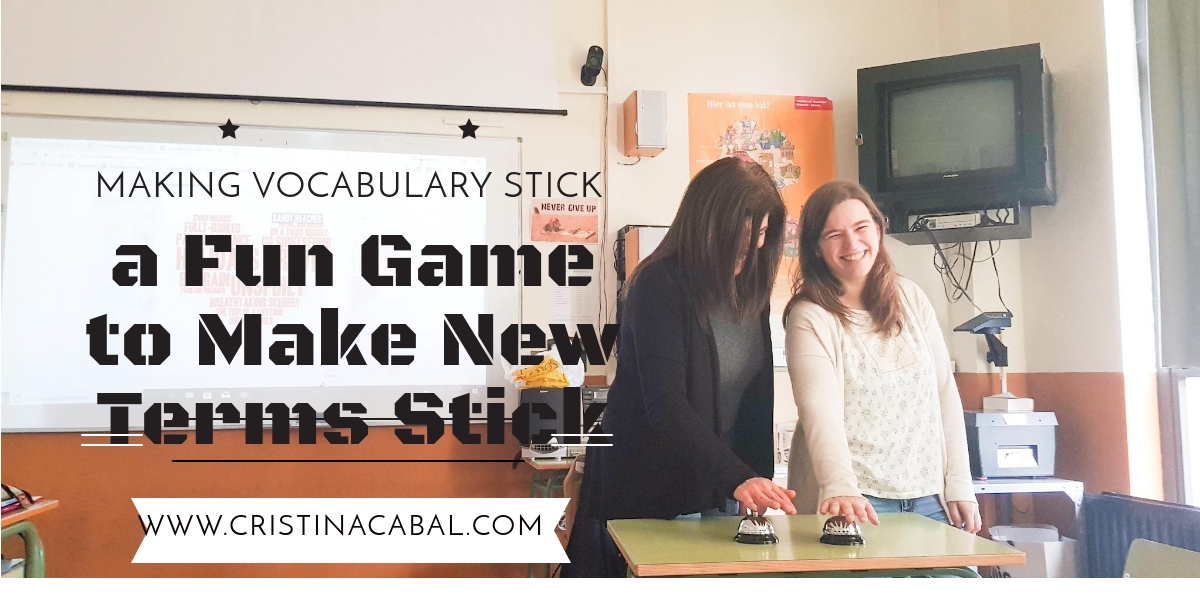
Step 1: Standing Up
That’s probably one of my favourite ways to revise the vocabulary learnt the previous days. My students already know me, so when I say: “please, stand up”, they already know what is coming and automatically, it brings a smile to their faces.
Instructions: students need to come up with a food-related term from the ones studied in the unit. They take it turns to say their word and I repeat it loud enough for all the class to hear it. This also gives me a good chance to repeat the word that might have been occasionally mispronounced.
A student sits down, ie. is eliminated, if…
- he cannot come up with a word
- if another student has already said the word
- if he cannot come up with a word in 10 seconds.
Big applause for the last person to remain standing and one of the sweets I keep in my candy box.
Step 2: Using Slips of Paper. Moving around the class.
Once terms and pronunciation have been revised, it’s time to work on meaning.
- Give students a slip of paper. I use old photocopies printed only on one side and cut them lengthwise. You should get two slips of paper per copy.
- Ask them to write two terms they would like to revise. Encourage them to write big enough to see the words from a distance (Note: this is unnecessary but I find the bigger their letters are, the easier it is to understand their handwriting). Once they have done so, ask them to make sure they know how to define them. Also, help with pronunciation.
- Ask students to stand up. The desks in my class form a U so I tell them to move to the centre of the class. Students choose a partner and they take it turns to define their words for the other student to guess/revise. Before they move on to find a new partner, they swap cards. This is a very important step as once they swap, they will need to define/revise other words.
After 10 or 15 minutes, depending on the number of students, students sit down, Ask them to keep the last slip of paper they have defined.
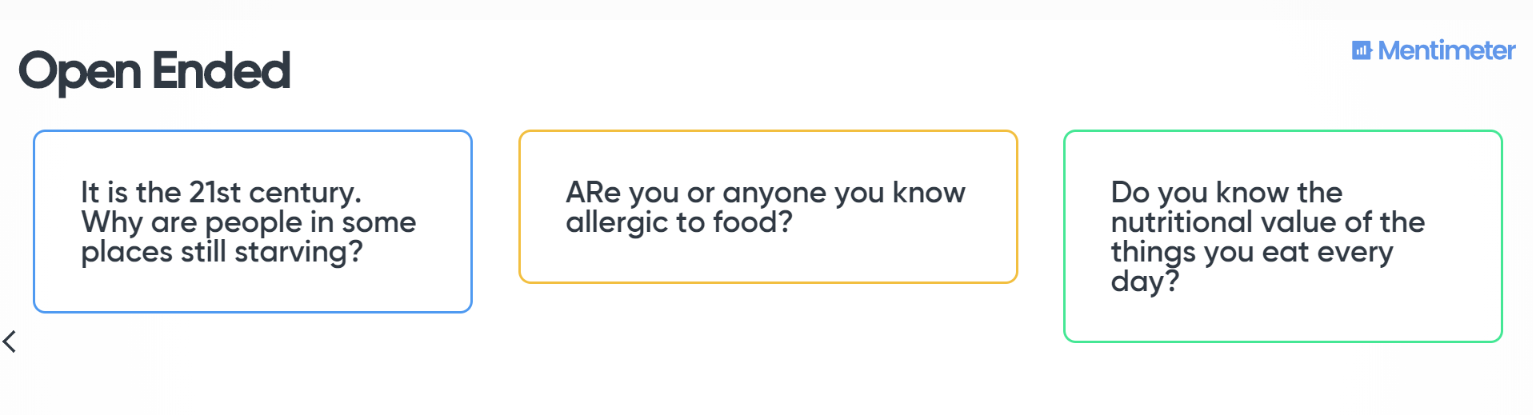
Step 3: Asking Open-Ended questions.
Now, this is the part where I use technology and one of my favourite tools to get feedback. But, let’s go step by step.
a. Writing the questions
Students sit down. Ask them to write down an open-ended question using one of the words on their slip of paper. Tell them some of the questions will be chosen to do a speaking activity. Encourage them to write questions related to the topic, in my case food.
Questions are difficult in English so walk around the room helping students.
b. Using Mentimeter.com to get feedback
As I mentioned above, this tool is one of my favourites to get feedback.
It takes less than 30 seconds to set up the task.
- Go to mentimeter.com
- Choose the open-ended slide
- Click on Present and display the slide with the OHP
- Ask students to take out their mobiles and go to menti.com
- Give them the code
- Ask them to write their questions and submit them
Once their questions are displayed, correct possible grammar mistakes and choose 6 or 8 to be discussed in pairs or in groups of 3.
I hope you have enjoyed the lesson.
Teach and have fun!