It is true that there is so much material out there for our English classes that most of the times, we just need to type some keywords on the internet and voîla, we have it. But, think about it, has it ever happened to you to come across some great material but not just exactly what you are looking for? To me. All the time. And that’s probably why I am always on the lookout for new sites to help me create my own content.
This happened to me last week. I wanted to give my students a board game with conversation questions about sports and at the same time, use a little game to activate the vocabulary we had been studying. I was lucky, from my files, I rescued an old board game that I had used a long time ago. But although it served the purpose, I was not entirely happy and therefore I set out to trawl the internet looking for an editable board game where I could write the questions I wanted my students to discuss.
And as Jeremiah the prophet said, “You will seek me and find me when you seek me with all your heart”. Well, I must have put all my heart into it ‘cause I found it. The design is not perfect but hey! it’s free.
Tools for educators is a nice little site which offers online editable templates. You just choose the template and write your own content.
In my case, I have used the board game, but you can explore the other templates it offers. I am dying to try the dice generator. I don’t know how I am going to use it yet, but use it I know I will.
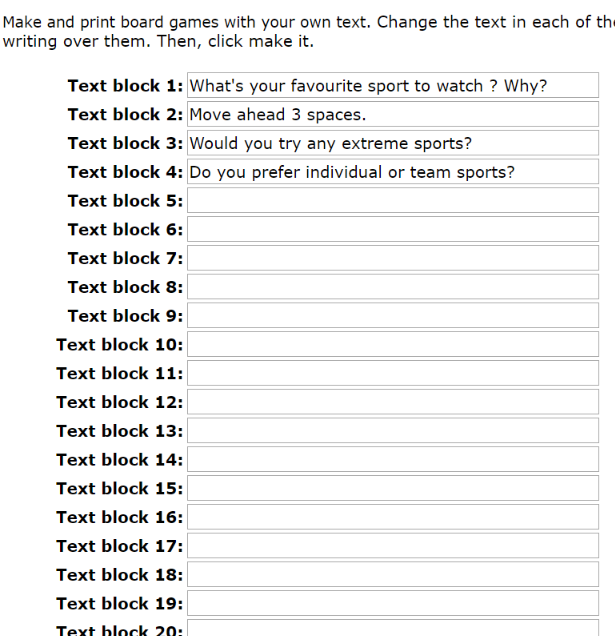
So, this is what it looks like. You will need to fill in the 21 squares. If you don’t, it will still print the board but with some blank squares. Options when you have run out of questions? Move ahead one space, move back two spaces… Once you have written your content, just print it.
Activating vocabulary
This is a great way to review any subject that needs a little jazzing up
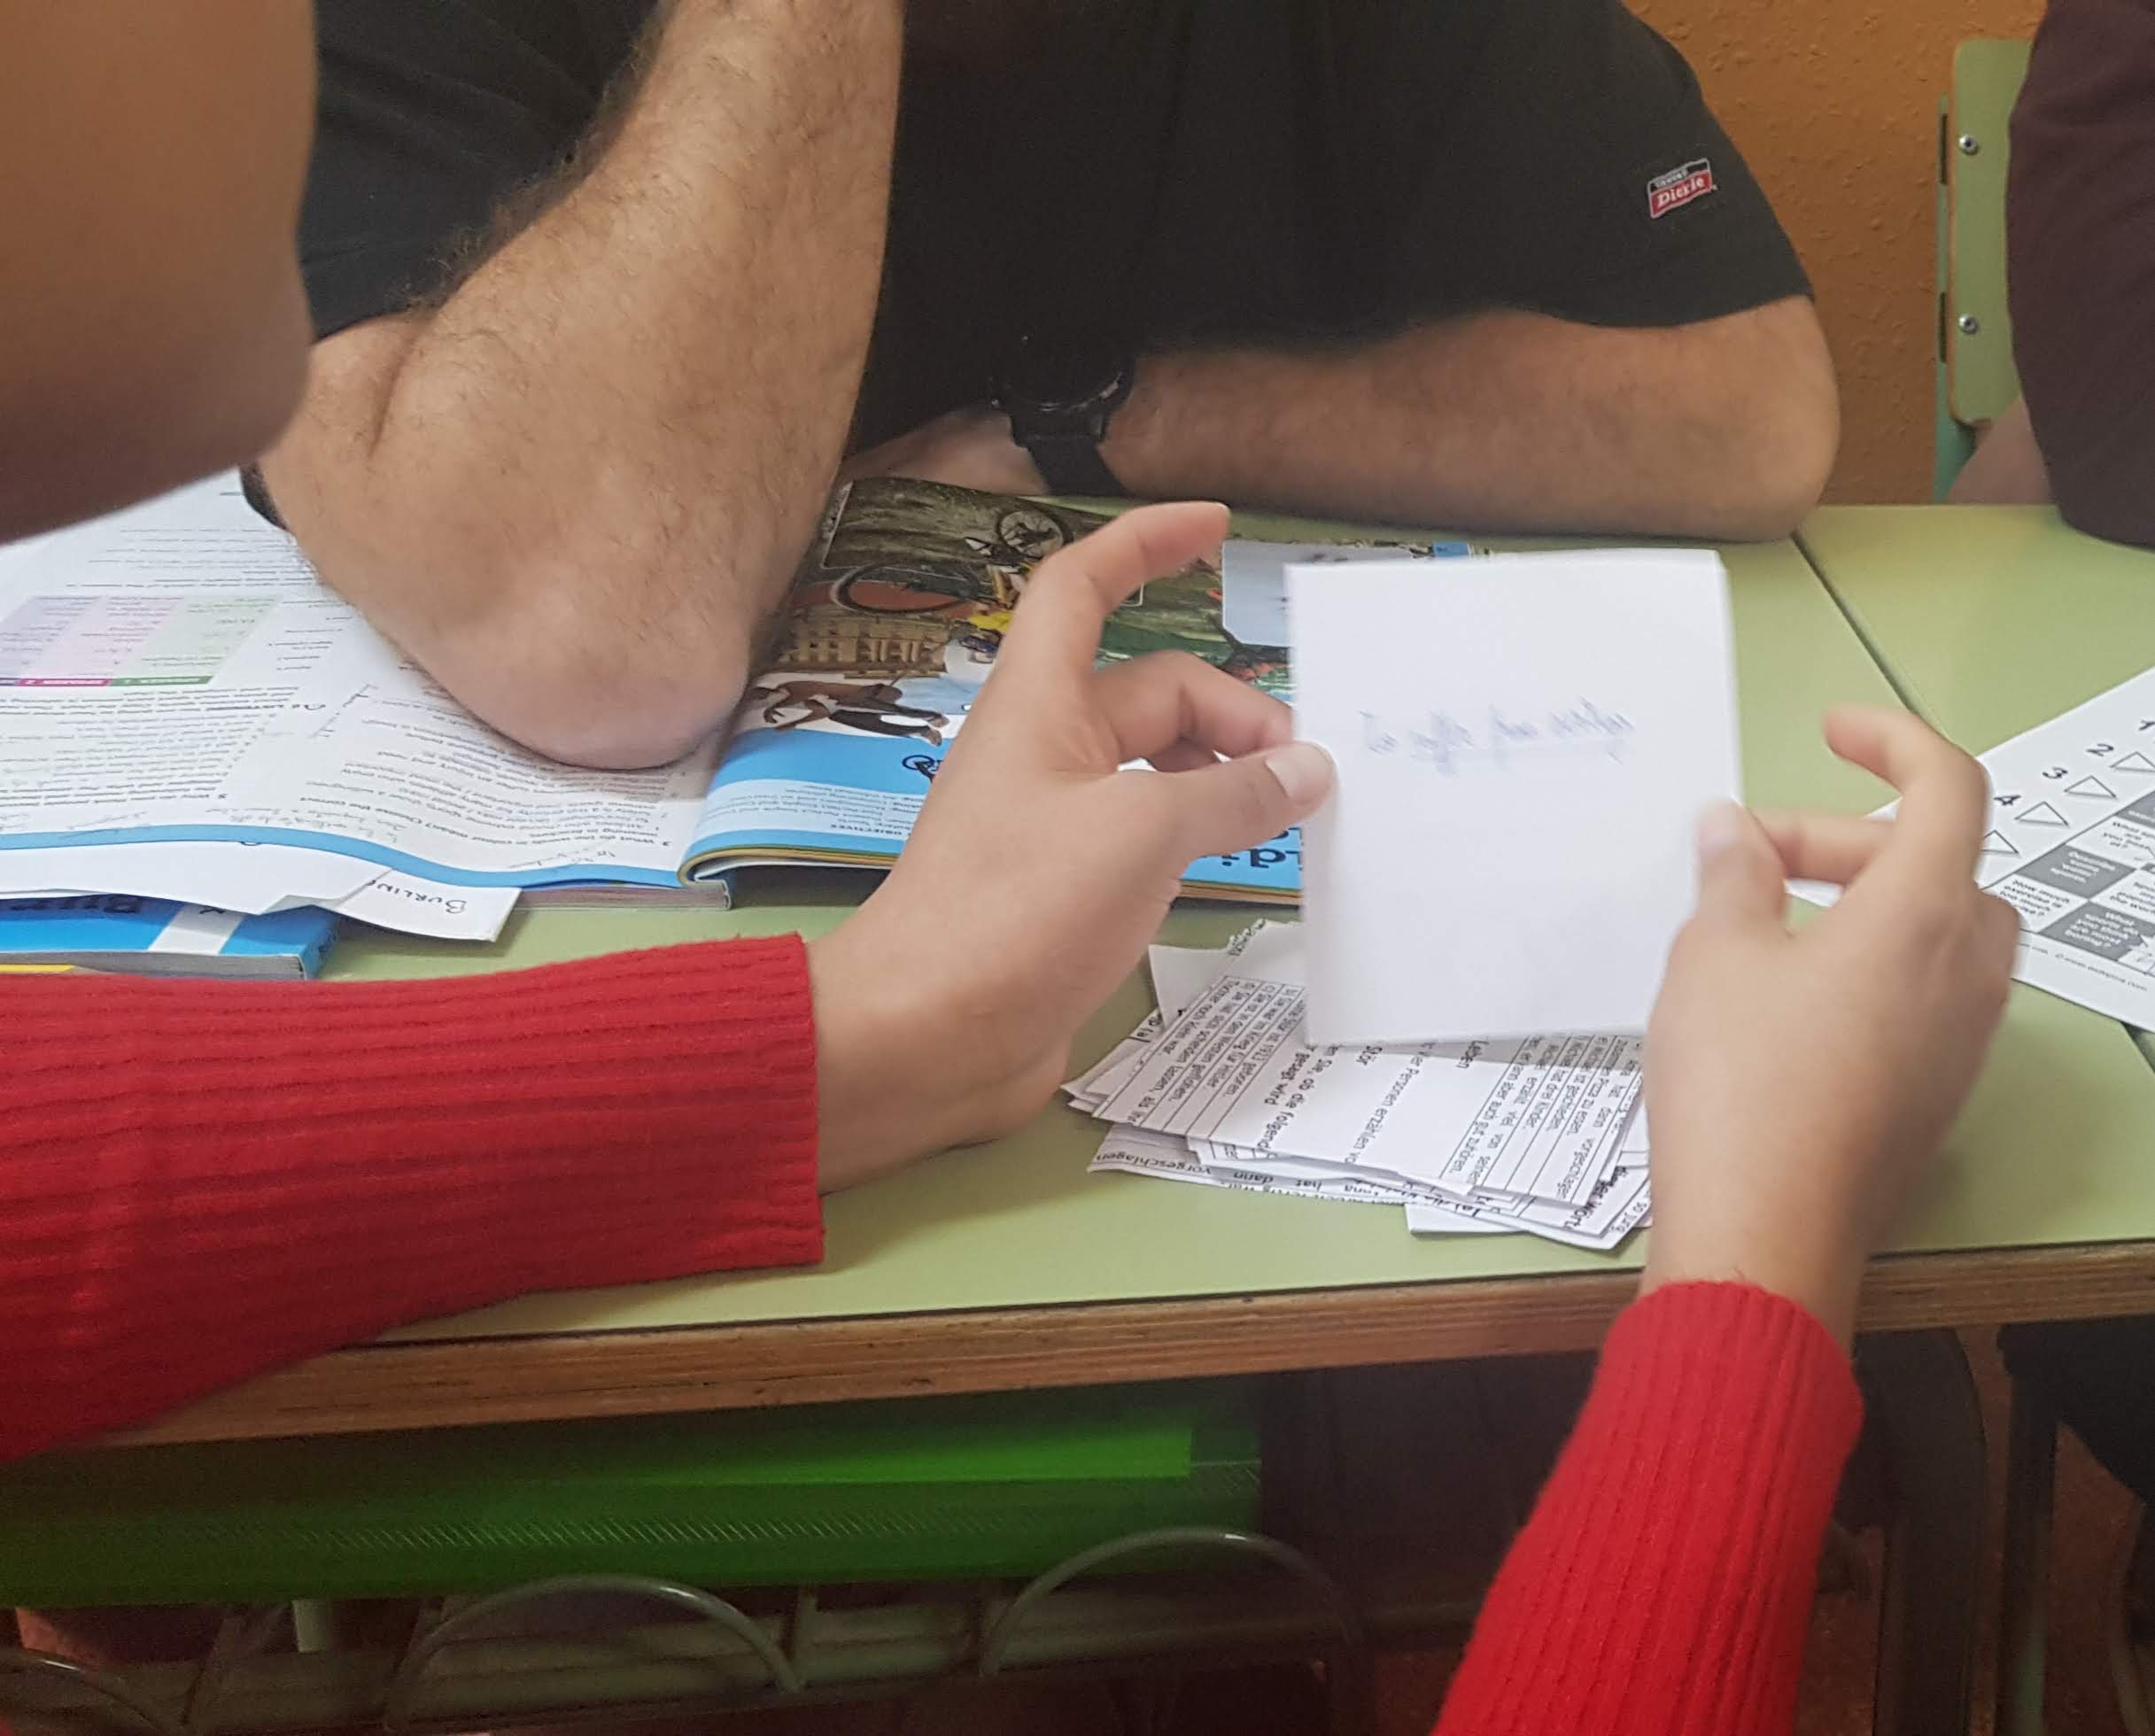
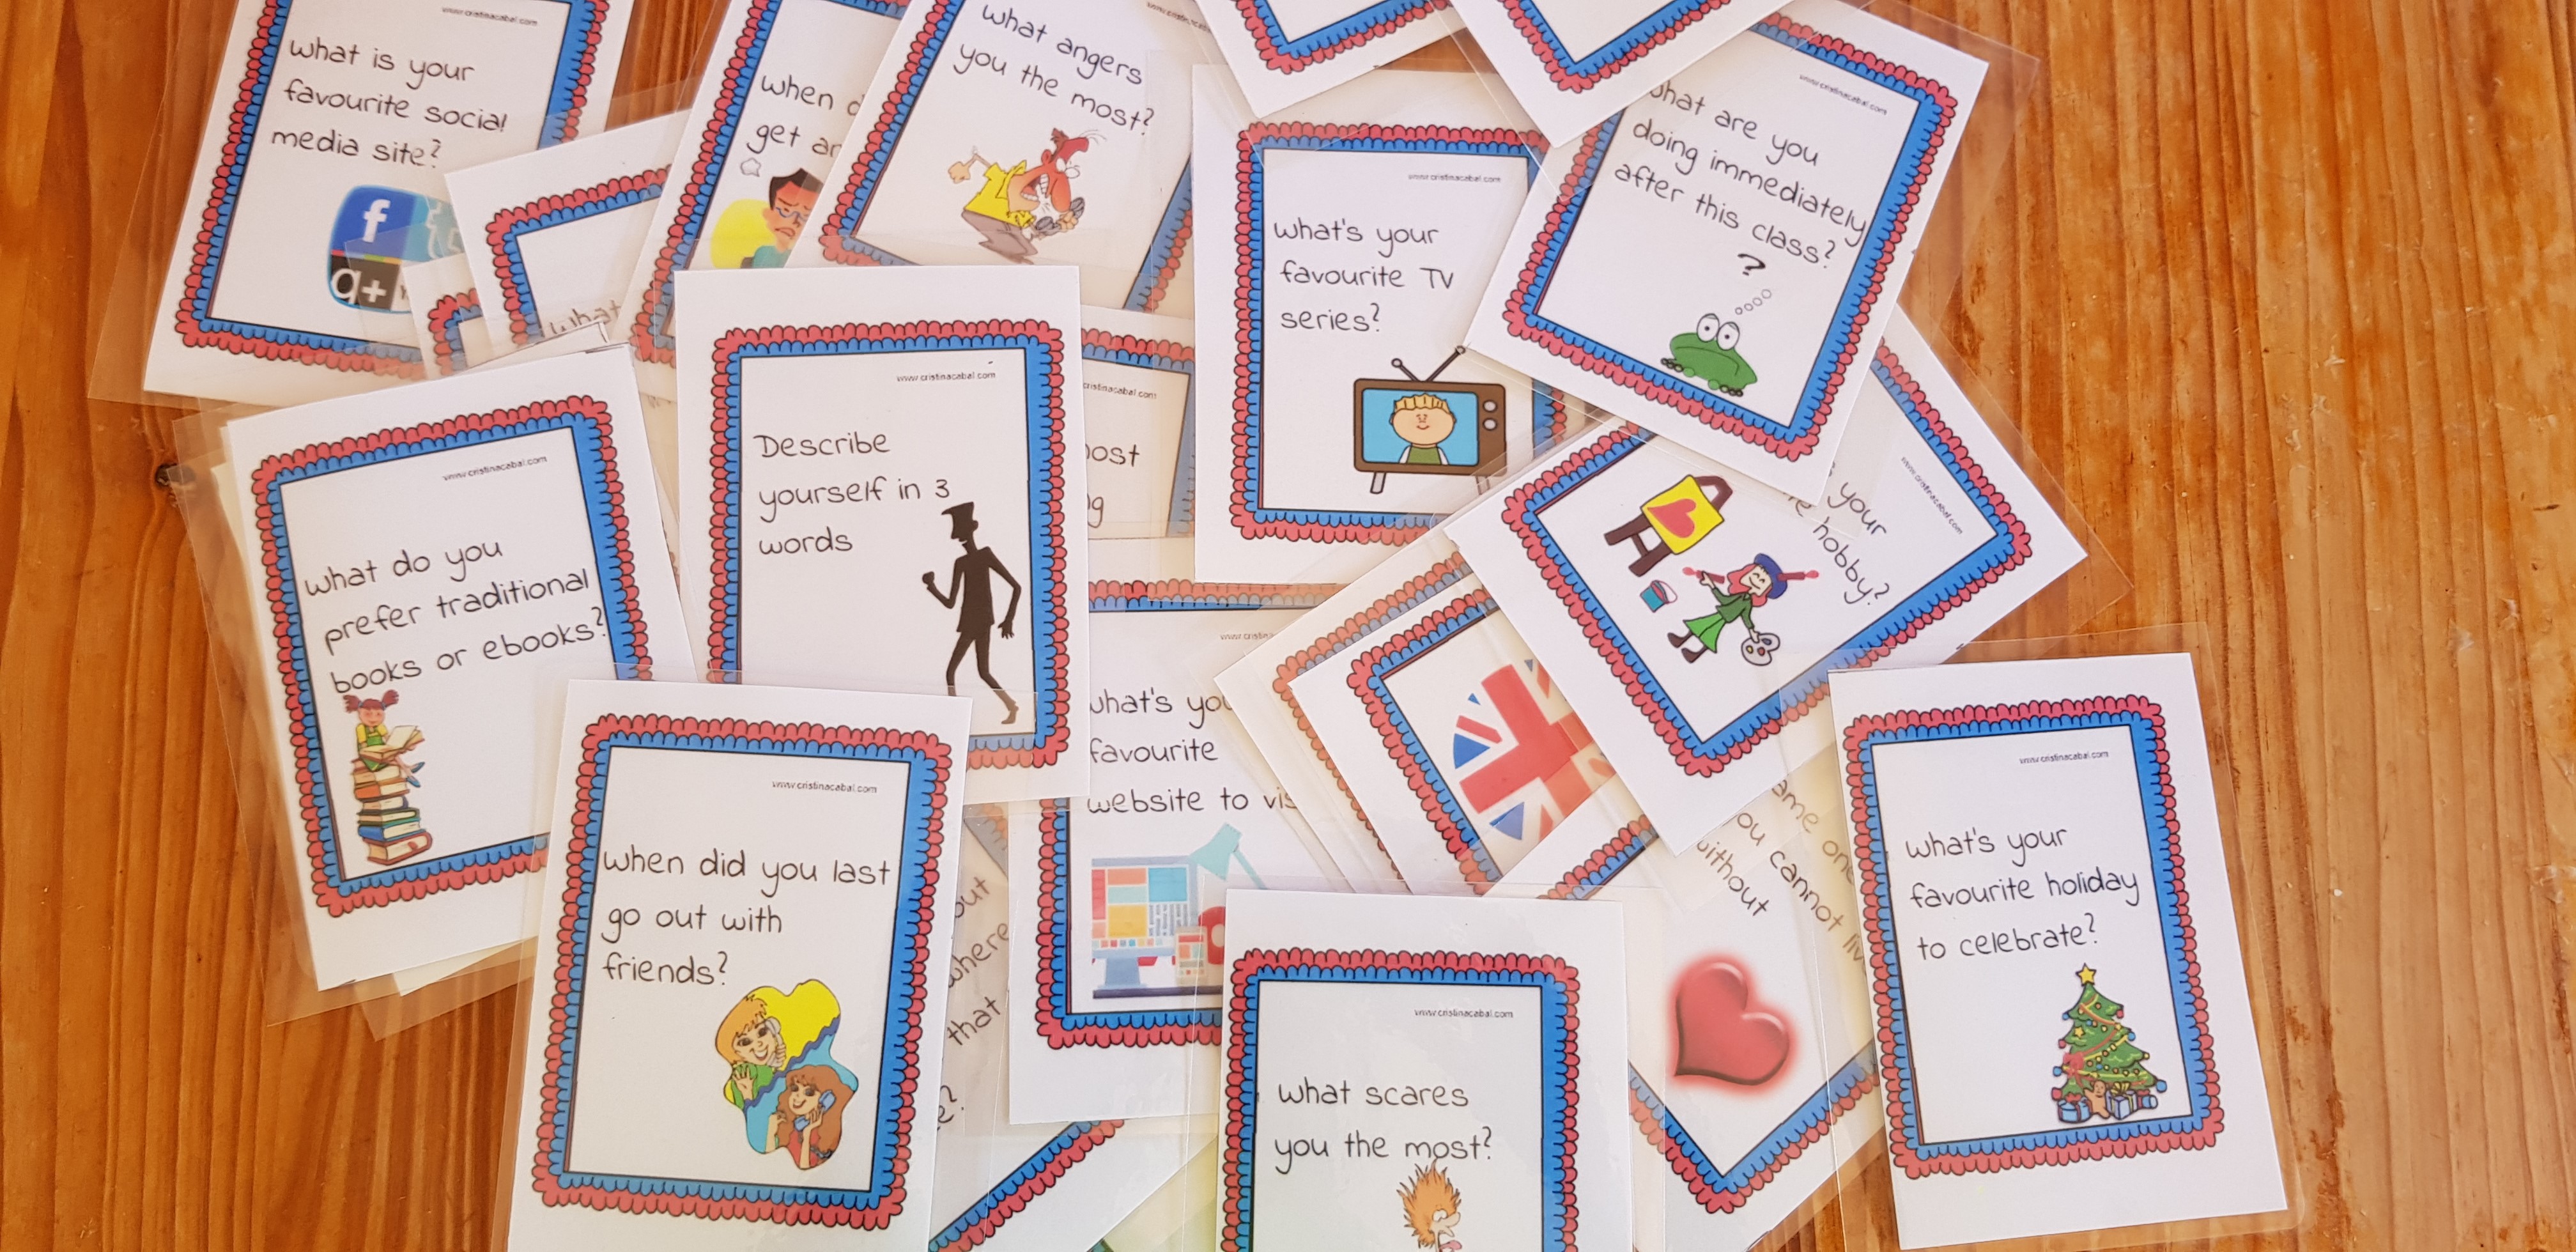
- Give students 5 pieces of paper. I normally reuse discarded printed with a blank side, which I cut into approx 10×5 cm pieces.
- Instruct them to write on each piece a word or expression they have learnt about, in this case, sports. Ex: face danger, overcome your fears, adventurous. I encourage them to write not just the word but also the collocation as we have learned it.
- Ask students to form groups of three or four people.
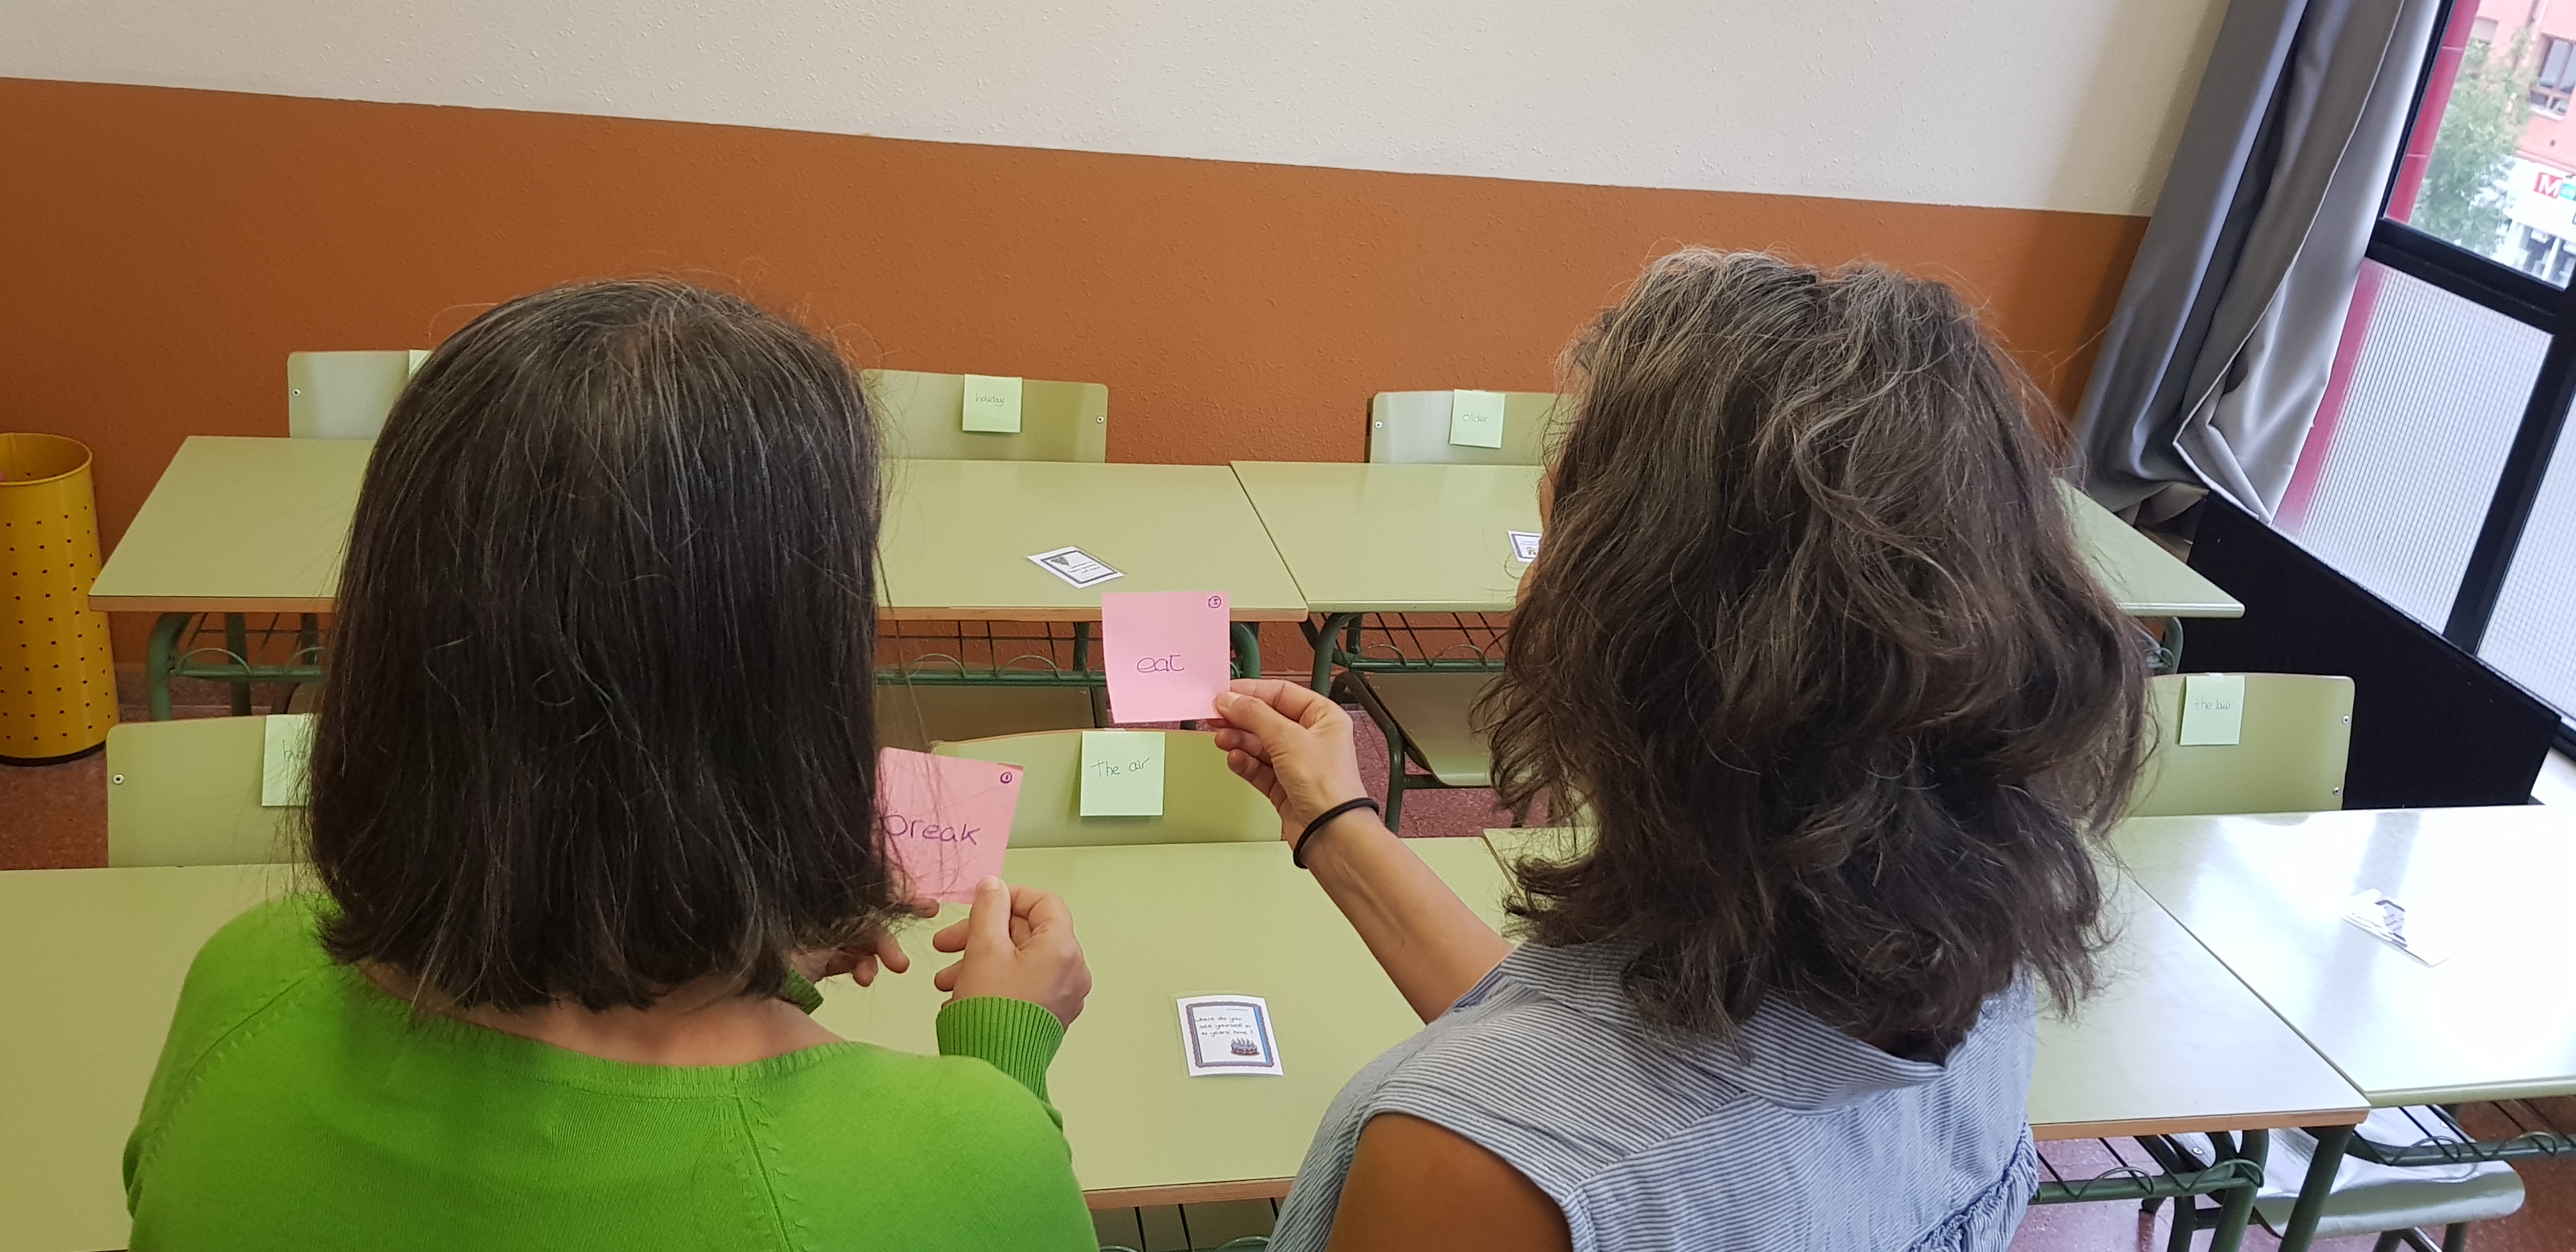
- Ask them to put together all their cards, shuffle them a bit and place them face down in the middle
- Give students counters and a die. The youngest in the group starts playing and then players will continue playing clockwise.
- When Player A lands on a square, he reads the question and then picks up a card containing an expression which he will have to use when answering the question. They will have one minute to answer the question. If they manage to squeeze the expression, they can keep the card. If not, the card is returned to the pile.
Enjoy teaching! Enjoy learning!