About two weeks ago, to celebrate Halloween, I decided to set up a contest where my students could try their hands at writing a paranormal story. The task was to write a story beginning with:
I don't believe in paranormal, but one day...
I want to thank my students for making the contest a resounding success as 58 students wrote 58 great stories. Thank you very much for your effort. Your contribution was vital to the success of the contest.Now, it’s time to choose a winner!
I have selected these 4 stories. Please, read them and help me pick a winner. After reading the four stories, you can vote. Please, vote only once!
Thanks for voting. Now, here’s the winner of the contest, Remedios Gámez. Thank you very much for your story “Hide-and-Seek”
Every child is an artist, the problem is staying an artist when you grow up.” – Pablo Picasso
I had a full-blown, real, very much needed holiday. The last two months had been unbelievably hectic: end-of-term exams, working full-time during the week and some teacher training weekends and, to top it all, I was also writing a project to apply for a European grant, which unfortunately I won’t get.
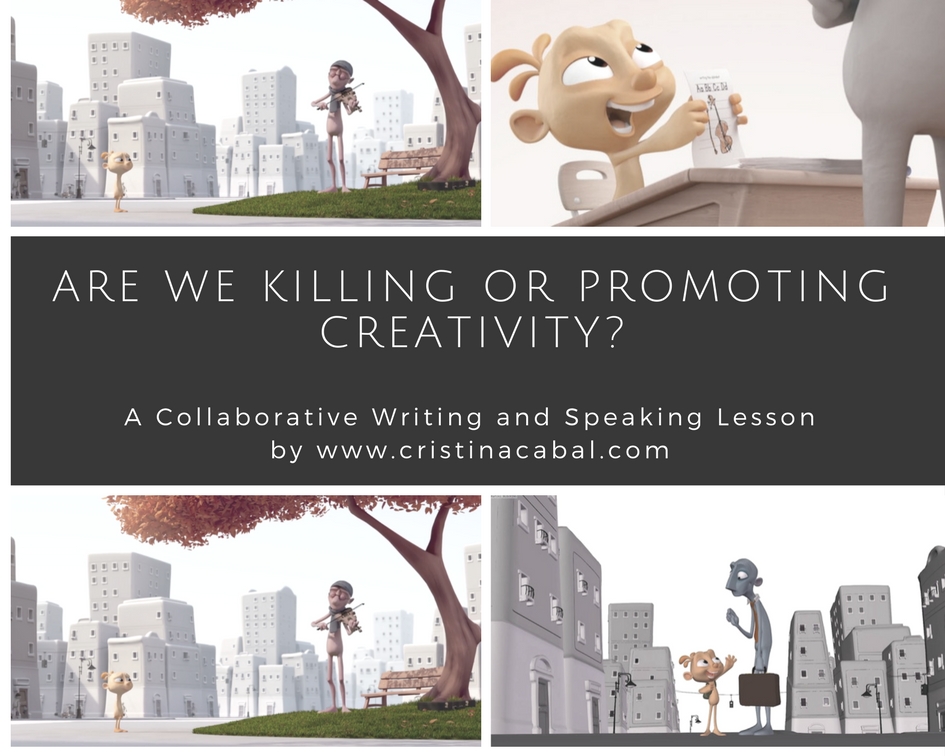
So, there I was, fully enjoying my break , when I stumbled upon an article in El Pais about a short animated short film “Alike”, which had won a Goya award in 2016, and I was struck with how beautiful, touching and thought-provoking the video was. And I just knew I had to show it to my students, do something with it and well, here it is. I hope you enjoy it as much as I did.
About the lesson: In this lesson, aimed at B2 students and above, students watch a short silent film called Alike (7 minutes) with two main aims:
To give voice to the story and for this:
they will have to collaboratively write the story
they will have to collaboratively retell the story
2. To discuss some questions related to education, the promotion of creativity and daring to be different.
Step 1. Warm-up: Copi and Paste
Tell students they are going to watch a short video called Alike, where the main two characters are a father and a son whose names are Copi and Paste. Focus on the names, write them on the board and ask students to predict what the story could be about. Hopefully, students will come up with some of these ideas
(Lack of)Creativity
Imagination
Routine
Lack of ideas
Plagiarism
Inspiration
Deception
Step 2. Introducing the video and the task
Explain that the video they are about to see is an animated short film (7 minutes) called “Alike” where there is no dialogue. However, the video is so touching and thought-provoking that words are not necessary; images and especially colours play an essential role and are enough to tell this beautiful story and to give us something to think about.
Play the video once asking students to focus on how the colours (or lack of colour) help tell the story. You can also tell them that, later in the lesson, they will need to narrate the story so they need to concentrate on everything that happens.
1. Form groups and assign each group a part of the story. The aim is first to write and then to tell their part of the story as it happens, but also to analyse the hidden meaning and the values it tries to highlight.
The day begins (0:06- 1:32)
At school/ at work ( 1:33-2:38)
Leaving the office/school (2:39-3:07)
The next days (3:08-3:52)
Copi’s surrender (3:53-5:00)
But one day (5:01-6:50)
Depending on the number of students, you can ask them to work in pairs or assign each group two parts.
2. Play the story once again for the students to take down notes and get stsrted with the writing task. Walk around offering help and guidance.
3. Play the story again to help students polish their part.
4. Ask each group to name a spokesperson and ask these students to come to the front of the class and give voice to the story as you play it once again. Be ready to pause the video as required.
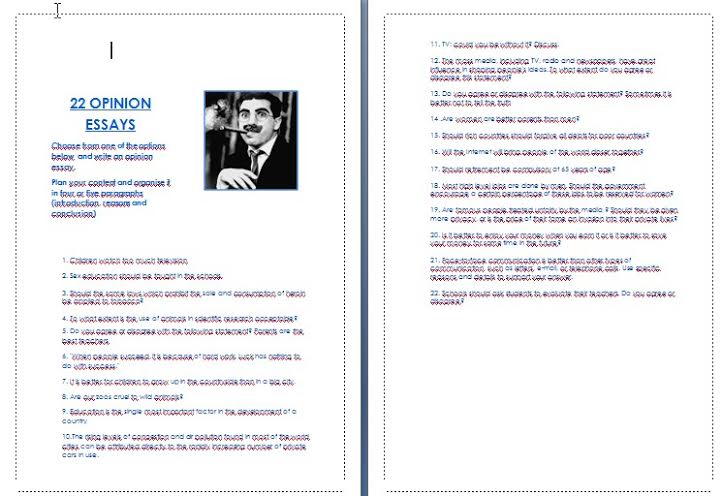
Doesn’t the title itself already encourage you to start writing straight away? Just kidding! I guess you need a stronger push than just a title. Well, I can provide this little push in the form of real examples of my students’ essays after following all these 5 steps. Just skip to Step 4 if you don’t believe me and bear in mind when you read their essays, they are B1 (intermediate) students.
Step 1. The difference between an opinion essay and a persuasive essay.
Opinion essay: in an opinion essay the writer states his opinion and supports it with facts, evidence and examples but he doesn’t try to convince the reader.
Persuasive essay: in a persuasive essay the writer tries to convince the reader to agree with his opinion. The author uses logic and facts, definitions and examples in order to persuade the reader to share his point of view.
Step 2. Top tips for writing an opinion essay
1 Basic do’s when writing an opinion essay
Introduce each paragraph with a topic sentence, outlining the main ideas.
Do not write about advantages or disadvantages or points for or against.
Write in formal style.
2. Basic don’ts when writing an opinion essay
Don’t use colloquial expressions.
Don’t use short forms.
Don’t use emotive vocabulary.
3. Decide whether you agree or disagree with the title. Try to think of at least two or three good reasons to support your opinion, including examples of why you think the alternative point of view is wrong.
4. Organise your essay into clear paragraphs.
Introduction: Introduce the topic and give your opinion. Say whether you agree or disagree with the statement.
Body: 2 or 3 paragraphs. For each paragraph give a reason to support your opinion.
Conclusion: Summarize your ideas and repeat your opinion using different words.
5. There is a process to writing. Try to follow it. It will help you a lot
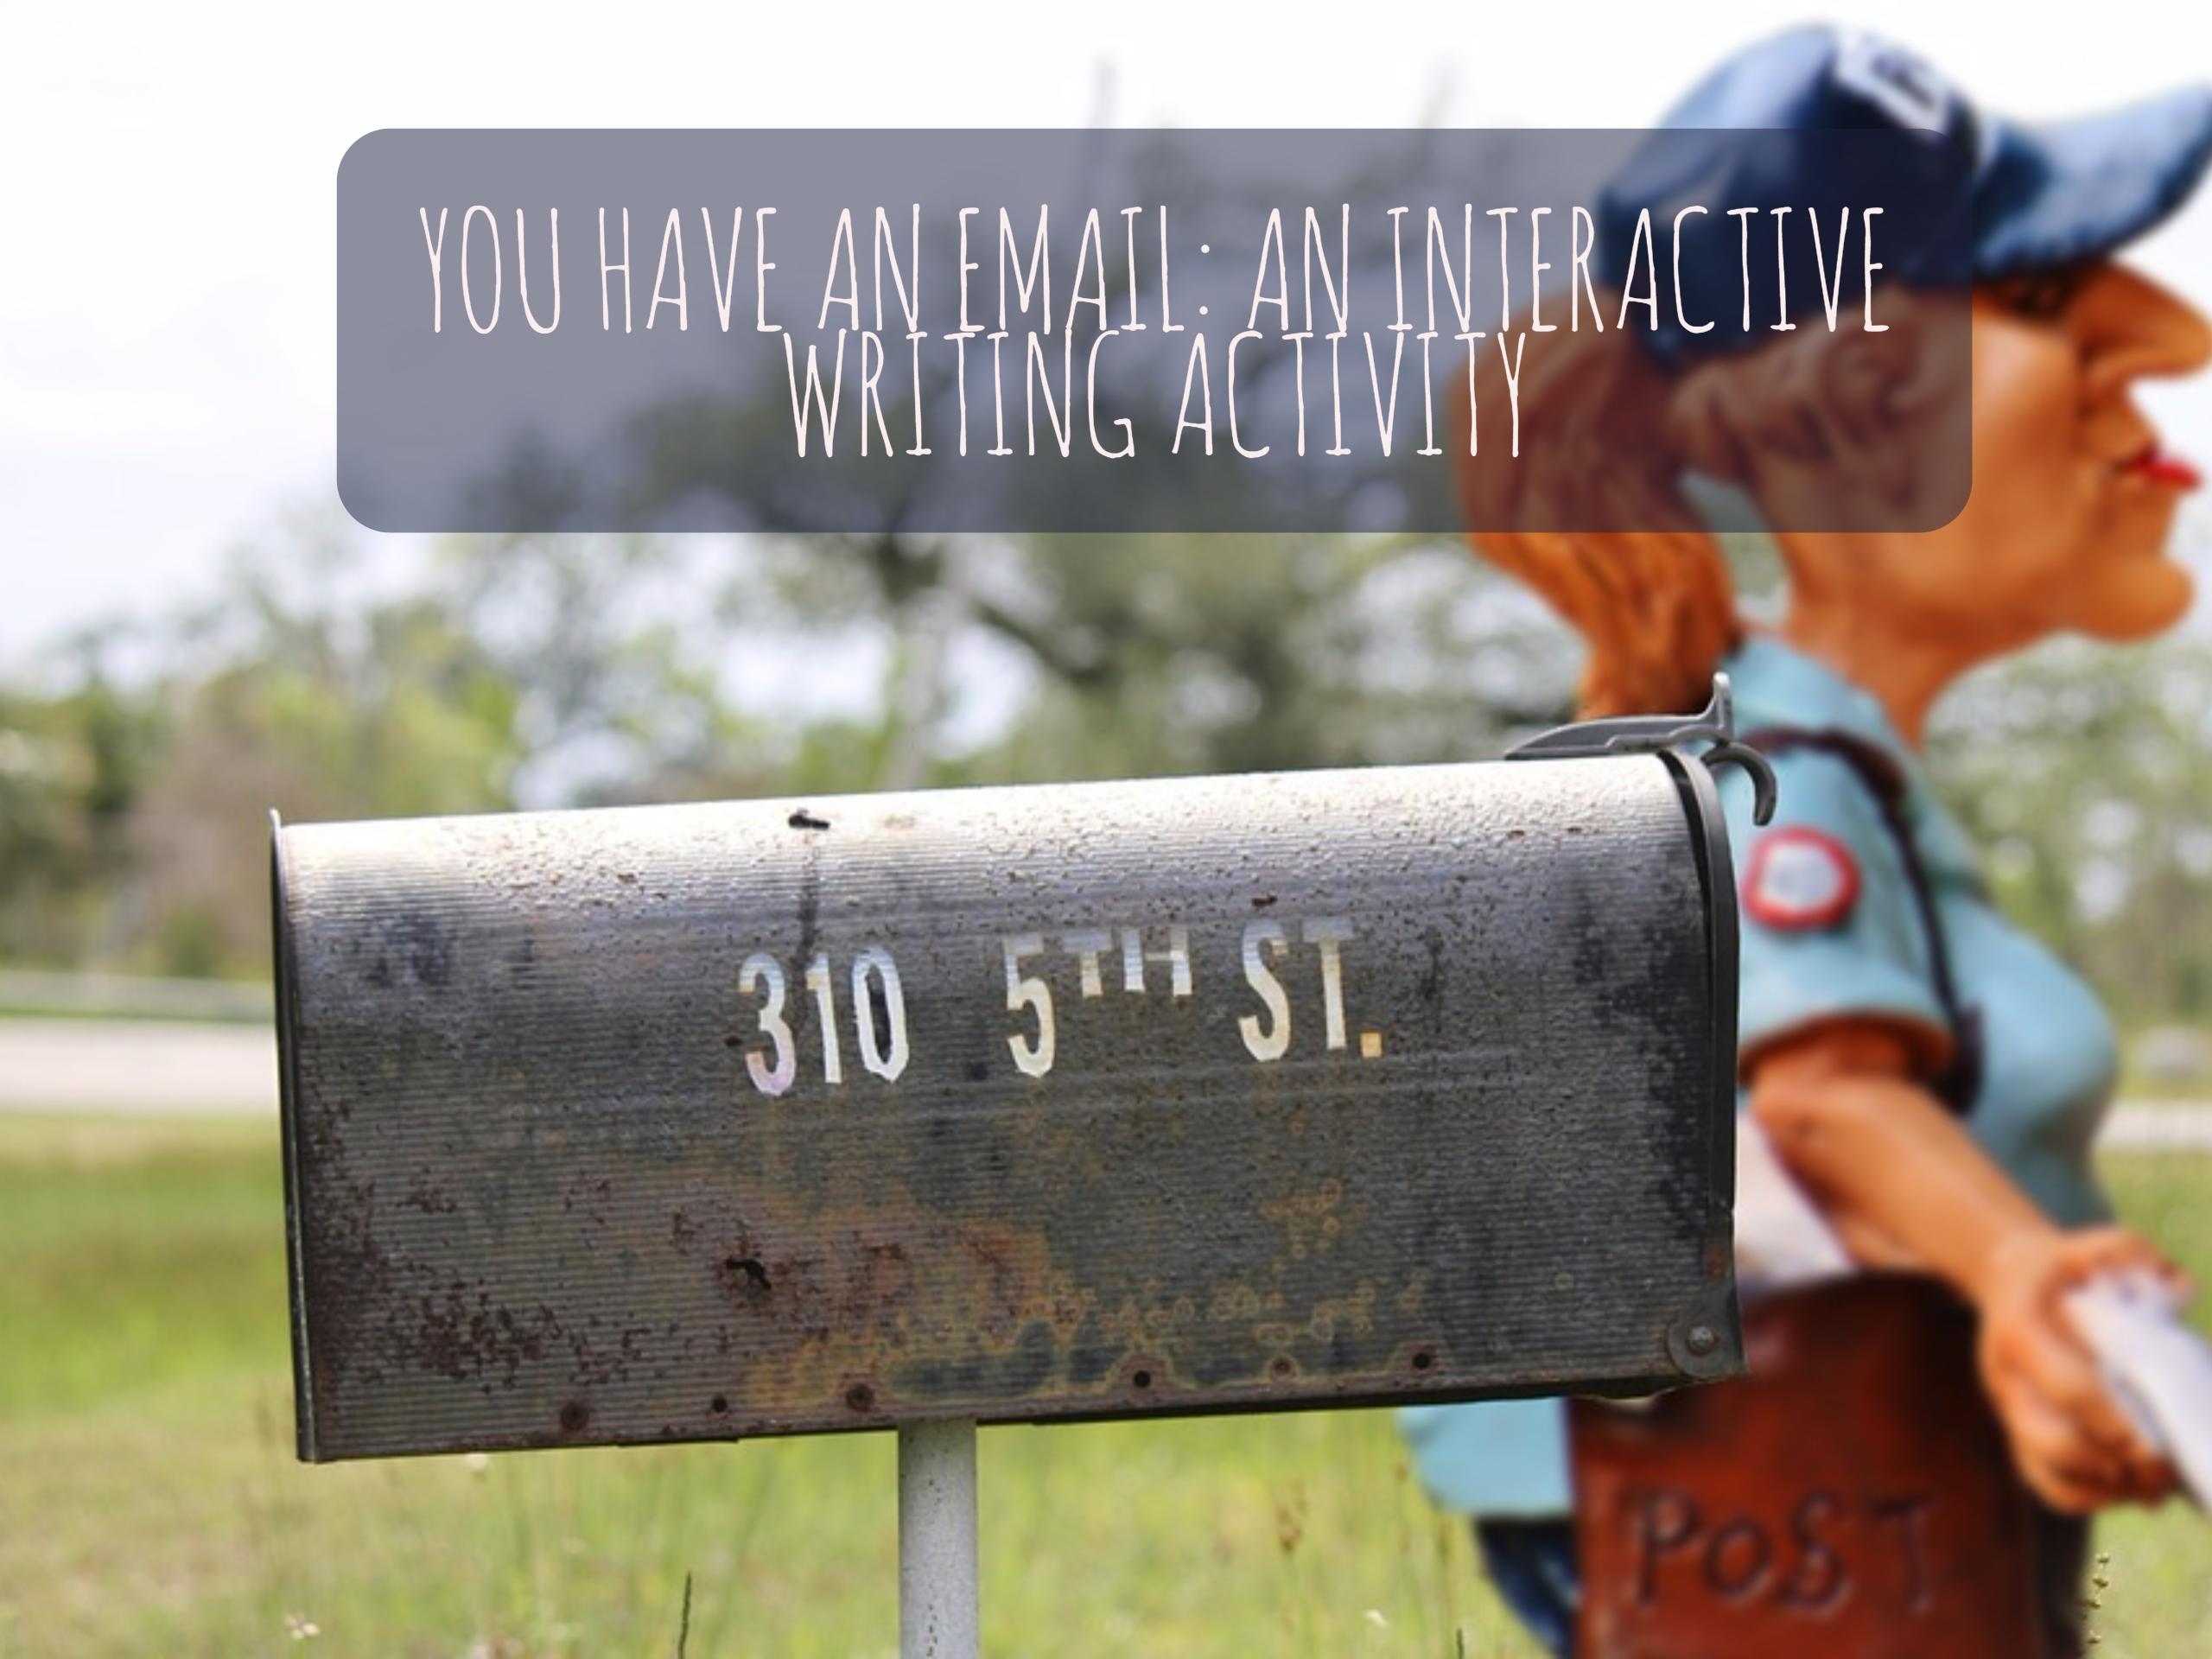
It’s true that although I’m a technology enthusiast there are still some things that I want to see written in paper. Especially when I’m studying I want to be able to underline, highlight, mark as irrelevant or write side comments in the margins.
So, for this activity, and despite finding lots of beautiful online presentations explaining the art of writing informal emails or letters (does anyone write letters anymore?), I have decided to stick to the traditional handout.
Level: B1 and above
Materials:checklist and handout (I have slightly modified it to adjust to my students’ needs)
Aims:
To teach students how to write informal emails with different purposes
To give students practice in writing some of these emails
To help students self-correct their own writings
THE THEORY
As explained above, I gave my students this excellent handout and we went through it. To make this process a bit more interactive, before each section we did a bit of brainstorming on the board tapping into the students’ prior knowledge. It is amazing to see how much they already know when you just take the time to ask them. After these brainstorming sessions, I always tell my students “Now, a bit more”. This “Now, a bit more” is based on the idea that new knowledge is constructed from old knowledge and I firmly believe this approach really makes it easier for students to learn and improve.
THE PRACTICE.
In this part the students will have to write two emails: a short one (50-60 words) and a longer one (140-160 words) in reply to a short one.
ONE. On the board write the following
Giving news
Apologizing
Inviting
Requesting
Thanking
Congratulating
TWO. Ask students to choose one. Make sure there is variety. They will find useful expressions for the email they have chosen to write in the handout provided.
THREE. Explain that they will need to write, on a clean sheet of paper, a short email to someone in the class. Tell them to follow the “salutation/body/closing structure. They will need to refer to the purpose of their email and then ask 2 or 3 further questions, related or not to the reason for writing their email. Remind them to keep this email short. Allow 10 minutes for this part.
FOUR. Once they have finished, ask students to swap emails with the person sitting behind them making sure they have not written the same kind of email. In that case, help them find someone else to swap emails with.
FIVE. Students will have to write an email in response to the email received, answering any questions asked. Ask them to refer to the handout and use a variety of expressions and a good range of vocabulary and structures. Allow 25 minutes for this part. They should aim to write between 140-160 words.
SIX. Students swap emails again and read the reply to their email.
SEVEN. Ask students to usethis checklist to correct their partner’s email and give it a mark taking into account the following:
Content: Has he fulfilled the task? Has he answered all the questions?
Communicative Achievement: Has he used the right register or is it too formal? Does it sound natural?
Organisation: Is it well-structured? Is it logical and ordered? Has he used the right punctuation?
Language: Has he used a wide variety of vocabulary and structures? Is it adequate to the level? Are there spelling mistakes?
Correcting each other’s emails is not something the students feel confident about, but if before they start correcting, you write some repetitive mistakes on the board they’ll feel more confident correcting them. Ask them to underline anything that sounds incorrect to them and offer help.
EIGHT. The final step would be pairing up senders and recipients to comment on mistakes and marks awarded.
These past few days have been hectic with lots of exams to be written and then marked, plus all that red tape I can’t stand involving end-of-term exams. To top it all, my old friend the flu decided to pay me a visit. Very timely. Right now, thank goodness, deadlines have been met and everybody seems to be winding down for the holiday season. Me, too. So, that’s probably going to be the last blog post of the year.
Aims: to encourage collaborative work by giving students the challenge of researching, selecting and presenting a project about unusual traditions around the world.
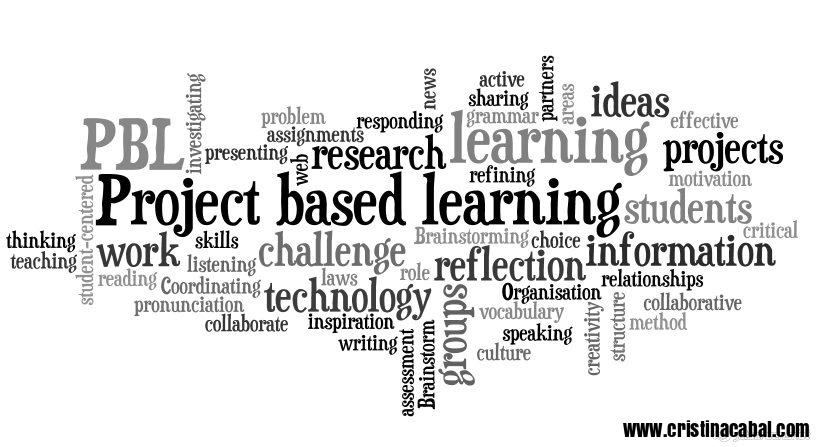
It is a student –centred teaching method in which students acquire knowledge and skills by investigating and responding to a complex question, problem or challenge.
PBL is an active learning style which inspires and motivates students because they take an active role in their learning process and experience success in their own learning. The role of the teacher here is of mere facilitator and coach.
In PBL students are encouraged to work in pairs or in groups, which is also good because it creates a friendly atmosphere which is a boost to their motivation and creativity.
Project-based learning structure
Choosing the problem or challenge
Organisation
Brainstorming
Coordinating
Sharing learning and refining
Presenting and sharing
1.Choosing the problem or challenge.
For this project, students will be rising to the challenge of presenting information about unusual customs in the world.
2. Organisation.
My classes are quite large so students will work in groups of 4 or 5.
On the board the class as a whole decide on 4 or 5 areas, they want to talk about. There should be the same number of areas as groups you have. Each of these areas is assigned to a group to research.
In this project
Relationships
Festivals
Law
House and Home
3. Brainstorming
This step is done entirely at home with the help of an online collaborative free tool. My students are adults, some as old as 70, and they only see each other in class twice a week, so it was important to provide them with some kind of free online tool they could use to brainstorm ideas, share them with the members of the group and organize their project (timing, visuals, specific assignments..etc). I used a Padlet, a well-known collaborative tool, which is very easy to use, something really important as some adults are reluctant to use new technologies. Each group was assigned a different Padlet and given a week to do research on the internet and post on Padlet their ideas.
Below is the Padlet the group”House and Home” used.
4. Coordinating.
This stage might take the first or last 10 minutes of your lesson. Once they have shared their ideas on Padlet, in class they decide on the number of traditions they are going to present, who is going to do what, the order in which they are going to present the information and the visuals or videos they are going to use.
5. Sharing learning and refining
In the next class, allow students time to get together in their groups and share their drafts. Offer help and guidance but ask students to help each other by swapping their drafts within their group to improve and proofread their written work.
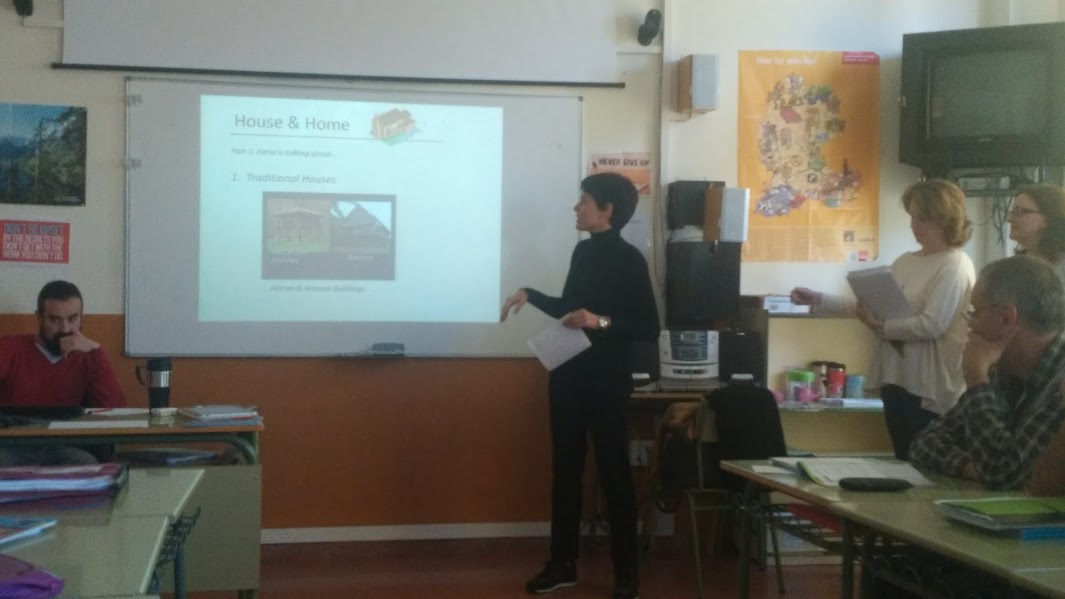
6. Presenting and sharing
Agree with the students on the order of the groups and let the show begin. Below is a picture of one of the groups on stage.
Sharing it with the world is also important. Here’s how we did it. Again, we used a free online digital tool called Tackk.com, which allows you to beautifully showcase your projects. I gave my students this simple tutorial to help them get familiar with the tool.