Do your students sometimes feel as if they are not making enough progress? Do they sometimes have the impression their language learning has slowed? Do they feel they are stuck in the intermediate plateau?

While this feeling is completely normal, it can sometimes be very frustrating for our students. You might try to explain to them that this is just part of the natural process of learning a language, but the truth is that in their eyes, they are just not progressing as fast as they think they should, no matter how hard they try. It’s true that this perception is not real, but it never hurts to show them how unreal it is.
Today I want to share with you a little experiment I did with my students. Very simple, but very effective too. I did with my intermediate students, but you can easily try it with students of any level.
What’s the aim of the experiment?
to make students aware of how much they have learned at the end of a topic-based lesson. The idea is to brainstorm vocabulary related to the topic twice: at the very beginning and at the very end of the lesson(s) to make them realize how much they learn in the course of a single lesson. Making students aware of how much they are learning can dramatically improve teaching effectiveness as it is a powerful way to boost their motivation.
How long does it take?
5 minutes at the very beginning of the lesson and five more at the end of it. If you dedicate two or more sessions, 5 minutes at the beginning of the first session and 5 minutes at the end of the last one.
Do you need to use technology?
I am afraid you do. For this experiment, students need to use their mobile phones with internet connection or any other device with internet connection. The good news is that you just need one device every three or four students. I have also used Answergarden, which is a very simple free tool used for getting real time feedback from a group. It’s really very easy to use, but if you think you need extra help, you can watch a video tutorial in Teachertrainingvideos.com or read a brief tutorial here.
THE EXPERIMENT
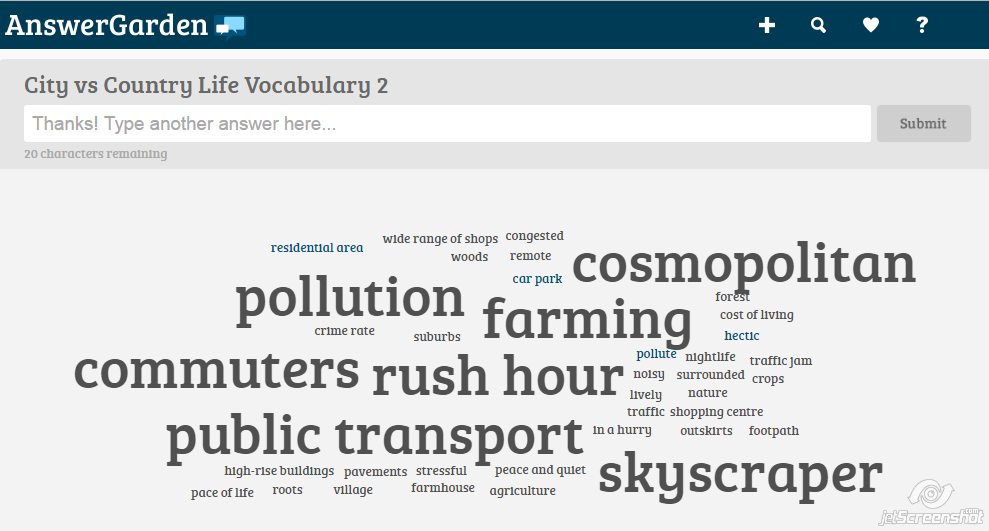
- Go to Answergarden and create a New Answergarden (it literally takes less than one minute). In my case, I created an Answergarden with the title City Life vs Country Life as this was the topic we were about to study in class.
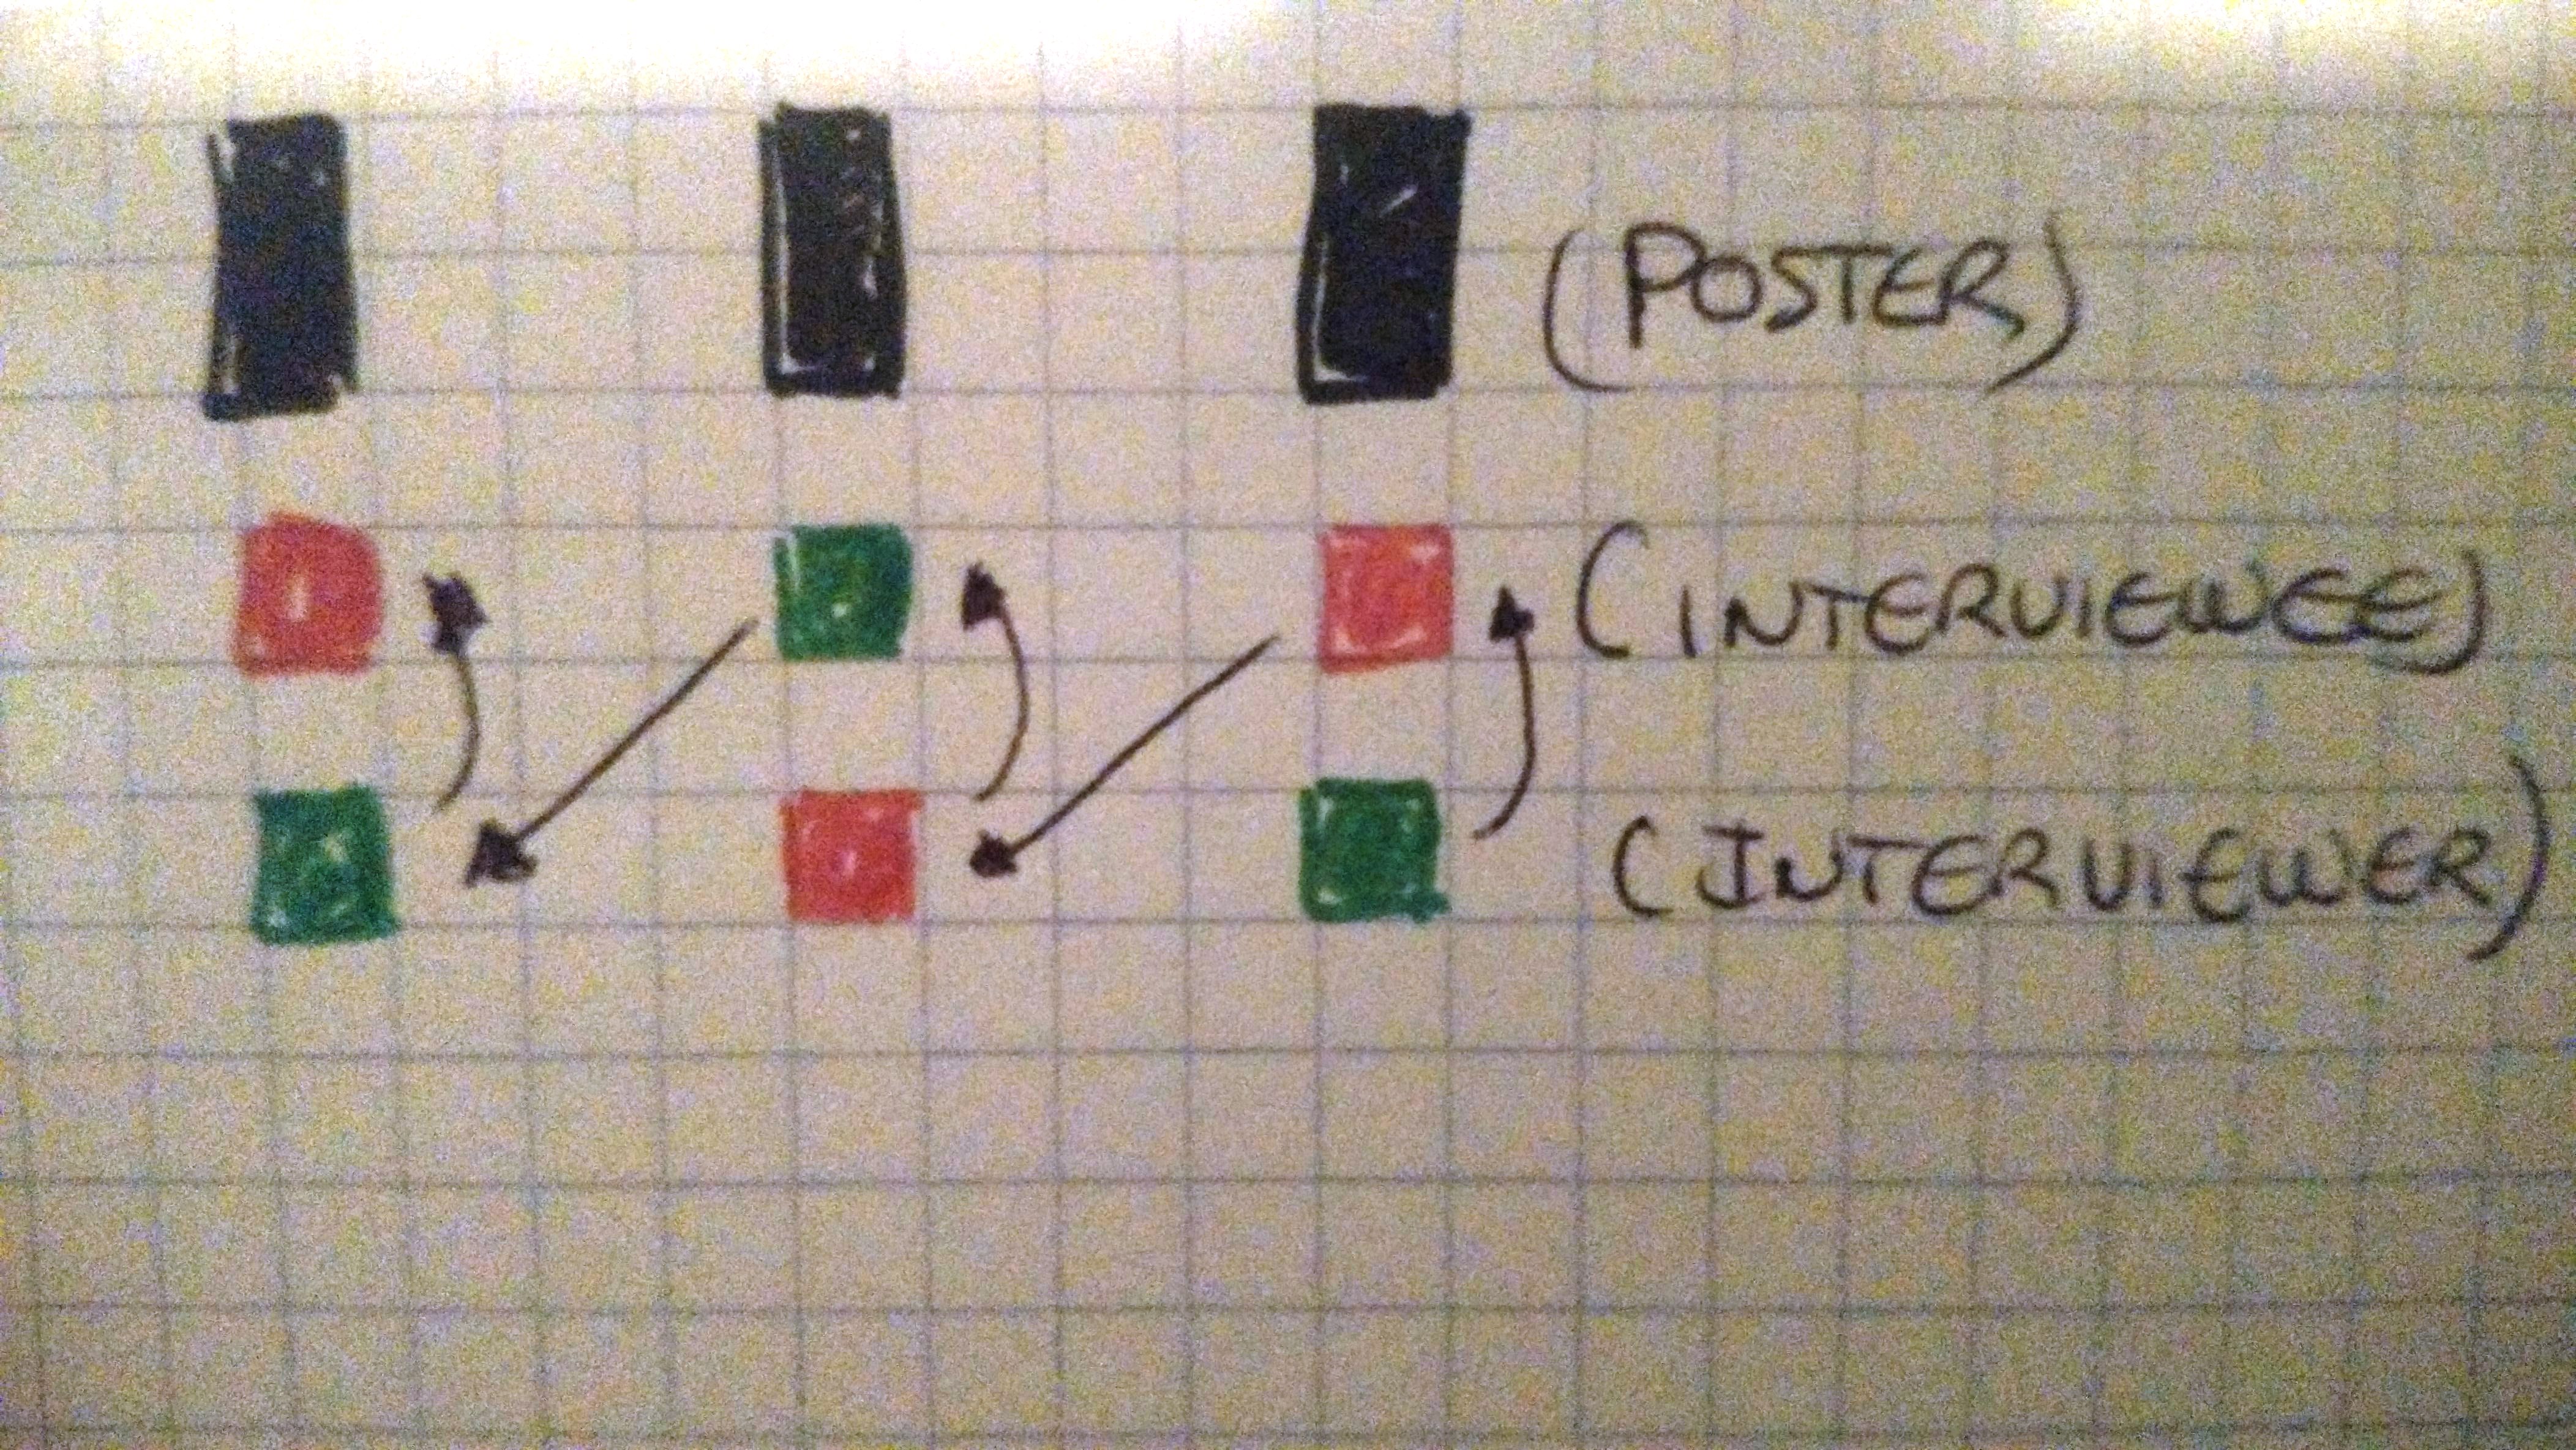
- Ask students to work in pairs or in groups of three and use just one mobile phone.
- Share the link with your students and ask them to type the url in their devices (as I have mentioned, my students used their mobile phones) You can use Google shortener to shorten the link.
- Ask students to brainstorm vocabulary related to “living in the city and living in the countryside”, enter the vocabulary in the box and carefully check the spelling before submitting their answers. Allow 2 or 3 minutes.
- Display on the overhead projector the answergarden. As students submit answers, click the Refresh tab on the bottom menu to update the answer display.
(below you can see the first wordcloud)

- Go through the vocabulary they have submitted and make sure you save this first word cloud.
- Teach vocabulary as any other ordinary day
- Repeat procedure at the end of the lesson or the sessions dedicated to this topic.
- Display both clouds and ask students to compare them and reflect on how much they have learned on the course of a single lesson. Contrasting both word clouds will undoubtedly not only motivate your students, but also will reinforce the idea of progress that is sometimes lost especially at the intermediate level.
Another idea with the same aim would be to ask students, at the end of a unit, to write everything they have learned in this unir. They’ll be just amazed at how much progres they have made.