Hello!!!Hiya!!! Still in confinement in Spain. What about you, guys?
I have to say that I am pretty busy (thank God for this) with all the projects I am involved in. One of the things that has kept me very busy is looking into ways of making my online classes more interactive, more like they used to be when I was teaching face to face and having fun with my students.
To be honest. My classes are not the same. They cannot be. I miss that.
Just a couple of posts ago, I wrote about a very nice little tool you could use to create a set of interactive whiteboards with just a click. Here. It was useful but …. when I used it, it realized I needed much more. I wanted to have the possibility of:
- Assigning a slide to each student in case I needed to give them different assignments.
- Choosing the layout of the interactive board.
- Inserting images
- Changing the size of the board in case they needed to write more than a sentence or more than a paragraph.
- Correcting their assignment synchronously or asynchronously.
- Being 100% in control of the interactive boards
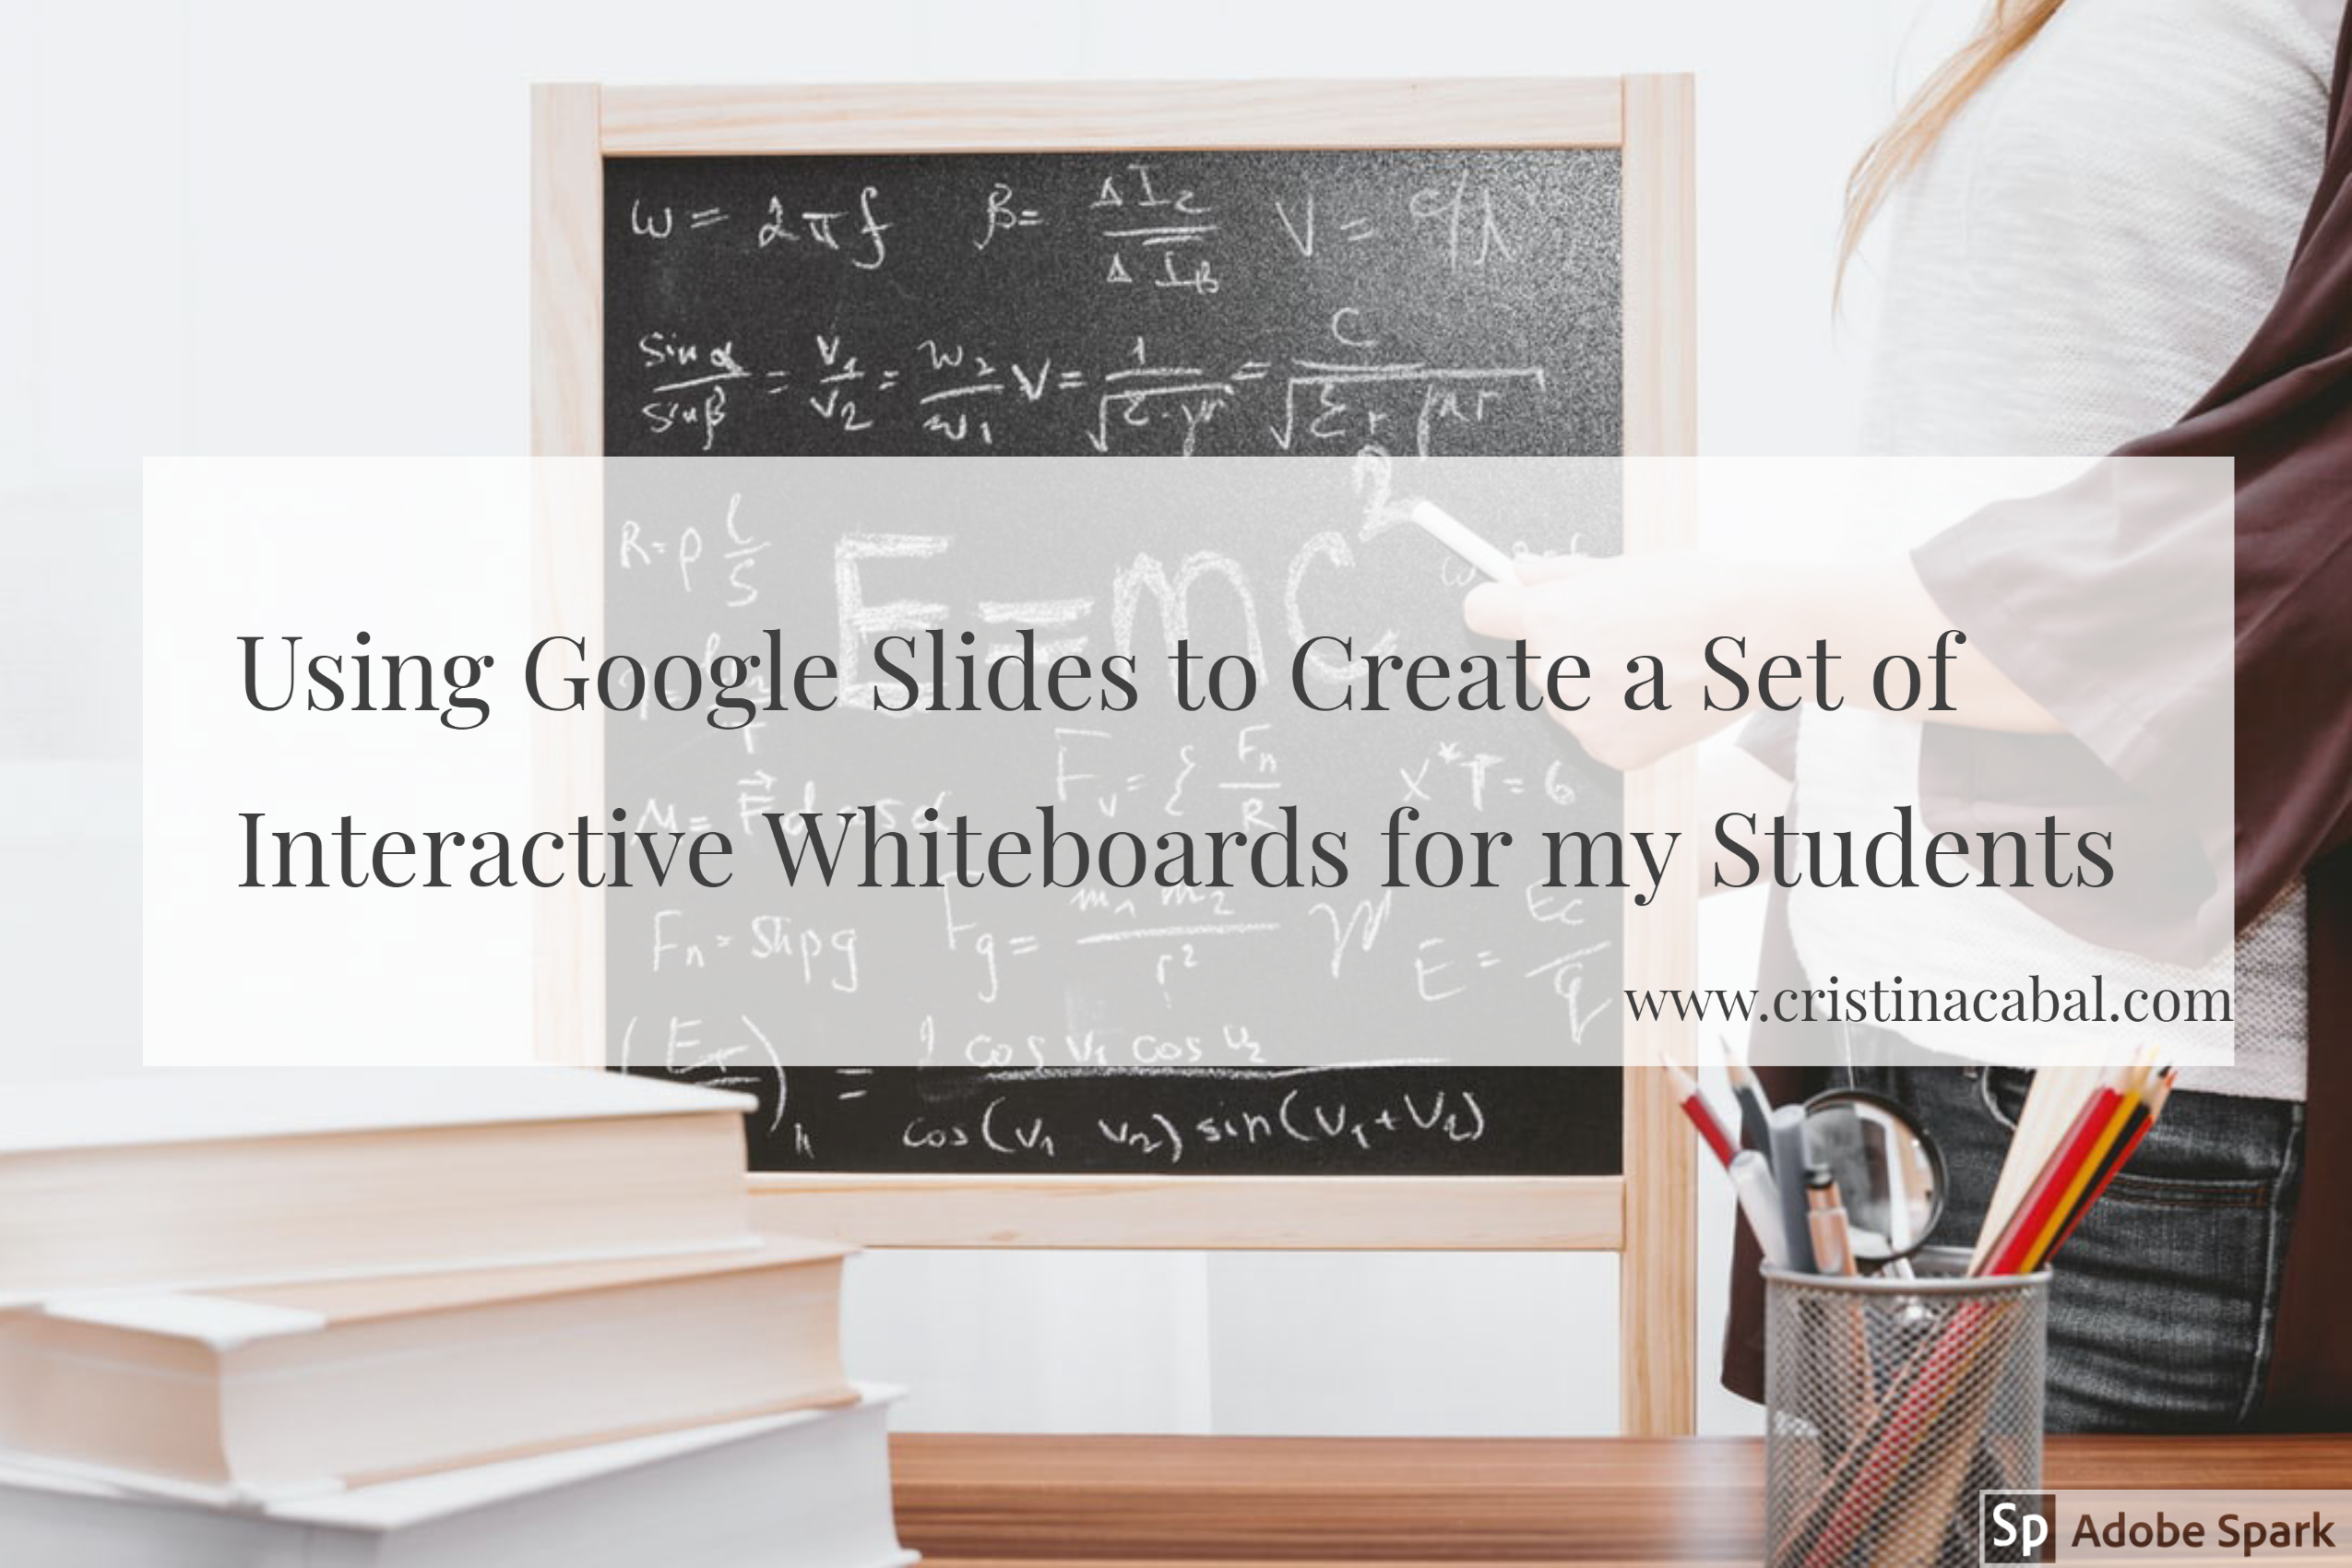
And then, I had like an epiphany moment and realized that I had been working for a long time with a tool that did that and … much more: Google Slides.
Just below, you will see a 10-second video of my students working on Google slides on a translation activity I designed for my online class this week. Prior to the class I had, of course, decided what kind of assignment I was going to give them and done a number of things: I had chosen the layout for the first slide (size, font, font size) and inserted an image. Then, I had duplicated it and assigned a slide to each student. So, this is basically the idea.
Note: notice how Student 4 is writing. The highlighted words in yellow indicate where students have made a mistake that needs to be corrected.
If you get the gist of how this works, you can stop reading right now. But, if you need some guidance, I have prepared some video tutorials. I will give you a heads up of the content in each one so that you can skip the ones that do not interest you. The videos are in Spanish but there are some guidelines in English and they are easy to follow. I also help Spanish teachers introduce technology in their classes so I don’t feel like recording tutorials in two languages and, to be honest, Spanish is easier for me.
Before you jump right into the tutorials, let me share with you some ideas of written work using Google Slides for small written assignments.
- translating sentences
- revising vocabulary and asking students to come up with a sentence.
- Assigning three words and some connectors to each student and asking them to write a small paragraph
- Chain stories
- Minisagas: 50 words
- Picture description
- Assigning each student a word and ask them to write a small quiz with three options for the definition of the word: two incorrect and one correct
For bigger written assignments like book reports, you will need to change the size of the slide.
Part 1: Introduction. 1:45 (only in Spanish, so skip this part if you don't know my mother tongue)
Part 2: How to create our first slide, how to delete a slide and how to duplicate it. (1:26)
Part 3: Our first slide and how to assign each student a different slide (4:05)
Part 4: How to change the size of our slide (0:41)
Part 5: How to share the presentation with our students (o:44)
Part 6: How to see all the slides at the same time and how I correct students' written work (0:48)

Thanks, Marianne for your feedback!
I am glad you find it helpful!!!
hallo Christina , ik ben instructeur in België en wat ben ik fan. Ik zocht al naar manieren om met mijn cursisten taakgerichter te werken en hier mee kan ik van start
Hi
You are right. You cannot draw on Google slides.
Check out this other interactive board
https://www.cristinacabal.com/?p=14064
Or give Jamboard a try!!
I had this very idea, but I can’t figure out how to allow students to be able to draw on their slide. Consider working out a math problem. How can they “draw” it out and show their work on the slide? Looking forward to your thoughts!
This was such great information-thank you for sharing!
yes, here in Spain, we are also teaching remotely! We really need to find fun ways to teach, otherwise we will get mentally exhausted!
Hi Cristina…I´ve become a huge fan of your posts and I find everything really useful for my classes. I started to use Google Slides for my classes because here in Argentina we are still confined so I am teaching online. I added audio to my Google Slides explaining exercises, teaching grammar, explaining everything as if I were in the classroom with the students. I also included my own videos and I think they are very happy with the results. I will start to use Google Slides to ask the students to write essays.. they´ll love it.
thanks for everything Cristina
Thanks a lot for sharing .
I don”t see why not, but if you want more interaction from your students in the form of written responses, I think I will publish something this week that might interest you. Keep posted!
Thank you so much for your kind words. It means a lot to me to see that you are making good use of the content on the blog!
Hi Cristina!! I just want to thank you for your blog! I´m from Brazil and I´ve been giving online classes since last August. I always come here to look for ideas and I´ve already used many in my classes! Thank you so much!
Cristina,
I am an English teacher from Brazil and ever since I discovered your blog, I’ve become a huge fan of your work!
My question is: do you think it is possible to use Google slides to adapt your idea about correction of fossilized mistakes? I really wanted to try it out, but I’m afraid that it won’t be so effective in an online class. Can you suggest anything that could be used to adapt it? Thanks!