Tag Archives: google slides

Digital Gallery Walks to Boost Speaking Skills

At this time of the year, after students have received their first marks and we go back to normal lessons, I rack my brains trying to find an activity that will get them back into the mood of focusing on learning, and not so much on exams and their results.
I like to make sure I have a fun activity up my sleeve for these first days and one of my absolute favourites is Gallery Walks, in all its variations. I love asking my students to move around, change partners, and seeing their smiles when doing the exercise. I love the hustle and bustle of my classes when students are doing the gallery walk and talking at the top of their voices while commenting on a poster or complaining about how difficult it is to use one or other expression. I love their complaints; I love their smiles and their aha moments when they have managed to squeeze in a term I have suggested. I think I feel nostalgic.

Sadly, movement during lessons is not an option now due to the pandemic. But wait… “If the mountain won’t go to Mohammed, then Mohammed must come to the mountain”

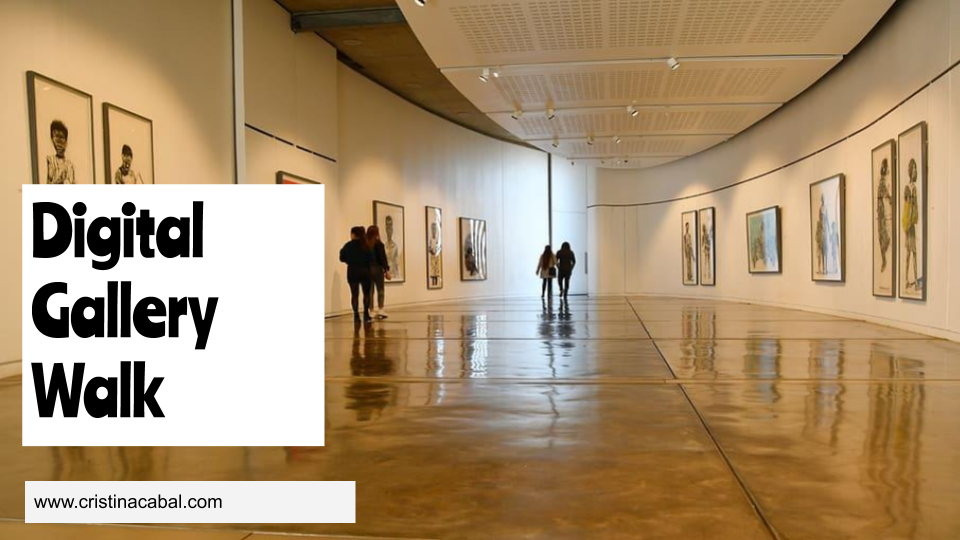
And this is what I have done, a digital Gallery Walk.  I have used Google slides to design a fake museum and I have shared the presentation (Present Mode) with my students.

Have I managed to pique your interest? Then, have a look at my presentation featuring a museum  here.

On a side note, if you don’t know how to share your Google slides in presentation mode, I have you covered. Have a look at this video (0:36). It is really very easy and for this activity, it makes a real difference.

PROCEDURE

In class- or break out rooms-, I have asked students to take out their mobile phones and shared the link for the presentation, using an URL shortener. In my case, bit.ly bit.ly/3oO4PfW

I have asked students to work in pairs or groups of three and instructed each group to start on a different slide. Students read the question on the poster and  I give them 1-2 minutes thinking time before they start talking within their groups. I have also included some lexical prompts to “force” them to use new vocabulary.

For example Group 1, slide 1; Group 2, slide 2; Group 3, slide 3 and Group 4, slide 4.

 After 5-7 minutes talking, I have asked groups to move to the next slide, ie, Group 1, slide 2; Group 2, slide 3 and so on.

You can get a copy of the Digital Gallery Walk here

You can follow me on Twitter and on Facebook. Enjoy teaching; enjoy learning!
 

Showcasing Students’ Written Work Using Google Slides Magazine Style

Happy New Year to everyone! And here we are, back at the start of a new year. I am kicking off this one with a post about writing,  inspired by another post written by a fellow teacher from EOI Pontevedra, Paula Gómez. You can read her post here.

Have you ever entertained the idea of publishing students’ written work but were put off by the limitations imposed by free online publishing apps?  Not any more.

This post is about showcasing students’ written work using one of the greatest free collaborative apps: Google Slides.

How often, when you are marking essays think ” Gosh, this essay or this covering letter is soooo good! I only wish the rest of the class could have it as a model of good writing”   And then, you find yourself contemplating the idea of photocopying it and sharing it with the rest of the class.  But…what if I told you there is an easier way to do it? What if I told you you only need to have a free Google account to showcase your students’ written work in a beautiful way, for free and without any limitations? What if I told you that you can very easily change the dimensions in Google Slides to resemble a magazine?

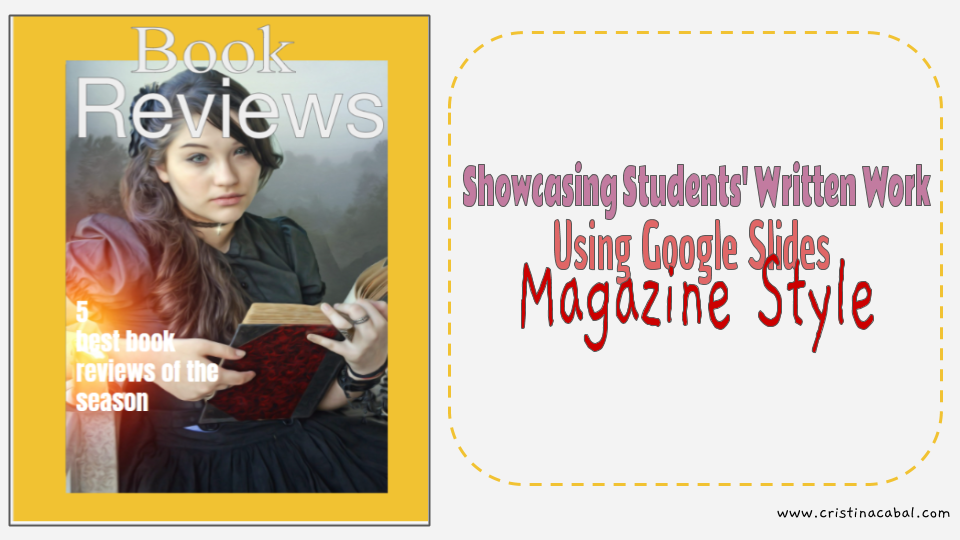
You don’t believe me? Have a look at this Google slides-magazine style boasting some of my students’ book reviews here

Ready to make one? It is really very easy to set up. We are going to do it in 7 steps.  If you have already grasped the idea, you can stop reading now. If you need further guidance, I have recorded a video tutorial to walk you through the steps.

  • Step 1: setting up the slide
  • Step 2: creating the cover of the magazine
  • Step 3: creating the template
  • Step 4. Duplicating the slide
  • Step 5: sharing the magazine/editing permissions
  • Step 6: Sharing the magazine/present mode
  • Step7: downloading and printing the magazine

Before you watch the video, some highlights:

  1. Log in to your Google account and open a Google Slides presentation here https://docs.google.com/presentation/u/0/ and open a blank presentation
  2. The first step to making my magazine on Google Slides is changing the default dimensions. The slide needs to have the same dimensions as an ordinary page in case you want to print it. To do this go to File/ Page Set up/ Custom/ and choose: in cms 23×28; in inches 9×11
  3. Now we need to set up the two most important slides: the cover and the template the students will need to duplicate and fill in with their own content.
  • The cover: Amazing the results one can get inserting shapes, pictures and playing with different fonts. It is all about creating a beautiful inspiring cover.
  • The template: This is also an important part. Spend some time deciding what your magazine will look like and design the template students will duplicate and use to write their own content.

Eager for more? Watch this video tutorial and  show the world what your students can do


Using Google Slides to Create a Set of Interactive Whiteboards for my Students

Hello!!!Hiya!!! Still in confinement in Spain. What about you, guys?

I have to say that I am pretty busy (thank God for this) with all the projects I am involved in. One of the things that has kept me very busy is looking into ways of making my online classes more interactive, more like they used to be when I was teaching face to face and having fun with my students.

To be honest. My classes are not the same. They cannot be. I miss that.


Just a couple of posts ago, I wrote about a very nice little tool you could use to create a set of interactive whiteboards with just a click. Here.  It was useful but …. when I used it, it realized I needed much more. I wanted to have the possibility of:

  • Assigning a slide to each student in case I needed to give them different assignments.
  • Choosing the layout of the interactive board.
  • Inserting images
  • Changing the size of the board in case they needed to write more than a sentence or more than a paragraph.
  • Correcting their assignment synchronously or asynchronously.
  • Being 100% in control of the interactive boards

And then, I had like an epiphany moment and realized that I had been working for a long time with a tool that did that and … much more:  Google Slides.

Just below, you will see a 10-second video of my students working on Google slides on a translation activity I designed for my online class this week.  Prior to the class I had, of course, decided what kind of assignment I was going to give them and done a number of things: I had chosen the layout for the first slide (size, font, font size) and  inserted an image. Then, I had duplicated it and assigned a slide to each student. So, this is basically the idea.

Note: notice how Student 4 is writing. The highlighted words in yellow indicate where students have made a mistake that needs to be corrected.

If you get the gist of  how this works, you can stop reading right now. But, if you need some guidance, I have prepared some video tutorials.  I will give you a heads up of the content in each one so that you can skip the ones that do not interest you. The videos are in Spanish but there are some guidelines in English and they are easy to follow. I also help Spanish teachers introduce technology in their classes so I don’t feel like recording tutorials in two languages and, to be honest, Spanish is easier for me.

Before you jump right into the tutorials, let me share with you some ideas of written work using Google Slides for small written assignments.

  • translating sentences
  • revising vocabulary and asking students to come up with a sentence.
  • Assigning three words and some connectors to each student and asking them to write a small paragraph
  • Chain stories
  • Minisagas: 50 words
  • Picture description
  • Assigning  each student a word and ask them to write a small quiz with three options for the definition of the word: two incorrect and one correct

For bigger written assignments like book reports, you will need to change the size of the slide.

Part 1: Introduction.  1:45  (only in Spanish, so skip this part if you  don't know my mother tongue)


Part 2: How to create our first slide, how to delete a slide and how to duplicate it. (1:26)

Part 3:  Our first slide and how to assign each student a different slide (4:05)

Part 4: How to change the size of our slide (0:41)

Part 5: How to share the presentation with our students (o:44)

Part 6: How to see all the slides at the same time and how I correct students' written work (0:48)

How to Use your Phone as a Remote for Google Slides

Wouldn’t you like to be the cool teacher using your mobile as a remote to present your own slides? This is soooo easy that I don’t know why I haven’t tried it before.

Before acting cool, you will need to download two things. Don’t worry. They are free. I am the free app teacher, remember? Oh and… please bear in mind it’s only useful if you use Google Slides. I do. All the time.

  1. In your laptop: Download the Chrome Extension “Remote for Slides” here. Make sure you click Add to Chrome.
  2. In your mobile, download the free app Remote for slides.

Done? Now

  • Open your presentation on Google Slides
  • Click on the Present w/Remote

3. At the bottom, you will see Start Remote

  • Click and your Slide ID will be displayed. It will be on display for only 2 seconds. If you want to see it again, you will have to click the Show It icon next to it.
  • Open the first slide on Presentation mode
  • Done? Open the app on your mobile, enter the code and click on Connect
  • That’s it”! You will see two buttons. Next Slide and Previous Slide

See? Easy peasy! I told you so!