Tag Archives: onlinetools

When in Rome do as the Romans Do: a Lesson about Manners, Habits, Customs and Traditions

Say hello to one of my favourite activities.

Here’s what makes this activity perfect for me and my style of teaching

  • Enhancing their listening skills by listening to authentic audio. Giving students authentic audio they can understand is a real boost to their confidence. Another plus, if there are no comprehension questions, as is the case, students feel more relaxed. Did you know that reducing stress enhances learning? (D Krashen 1981).
  • Gallery walks using posters which gives students the chance to stretch their legs, and practise their speaking abilities.
  • A small writing activity related to the posters
  • Giving students the possibility to work with different students in the class


The lesson
Lead-in

On the board, write the proverb below and ask students, in pairs, to comment on its meaning. Encourage students to share their anecdotes.

When in Rome, do as the Romans do
Listening Comprehension: British manners. A note-taking listening exercise

This authentic material is great for B2 learners. It poses just the right challenge. Not too hard, not too easy!

Tell students they are going to hear a man called Elliot talking about 5 British manners. The task is simple. Play each example of good manners individually and…

  • First time: ask students to write what manners he is talking about
  • Second time: play the video again and ask students to take down notes
  • Pair up students and ask one of them to retell the information offered in the video. The other student listens and /or helps. This role will be changed for the second example of manners
  • Ask someone to retell the information for the whole class.
  • Write any relevant vocabulary on the board.
  • Ask: what about in your country? 
  • Repeat procedure for the second example of manners. Remember, there are 5 of them.


Gallery Walks: a speaking and writing activity using posters

Can you see any benefits to always working with the same person/student? I cannot. That’s why I always encourage my students to change partners regularly. However, some of them are quite reluctant and need a gentle push.

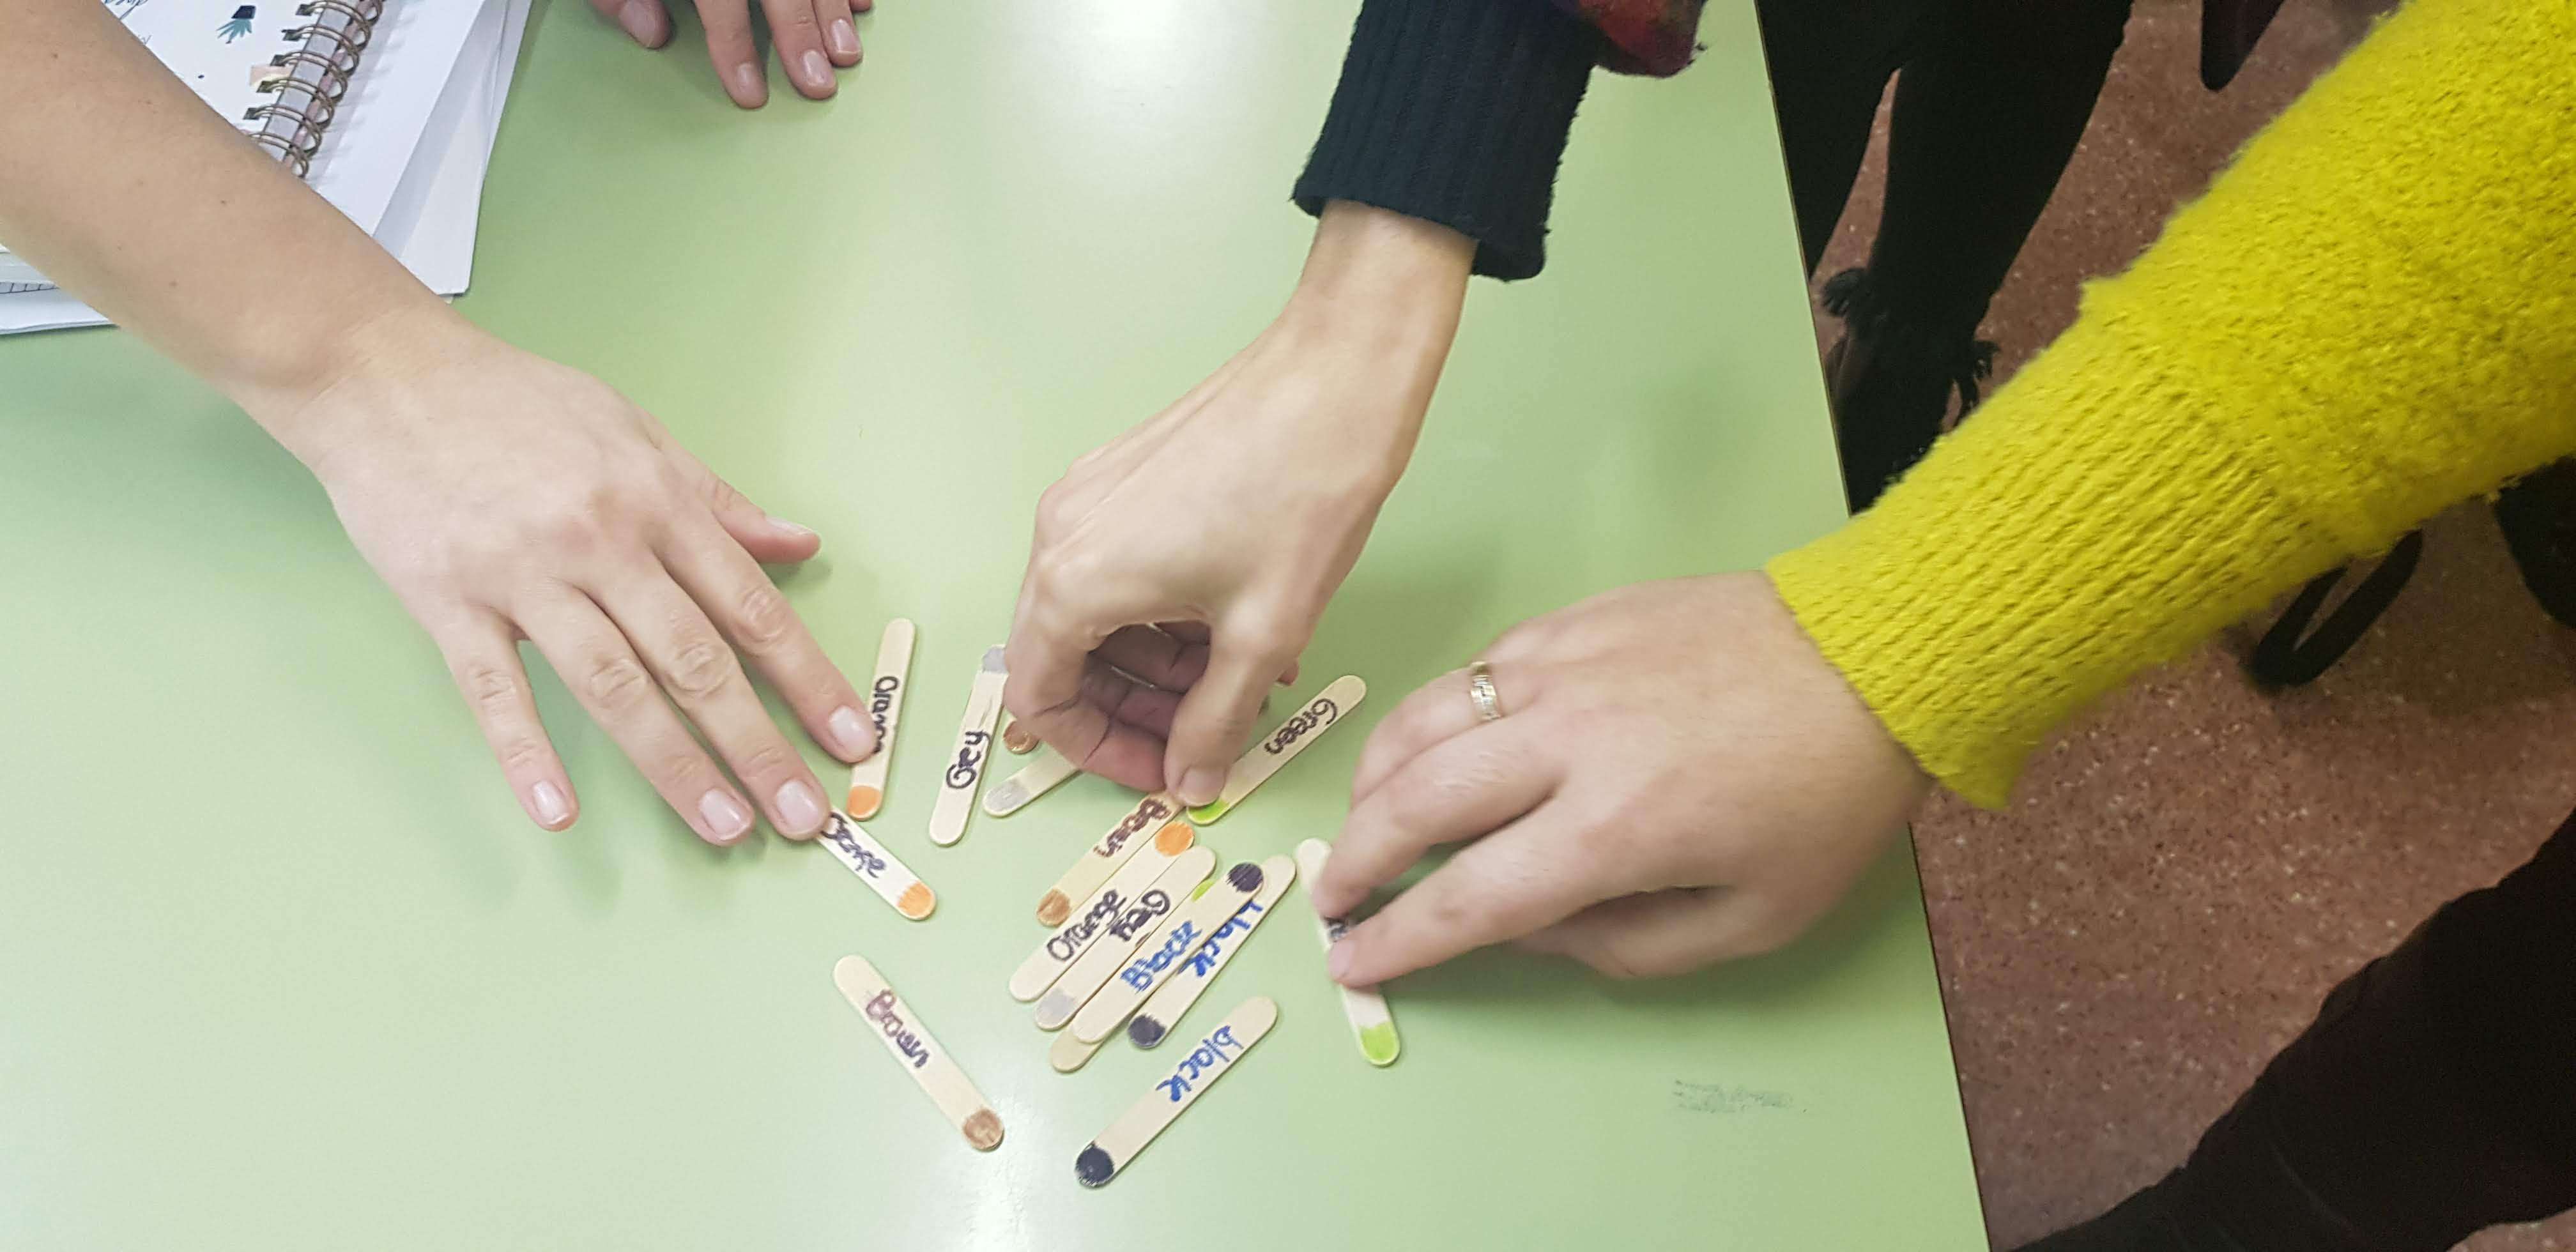
Forming groups: I have used small popsicle sticks to form groups of three.  The sticks were coloured as in the picture and they just needed to find the other two students with the same colour.

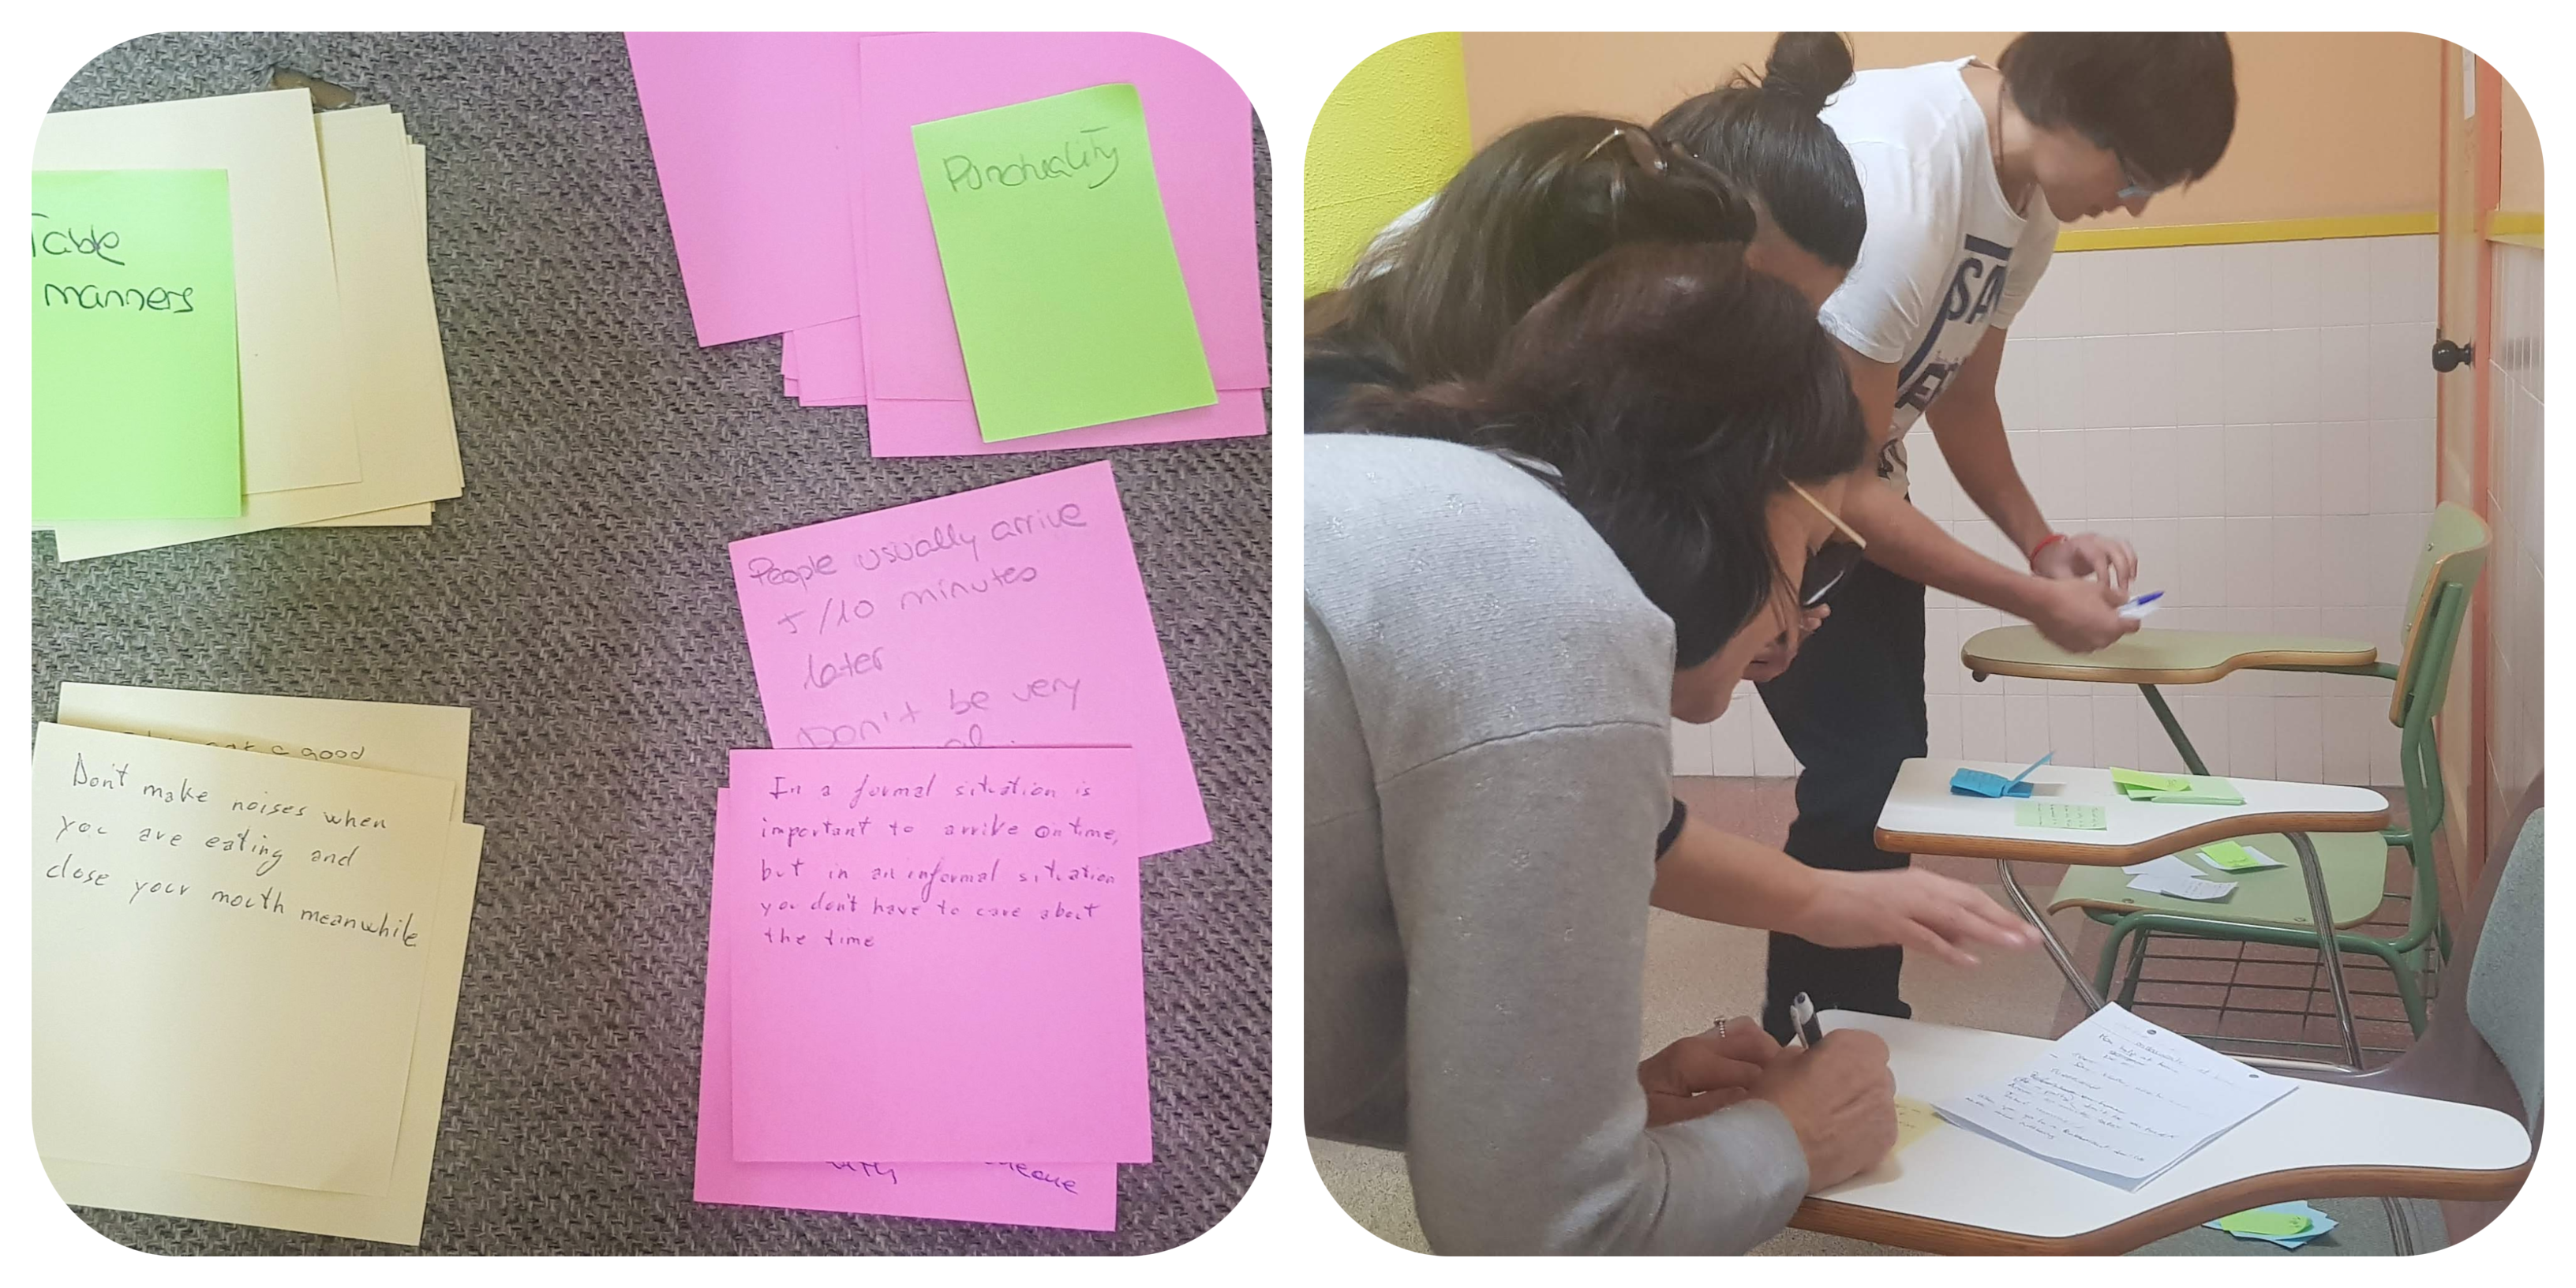
Before the activity: I cut small pieces of paper of different colours and I assigned each poster a different colour

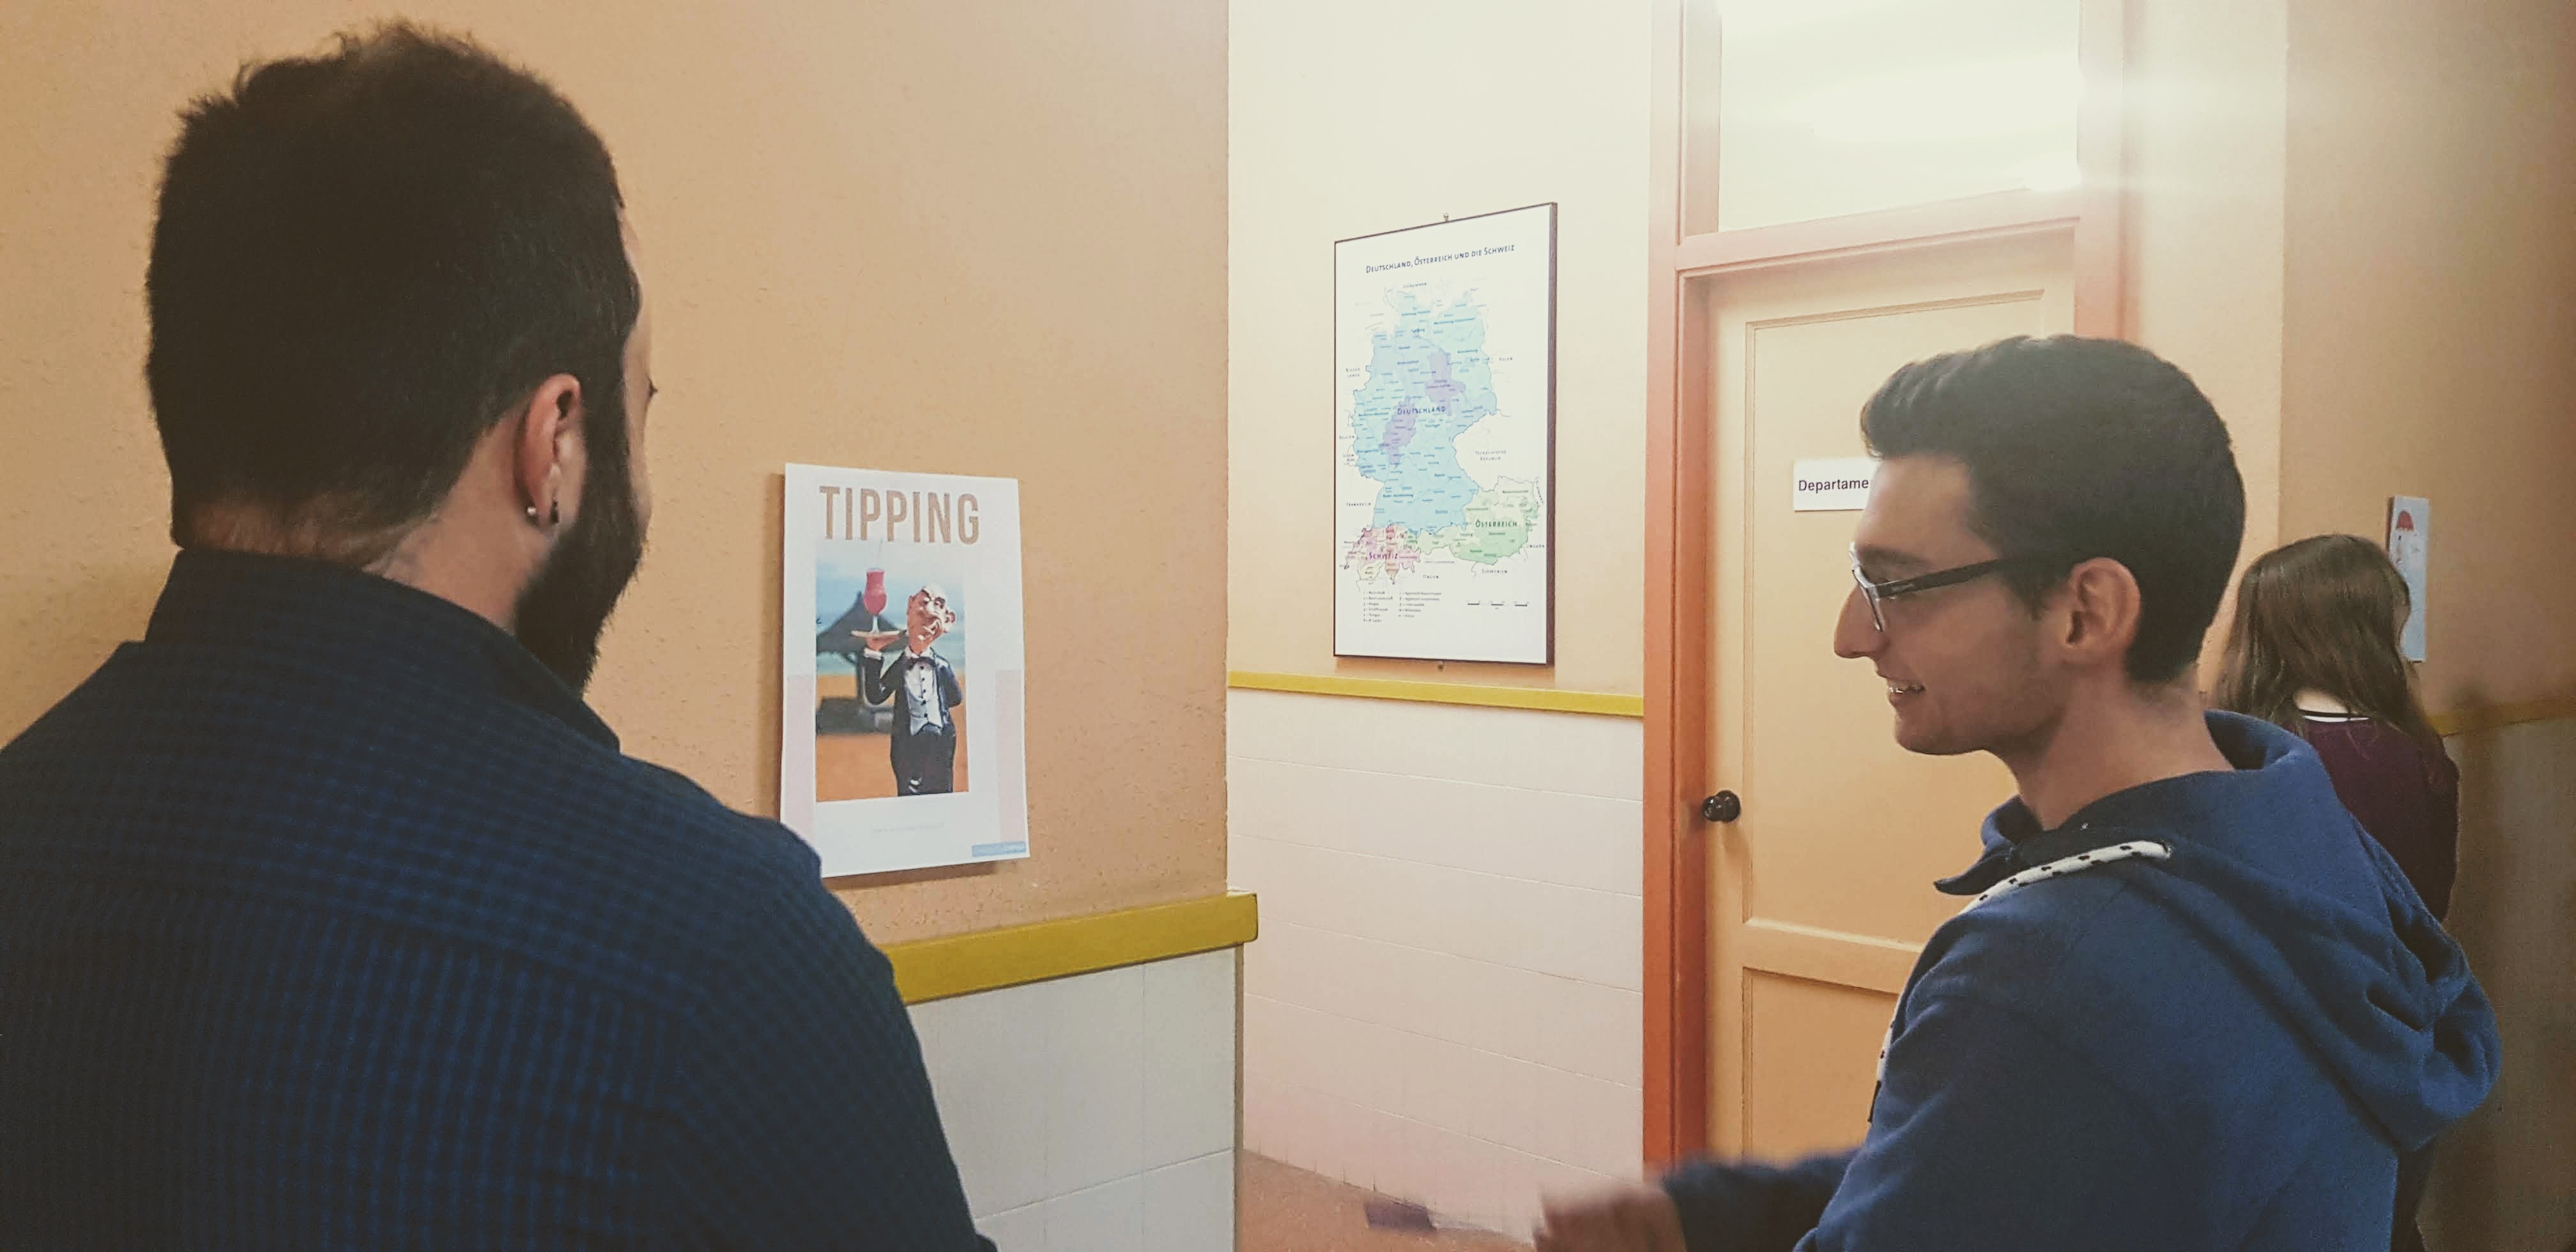
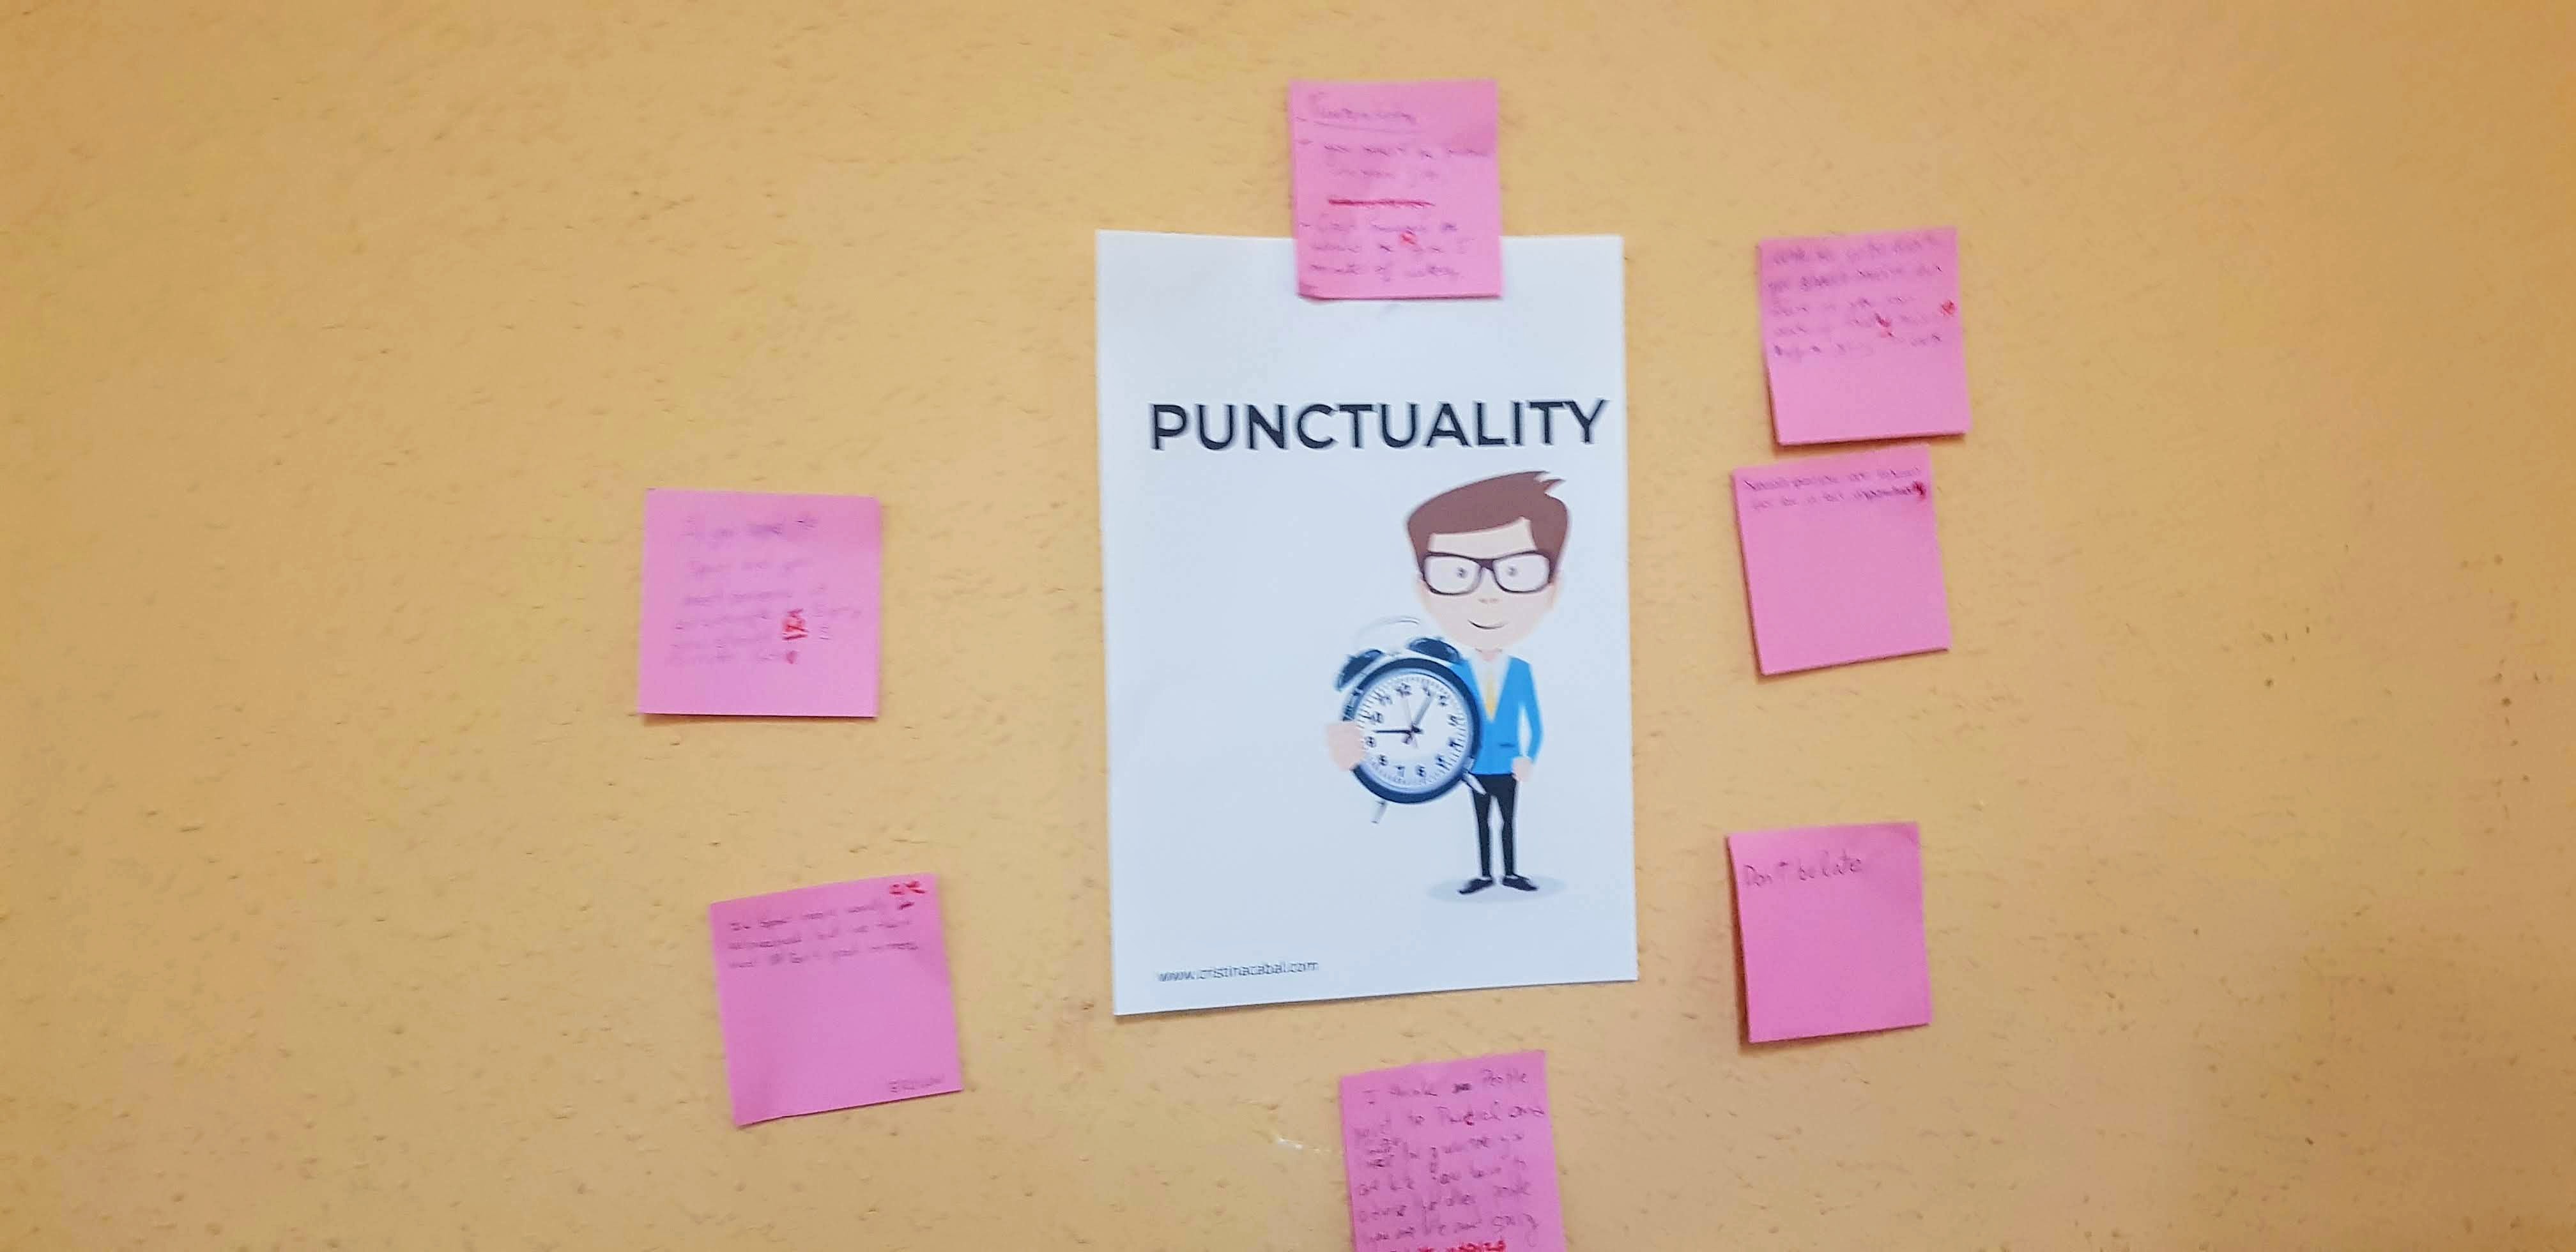
  • On the walls – I put up simple posters – I had to use the space outside my classroom as my class is tiny. I had six posters: Greetings, table manners, punctuality, gender roles, tipping and taboos.
  • Students in their groups choose a poster and they are instructed to do the following:

  1. Discuss the manners on the poster in their country and in other countries they might have been to. Is it the same or different?
  2. Before moving to the next poster, students are instructed to take a piece of paper with the colour corresponding to the poster they have been working with and write a piece of advice for someone visiting their country, in this case, Spain.  ( if they were talking about Tipping, they should write a piece of advice on tipping).They were instructed to leave their written piece of advice on the table, choose a new poster and repeat procedure.
  3. Allow 25-30 minutes for this part
  4. Quickly correct spelling and grammar mistakes. Using blue-tack, put all the pieces of advice around the posters the advice has been written for.
  5. Ask students to do a second gallery walk commenting on all the tips and having a look at their mistakes.

Posters here

Writing an article about an unusual custom in the world

Lead-in:

Ask students: Have you ever experienced culture shock? Where were you? What happened?

Unit 1 in our textbooks explains how to to write an article. Using this format, I have asked students to do a bit of research on the internet and write about an unusual custom. To spice things a tiny bit, I have assigned students different countries using a random wheel.


Teaching from Afar: an Online Project Using Technology

"I am not telling you it's going to be easy. I am telling you it's going to be worth it" Art Williams

I’m going to scream this from the rooftops. Social media is more than meets the eye.

I love the possibilities social media offers for both students and teachers alike. Today, I want to share with you a project I did with my B2 students using technology and my professional social media network. But, before we dive in, let me ramble for a little bit here.

Social media is more than meets the eye. True that most people use it just for fun, to catch up with friends old and new and read the occasional news, hardly ever bothering to check the source of the news, but there are also lots of people who are using social media for other purposes.

Right now, social media provides teachers with lots of opportunities to learn and see what other teachers are doing all around the world. Instantly. For free.  You do not have to wait to read in a journal about the latest methodologies, about what teachers are doing on the other side of the world. You just follow people or communities, open your Facebook or your Twitter and there it is, opening doors and pulling down borders.

I grew up watching the news in black and white and using a landline phone to ask the operator to dial a number for me to be able to make a phone call so when in my 30’s there was talk of the possibility of making videoconferences, I thought it was science fiction. I couldn’t be more mistaken as we all know nowadays.

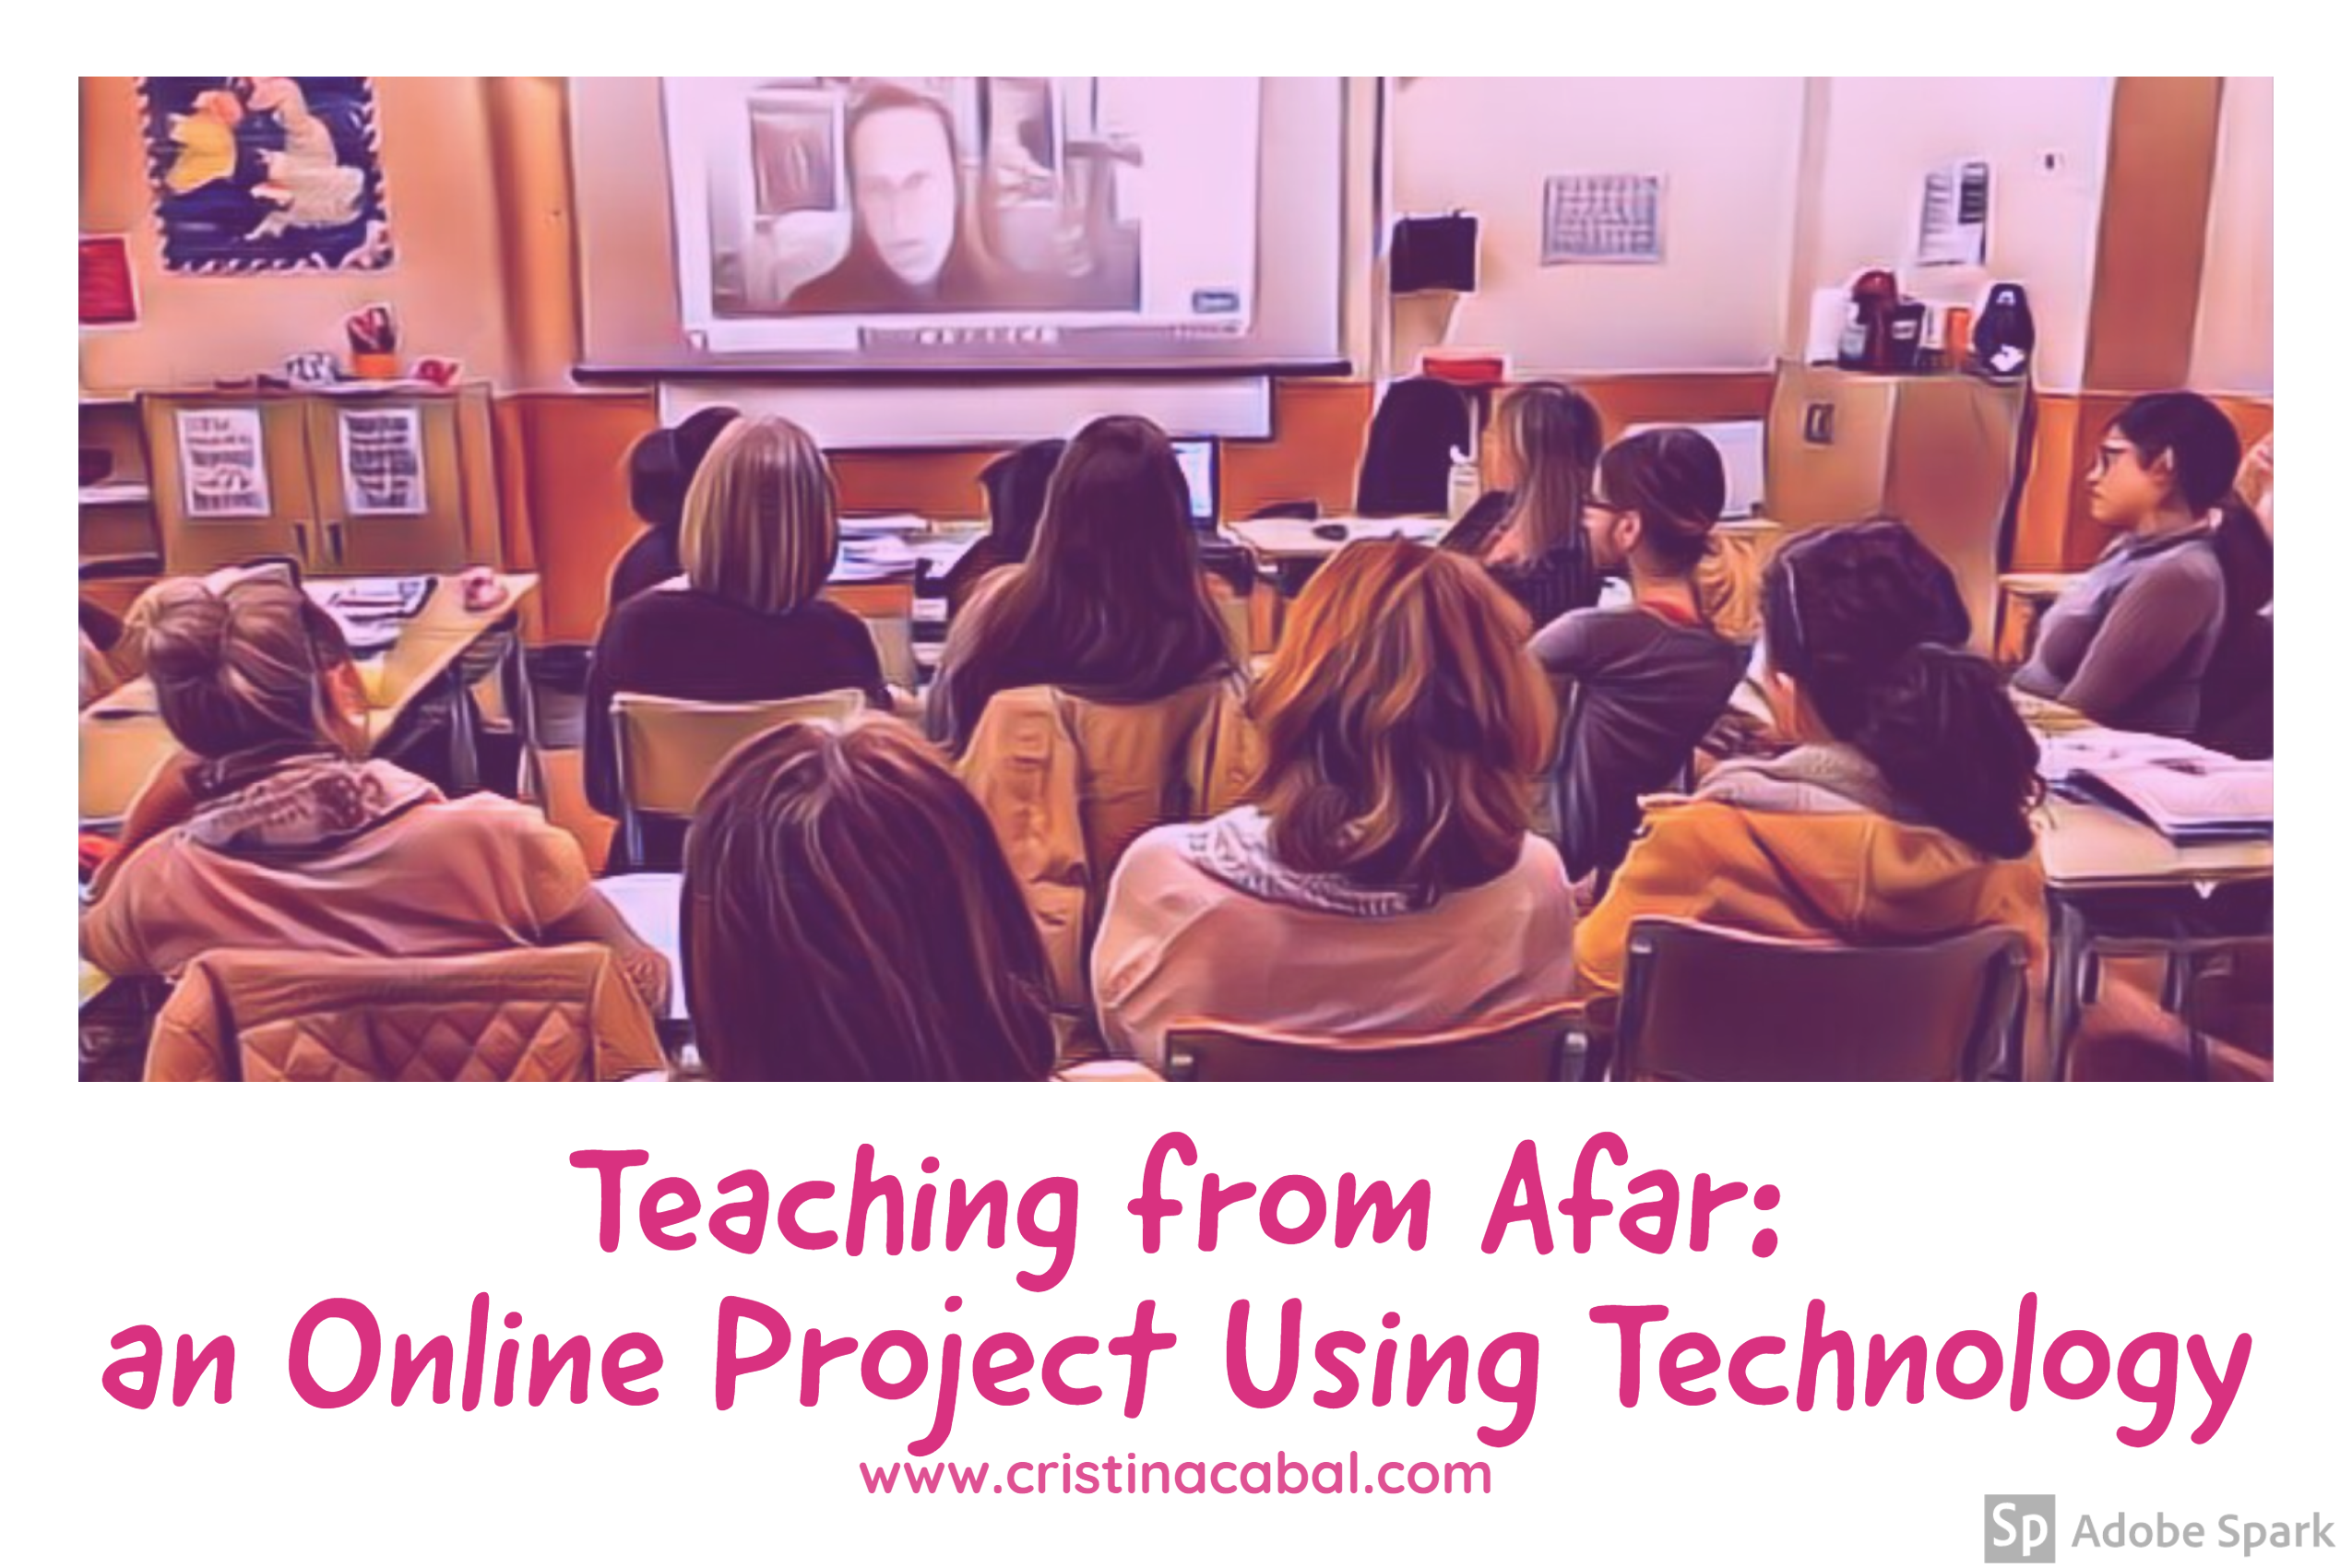
Today I would like to share with you a successful project I recently carried out with my B2 students using my professional social media and a free video/audio conference platform.

You are not one of my followers yet? Don’t worry! It is never too late!

Topic: education

Motivation:

  • to offer my students the opportunity to interact with native speakers from different countries ( something that is not easy in the north of Spain)
  • To ask them questions about their education system
  • To offer my students the opportunity to do a meaningful activity using the vocabulary learned during the lesson.
  • To make them realize they can understand and be understood by native speakers.

Tools:

  • Twitter/Facebook
  • Zoom
  • Slips of paper

Project: to interact with British/American native speakers and ask them questions about their education system using Zoom, a reliable  free video platform

Thanks to

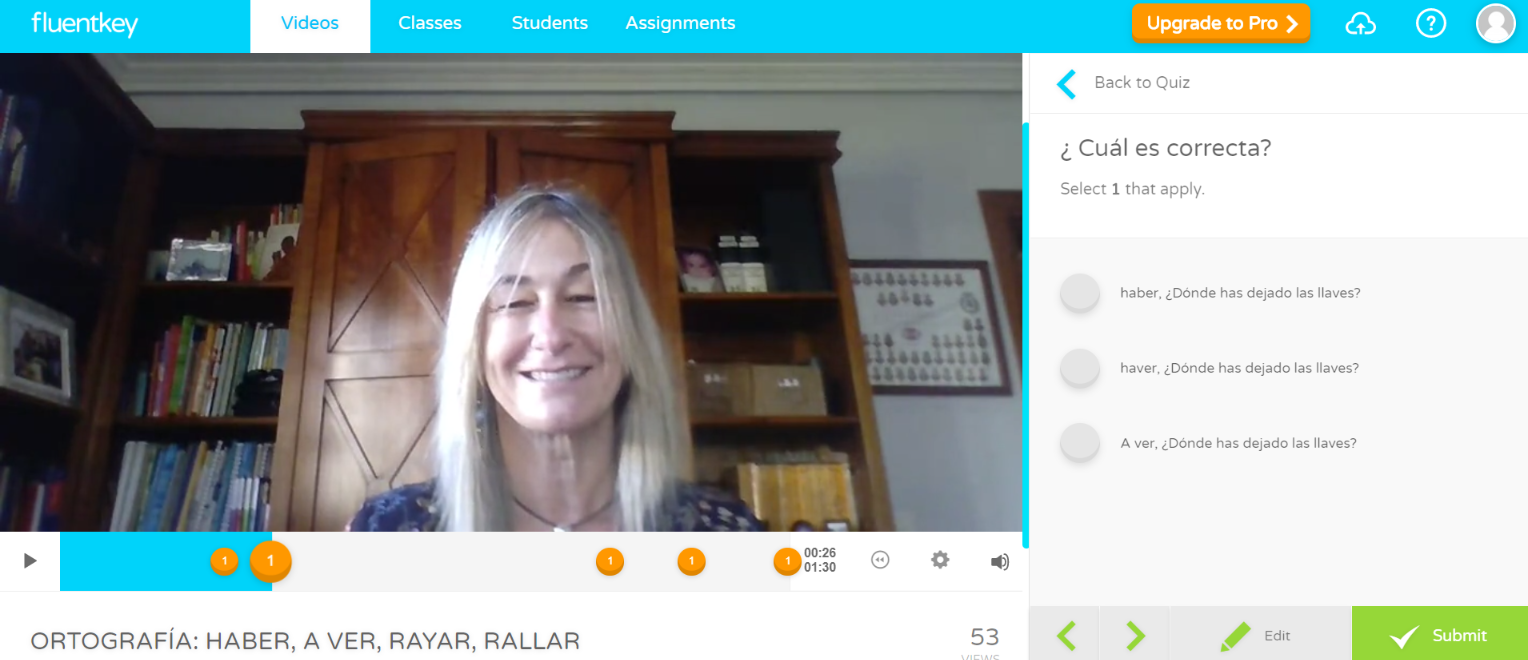
My most heartfelt thanks to Tamara Parson, who is an English teacher living on the south coast of England; Trudi Rogers, also an English teacher living in France, and Hollin Wakefield,  a French teacher form Berkeley (California) and creator of the awesome app Fluentkey. Thank you very much for your generosity and patience. I couldn’t have done it without you.

One week  before the activity
  1. We worked with the topic of education and learned and practised vocabulary related to it.
  2. It was my first time using Zoom. I had to make sure I knew how to use it so I needed to persuade someone with enough computing skills to help me set a fake conference. (Thanks MªJosé)
  3. Using my professional social network Facebook and Twitter (bait, click to follow) I asked for collaboration of teachers from the UK and the USA.
The day before the activity
  1. I explained the activity and told my students we were going to have a video conference with experts on education from the UK and the USA. The conference was going to last about 30 minutes
  2. I asked my students to write interesting questions about things they wanted to know about the education system in the Uk and the USA. I instructed them to ask open questions.

This way we practised writing questions, which is something students always struggle with.

  1. Once they had their questions, I gave them a slip of paper and asked them to write their question there and at the back of it, their name.
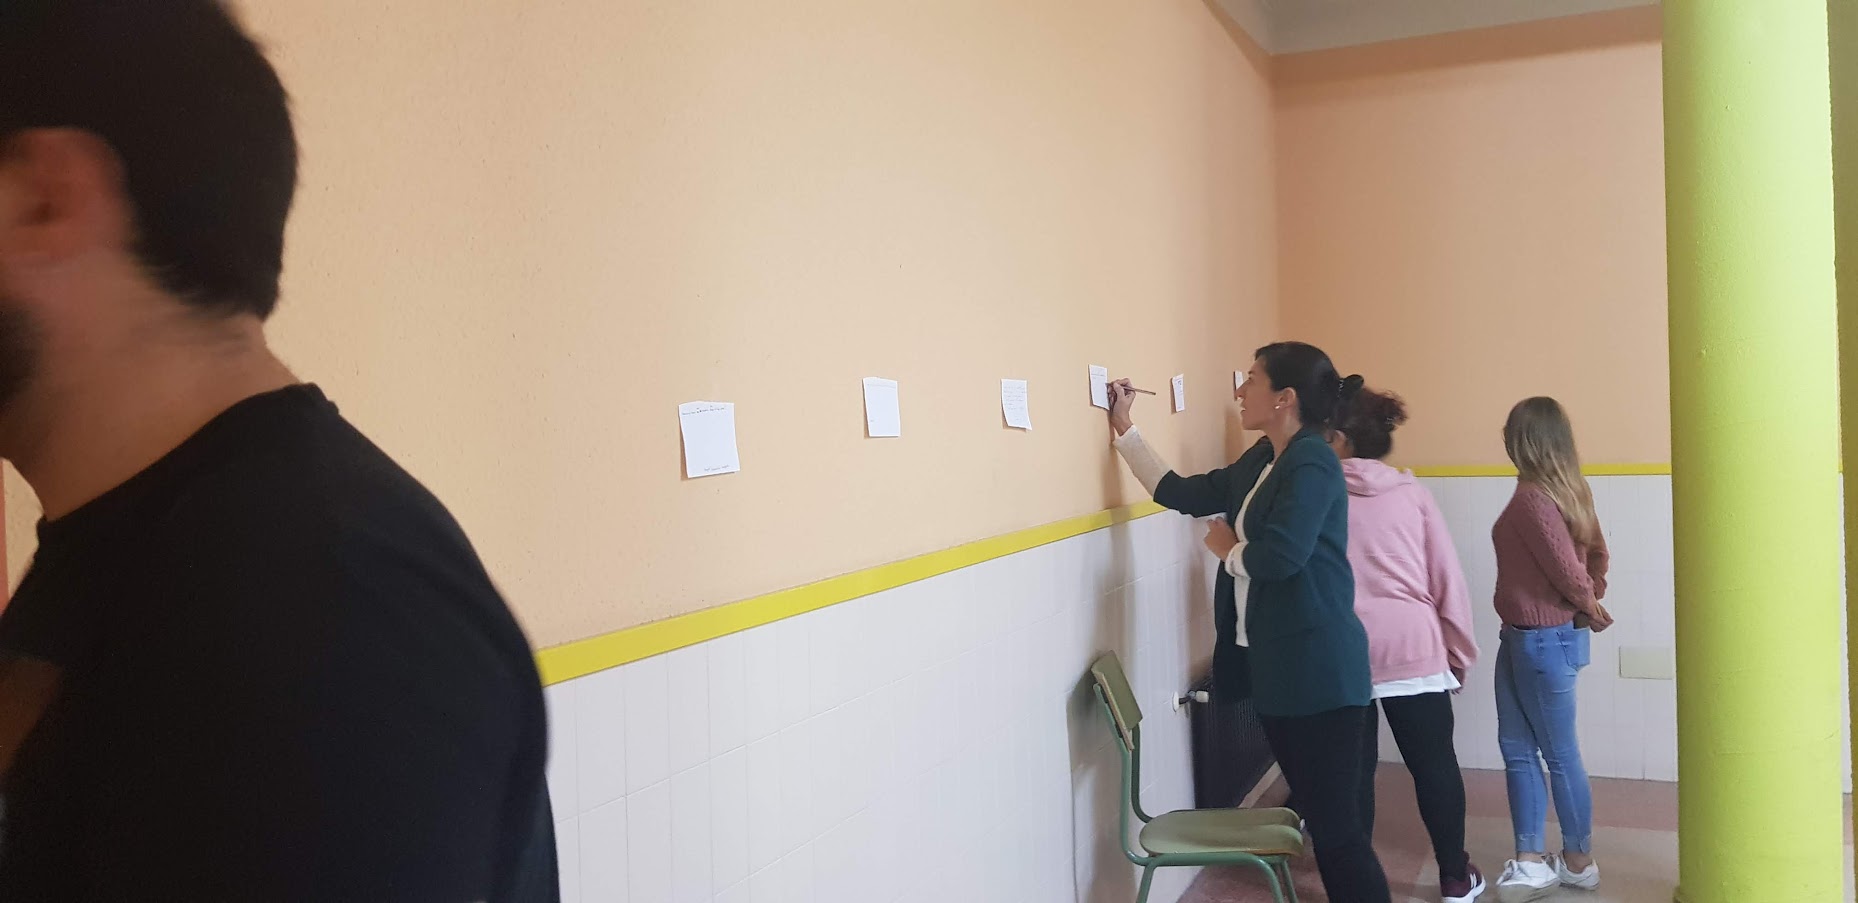
  2. Using blue-tack, I displayed their questions on the walls of the class.
  3. I asked students to stand up and read all of them and then do a second reading choosing the ten questions they liked best. To indicate they liked a particular question, they just had to put a tick.

  1. I also read the questions, correcting grammar and spelling mistakes.
  2. The 10 questions which got more ticks were the ones students had to ask. However, if we had any spare time, any student could volunteer to ask any of their questions. In fact, in one of the groups, two or three extra questions were asked.
  3. I gave back each and every question to their owners and we worked on pronunciation.
  4. I told all my students to practise their questions at home as homework.
  5. I went home, set up the meeting on Zoom and emailed the collaborating teachers the invitation to the Zoom conference.
The day of the activity.
  1. We practised asking the questions again so that students felt more confident about their pronunciation.
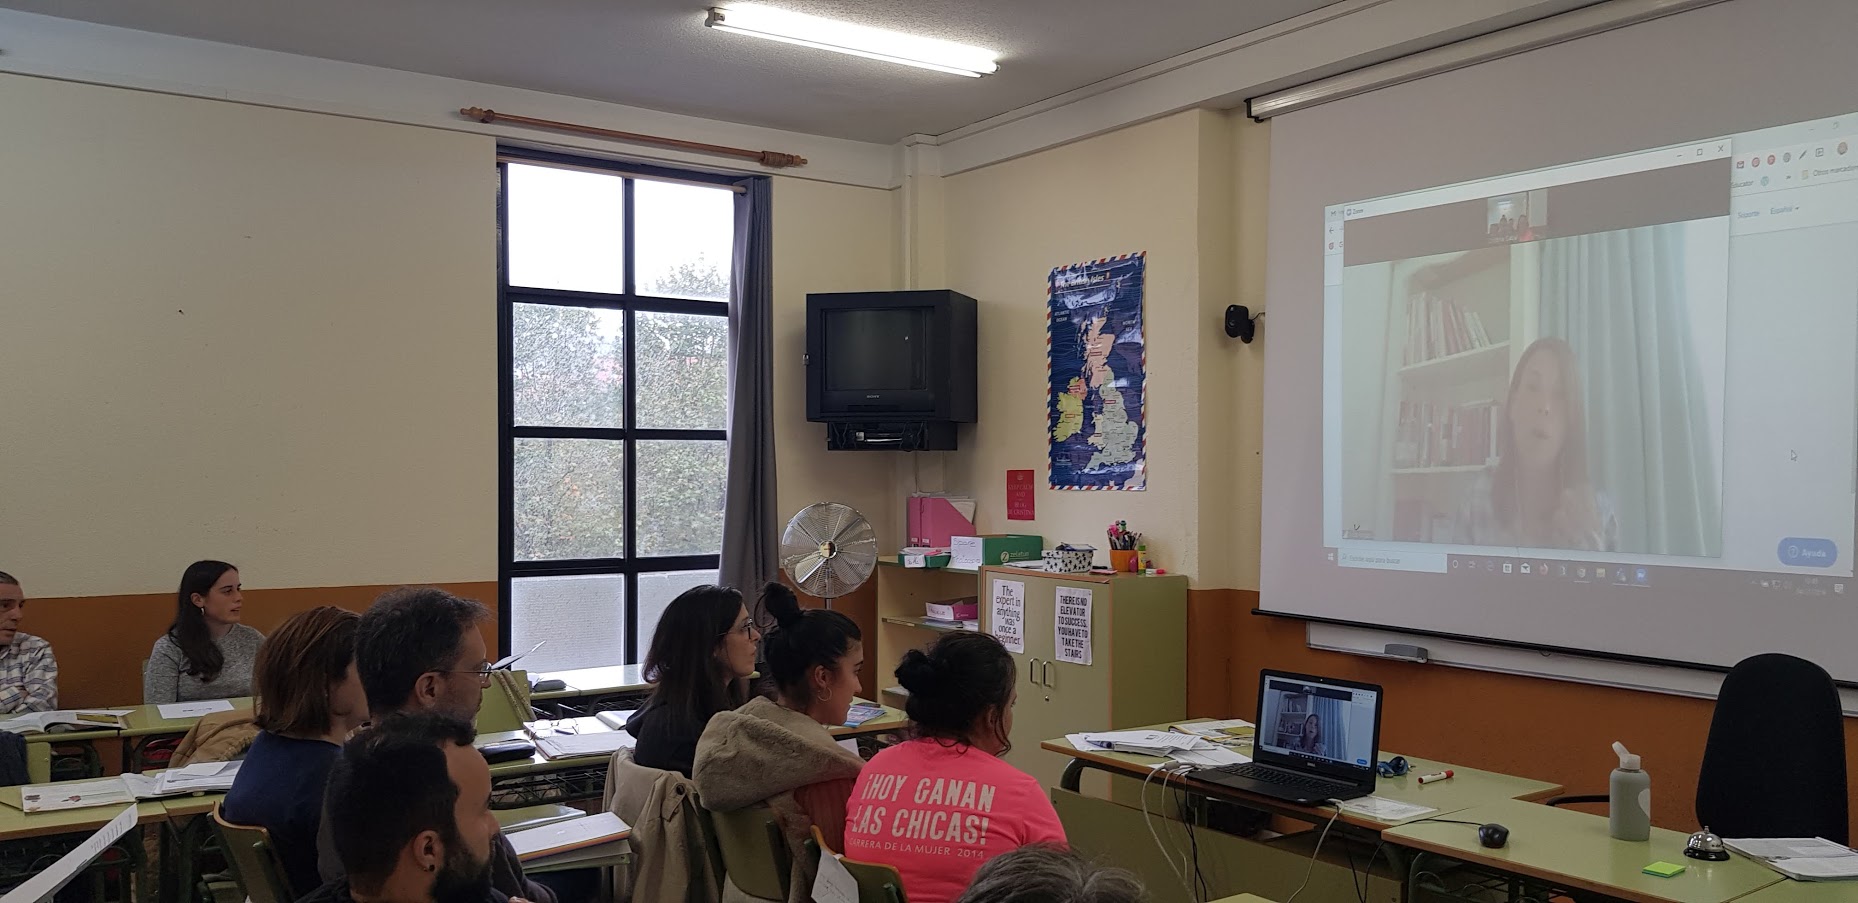
  2. We moved chairs in front of the screen and at the appointed time, the videoconference began.
My personal experience

It is with immense satisfaction that I can say that it was a tremendous success.  Trudi, Tamara and Hollin were just awesome and even though I had never seen them before and could have easily pulled back, they didn’t and they were really generous with their time.

From an academic point of view, my students were really motivated and it was really a boost to their confidence as not even once did they have to repeat their questions and they could easily follow the answers and sometimes lengthy explanations.

What is more, in the answers given by the native teachers, they could recognize most of the vocabulary they have worked with in class and this made studying this vocabulary more meaningful to them.

As for me, I was delighted. I am not going to say, it did not take time to set it up because I would be lying but it was really worthwhile.

Besides, the press caught wind of the activity and we made it to the local news as you can see in the photo below.

Thanks to Illán García from La Nueva España and to José Alesson for the photographs.

"I am not telling you it's going to be easy. I am telling you it's going to be worth it" Art Williams

Don’t Make a Speech, Put On a Show or How to Make your Presentations Memorable

There are two quotes by Paul Arden that I like:

  1. “The more strikingly visual your presentation is, the more people will remember it. And more importantly, they will remember you.”
  2. “Don’t make a speech. Put on a show”

I am sure we have all been to a lecture where if not for the fact that we were sitting front row, we would have dozed off.  And probably the content was interesting but the presenter spent the whole talk reading straight from visually unappealing slides brimming with text. I  am not claiming to be an expert and probably  I might also be boring when presenting, but that is on me. Surely my slides cannot be blamed as I try to make them visually appealing, adding little text and lots of visuals, sometimes even memes and gifs.  I know I should be more professional, but that’s me!

Words are important, of course, and the content of a lecture essential but… can we just not make an effort and besides giving a remarkable lecture/speech dedicate some time to creating a beautiful engaging visual presentation?

There are many websites that almost do the work for you. There are interactive presentations such as the ones offered on Genial.ly, the very visual 3D templates offered by Emaze or the beautiful templates offered on Beautiful.ai

But, if you want to play safe and not rely on the internet connection spoiling your presentation you can always use a traditional PowerPoint presentation or the downloadable feature on Google Sides.   I don’t use PowerPoint any more. I used to. But I find Google slides does the same job as PowerPoints and it has more attractive features.

Anyway, this post is dedicated to my dearest son, Miguel,  who will have to present his final thesis to obtain his university degree in under one month.  Good luck, sweetheart! I hope you ace it!

Free PowerPoint Templates

Obviously, the first thing to do would be to choose a beautiful, simple but elegant PowerPoint template. I would go for a whitish background with little decoration but with lots of different slide options.  These are my favourites. All free.

  • Slides Carnival. I have been using this one for ages
  • Slidesmania another great site and probably my favourite.
  • Slidesgo a new find
  • Graphic Panda offers 78 free templates  (scroll down to see them categorized)
  • TinyPPT offers free 3D animated templates. Have a look at the amazing content you can create.


Free Images

There are lots of websites that offer royalty free images but I am just going to share here the ones I use. The first one is my favourite.

PNG Images

I am a huge fan of PNG images and use them very often in my presentations when I need portions of the image to be transparent. I find they are very elegant.

  • For images, I use: Freepng
  • For graphics,  I use pngtree.   You will have to register and it only allows to download 2 graphics a day. That’s the downside, but hey, it’s free.
  • For 3D image, use 3DBay https://clouddevs.com/3dbay/

Free icons

Need an icon? There are lots available for free.


Flipping Students: a Collaborative Project  with other EEOOII Using Flipgrid

It’ s April and temperatures should have risen but I am writing this post while outside it is freezing cold and raining. I guess this is the downside of living in the north of Spain!

I know this not the perfect time to share this activity as we are all heading for final exams,  and I certainly don’t expect any teachers to email me right away suggesting a collaboration for the next month, but I do hope you do not forget this post and that the next school year we can find a way to collaborate and join our classes.

Some ideas that prompted this activity:
  • To encourage autonomous learning: to find new ways of learning and offer more opportunities for students to do more oral practice in a safe environment outside the walls of the classroom.
  • To encourage the use of effective technology. For this project, we used Flipgrid.
  • To demonstrate how anybody can use technology as long as you explain and model how to do it. Some of the students in this project are older than 70.
  • To collaborate: To spice up the activity by having students from other regions and countries collaborate with my class.
Tool used: Flipgrid. 

Flipgrid is a powerful reliable website owned by Microsoft. It is 100% free. It is a fantastic platform for collecting video responses to prompts that you pose to your students.

Why do I like it?

  • Students can improve their speaking ability from their homes, repeating their performances as often as they like. Stress-free.
  • Teachers can listen and send written or video feedback via email if they wish.
  • Students don’t need an email address, which is perfect for younger students.
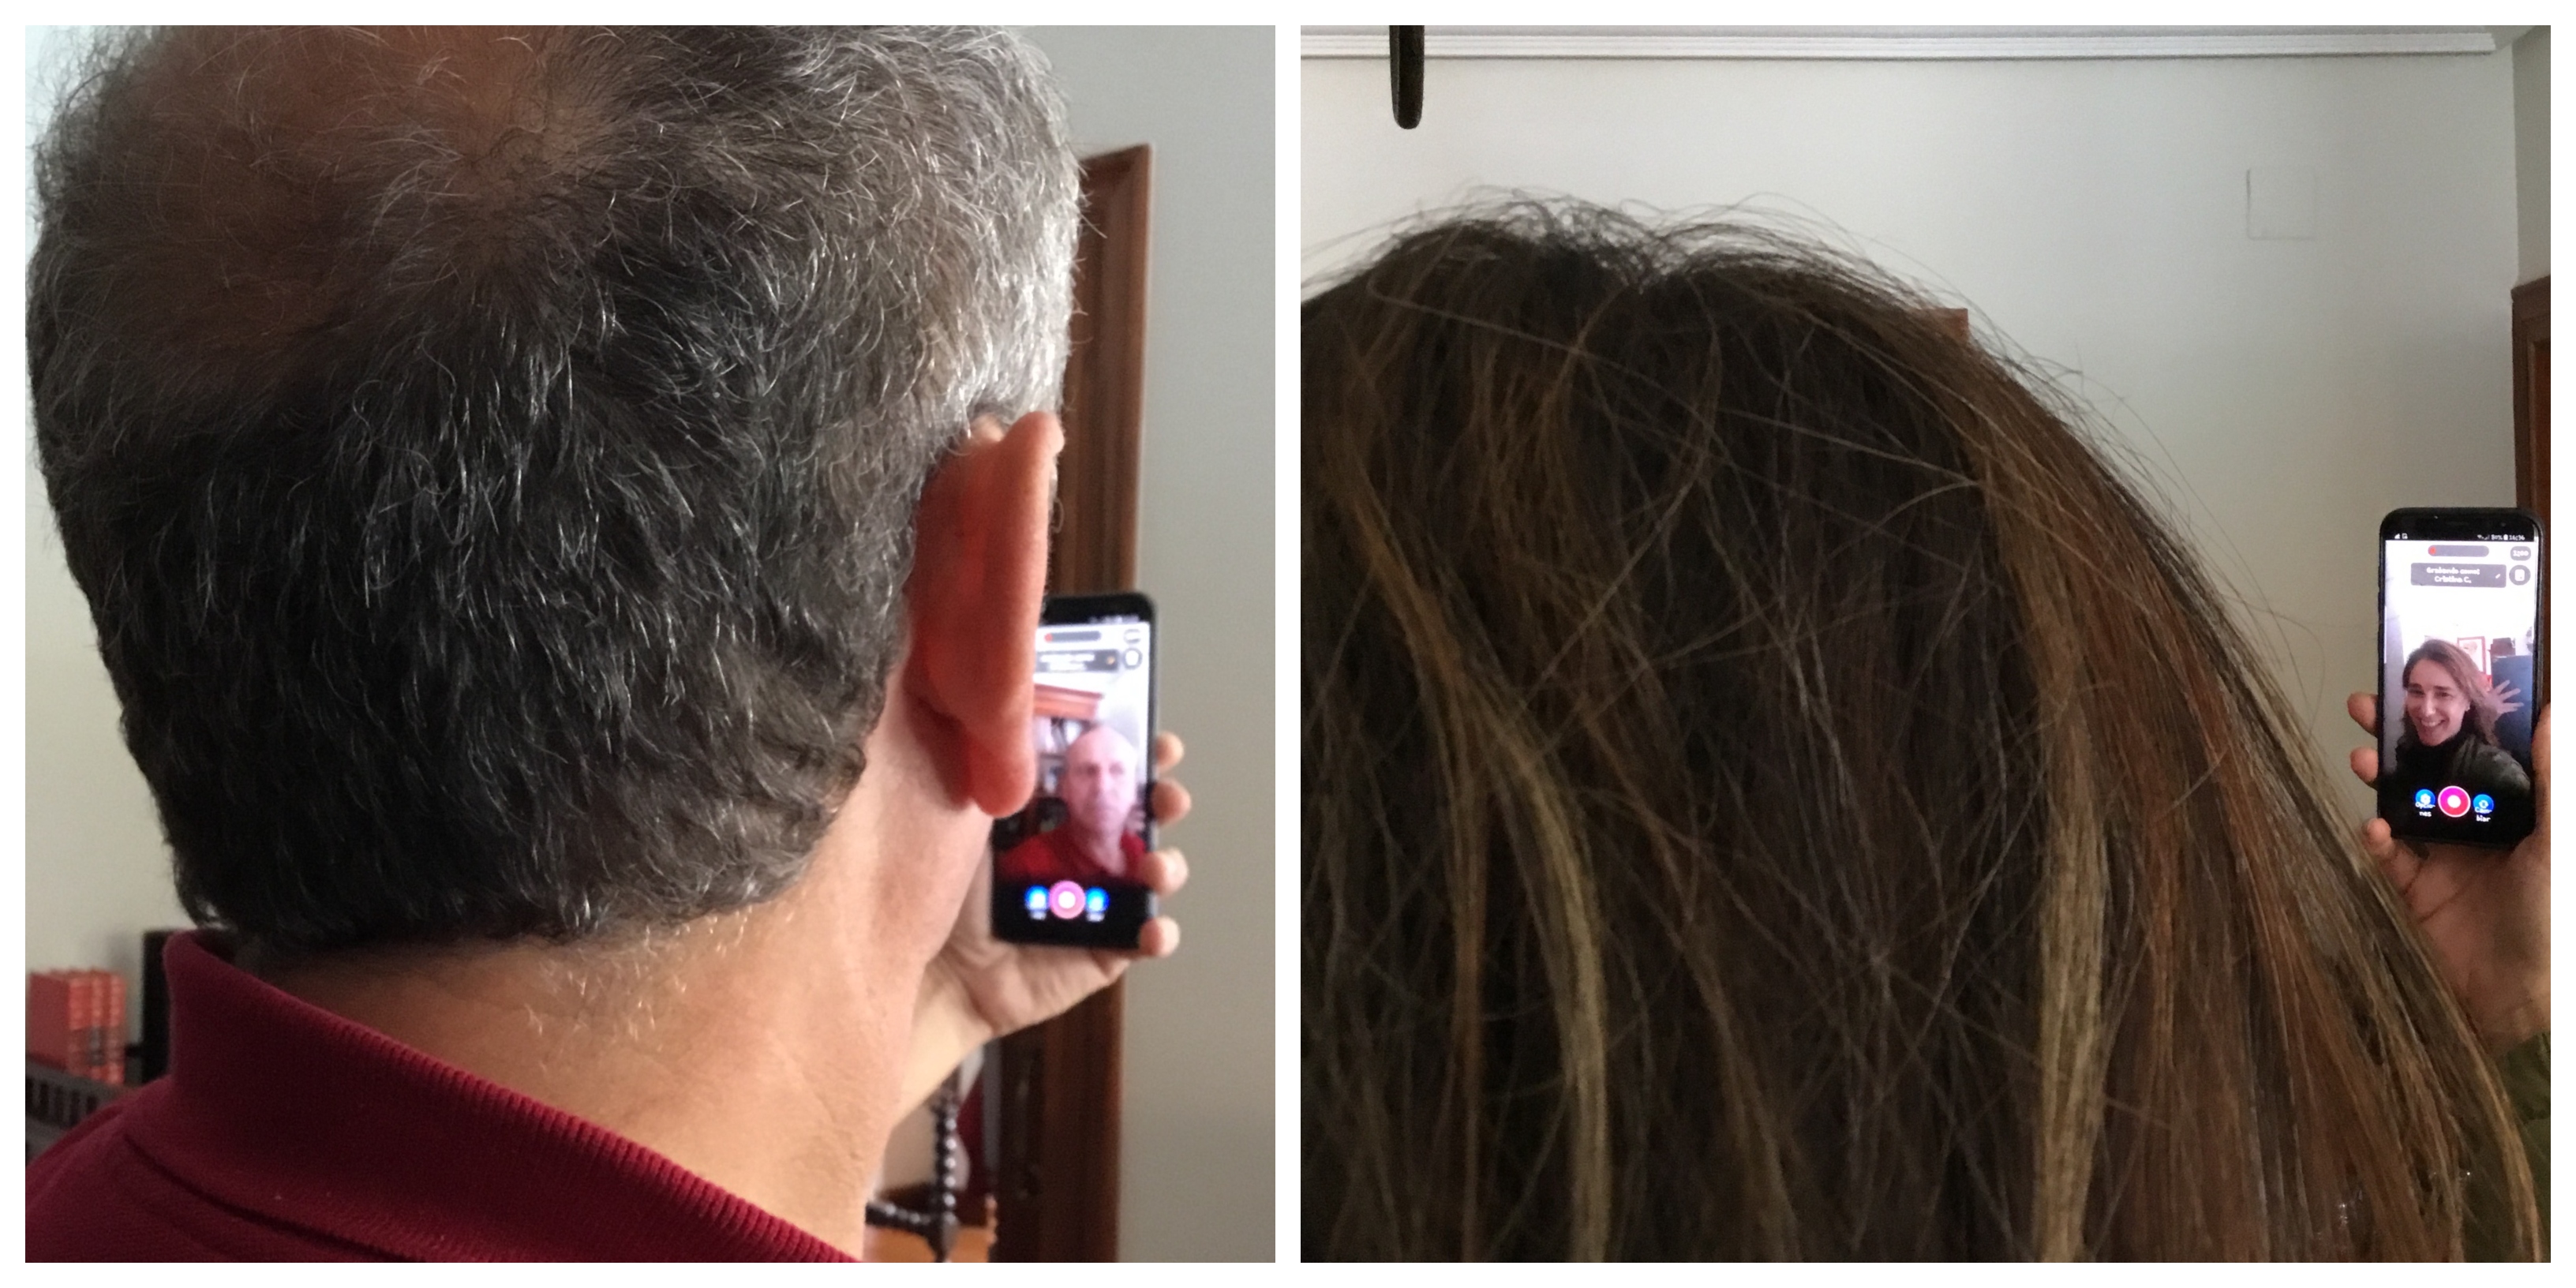
  • Students record or upload a video and they can pause while recording, trim their videos and add more time or just delete it and start all over again.
  • Recording time goes from 15 seconds to 5 minutes.
  • They can reply to each other’s videos.
  • Educators are 100% in control with video moderation, access controls, etc
  • You can easily connect your class with other classes, not only in your country but also all around the world using the GridPal feature. There are thousands of educators willing to connect.
  • Flipgrid works on computers, laptops or any mobile device. If you use a mobile device to make your video, as my students did, you’ll need to download the free app.

The Project: Steps followed

1.Finding teachers from other schools willing to collaborate

That was the first step. I needed 3 teachers from 3 different regions who had some knowledge of how Flipgrid worked. To be honest, I didn’t feel like sending tons of emails to the different schools asking for collaboration. I thought it would be time-consuming and probably ineffective.  Besides, I  am very active on Facebook and Twitter and I thought it was the fastest way to find potential collaborators. And Bingo! In just one week I  had my 3 teachers: Purva Bachani from EOI Guía (Sta María de Guía- Las Palmas(Gran Canaria),  Marisa Rodríguez from EOI San Roque (San Roque-Cadiz) and Silvia Oslé from EOI Torrelavega  (Torrelavega-Cantabria). We have never seen each other, but we share the same passion: teaching. We created a Whatsapp group to speed up the process of setting up the project.

2. Setting up the Grid and the Topic

I created the common grid (class) and using the Grid Actions Button selected Add Copilots. Then, I added Marisa’s, Purva’s and Silvia’s emails and sent them an invitation.  From that moment, they had all the permissions to edit and add topics, but they could not delete the Grid (class)or the Topic I had previously created.

3. Setting up the activity

As it was the beginning of the course, we decided to do two activities (explained below), trying to maximize as much as possible the interactive part. Once the topic has been created, Flipgrid generates a code that you share with your students. This code and a Google or Microsoft email account is all they need.

(What you see below is the Topic with the 2 tasks. The Grid (class) is called Flipping EOI Students)

Task 1. A get-to-know-you activity. We didn’t want the questions to be the usual where-do-you-live or what-is-your-favourite-food. A bit of research on the Internet and again Bingo! We found the perfect inspiration in the videos “73 Questions with…” where Vogue interviews popular celebrities and asks them some rapid-fire questions to get to know them. The questions are good and we thought our students could either write their own questions or practise listening comprehension and choose the ones they liked best. These were the 2 links we provided: Selena Gómez and Emma Stone 

We gave students about a week to record their first video introducing themselves, saying which school they were studying in and their chosen get-to-know-you question.

Task 2. They had to choose 3 students from different EEO0II and answer their questions. We asked them to talk for about 1 minute elaborating on their answers as one of the aims of the activity was to practise listening and speaking. To help students and show them how to respond to each other, I recorded a  short video tutorial.

This second task took longer than the first as they had to record three videos answering to three students. Lots of speaking here, preceded by lots of rehearsing= lots of learning.

Note: although at first, it took a bit of convincing, very soon they were really into the project and some students went as far as to record themselves showing some landmarks of their cities and some even dressed up using hats and fake moustaches or wigs.

The surprise. As a surprise for the students, and again using social media sites, we asked for collaboration from native speakers and managed to convince a bunch of them to do task 2 as if they were students, too.  It was a nice gift for them and a way to say thank you for being such nice sports. Here I want to thank people at Flipgrid headquarters for being so supportive and agreeing to collaborate straightaway. ( thanks George, Rayna, Ann, Karen, Joseph, Kathrina and so many others).  I am proud to be a Flipgrid Ambassador.

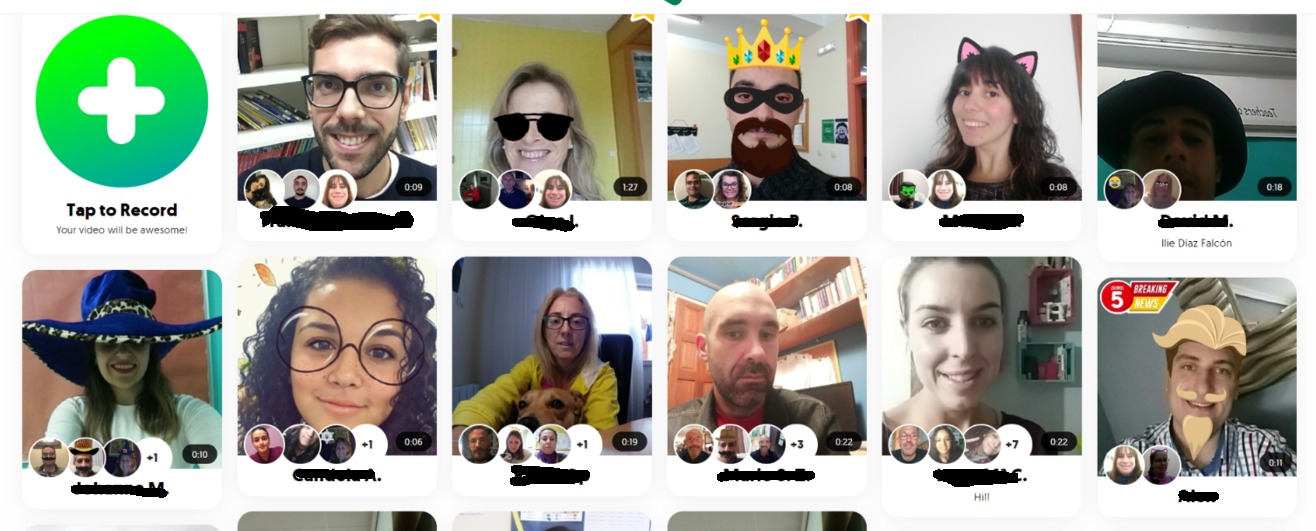
(below is a picture of some of the students that collaborated in this project. I have erased their names. The people in the bubbles are the students answering this specific student)

Follow-Up Activities:

Using our private Whatsapp group, we brainstormed post-project activities. These are some of the ones we did.

  • Mixtapes: A Flipgrid feature that allows you to combine videos from different grids. We created one of these MixTapes using the native speakers’ recordings, playing some of them in class and asking students to first identify the get-to-know-you question and then summarize the answer.
  • Another idea was to ask students to work in groups of 3 or 4, play a get-to-know-you question and ask them to answer it within their groups. Then, play the answers to the question and give a point to the students whose answers coincide with those on the videos.
The activity in numbers

351 videos recorded, 15,663 views and 89.7 hours of recorded time.

I think I can say that without a shadow of a doubt that we have passed this first collaborative activity with flying colours. Thanks Silvia, Purva and Marisa.  I could not have done it without you.


Revising and Consolidating Vocabulary: No-Prep Fun Strategies

Before we dive into the content of the post today, I’d like for you to know a surprising fact about me. I love traditional teaching. Yes, chalk and board. I say “surprising” because if you have been reading this blog for a while, you will have probably noticed how often I incorporate technology in my lessons. True. I love surprising my students with a new idea to revise, learn or consolidate learning using a digital tool, but I absolutely also adore surprising them with an exercise where the only help is their mind, their classmates and occasionally their teacher.

If I combine both traditional and digital learning, then it’s just my dream lesson. And this is what you’ll find on this post, the traditional Cristina and an updated version of myself. Which one do I love best? That, I still need to decide.

B2 students revising vocabulary

  • Aim: revise and consolidate vocabulary in a communicative way.
  • Levels. B1 upwards

Although the ideas below work better for a topic-based lesson- in my case it was used to revise food-related terms-, I think it might also work to revise random vocabulary as long as you specify which vocabulary you want to revise.

Step 1: Standing Up 

That’s probably one of my favourite ways to revise the vocabulary learnt the previous days.  My students already know me, so when I say: “please, stand up”, they already know what is coming and automatically, it brings a smile to their faces.

Instructions: students need to come up with a food-related term from the ones studied in the unit. They take it turns to say their word and I repeat it loud enough for all the class to hear it. This also gives me a good chance to repeat the word that might have been occasionally mispronounced.

A student sits down, ie. is eliminated,  if…

  • he cannot come up with a word
  • if another student has already said the word
  • if he cannot come up with a word in 10 seconds.

Big applause for the last person to remain standing and one of the sweets I keep in my candy box.

Step 2: Using Slips of Paper. Moving around the class.

Once terms and pronunciation have been revised, it’s time to work on meaning.

  1. Give students a slip of paper. I use old photocopies printed only on one side and cut them lengthwise. You should get two slips of paper per copy.
  2. Ask them to write two terms they would like to revise. Encourage them to write big enough to see the words from a distance (Note: this is unnecessary but I find the bigger their letters are, the easier it is to understand their handwriting). Once they have done so, ask them to make sure they know how to define them. Also, help with pronunciation.
  3. Ask students to stand up. The desks in my class form a U so I tell them to move to the centre of the class. Students choose a partner and they take it turns to define their words for the other student to guess/revise. Before they move on to find a new partner, they swap cards. This is a very important step as once they swap, they will need to define/revise other words.

After 10 or 15 minutes, depending on the number of students, students sit down, Ask them to keep the last slip of paper they have defined.

Step 3:  Asking Open-Ended questions. 

Now, this is the part where I use technology and one of my favourite tools to get feedback. But, let’s go step by step.

a. Writing the questions

Students sit down. Ask them to write down an open-ended question using one of the words on their slip of paper. Tell them some of the questions will be chosen to do a speaking activity. Encourage them to write questions related to the topic, in my case food.

Questions are difficult in English so walk around the room helping students.

b. Using  Mentimeter.com to get feedback

As I mentioned above, this tool is one of my favourites to get feedback.

It takes less than 30 seconds to set up the task.

  • Go to mentimeter.com
  • Choose the open-ended slide
  • Click on Present and  display the slide with the OHP
  • Ask students to take out their mobiles and go to menti.com
  • Give them the code
  • Ask them to write their questions and submit them

Once their questions are displayed, correct possible grammar mistakes and choose 6 or 8  to be discussed in pairs or in groups of 3.

I hope you have enjoyed the lesson.

Teach and have fun!