Have you ever seen the contest “El Concurso del Año” on TV? It is on Channel 4. I had never seen it before and I don’t think I am going to see it again any time soon. I found it incredibly boring and uninteresting. But dull as it was, I realized it had great potential to teach modal verbs. Yep. That sad! I am watching TV and I can only think of teaching. So guess what, I am about to make this contest your new favourite thing to teach modals of possibility and certainty.
- Now, what is the goal of the game? to guess the exact age of 6 celebrities.
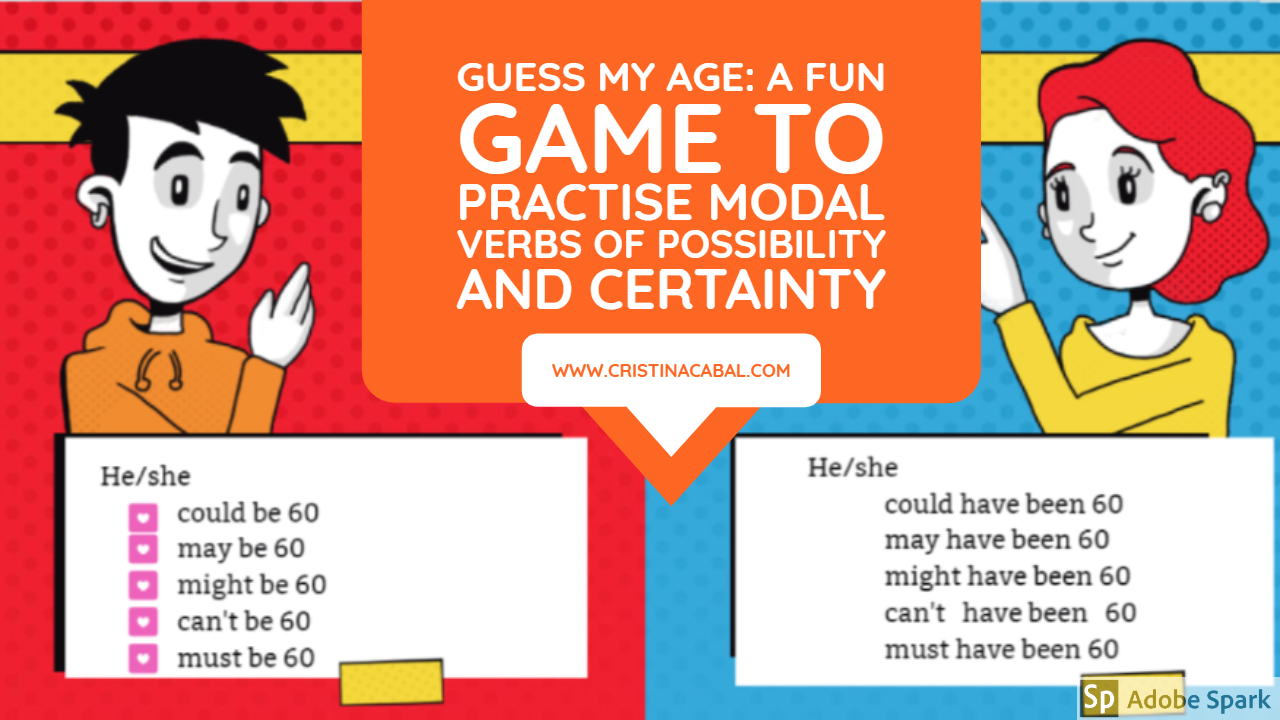
- What’s the target language? modal verbs of certainty and possibility in both their simple and perfect forms.
- What skills are we working with? speaking and writing.
Materials: you will need blank slips of paper (a good opportunity to recycle the back of some old photocopies)
These are the basic rules of the game, which I have slightly modified to meet my students’ needs but hey, the ingredients in this game are just really appealing: celebrities, music, interaction, fun, new technologies…etc and lots of learning.
- The class is divided into teams. The aim of the game is to find out the exact age of some famous people while using the target language. In this case, modal verbs.
- Teams will be offered a clue to help them guess the exact age.
There are 3 types of clues:
- the SONG ( one song released on the year of birth of the famous person)
- the EVENT (an important event of the year the celebrity was born)
- the CELEBRITY ( another famous person born in the same year)
To see how to play, and to play this fun game, open the interactive presentation below.
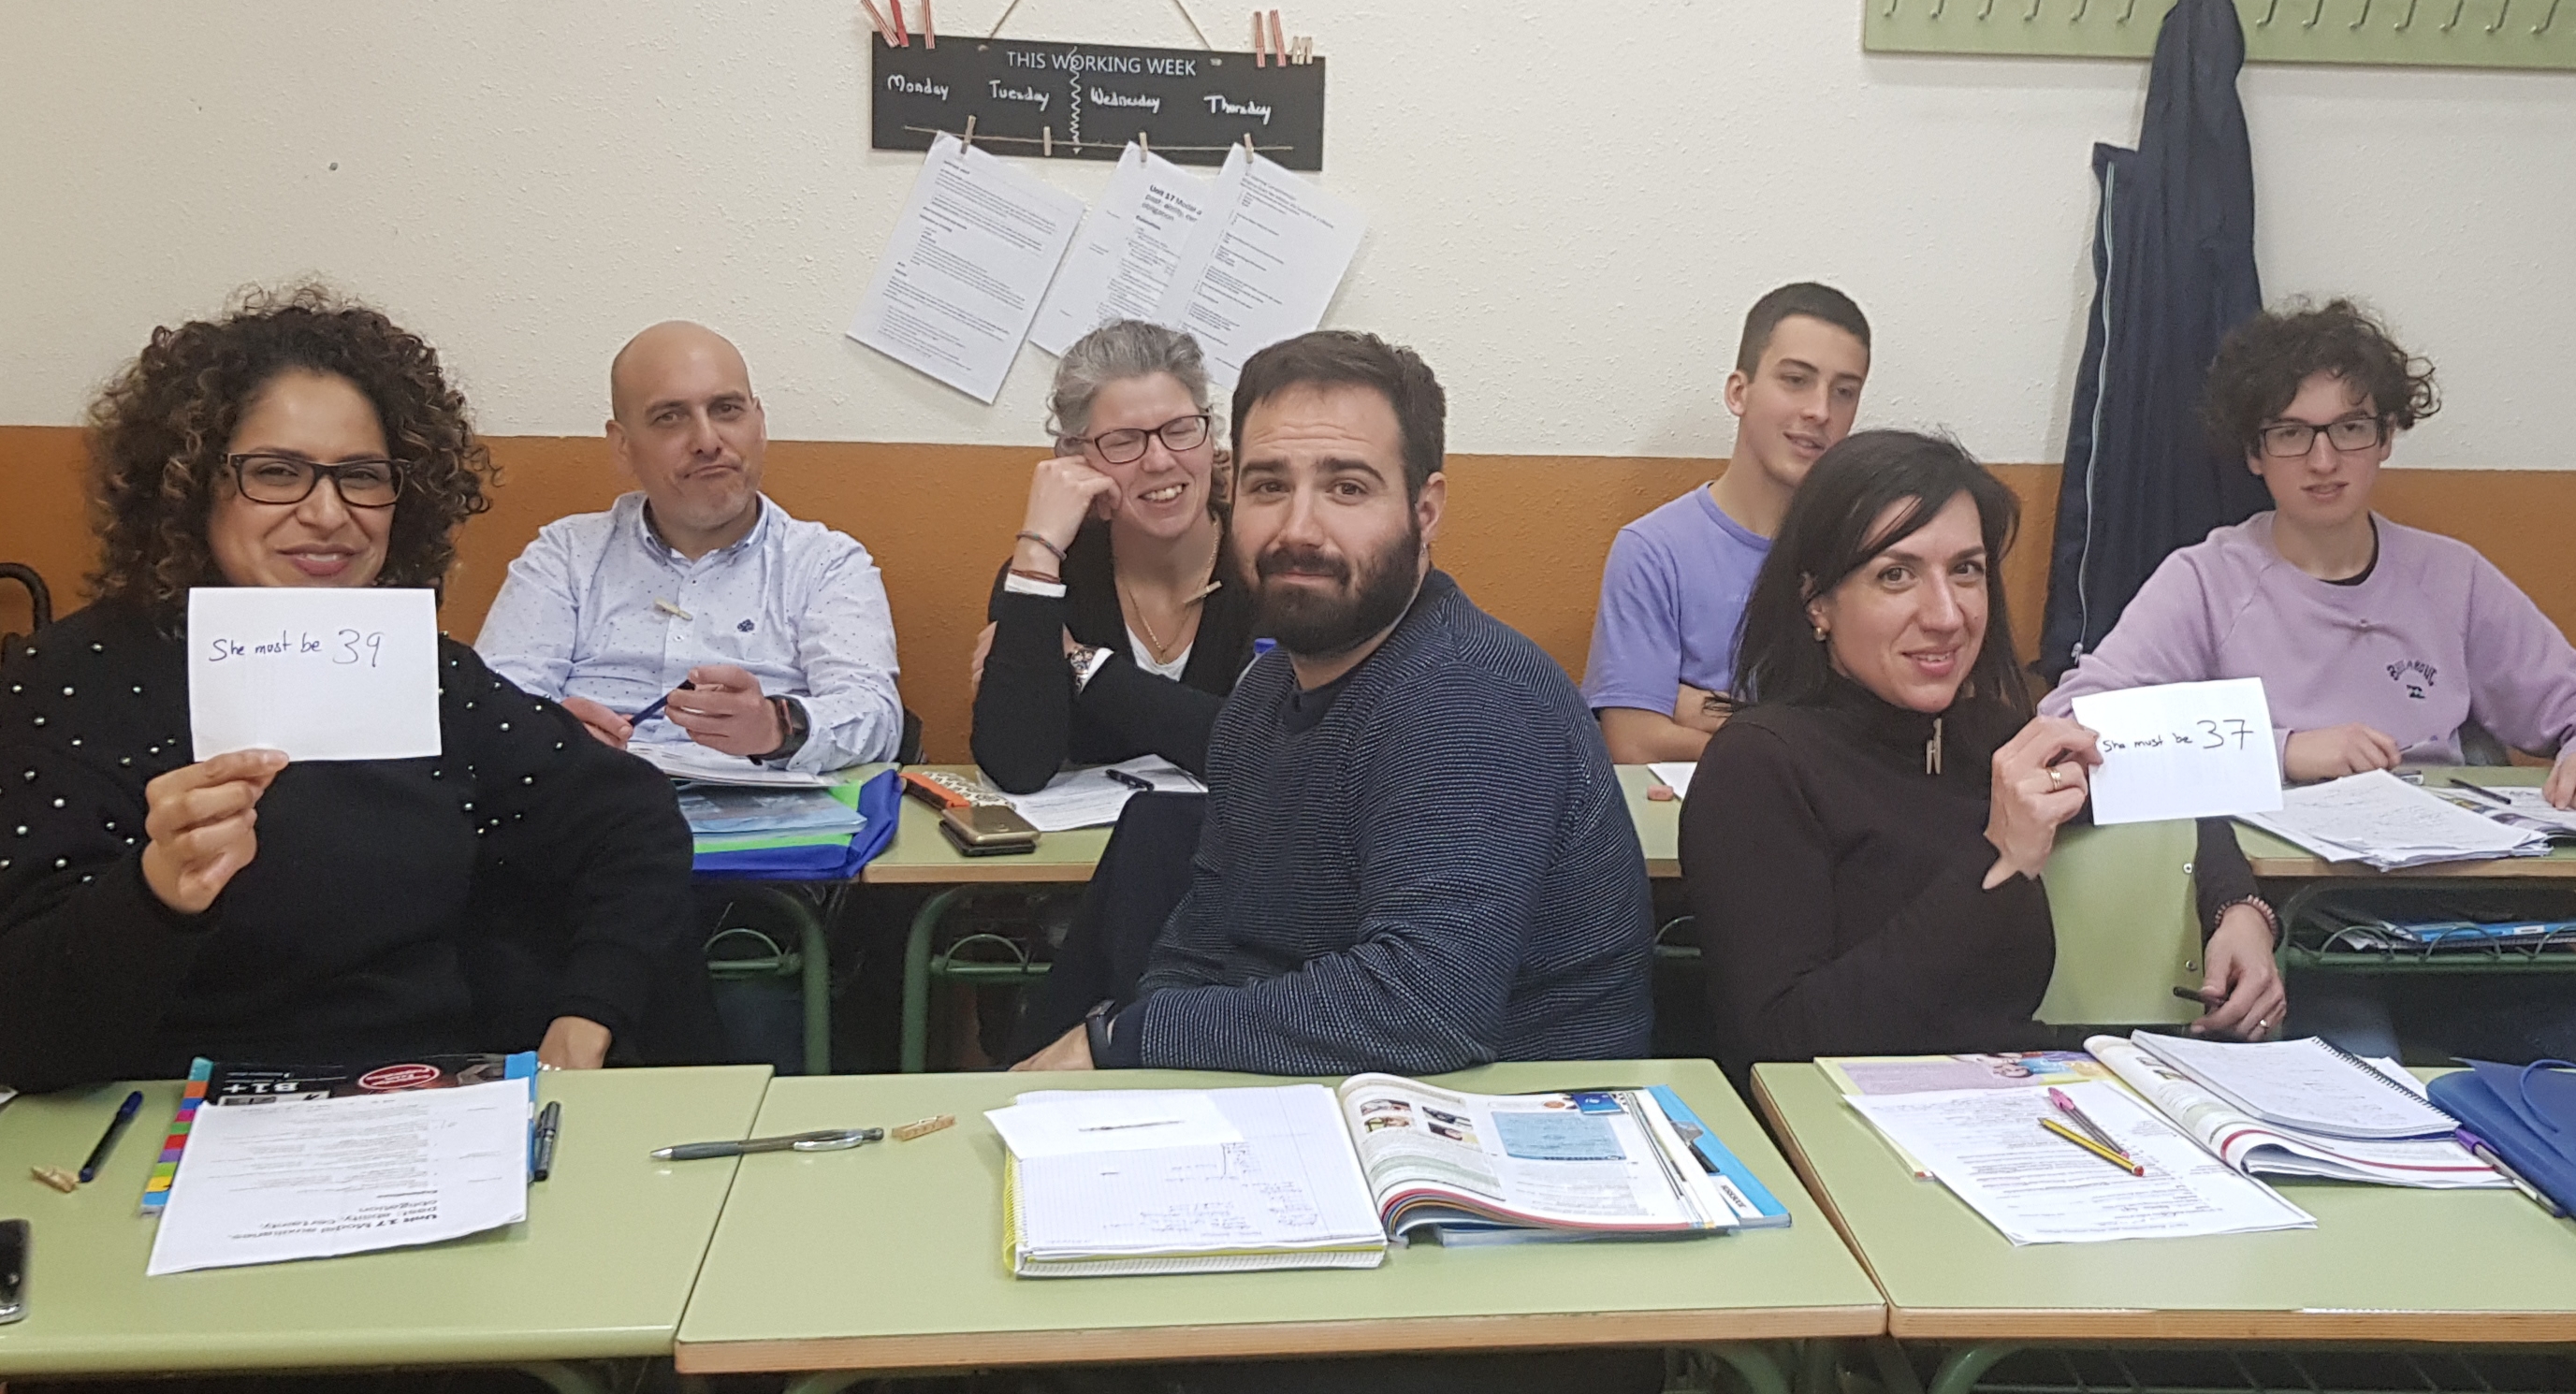
Personal experience: students really enjoyed the game and in their excitement, they tended to say just the age or slip into Spanish. Remind them to use the target modal verbs and English.
Note: To enlarge this beautiful interactive presentation created with Genial.ly, click on 3 dots and then on the arrows.