These past few days have been hectic with lots of exams to be written and then marked, plus all that red tape I can’t stand involving end-of-term exams. To top it all, my old friend the flu decided to pay me a visit. Very timely. Right now, thank goodness, deadlines have been met and everybody seems to be winding down for the holiday season. Me, too. So, that’s probably going to be the last blog post of the year.
- Organisation: Group work
- Level: B2 and upwards
- Materials: tackk tutorial here (optional)
- Aims: to encourage collaborative work by giving students the challenge of researching, selecting and presenting a project about unusual traditions around the world.
- Online tools: Padlet and Tackk
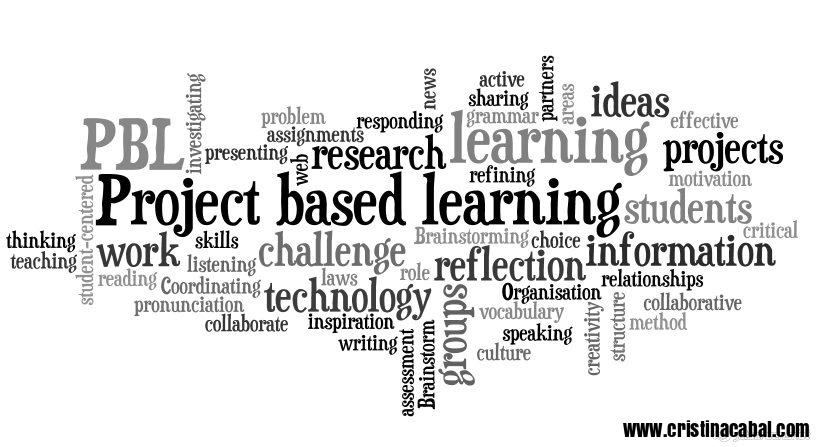
Project Based Learning- What is it?
It is a student –centred teaching method in which students acquire knowledge and skills by investigating and responding to a complex question, problem or challenge.
PBL is an active learning style which inspires and motivates students because they take an active role in their learning process and experience success in their own learning. The role of the teacher here is of mere facilitator and coach.
In PBL students are encouraged to work in pairs or in groups, which is also good because it creates a friendly atmosphere which is a boost to their motivation and creativity.
Project-based learning structure
- Choosing the problem or challenge
- Organisation
- Brainstorming
- Coordinating
- Sharing learning and refining
- Presenting and sharing
1.Choosing the problem or challenge.
For this project, students will be rising to the challenge of presenting information about unusual customs in the world.
2. Organisation.
My classes are quite large so students will work in groups of 4 or 5.
On the board the class as a whole decide on 4 or 5 areas, they want to talk about. There should be the same number of areas as groups you have. Each of these areas is assigned to a group to research.
In this project
- Relationships
- Festivals
- Law
- House and Home
3. Brainstorming
This step is done entirely at home with the help of an online collaborative free tool. My students are adults, some as old as 70, and they only see each other in class twice a week, so it was important to provide them with some kind of free online tool they could use to brainstorm ideas, share them with the members of the group and organize their project (timing, visuals, specific assignments..etc). I used a Padlet, a well-known collaborative tool, which is very easy to use, something really important as some adults are reluctant to use new technologies. Each group was assigned a different Padlet and given a week to do research on the internet and post on Padlet their ideas.
Below is the Padlet the group”House and Home” used.
4. Coordinating.
This stage might take the first or last 10 minutes of your lesson. Once they have shared their ideas on Padlet, in class they decide on the number of traditions they are going to present, who is going to do what, the order in which they are going to present the information and the visuals or videos they are going to use.
5. Sharing learning and refining
In the next class, allow students time to get together in their groups and share their drafts. Offer help and guidance but ask students to help each other by swapping their drafts within their group to improve and proofread their written work.
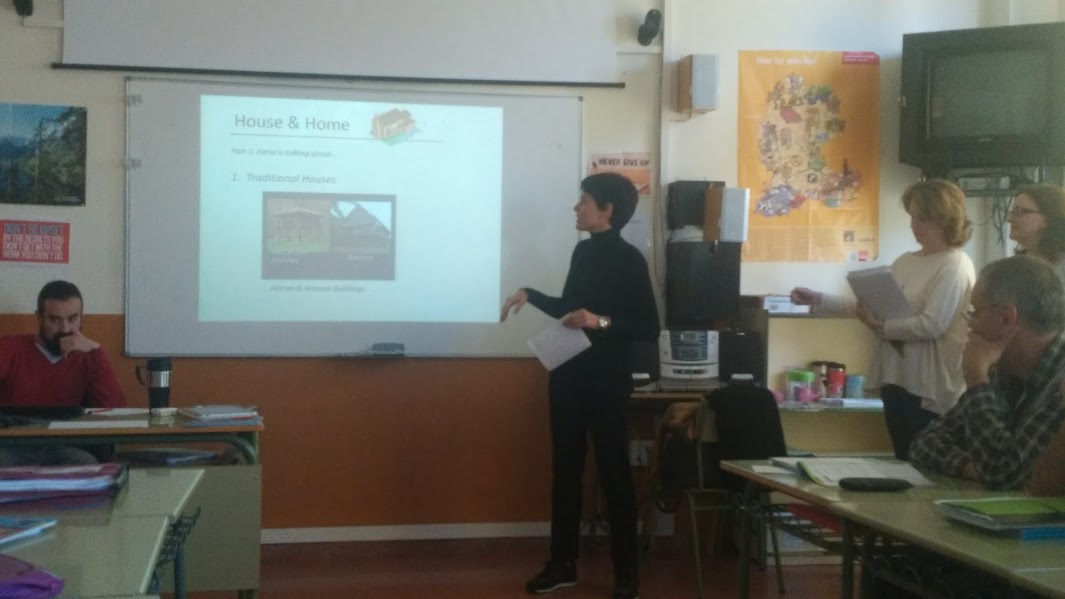
6. Presenting and sharing
Agree with the students on the order of the groups and let the show begin. Below is a picture of one of the groups on stage.
Sharing it with the world is also important. Here’s how we did it. Again, we used a free online digital tool called Tackk.com, which allows you to beautifully showcase your projects. I gave my students this simple tutorial to help them get familiar with the tool.
Here’s the tackk my students have created.