So what do you do to practise listening for exams?
Growing up, I never had the opportunity to do any extra practice to improve my listening skills. We didn’t have the Internet and the thousand possibilities it offers to learners of any language nowadays. The teachers had an old tape player that sometimes stopped and started on its own and old tapes that ended up sounding distorted and most of the times unlistenable so if you wanted to get better at listening, you just listened to the radio and struggled to understand the lyrics and sing along. Not that I ever complained. That was the perfect excuse to listen to music while claiming to be working hard. I have to say that my father never bought it!
So, exams are just around the corner and I know you’re beginning to freak out. Don’t worry! Here I am, coming to the rescue!
These are, in my opinion, the best sites with quizzes to practise listening comprehension. In no particular order.
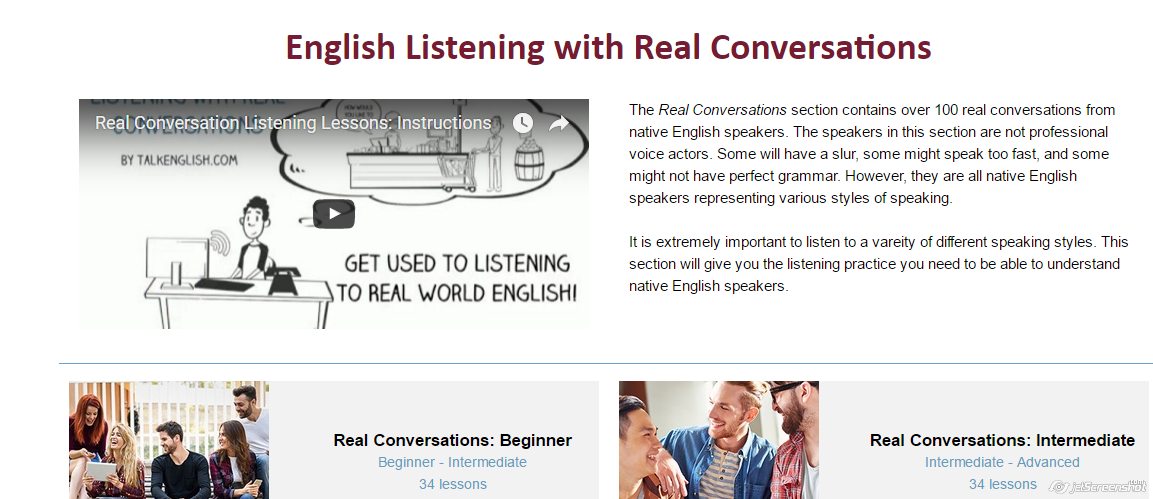
TALK ENGLISH
- url: http://www.talkenglish.com/
- Levels: three main levels (beginner, intermediate and advanced)
- Pre-listening /Post-listening activities: no
- Transcript: yes
- Audio Download: no
- What I like best: it has some other listening activities like dictations or listening based on pictures for lower levels. It also has a section dedicated to advanced students with a story and some comprehension questions. See here
- What I don’t like: In my opinion, the “listening” categorised under “advanced level” is far too easy.
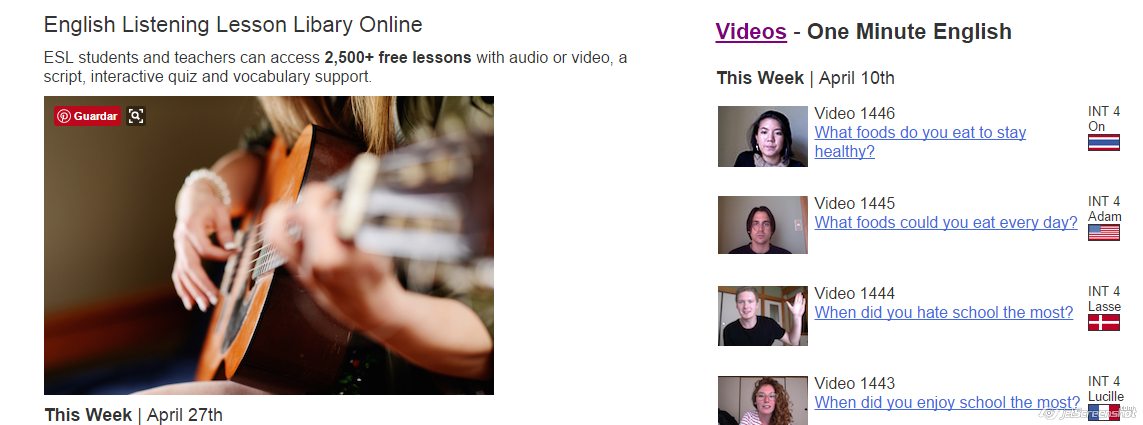
ELLLO
- url: http://www.elllo.org/
- Levels: six levels (beginners-advanced)
- Pre-listening /Post-listening activities: grammar or vocabulary activities
- Transcript: yes
- Audio Download: only audio for vocabulary
- What I like best: there are seven activity types (see them here) and a variety of accents.
- What I don’t like: a bit disorganised.
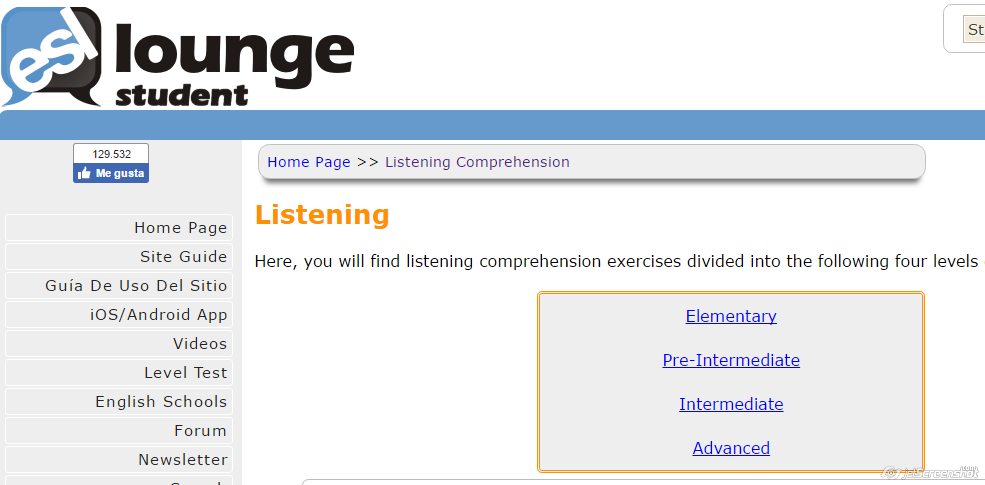
ESL LOUNGE
- url: http://www.esl-lounge.com/student/listening.php
- Levels: four (elementary, pre-intermediate, intermediate and advanced)
- Pre-listening /Post-listening activities: no
- Transcript: yes
- Audio Download: yes
- What I like best: it offers different kinds of comprehension exercises (multiple choice, cloze, true/false…etc)
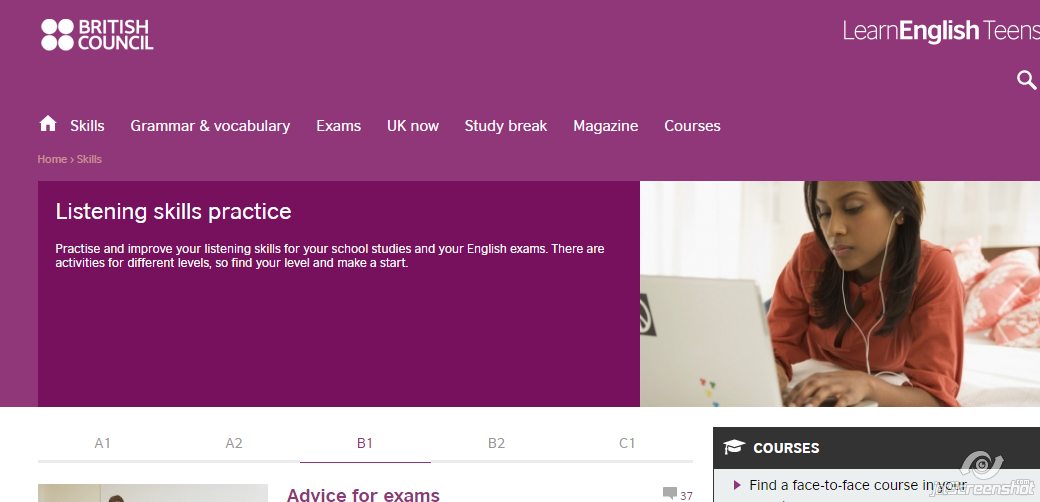
BRITISH COUNCIL
- url: http://learnenglishteens.britishcouncil.org/skills/listening-skills-practice
- Levels: five levels ( A1, A2, B1, B2, C1)
- Pre-listening /Post-listening activities: both
- Transcript: yes
- Audio Download: yes
- What I like best: very user-friendly for both students and teachers. PDF available for exercises, answers and transcript.
- Extra: The British Council also runs some other sections to improve and practise your listening skills and learn about Britain, its culture, its language and its people. See here
EDTED LESSONS WORTH SHARING
- url: http://ed.ted.com/lessons
- Levels: advanced
- Pre-listening /Post-listening activities: all the lessons have three parts : watch, think (where you can do the comprehension exercise) and discuss (post-listening questions)
- Transcript: no, although most lessons are on youtube, and you can watch them with subtitles
- Audio Download: the videos are on youtube, so they can be easily downloaded
- What I don’t like: the audio is not sorted by level and although most of videos are for advanced students, some of them are much easier than others so I would say that they are suitable for B2 students and higher. You need to register although it’s free.
- Extra: you can also create your own lessons
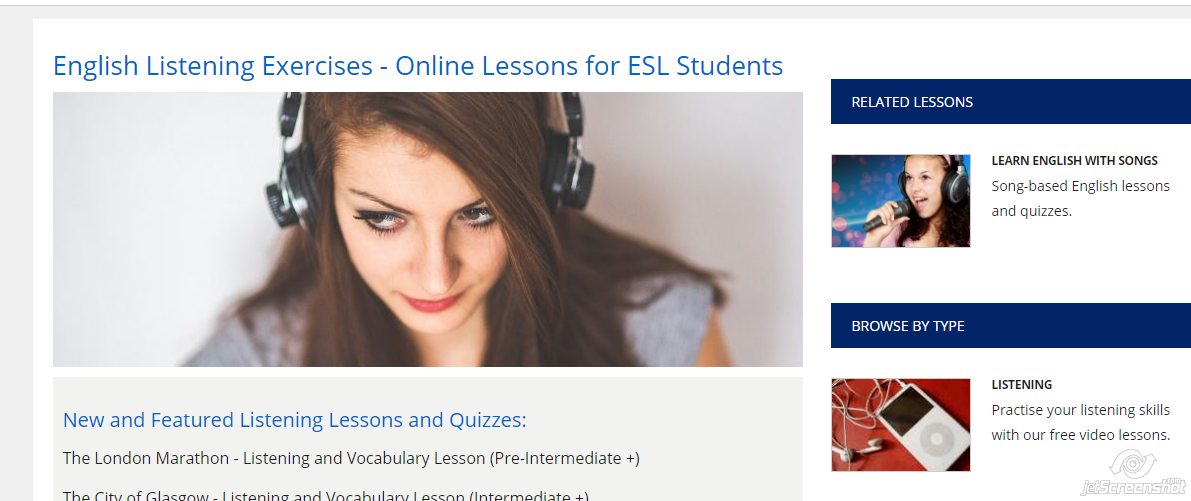
ESOL COURSES
- url: http://www.esolcourses.com/content/topicsmenu/listening.html
- Levels: four main levels (upper elementary, pre-intermediate, intermediate, upper-intermediate)
- Pre-listening /Post-listening activities: most of the times
- Transcript: no
- Audio Download: the videos are on youtube, so they can be easily downloaded
- What I like best: carefully designed user-friendly lessons plans
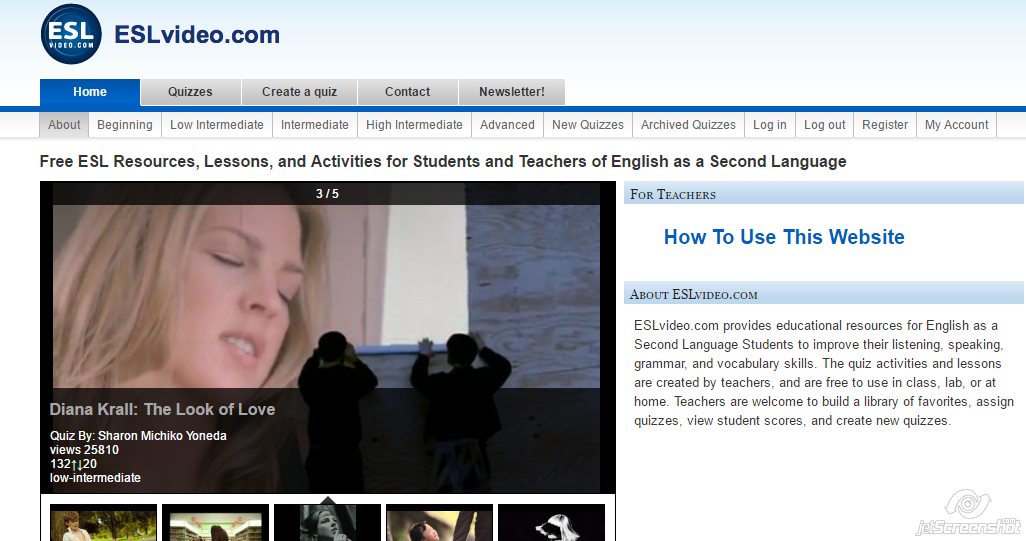
ESL VIDEO
- url: http://www.eslvideo.com/index.php
- Levels: five ( from beginner to advanced)
- Pre-listening /Post-listening activities: no
- Transcript: not always
- Audio Download: the videos are on youtube, so they can be easily downloaded
- What I don’t like: anybody can create a listening quiz so it might contain mistakes
- Extra: You can create your own quiz
BREAKING NEWS ENGLISH
- url: http://www.breakingnewsenglish.com/index.html
- Levels: seven levels
- Pre-listening /Post-listening activities: both
- Transcript: yes
- Audio Download: yes
- What I like best: you can listen to the same piece of news at different levels and the news can be read at different speeds.
- Extra: Sean Banville’s also runs eight other sites, check them out here
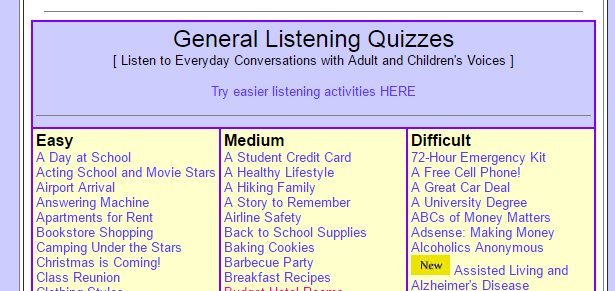
RANDALL’S ESL CYBER LISTENING LAB
- url : http://www.esl-lab.com/
- Levels: three levels ( easy, medium and difficult)
- Pre-listening /Post-listening activities: Both
- Transcript: yes
- Audio Download: No
- What I like best: the post-listening activities and the vocabulary section ( see here) where you can learn how to pronounce words associated to different topics.
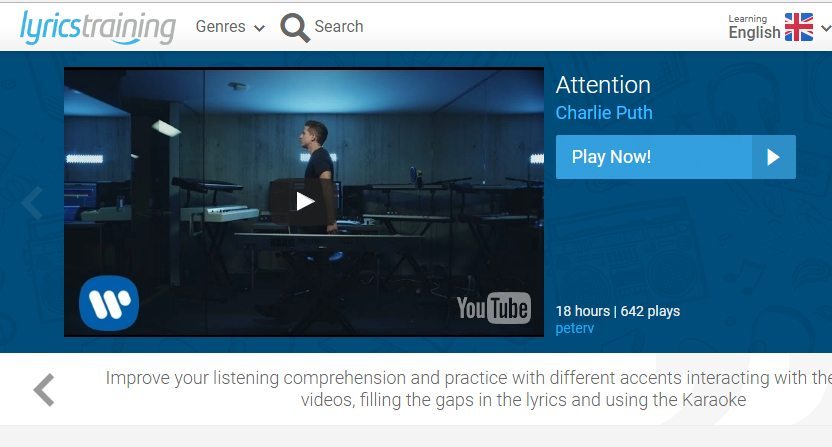
LYRICS TRAINING
- url: https://lyricstraining.com/
- Levels: four ( from beginner to expert)
- Pre-listening /Post-listening activities: no
- Transcript: any lyrics site will have the lyrics for the song
- Audio Download: the videos are on youtube, so they can be easily downloaded
- What I like: it’s fun and a different way to approach listening exercises.
- Extra: You can create your own exercises (beta).
Check also:
- The 8 Best Audio/Video News and Current Affairs Websites to Learn English
- My own sections for B1, B2, A2
Blog de Cristina is also on Facebook. Click to follow
