This is an interactive image created with Genial.ly . Just hover the mouse cursor over the picture to uncover the term.
This is an interactive image created with Genial.ly . Just hover the mouse cursor over the picture to uncover the term.
It’s Monday. I swear it was Friday when I last blinked. Exam time is inching closer and closer and I figure it’s about time I share part 2 of how I prepare my students to take oral exams. Please, note that attending classes and piling up dozens of photocopies helps, but this alone does not guarantee you are going to pass the exam. Practice. Keyword here.
In Part 2, you are going to read about the two-corner technique and the websites I use to help my students gather ideas.
The anecdote.
What I am going to relate here is one of the reasons why I try to offer my students not only vocabulary and structures but also ideas. Yes, I present them with different ideas, but I don’t ask them to study and use them as if they were theirs, I ask them to discuss them. Why? Mainly because by discussing ideas they can develop their own, acquire some others and also learn to challenge opinions they do not agree with.
You have probably heard students, or experience if you are one, talk about this fear of not knowing what to say.
Only last week I set a writing activity to be done in class. I asked students to write for about 20 minutes giving their opinion about a topic we had already discussed in class.
I observed one of my students was not writing but staring into space. After 5 minutes, I approached him and asked why he wasn’t writing. He said he could not come up with any ideas, said he wasn’t inspired and that he was afraid this would happen on the day of the exam.
And I worry. Even though my students study hard, sometimes they find it hard to think on their feet and start talking or writing.
It’s with this in mind that I try to provide my students not only with grammar and vocabulary but also with other people’s points of view on a given topic so that they can discuss these ideas and develop their own arguments. Speaking is not only talking about what you would do but also about what you wouldn’t do.
Topic: Ebooks versus paper Books

Level: B2 (upper-intermediate)
Time: about 30 minutes
I ask students, still in their seats, to think which corner of the room they would choose and think of the reasons why they prefer one choice to another. After a bit of thinking time, I ask them to stand up and go to their corner of the room. Once there, they talk to the members of their group sharing ideas and talking about why they favour one choice and not the other.
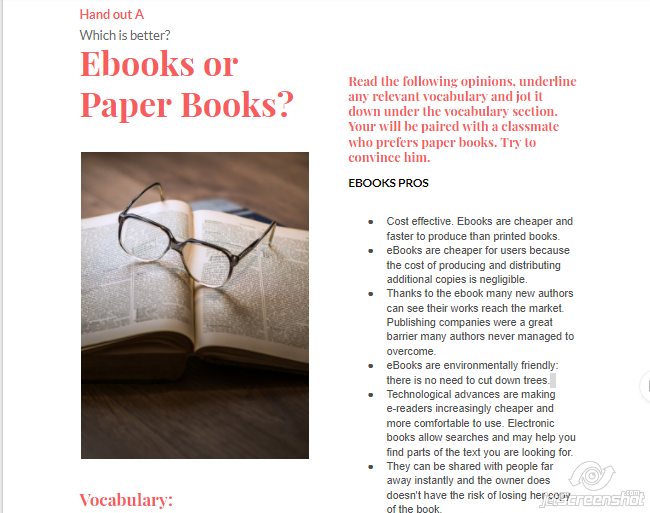
Time to see how others express your same idea and maybe get some others. Give students in favour of ebooks handout A and give handout B to students who prefer paper books. Let them read it and comment it in their groups.
This is the part I like best. Pair up students from both corners. Their aim will be to campaign on behalf of their choice and try to convince a student from the opposite corner to flip sides.
For this activity, I have used the website https://netivist.org/ , which is a platform where users can debate and engage in thoughtful discussion sharing different points of view.
Other similar websites are:
Going the extra mile?


2. Students listen to what other people have to say on the subject.
If you have missed Part 1 of how I prepare my students to take oral exams, you can read it here
As I thrust this lesson plan towards my students, I realize how little I know about what some environmentally-related terms mean. I know I have heard people talking about the carbon footprint and acid rain, but honestly, I have never given it much thought. I recycle. I really try to. I don’t eat meat and try to buy local products. But thinking hard. I guess that’s it. I am drowning in eco-guilt, but this needs to change.
I have promised myself two very simple things: to use reusable shopping bags and to cut down on the minutes I spend singing in the shower. The shower thing is going to be hard. Really hard.
I have just read in the The Guardian this list with 50 easy ways to save the planet. Really, point 16 and 34 are just gross.
This lesson is aimed at students with a language level of B2 (upper-intermediate) and focuses on revising, learning and using vocabulary related to the environment and environmental issues through a variety of engaging activities which will help them improve listening and speaking.
You can see this lesson in digital format here and you will also find it embedded at the end of this post
Introducing the Topic
On the board, write I’m eco-guilty of … Ask students in pairs to discuss their environmental dirty secret and then come up to the whiteboard and write it down. Help with vocabulary and then, discuss some the eco-sins written on the board.
Listening: How Environmentally Friendly are you?
This is a note-taking exercise. Students listen to some more tips and write them down. Comment on the tips. Correct using subtitles.
Vocabulary: Revising and Introducing New Vocabulary.
After doing the previous activities, students will probably have learnt lots vocabulary. Yes, I know. Wishful thinking. Anyway, let’s keep trying. Draw a mind- map on the board and brainstorm newly-acquired vocabulary drilling pronunciation. Introduce some new terms if appropriate.
Here’s the vocabulary my students will need to learn and use.
Speaking Activity using Posters
An activity my students always enjoy is gallery-walking. It gives them the opportunity to get out of their seats and interact with other students in the class.
Listening: Environmental Issues our Planet is Facing.
Check their answers. Play the video with the subtitles on.
Speaking
In this part, students will work in pairs. Encourage the use of the vocabulary they have learned in previous exercises. Use the lists of vocabulary students wrote for the posters activity, giving each pair of students one of these lists. Ask them to swap lists as we move through the questions.
Embedded below. you will find the online lesson with the questions for discussion. Just scroll down the different activities.
Students, in pairs, talk about the topics suggested in the pictures. Brainstorm ideas for a minute or so, and ask them to speak for about 4 minutes.
There are two sets of pictures.

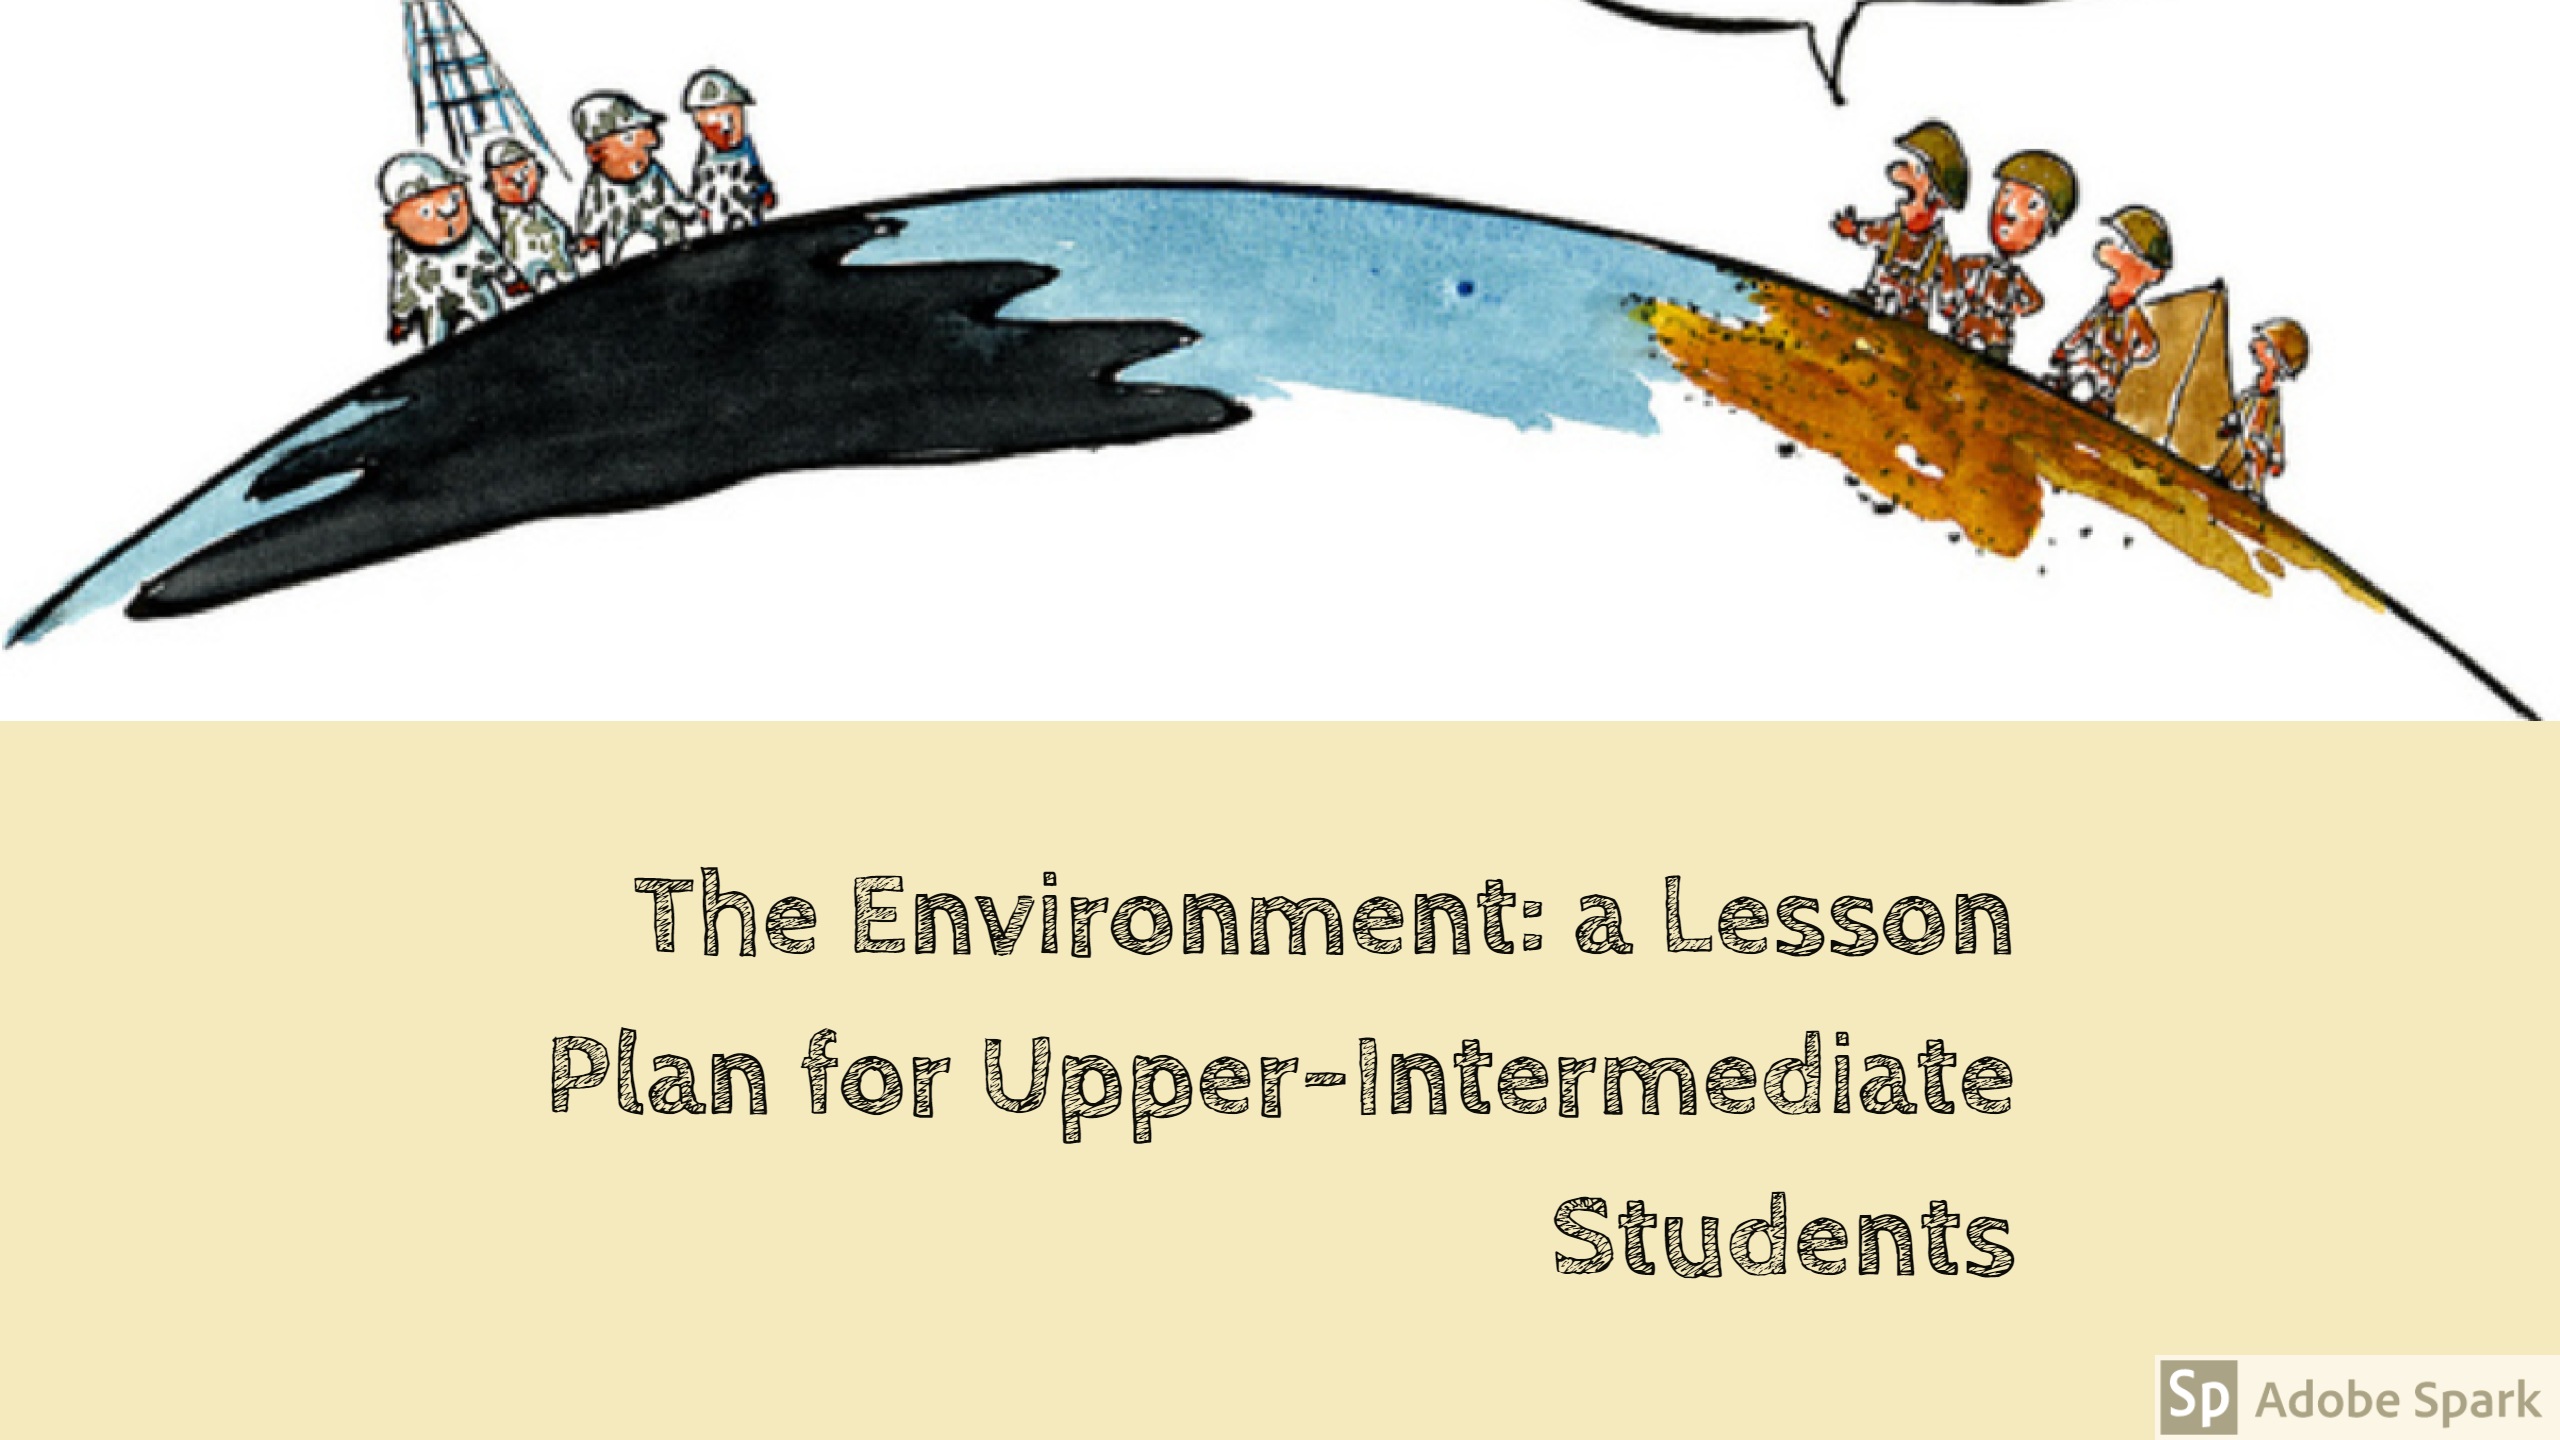
Photo credit: Frits Ahlefeldt – FritsAhlefeldt.com on Visual hunt / CC BY-NC-ND
I hope you have enjoyed the lesson.

It is said that you need to use a new word at least ten times to be able to remember it. I don’t know what to say about it.
I should probably not be saying this, I know I shouldn’t, but I can’t let it pass. For some students, using the word once or twice is enough and for some others, you can work on it and repeat it until the cows come home and still, no luck. If you are a teacher, I know you understand what I mean. Fortunately, this is not true for most of my students 🙂 🙂
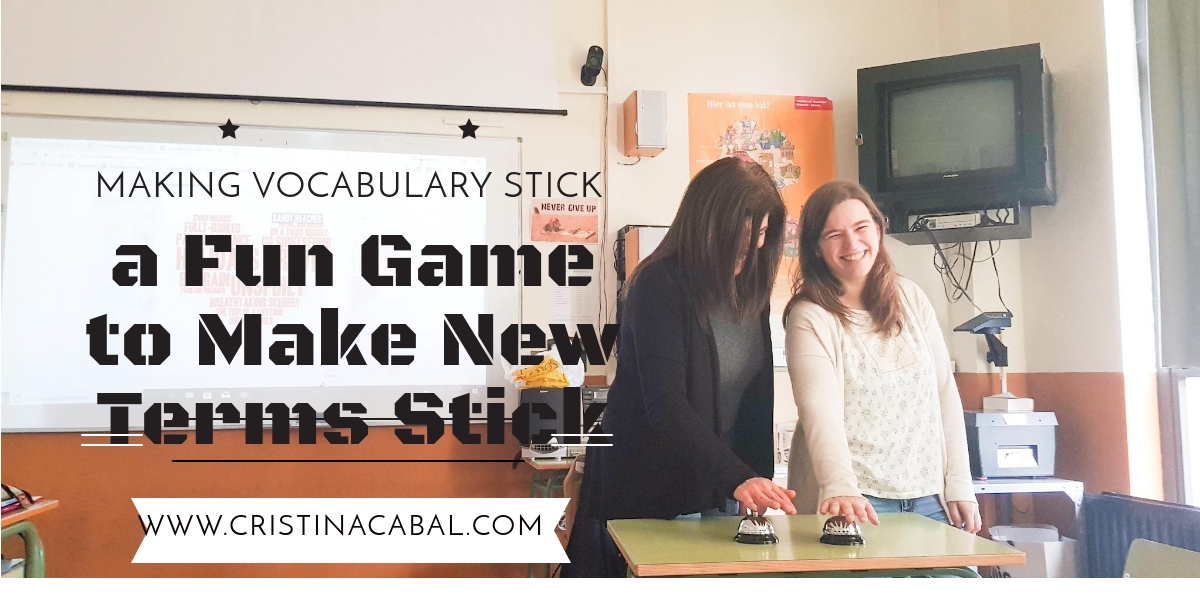
This is a simple activity you can do to encourage the use of newly-acquired vocabulary and to help students remember it.
I’m afraid if you don’t have a computer and OHP in your classroom, this activity would probably be useless to you. So, I won’t blame you if you stop reading right now.
Pre-game
What kind of holidays do you prefer? Do you prefer package holidays or making your own?
2.Introducing new vocabulary. Nothing fancy here. I introduced and worked on new vocabulary using a variety of activities, but most from their textbook.
Boring part over.
Game.
I asked a student to help me with the typing of the words. So while I was writing on the board the words students volunteered, he was typing these same words in the wordart app.
(click on the image)

Steps 1, 2 and 3 took about 5 minutes.
Procedure:
Team A starts. I point to a word (very nicely highlighted in this app) and team A has to describe the word to their captain using synonyms or paraphrasing. The only problem is that both Captains can press the bell if they know the word. Teams have 1m 30´ to describe as many words as possible.
Award one point for each correct guess.

Some more rules:
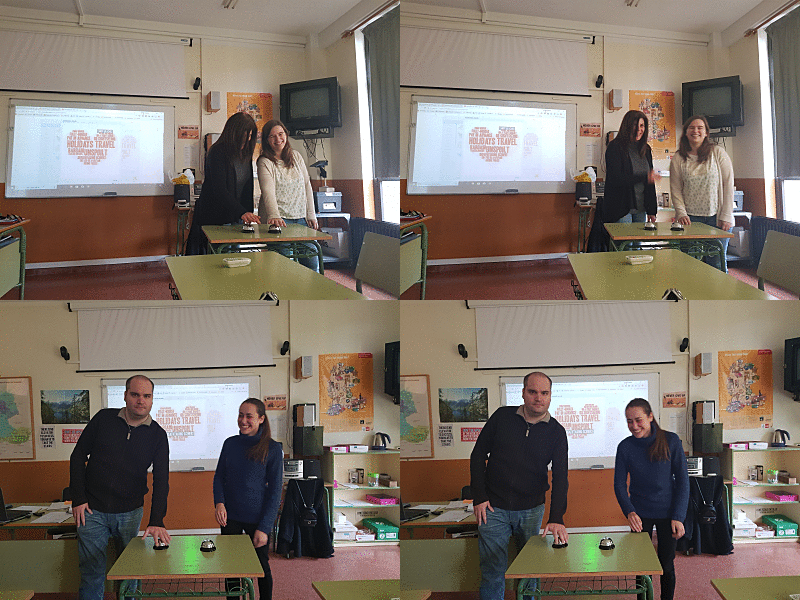
Have fun while teaching and your students will learn better!!!
Alright, alright!
I know this is the third time I’ve posted this week. It seems I’m full of energy after the Christmas break. I really needed that break, didn’t you? Anyway, happy to go back to teaching, but hanging ominously over my head like a black cloud about to burst is the pressing necessity to start training my students to take their standardized speaking exams which will allow them to promote to the C1 (advanced level).
For those of you who are not familiar with the exam, let me explain how it goes. You might find you can apply it to your own classes, even though it’s not exactly the same kind of exam.
There are two tasks in the speaking exam.
About Part 2
In this second part, the one this whole post is built upon, the student is offered two or three colour photographs. Normally, the photos are in contrast or represent different options of the same issue. Also, there is a title or a statement which suggests the topic of the monologue. After some thinking time, normally a couple of minutes, the student is given the opportunity to speak for about 4-5 minutes without interruption.
At this level, students are expected to talk about the topic using a wide range of vocabulary and grammar structures and they will have to compare and contrast the pictures talking about the most important issues related to the topic.
Students face different fears when preparing for the oral exams. Some of them are:
Vocabulary and ideas. Keywords here.
How I train my students. Topic: Food
This is how I help them step by step. Bear in mind this is the first post of a series of posts dedicated to training students to pass the oral exam. As students gain confidence, guidance will be less necessary and some of these steps will be either unnecessary or done by students as part of their learning process.
1. Brainstorming vocabulary. Learning progresses through prior knowledge, so tapping into students’ prior knowledge is an essential part of learning.
On the board, we brainstorm the vocabulary they already know. This is an important step because it helps students reinforce and bring to life the vocabulary studied in previous courses.
Then, I ask them some very simple questions where they can activate this vocabulary: What’s your favourite food? What is the most expensive restaurant that you have ever been to? What did you eat there?
2.Acquiring new vocabulary. We work on new vocabulary using a number of written and oral exercises. (Any good course book provides enough vocabulary input, at least to get started). It’s important to emphasize here the importance of learning words in chunks. Surely, you can teach the word “ obesity” on its own, but there some other words you really want to teach in collocations like, for example, “eating disorders” or to “be obsessed with”. Also important, essential I should say, is pronunciation.
3. Getting Ideas. Reading and Speaking. More often than not students find it hard to think on their feet. They find it difficult to come up with ideas that will fill in the 3 or 4 minutes allowed for this part.
You might disagree with me here, but I always tell them that oral exams are like the rest of the exams they might take. They need to prepare. They need to study.
Lack of preparation might result in something I’ve seen very often when assessing oral exams; students might talk for one minute and then, suddenly, stop. Now, you might wait patiently for them to come up with something else but the truth is that very often, when prompted to continue, they just repeat the same ideas they have already used. Why? most of the times due to lack of preparation. They mistakenly think that they don’t need to study for oral exams. They do.
So, listen up dear students! You need to study for oral exams.

Reading about different issues related to the topic not only reinforces the vocabulary they have learnt and gives them a chance to see it used in context but also gives them ideas of what they can talk about when doing the real task.
I normally use short extracts from The Pais in English. Here’s my choice of extracts for the topic of food. This how we do it:
4. The pictures. I am lucky to have a computer and an overhead projector in my class, so I normally display a collage with two or three related pictures on the board. You can see the ones I have used for this topic here and here.
Together we read the title and brainstorm ideas to fill in these 3 or 4 minutes. This step should be easy now as we have previously discussed some ideas in the previous task. Some ideas could be:
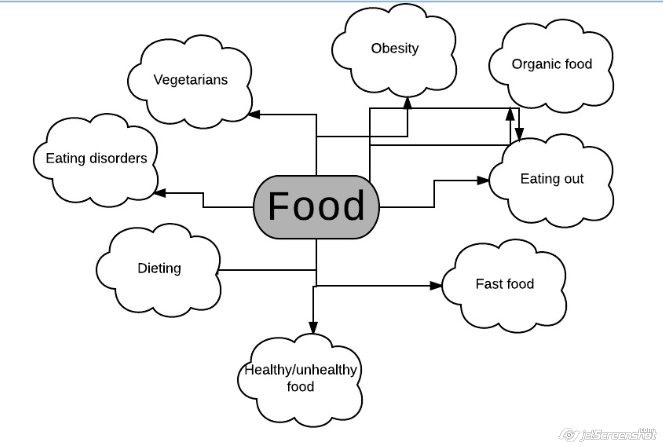
Together, we brainstorm vocabulary
6. Homework. Further practice. Collaboratively writing on a Padlet.
This follow-up task has two main aims:
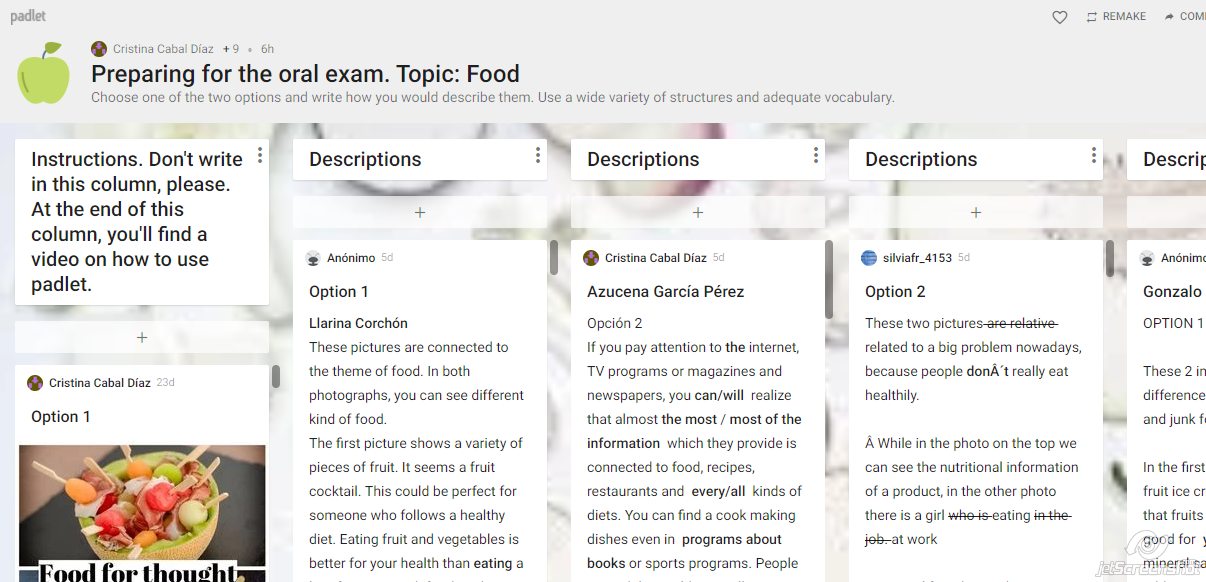
All the Padlets created for this purpose will then be shared in a single one where students, at a glance, can decide what topic to revise.
In the next post, we will move from writing to speaking on a Padlet.